
Start with the rides you do most. Then make sure you can control the exact model and afford everything it takes to ride it. Cross off any bike that fails on fit, condition or a must-have use, even if it has better specs or a women’s label. Run the same checks on your finalists before you buy.
Start with your usual rides

Before you compare bikes, picture a typical ride. Where does it start? Do you roll along paved neighborhood streets, commute through town, ride park paths, or head onto unpaved trails? That ride tells you which features matter.
Four details are enough: your usual surface, your main purpose, the length or setting of the ride, and one requirement you won’t give up. A commuter with a work bag has different priorities from someone who rides quiet paved roads for weekend exercise. Either one can take the occasional gravel path without owning a gravel bike.
Write your riding in one plain sentence. For example:
“Mostly paved city commuting, occasional park paths, and I need to carry a bag.”
For this commuter, carrying a bag is a requirement. A bikepacking trip someday is an extra.
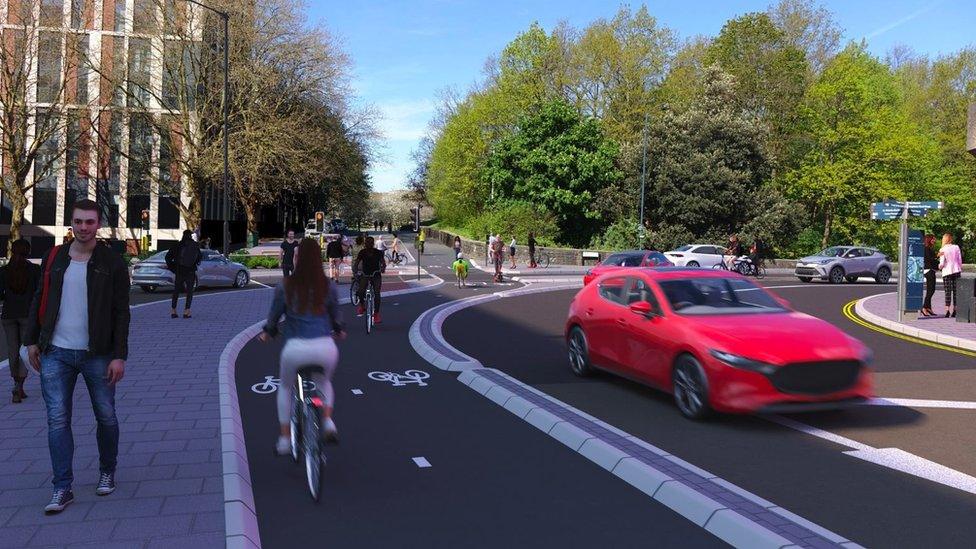
If you’re still learning to ride, put easy control and reliable starts and stops ahead of long-distance plans. Choose for the rides you’re ready to take now and build skills from there.
Match the bike type to your roads, paths, and trails

Each bike category is built for a kind of riding. A bike that’s great at one job can feel awkward at another, so match the surface and purpose first.
REI’s bike buying guide sorts bikes by intended use and riding surface.
| Your main riding situation | Bike types worth considering | Why they belong on the list |
|---|---|---|
| Paved roads, recreational fitness, longer paved rides | Road or endurance road; some hybrids | Designed with paved riding in mind |
| City streets, errands, paved shared paths | Hybrid; city or commuter bike | Everyday versatility and a practical setup |
| Relaxed rides on paved neighborhood roads and paths | Cruiser; some city bikes and hybrids | Leisure-oriented riding on paved routes |
| Pavement mixed with regular smooth unpaved roads | Gravel; a suitably equipped hybrid | Built for a mix of surfaces |
| Technical off-road trails | Mountain bike | Trail-oriented design and handling |
| Riding where you need pedal assistance | An e-bike suited to the underlying riding purpose | Pedal assistance changes the ride; check weight, storage and transport |
| Hauling substantial belongings or fitting into restricted storage | Cargo or folding bike | Built to carry loads or fit small storage spaces |
Match the table to your one-sentence description and keep one to three categories. Look at specialized options only when they solve a problem you already have.
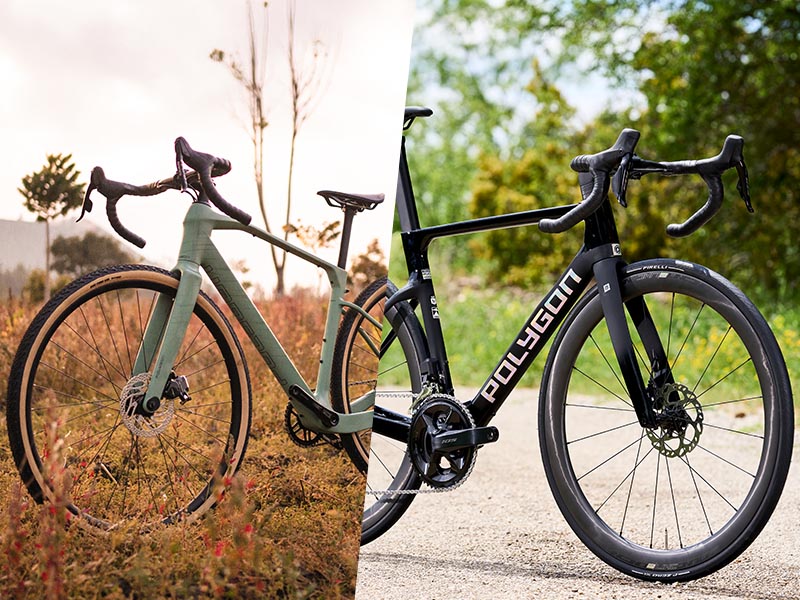
Categories overlap. A hybrid can handle smooth gravel, and a gravel bike can be ridden mostly on pavement. The bike’s design, tire clearance and setup decide how well it copes with a given surface.
E-bikes add one more question: where you’re allowed to ride them. Access rules vary by jurisdiction and by trail or land manager; PeopleForBikes’ state-law guidance explains how the rules work state by state.
Hybrid, road or gravel: don’t buy for a fantasy ride
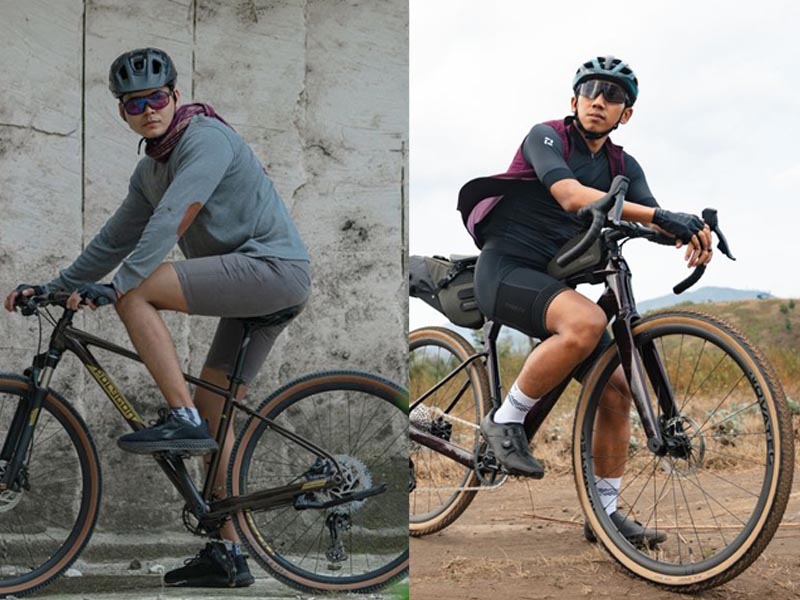
Hybrid, road and gravel bikes all work for recreational riders. They differ in riding position, everyday convenience and the surfaces they’re built for.
| Bike type | Good reason to consider it | Compromise to think about |
|---|---|---|
| Hybrid | You prefer paved paths, city riding, a fairly upright position or flat-bar controls | Less appealing if you want a road-style riding position or ride rougher routes regularly |
| Road or endurance road | Most of your rides are on pavement and a road-style position appeals to you | Tire and equipment choices can limit unpaved riding and carrying |
| Gravel | You regularly mix pavement with gravel roads and value that versatility | Its geometry, equipment and riding position are more than a mostly paved routine needs |
Many buyers worry about outgrowing the bike. A beginner on r/ladycyclists, riding 60 to 90 minutes now and aiming for 20 to 40 miles, wrote: “Part of me thinks a hybrid is the smarter ‘learning bike.’ On the other hand, I wonder if I’d outgrow it fairly quickly since I want to put a lot of miles on my bike.”
A hybrid can stay a good fit as paved rides get longer. What decides it is the surface, the bike’s handling and the riding position you enjoy.
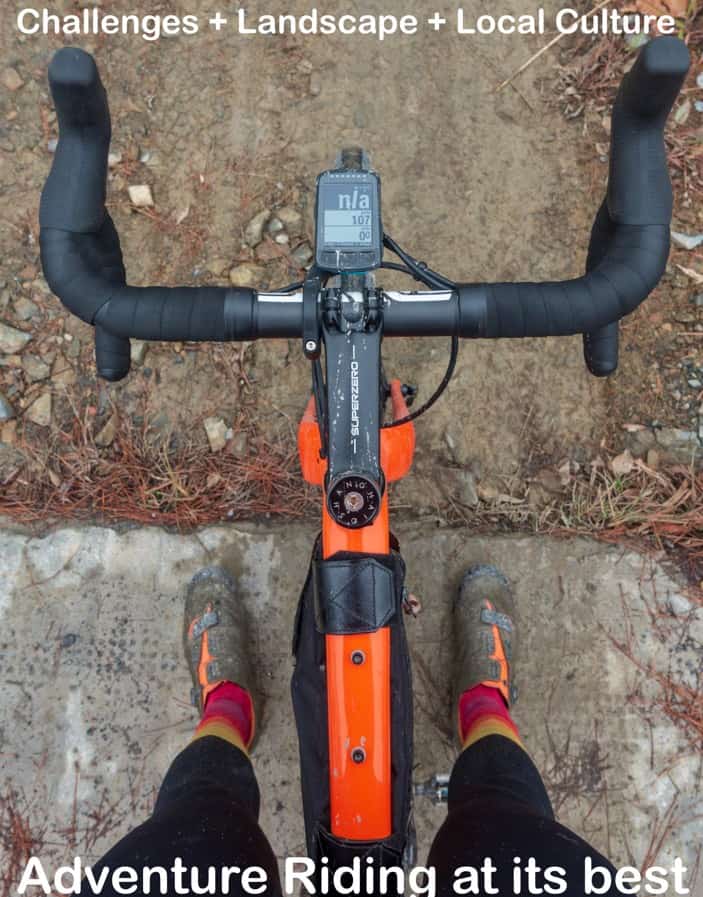
Picture two futures. In one, your rides get longer but stay on paved streets and recreational paths. In the other, you start riding graded gravel roads, sometimes with bags. Even at the same distance, those two plans call for different bikes.
To choose between types, compare four things: your everyday surface, a riding position you find comfortable, one realistic extra use in the near term, and the compromise you won’t accept.
Handlebar shape matters too. Drop bars give you several hand positions. A flat bar often feels more familiar for relaxed riding and frequent maneuvering. Fit and controls decide how well either one works for you.
Check frame size, reach, and control on the actual bike
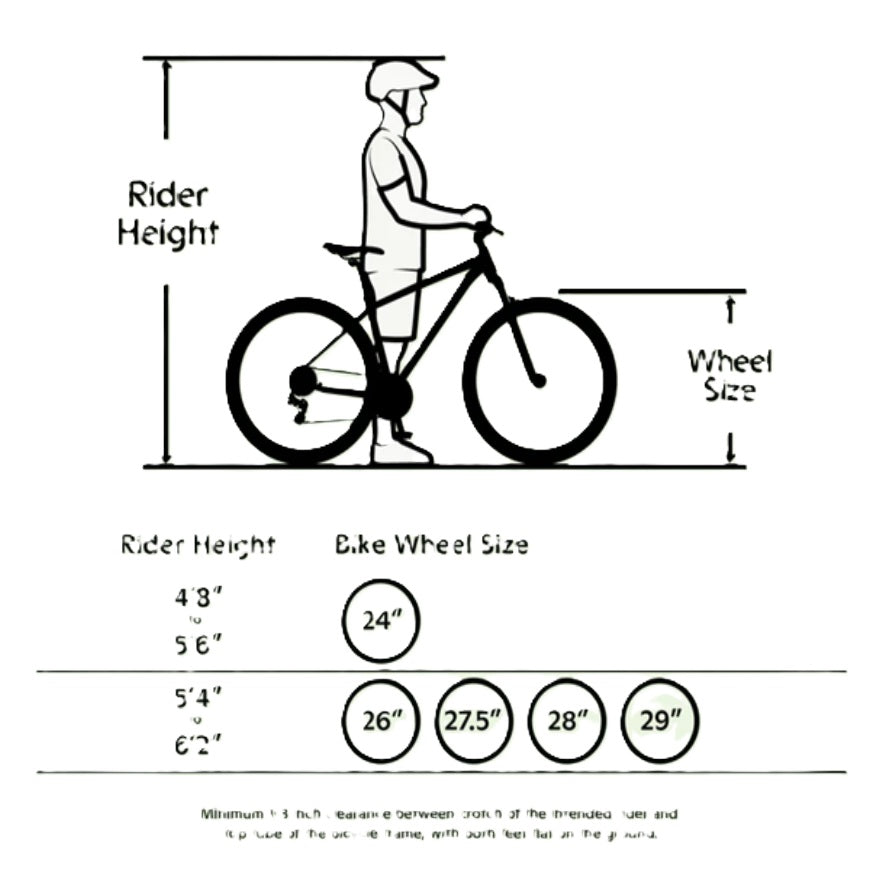
Even in the right category, some frames fit badly. Manufacturers suggest a starting size from measurements such as height and inseam. Trek’s initial sizing guidance uses height and inseam, and Liv’s bike-fit guidance also points to the exact bike’s specifications and to trying it. After that, the model’s geometry and your reach to the controls decide whether it stays on your list.
Four terms explain why two bikes with the same size label can feel quite different:
- Inseam: A body measurement used with height when you consult the maker’s size chart.
- Reach: A horizontal frame dimension: how far the front of the frame extends from the bottom bracket.
- Stack: A vertical frame dimension: the height of the front of the frame.
- Standover: The clearance when you stand over the frame. It matters for mounting, stopping and dismounting.
Reach and stack describe the frame only. How far you actually stretch to the handlebars also depends on the handlebar setup, the contact points and your riding position, so a size label tells you little.
A rider on r/ladycyclists, struggling with the reach of a road bike, wrote: “The reach, I think, is a bit too far for me. I’m 5’ 1” (almost) and have 28.5 or 29” inseam.”
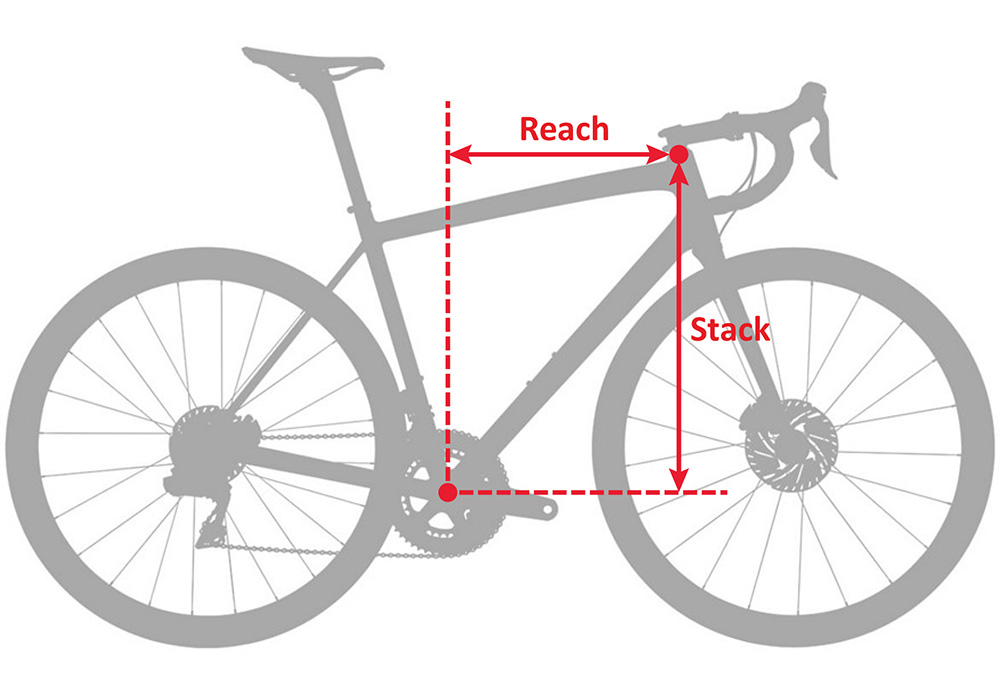
For each bike you’re considering, check the maker’s height and inseam guidance, then look at the frame’s reach and standover and the basic riding position. Drop any bike with a reach that’s too long or brake levers you can’t grip comfortably.
If a fit problem stays unclear, a bike shop or fitter can assess the exact bike before you buy. Your proportions and the model’s geometry can overrule a size chart.
Look past the women’s label: choose a frame you can use
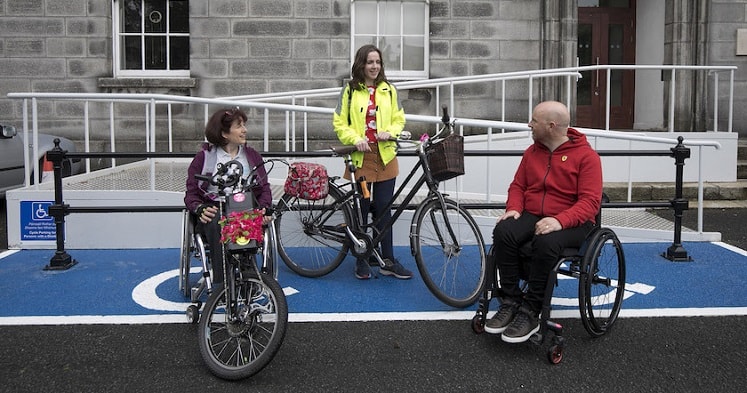
Women’s and unisex bikes are both good options. Liv takes a women-centered design approach, but the question that matters is whether the model’s geometry and contact points suit your body and your riding.
Saddle, handlebar and brake-lever access matter whatever the label says. A unisex model that fits can work well for a woman, and a women-specific design can suit another rider better.
Step-through frames address a different issue: getting on and off. A low or missing top tube helps if mounting and dismounting are difficult. The frame still has to suit your terrain, though. A step-through commuter frame can solve one problem and create another for someone planning regular gravel outings.
Compare women’s, unisex and step-through frames on how easy they are to get on and off and whether they suit your rides. Keep the ones worth a test ride.
Budget for the whole bike, not just the price tag

Your budget has to cover the purchase price, essential equipment and any service the bike needs right away.
A recreational rider on paved paths needs little extra. A daily commuter needs a lock, a reliable way to carry belongings and gear for the expected conditions. What you buy depends on where and how you ride.
Budget shapes the search from the start. One Boston-area student wanted to commute in the city on a student budget and had no idea how to pick a good bike.
For a commuter on a student budget, the lock and a way to carry your things belong in the price.
Use real prices for the bikes and equipment you’re considering, and keep upgrades you can buy later out of the total. Add up these four items and compare the sum with the most you can comfortably spend:
- Bike: The price of the model.
- Essential riding and visibility equipment: Items your route, conditions and setup call for.
- Carrying and security: A lock, bag or carrying equipment if you need them.
- Immediate setup or maintenance: Work needed to get this bike ready to ride.
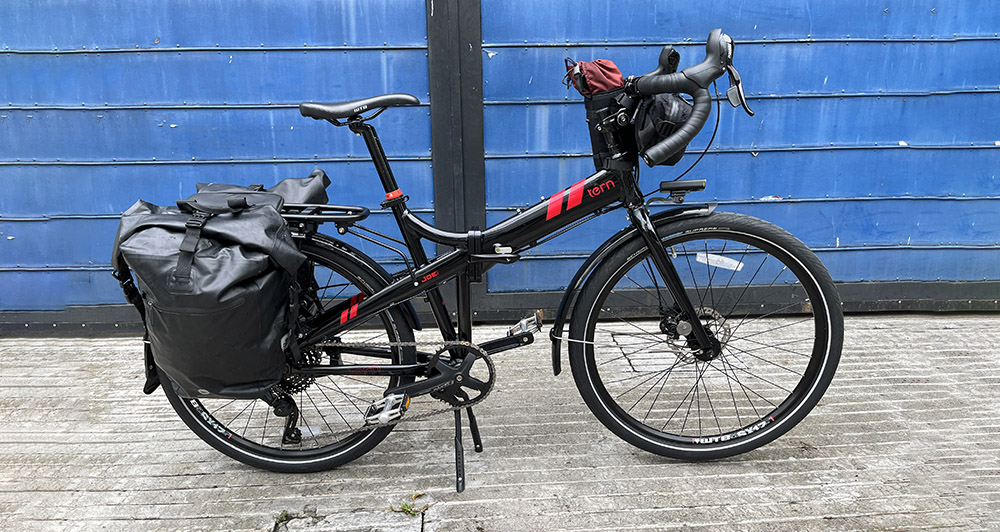
A bike with a lower sticker price can need immediate service or a carrying setup that pushes its total above a pricier one that already has what you need.
Check the parts and practical details that affect your rides
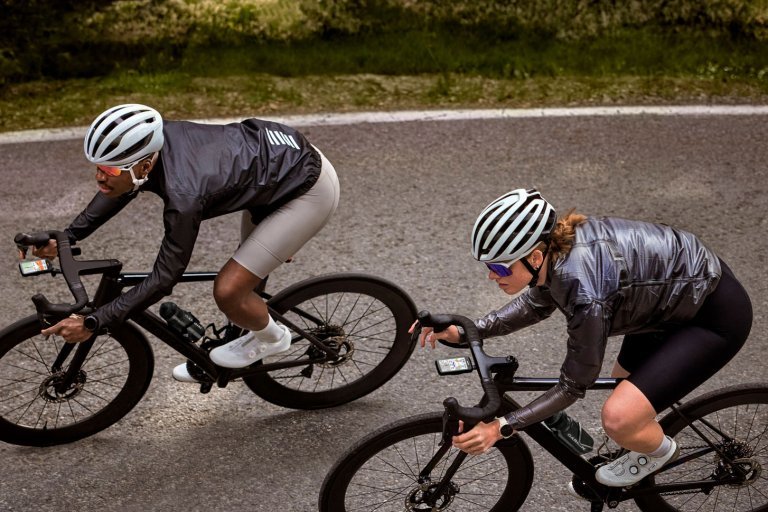
Judge each part by what it does on your routes.
- Tires and surface: Tires should suit your routes. Check what the bike comes with and whether it handles the surfaces you ride.
- Gearing and controls: Gearing depends on your terrain and how you like to ride. On a hilly route, easy shifting and a wide enough gear range matter more than the prestige of the parts.
- Suspension: Full-suspension, hardtail and unsuspended bikes differ in terrain capability and cost. Match them to the trails you ride and to how much complexity you’re willing to own.
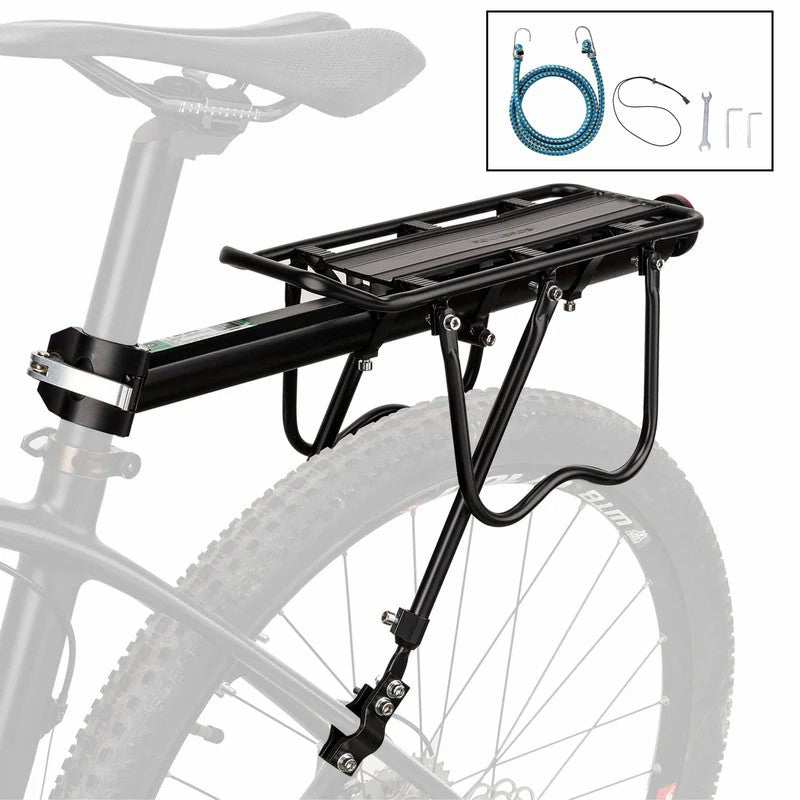
- Carrying and weather equipment: A commuter often needs rack mounts, bags or fenders. Confirm the bike takes the equipment your trips require.
- Weight and storage: If you carry the bike upstairs or squeeze it through a small apartment, weight and size can decide the purchase.
- Service access: Check that basic maintenance and help with repairs are easy to get for the model you’re considering.
New or used? Check condition before calling it a bargain
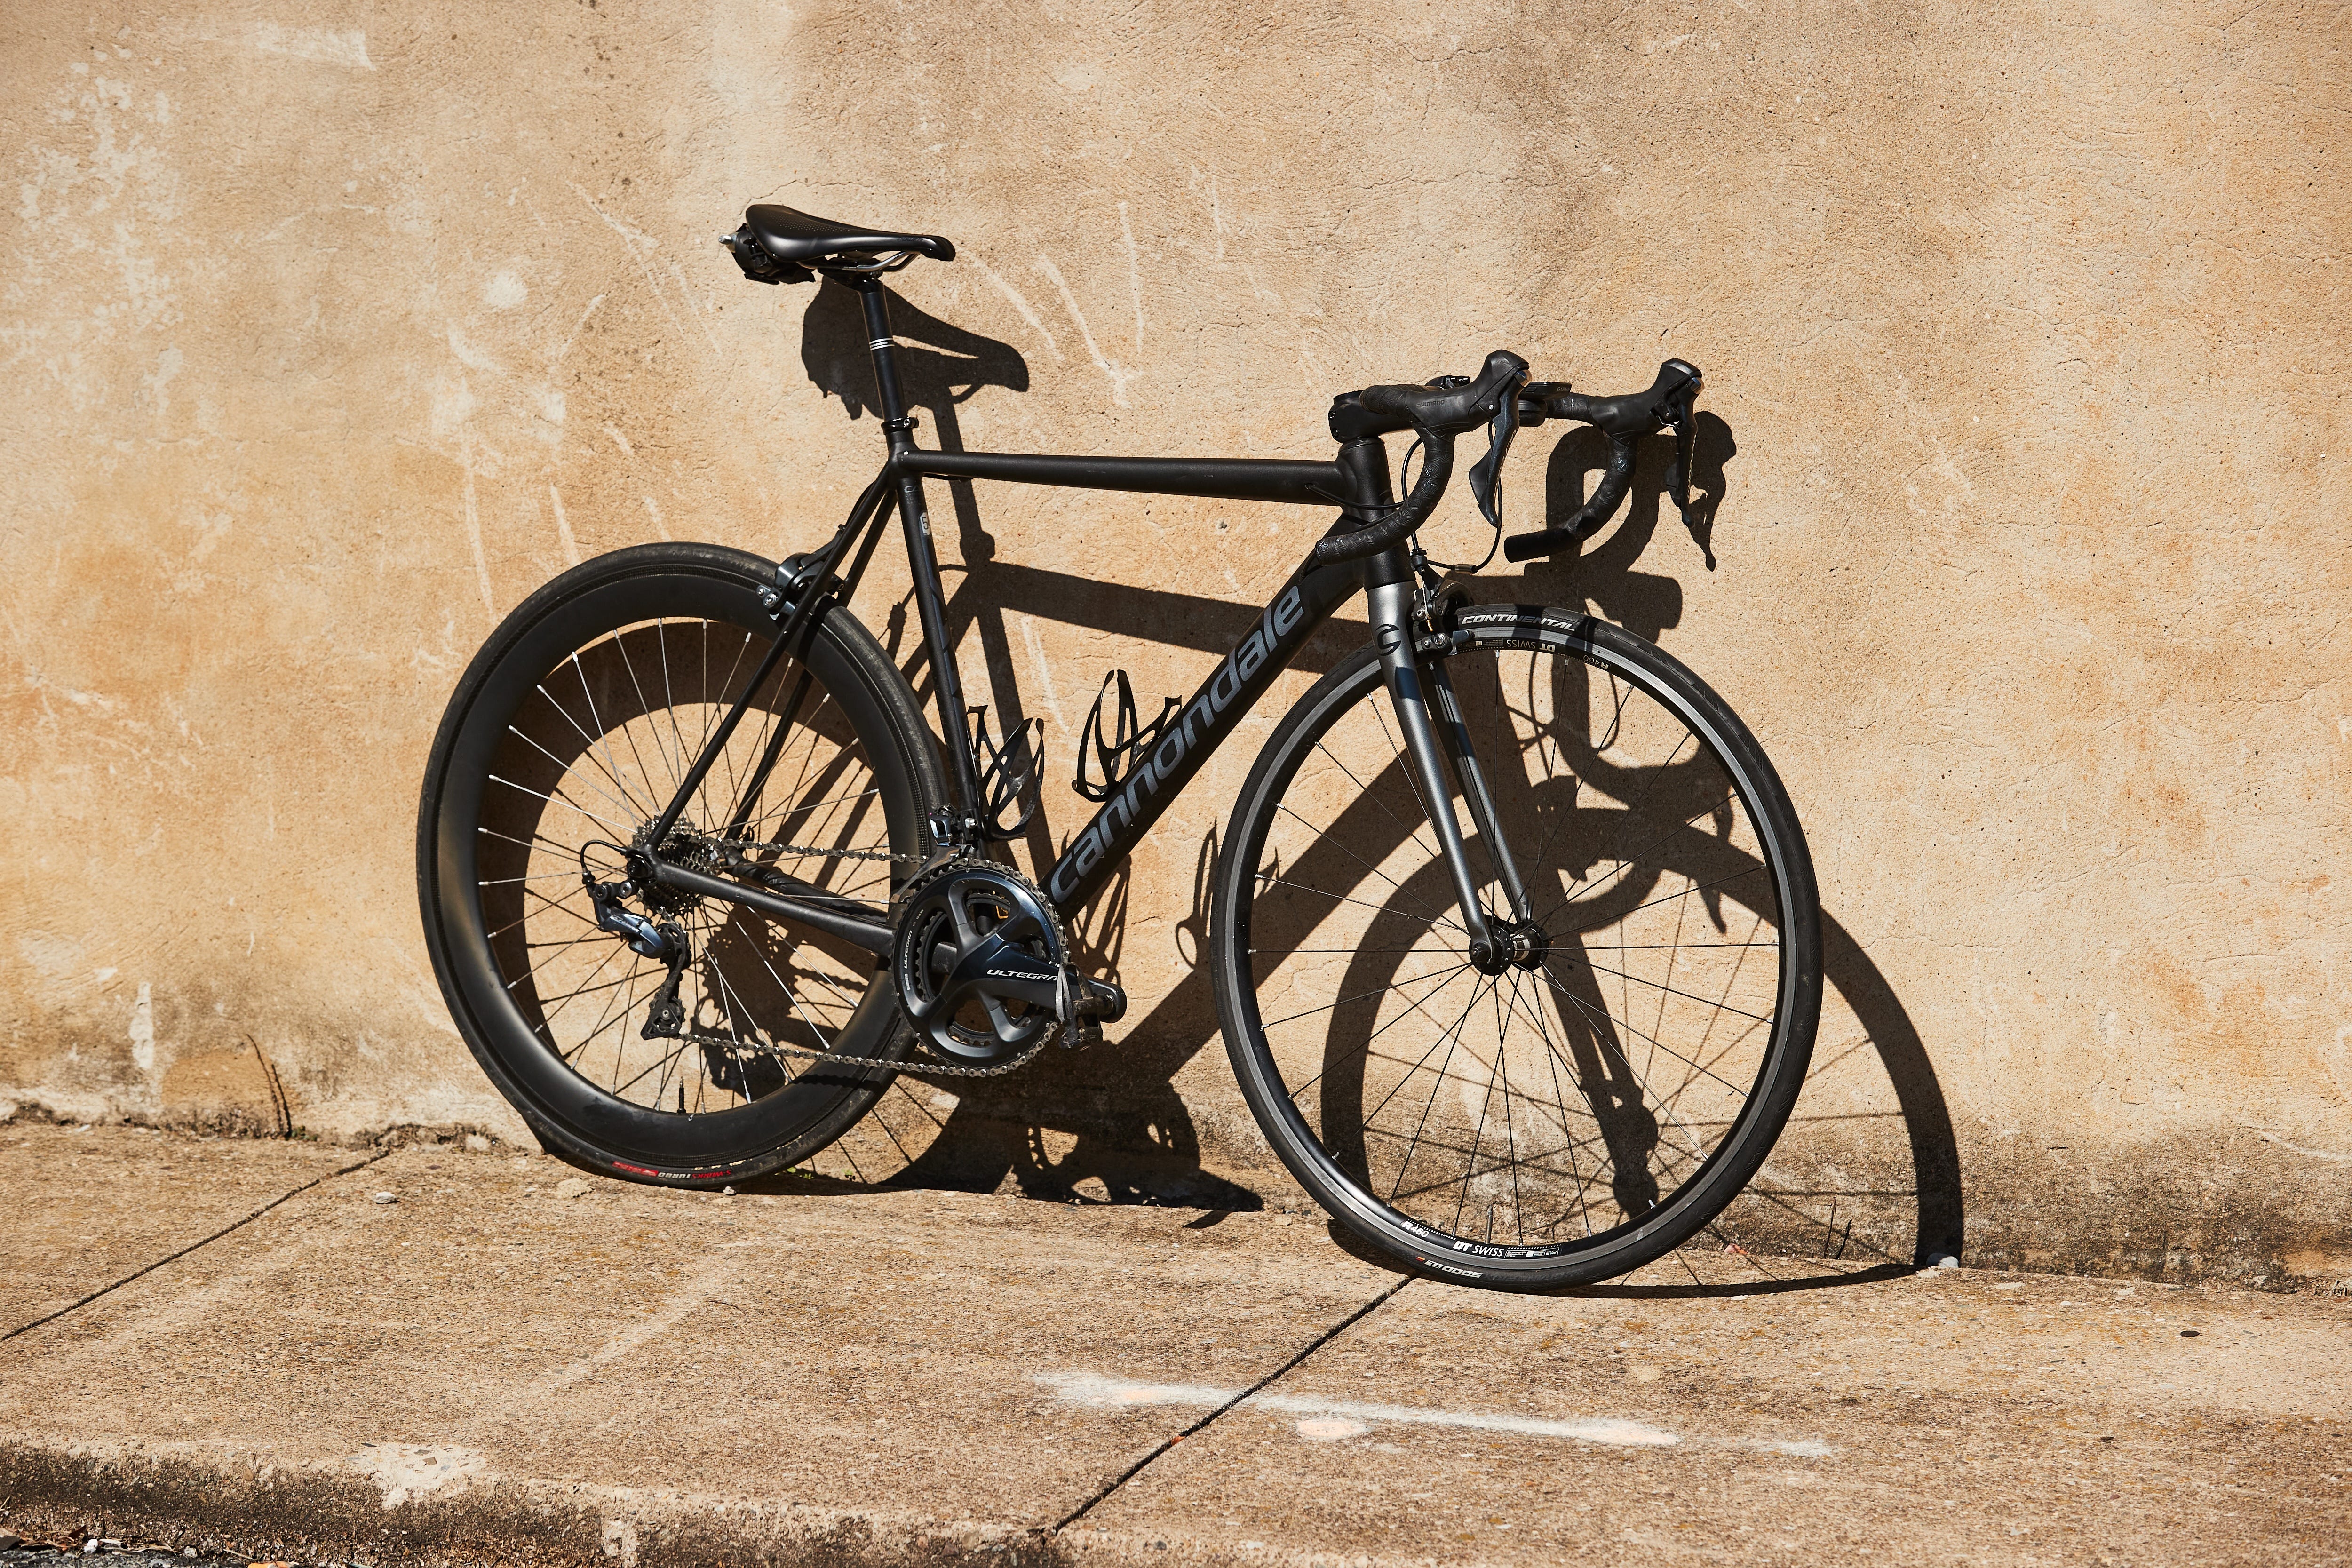
A used bike makes sense when its design and fit suit your riding and its condition is clear. Buying new from a retailer usually means easier setup and a clearer support route, depending on the seller’s terms.
With a secondhand bike, the hard part is telling visible condition from mechanical problems. Federal rules (16 CFR Part 1512) cover construction and safety features, brakes included. A used bike still needs its own inspection.
REI’s pre-ride inspection guidance covers tires, brakes and drivetrain. Before you pay for a used bike, check these:
- Frame and visible components: Look for obvious damage, cracks or anything you can’t explain.
- Tires and wheels: Look for damage, check tire inflation and make sure the wheels are properly secured.
- Brakes: On bikes with handbrakes, squeeze each lever separately while the bike is stationary and see whether it engages smoothly. For coaster or other foot-operated brakes, have that system checked in a way that fits it. Resolve any doubt about braking before you ride or buy.
- Drivetrain: Look at the chain and related components and see whether the gears work without an obvious problem.
- History: Ask the seller about servicing, past damage and repairs, especially when the condition is hard to judge.
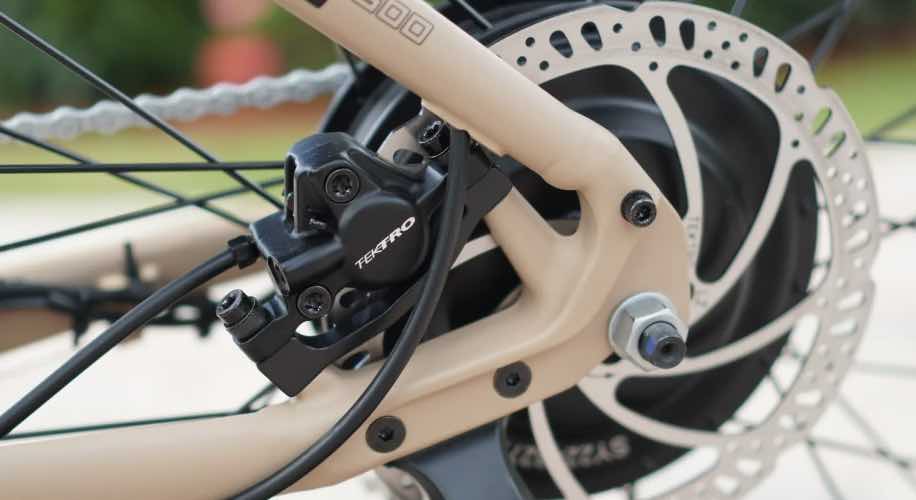
These checks can’t reveal hidden structural damage. If the brakes, frame or another key component is in doubt, hold off and have a qualified bike mechanic look at it.
Take a test ride you can compare
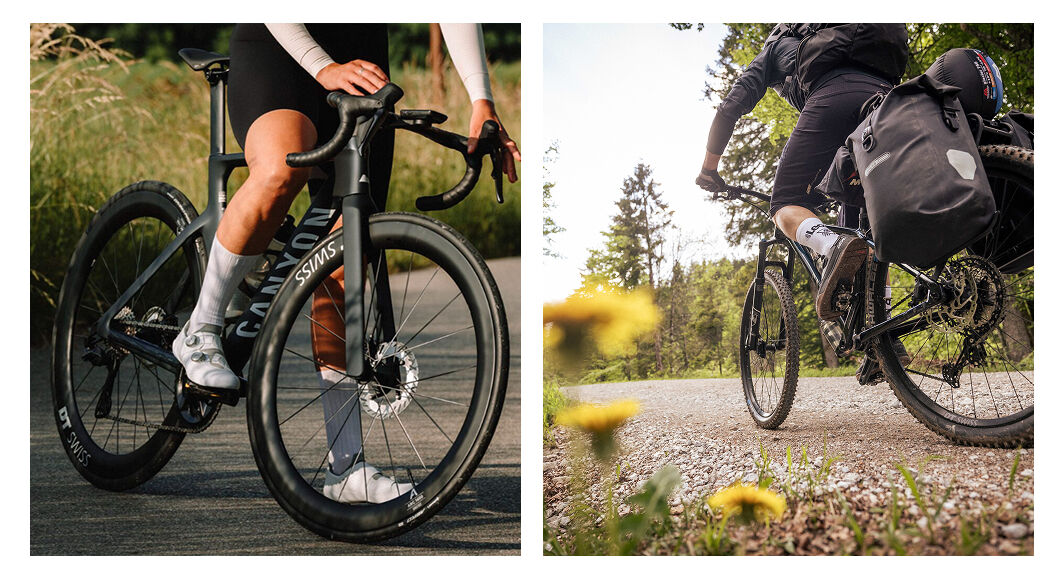
Test rides tell you more when you ride each bike under similar conditions. The goal is to see how each one handles the tasks your normal routes involve.
Pick a safe, permitted place that matches your skill. A new rider needs a controlled area and a helper. Someone already comfortable on a bike can compare more handling on a route the shop approves.
Ride the same sequence on every bike and write down what happened, so you don’t end up with a vague impression like “this one seems nicer.”
| Test-ride task | What to notice |
|---|---|
| Starting and stopping | How easily you get moving, slow down and stop under control, and whether you can work the brakes comfortably and confidently |
| Turning and steering | Whether the bike feels manageable in ordinary turns |
| Route suitability | Whether the bike behaves the way your planned riding requires |
Write down concrete differences. “Brake levers feel difficult to reach” is a problem you can act on. “Bike B feels odd” needs more detail.
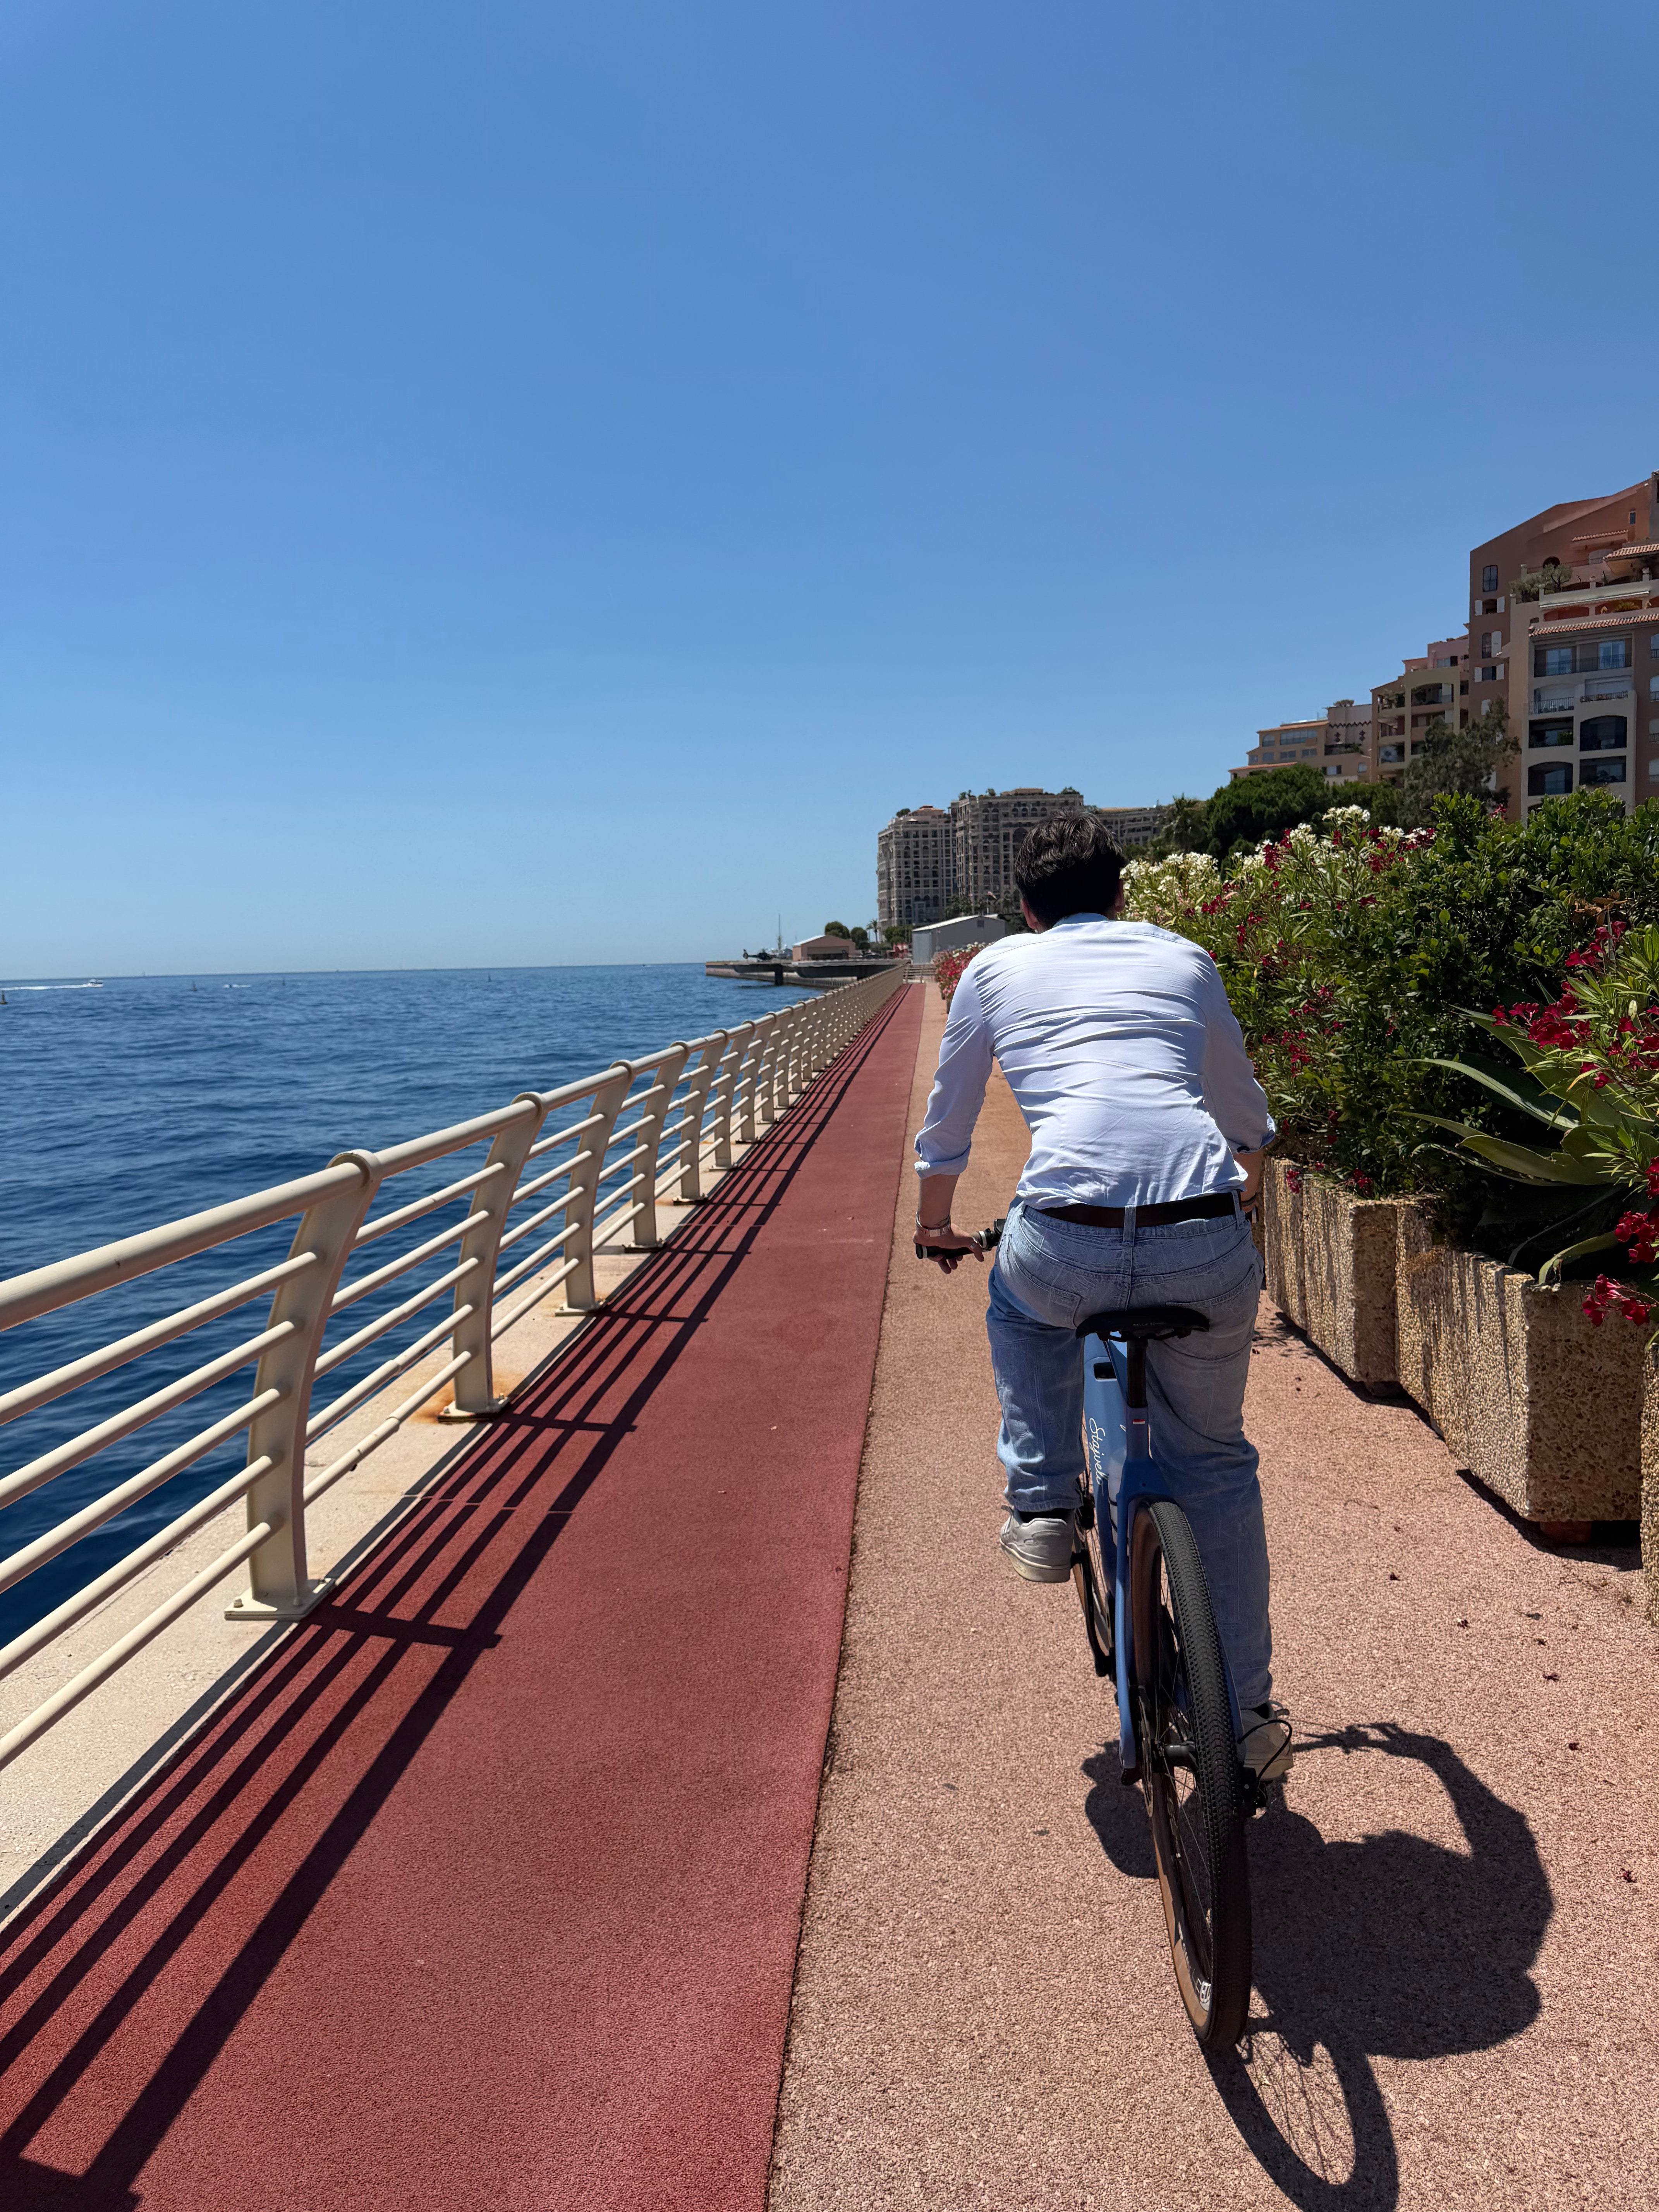
If you can’t test a bike in a setting like your real routes, treat that part of the verdict as unknown. A short ride shows handling and fit. It can’t tell you about long-term comfort or hidden mechanical condition.
Choose the bike that passes your real-world checks
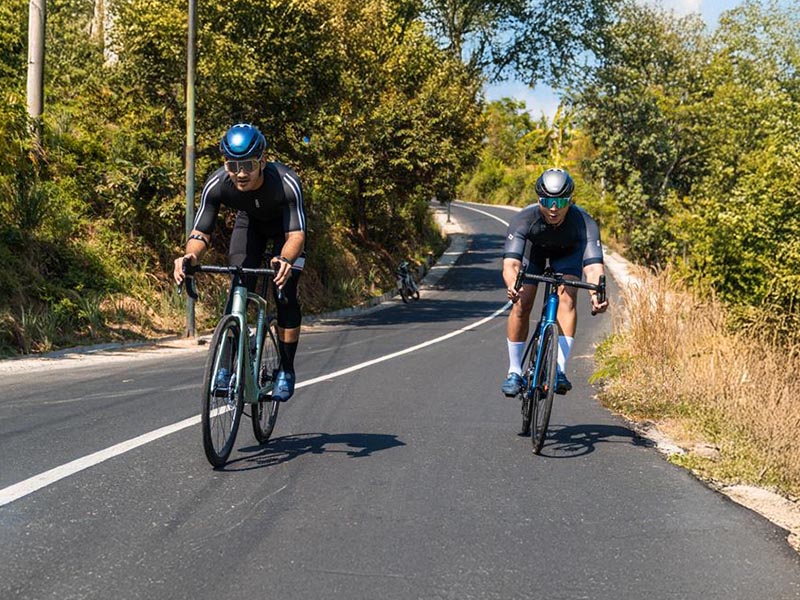
Two bikes can pass every check and still feel different. When that happens, ride them back to back on the same route and write down what you notice, such as brake levers that are hard to reach, instead of settling for a vague “this one seems nicer.”