
Start with a helmet that fits and a bike in good working order. Add lights, water, repair gear, storage and comfort items when your ride calls for them.
A familiar daylight route, a ride to work and a long day on gravel call for different gear. Start with the conditions you’ll face. They tell you what goes on your list and what stays on the shelf.
Start with the ride you have planned
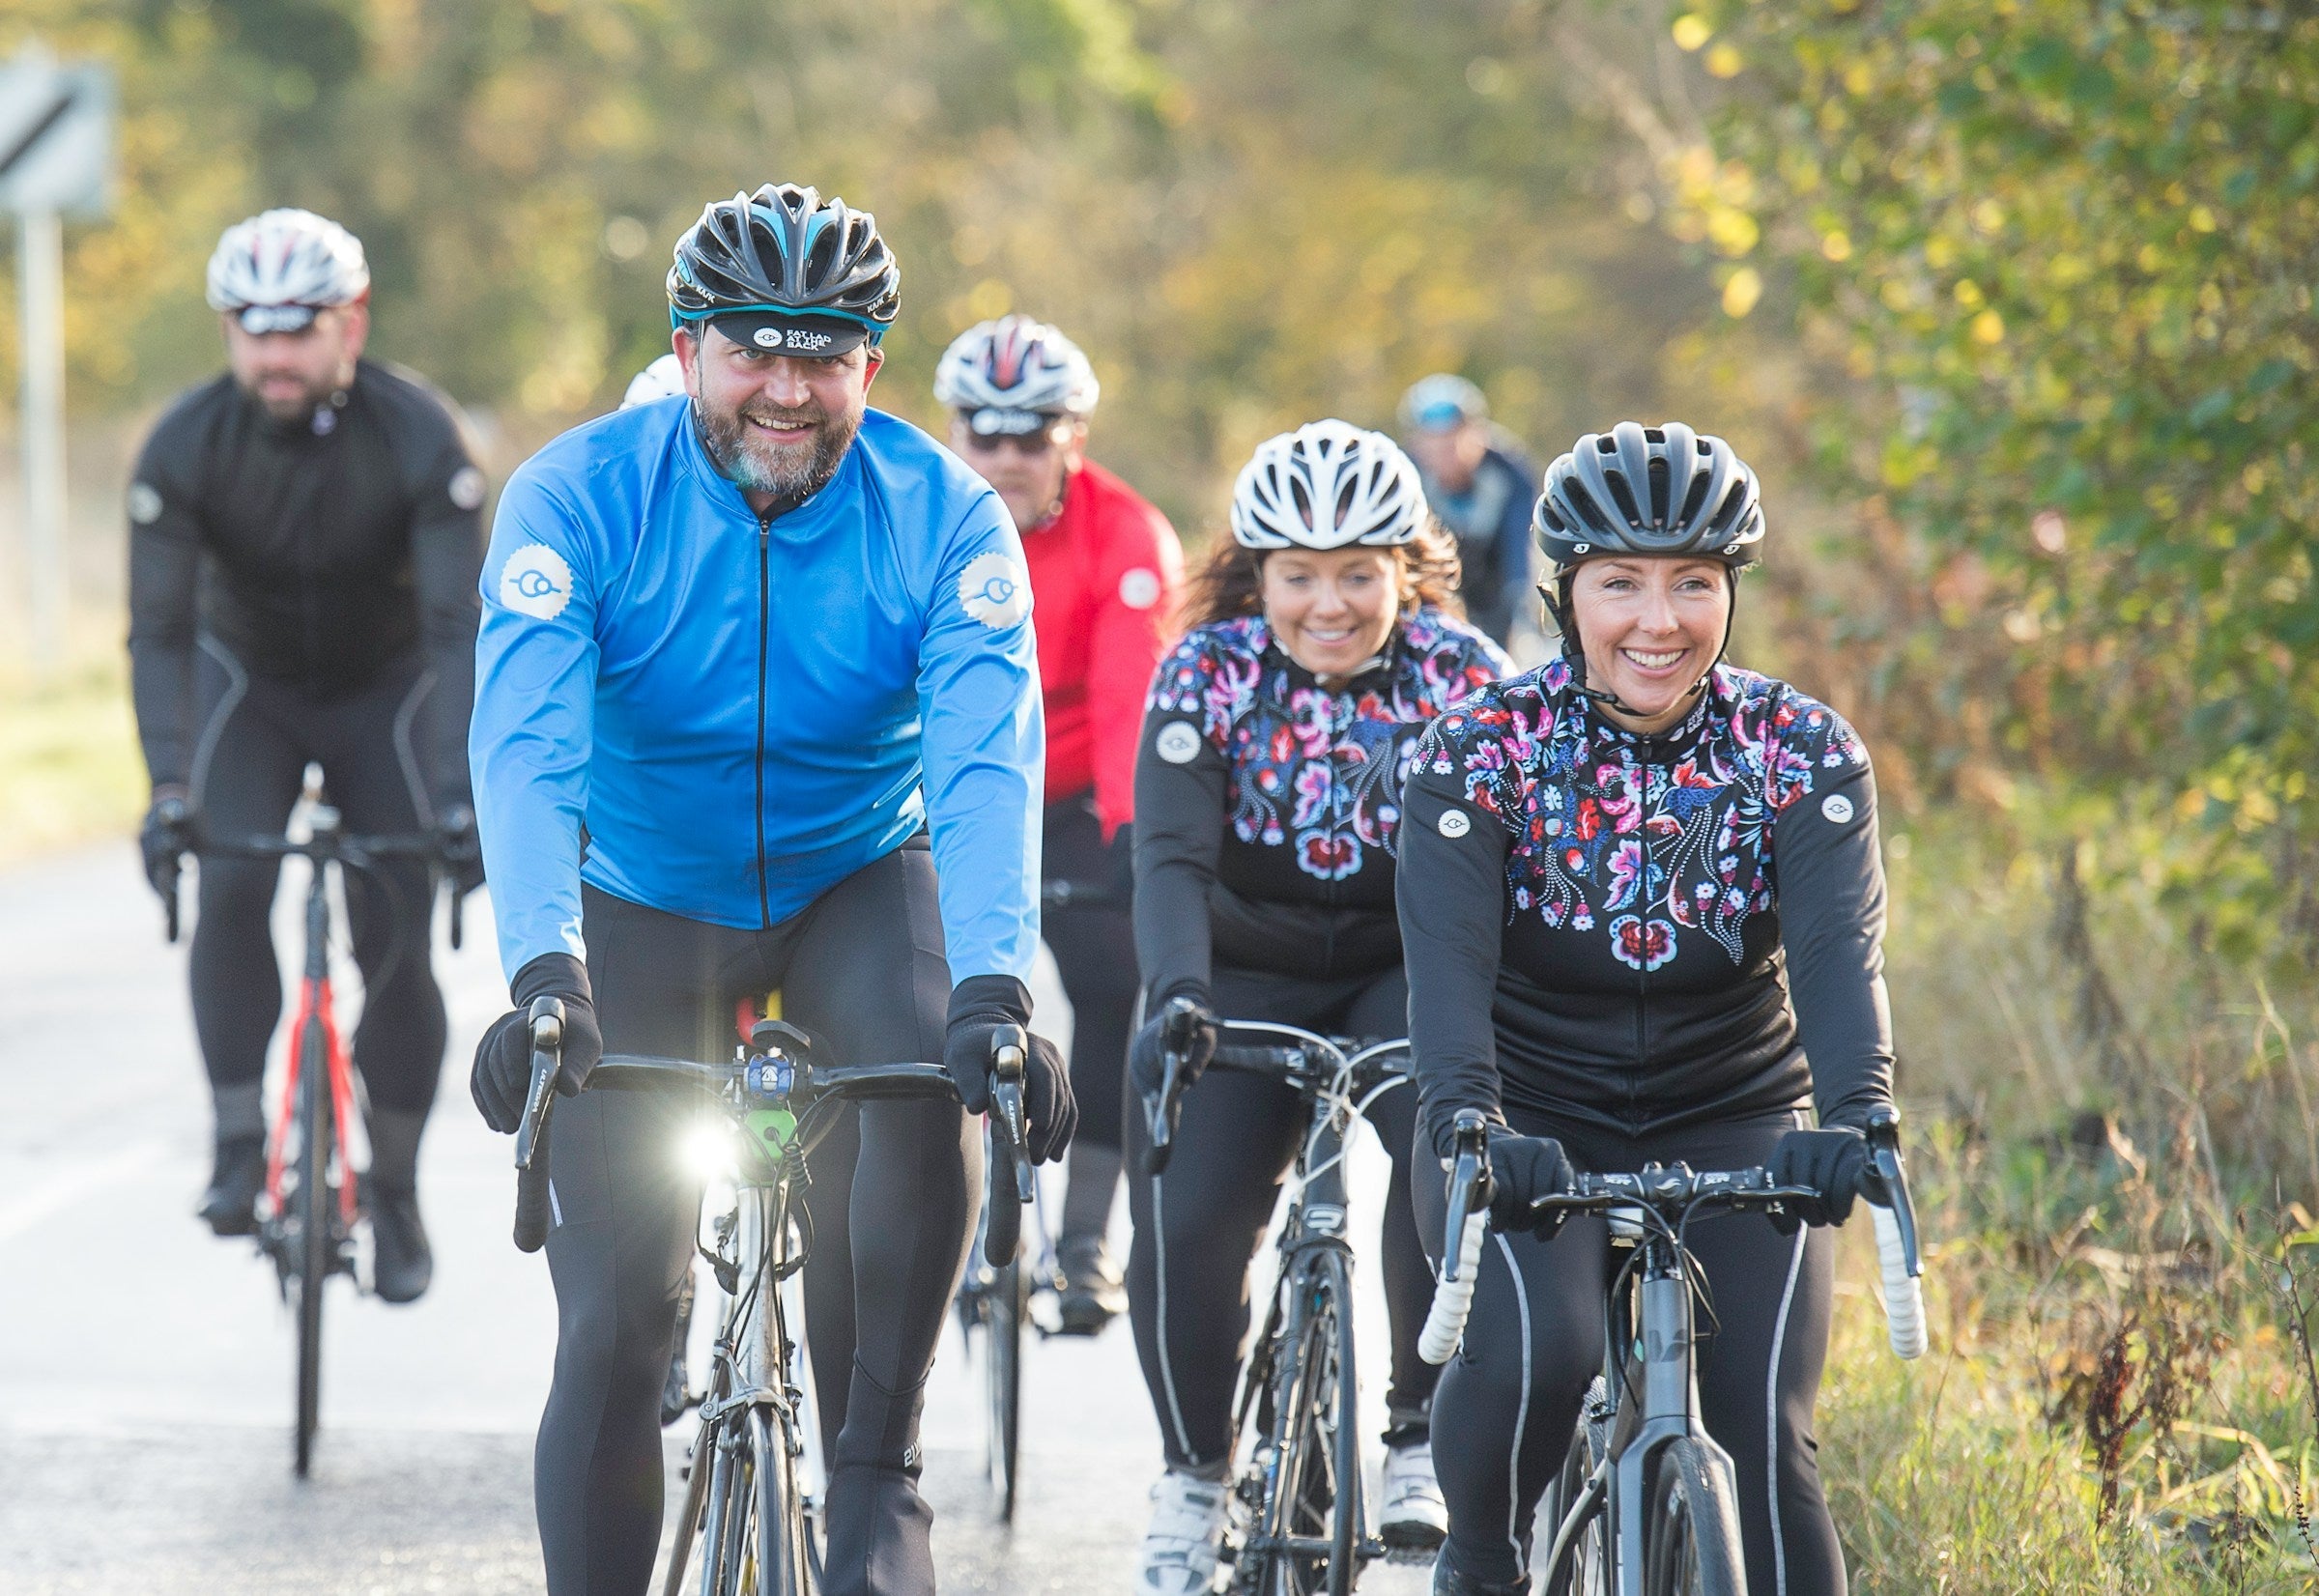
Your route decides what you need. Daylight, terrain, weather, ride length, load and distance from help all count.
| Planned ride | Conditions that change the choice | Categories to consider | Go to |
|---|---|---|---|
| Short recreational ride | Daylight, paved roads, nearby services | Helmet, bike readiness, water and visibility | Set purchase priorities |
| Road fitness ride | More time riding, possible distance from help | Water, a way to fix a flat, comfortable clothing | Match repair gear |
| Daily commute | Traffic, parking, belongings, possibly darkness | Lights, lock, carrying and weather protection | Plan for commuting conditions |
| Gravel or remote ride | Variable surfaces, fewer nearby services | Tire repairs, water, storage and protection | Check the tire system |
| Multi-day tour | Consecutive days, luggage, changing weather | Storage, repair prep, layers and comfort | Choose water and carrying space |
Find the row closest to your next ride and note the condition that could move an item up your list.
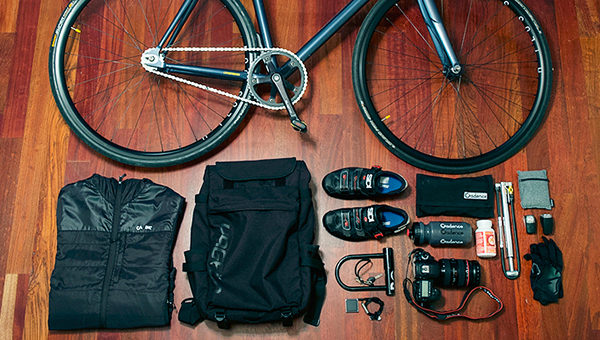
Put safety and visibility ahead of optional upgrades
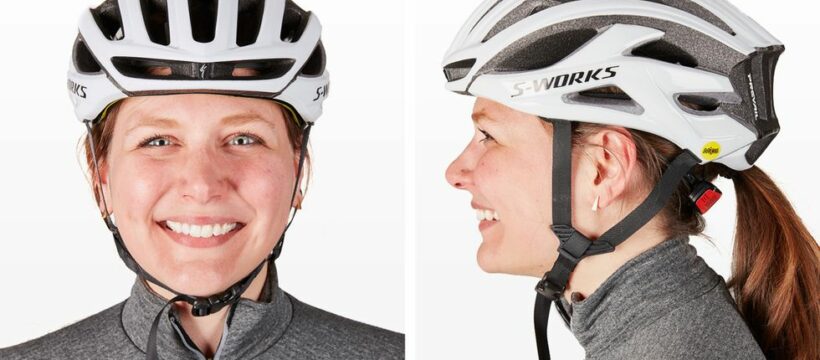
A helmet that fits and a bike that works are your safety baseline.
Under US Consumer Product Safety Commission bicycle-helmet guidance, qualifying bicycle helmets must comply with the federal performance standard, 16 CFR Part 1203. The standard applies to the helmet. No nationwide law makes adults wear one.
Look for the compliance label, then check fit. The helmet should sit level, stay put and adjust without shifting. A women’s label alone doesn’t establish fit.
Virginia Tech’s STAR bicycle-helmet method uses 24 impact tests across six locations, and the lab recommends four- or five-star models. Use those ratings alongside the compliance label and your own fit.
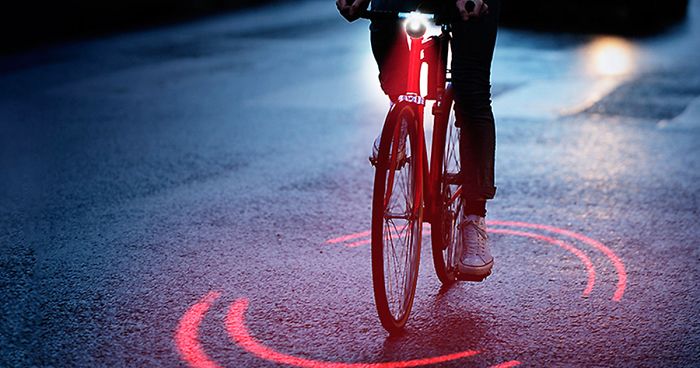
A front light shows you the road. Lights and reflectors help other people see you. NHTSA’s guidance stresses visible, predictable riding and working brakes.
Lighting and reflector rules for night riding vary by US state, and sometimes cover other low-visibility conditions. Check the rules along your route before a ride that could run into darkness.
Buy what solves a problem now and let the rest wait
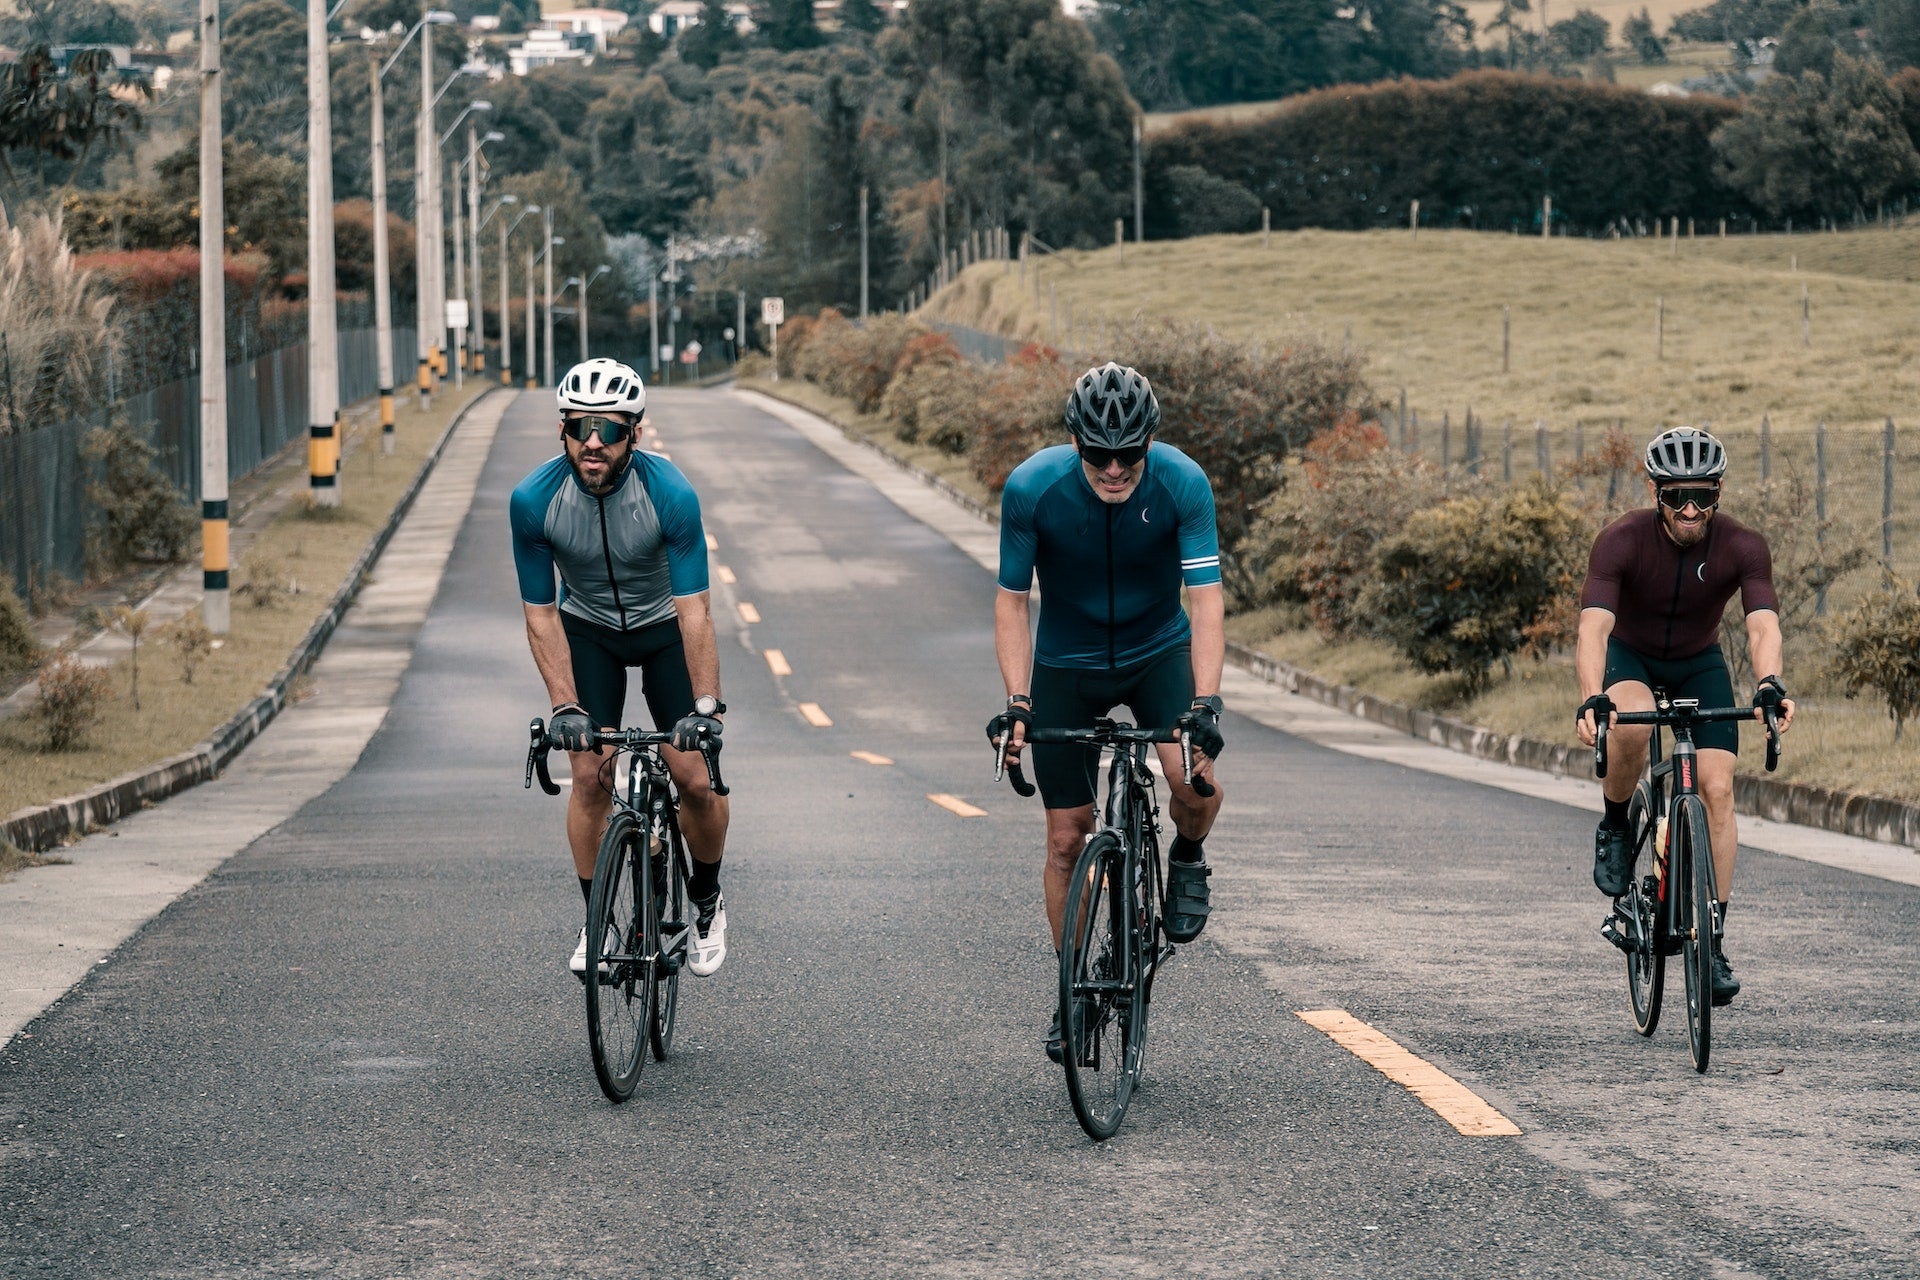
Ask what happens if you ride without the item. A safety function or a requirement of your next route comes first. A premium upgrade with no job to do can wait.
In an r/ladycyclists discussion about returning to cycling on a secondhand road bike, a commenter put it simply: “For gear, you really don’t need much to begin with.” The table sorts what you do need from what can wait.
| Priority | Decision rule | Possible examples |
|---|---|---|
| Address now | Needed to ride safely, or for a route you’ve already planned | Helmet that fits, working bike, lights where required, access to water |
| Buy when needed | A route, weather condition, discomfort or carrying problem calls for it | Lock, bags, fenders, layers, repair kit matched to your tires, padded shorts |
| Later | An upgrade adds features you have no reason to use yet | Premium bike computer, power meter, clipless pedal system, specialist apparel |
Gear you already own can cover the first row. For a short ride on flat pedals, ordinary shoes do the job. A commuter who leaves a bike unattended needs a lock long before any performance accessory.
Make sure your roadside repair gear matches your tires
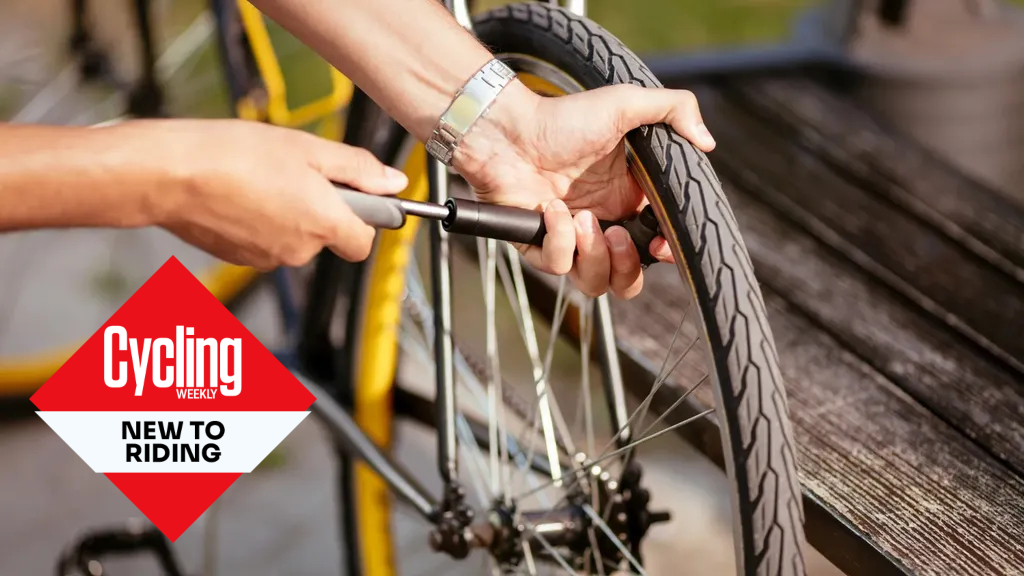
A roadside kit has to match your wheels. Before you pack anything, find out whether your tires run inner tubes or tubeless, and which valve you have.
- Inner tubes: A spare tube, patch materials and tire levers make up a flat-repair kit.
- Tubeless setups use sealant and compatible plugs for certain punctures. Fitting a tube is sometimes the fallback.
- A multi-tool helps only if its fittings match the hardware on your bike.
A tubeless plug and an inner-tube patch solve different problems.
Match the inflator to the valve
Presta and Schrader valves need a pump head that fits them, or an adapter. Look at the valve on your wheel. Don’t guess from the style of the bike.
A floor pump stays at home. On a ride, carry a mini pump, a frame pump or a CO₂ inflator. Compare size and inflation method, and confirm it works with your valve and tires.
A rider within reliable pickup range has a different fallback from someone far from services, so pack for your route.
Choose clothing for fit and comfort
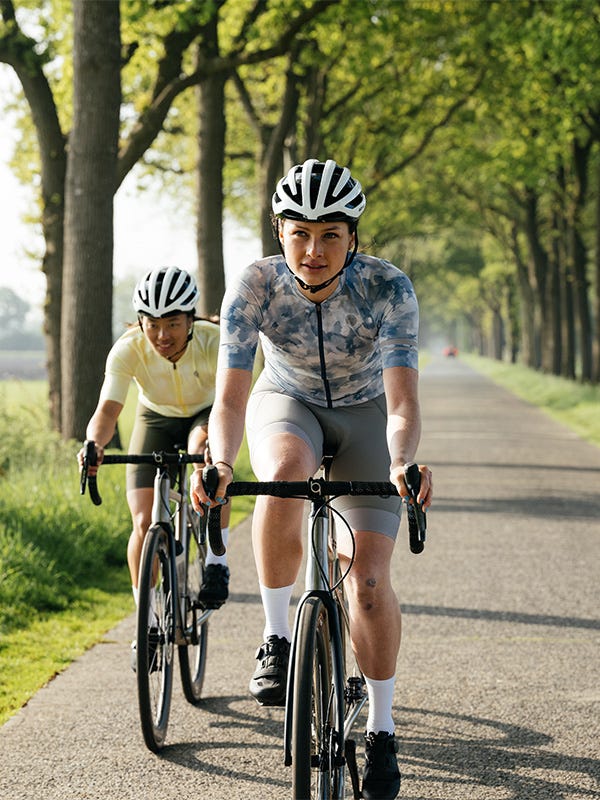
Clothing has to stay comfortable in your riding position and suit the time and weather you’ll spend on the bike. Cycling-specific pieces help when they fix a specific source of discomfort.
The chamois is the pad in padded cycling shorts. Bib shorts use shoulder straps to hold them in place. Waist shorts use a waistband. No cyclist has to wear either.
One experienced rider, who uses a bike for transportation, fitness and touring, says they don’t wear bib shorts or tights and never plan to.
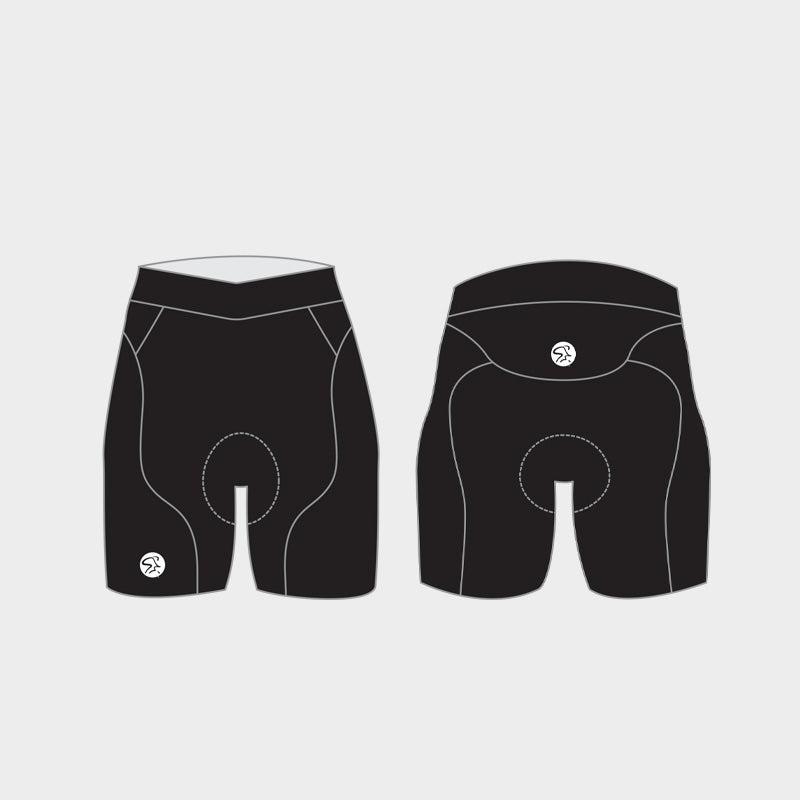
To compare garments, try them in your riding position:
- Pad placement: Does the chamois stay put or bunch beneath you?
- Check that the waist or straps hold without uncomfortable pressure.
- Watch for rubbing, pinching and leg grippers that roll.
- Bathroom access, pockets and fit with your usual ride matter too.
Ordinary athletic clothing works for some rides. Longer sessions or several days in the saddle make padding, stable fabric or weather layers worth considering.
If numbness or pain doesn’t go away, see a doctor. Another pair of shorts won’t fix it.
Plan water and carrying space for the distance
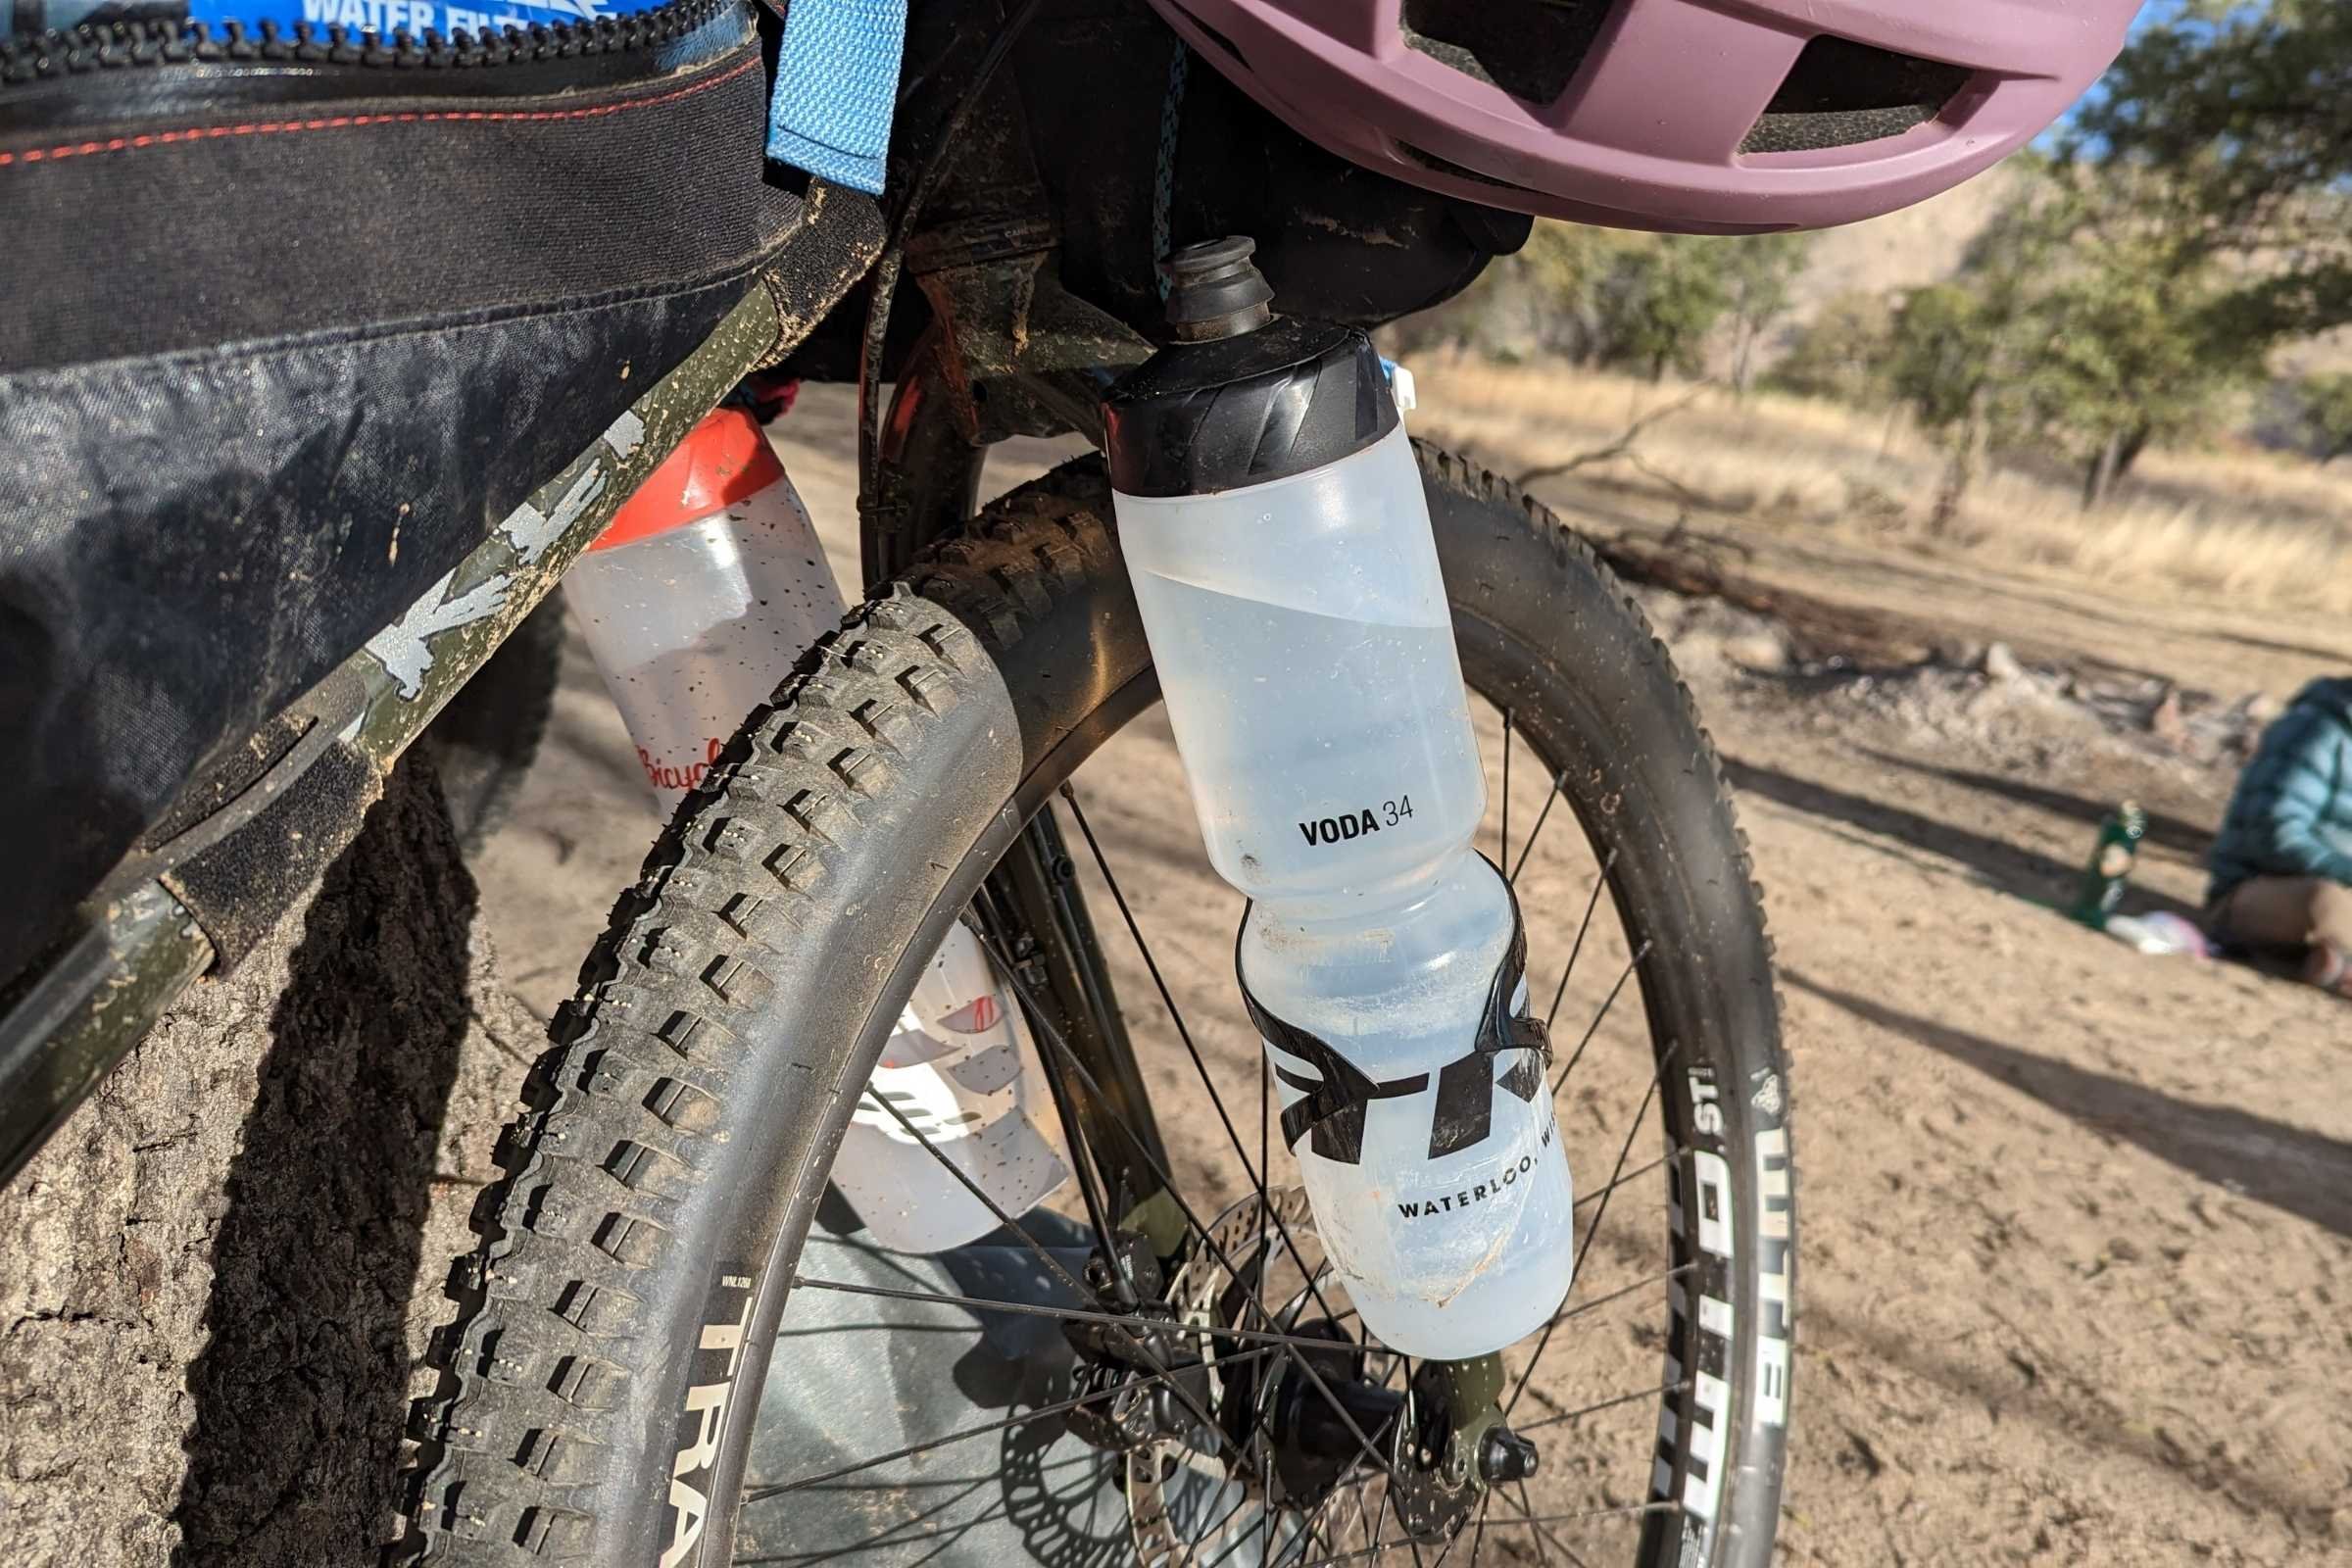
On a longer ride, how much water and storage you need depends on refill points, services and help along the route.
A rider using a Liv Alight for roughly 15-mile rail-trail outings asked what else they would need to ride longer distances more often. The answer starts with water and somewhere to put your things.
If your bike has bottle mounts, a bottle and cage is the simplest setup. Extra bottles, a hydration pack or planned refill stops work on other routes. Needs vary with the rider, effort, duration and weather, so no quantity fits every trip.
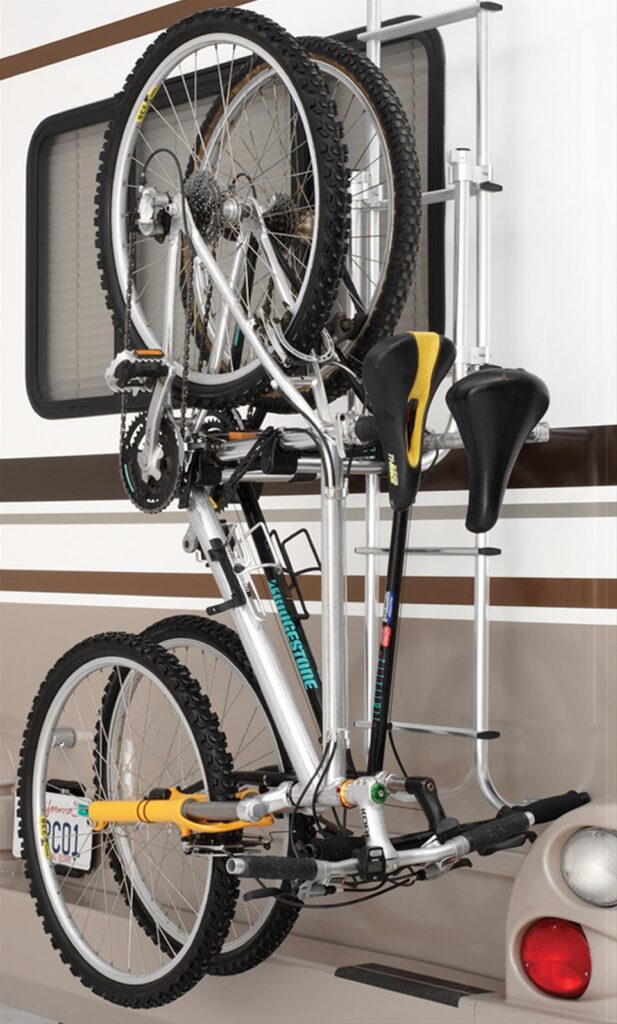
- Clothing pockets hold a small amount within easy reach.
- A saddle or frame bag carries tools and personal items on the bike.
- A backpack carries belongings without a rear rack.
- A rack and panniers handle larger commuting or touring loads.
Pick enough space for your water and your route’s load, and keep it secure so the bike still handles well.
Add specialized gear when weather or purpose changes
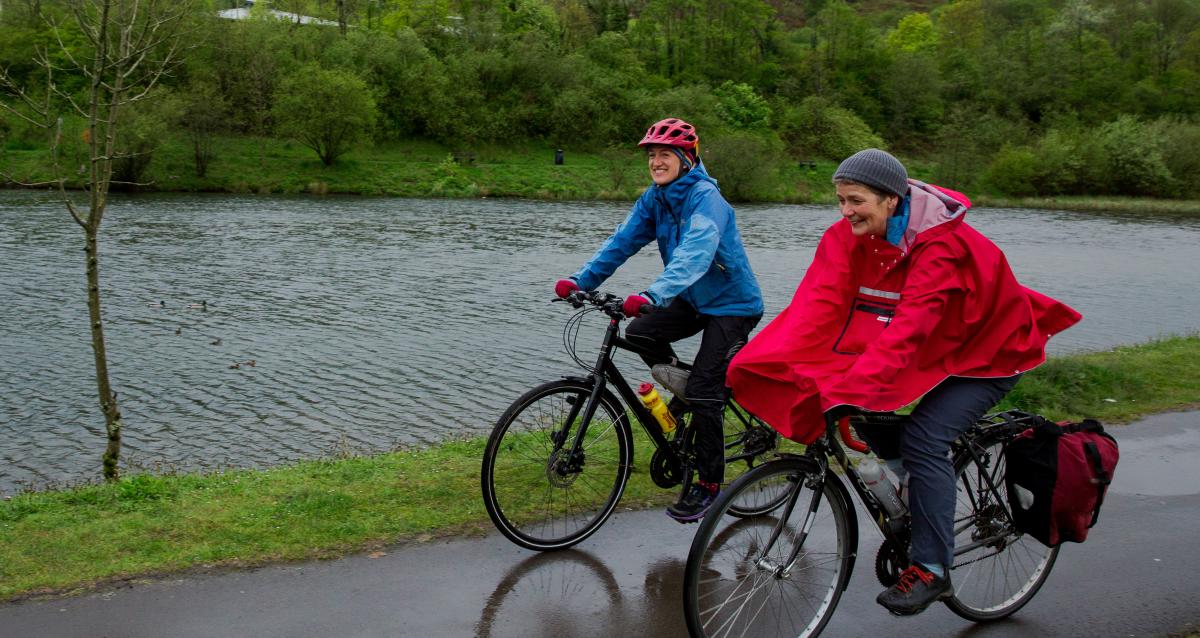
A commute happens whatever the forecast, and rain makes fenders and an outer layer worth buying. Heat, in-between weather and cold each call for different layers. On a multi-day tour, your gear takes repeated use and changing weather.
Check mounts, pedals and technology before buying accessories
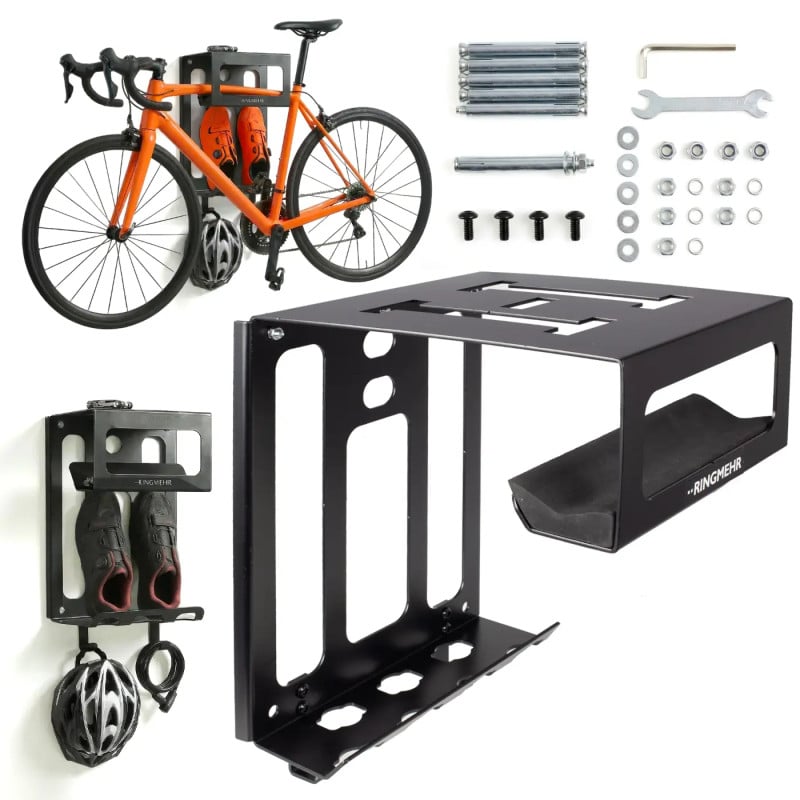
Attachment points, free space and matching parts can rule out a bag, fender, light or pedal system you otherwise like.
| Accessory | Check before buying | Reason |
|---|---|---|
| Rack or bike bag | Mounting arrangement, clearance and intended load | Secure carrying that doesn’t interfere with the bike |
| Fender | Attachment method and space around the tire | Different frames and tires leave different amounts of room |
| Clipless shoes and pedals | Compatible shoe, cleat and pedal system | The parts have to work together |
| Light or device mount | Secure location, access to controls, steering clearance | A fitting must stay usable and clear of moving parts |
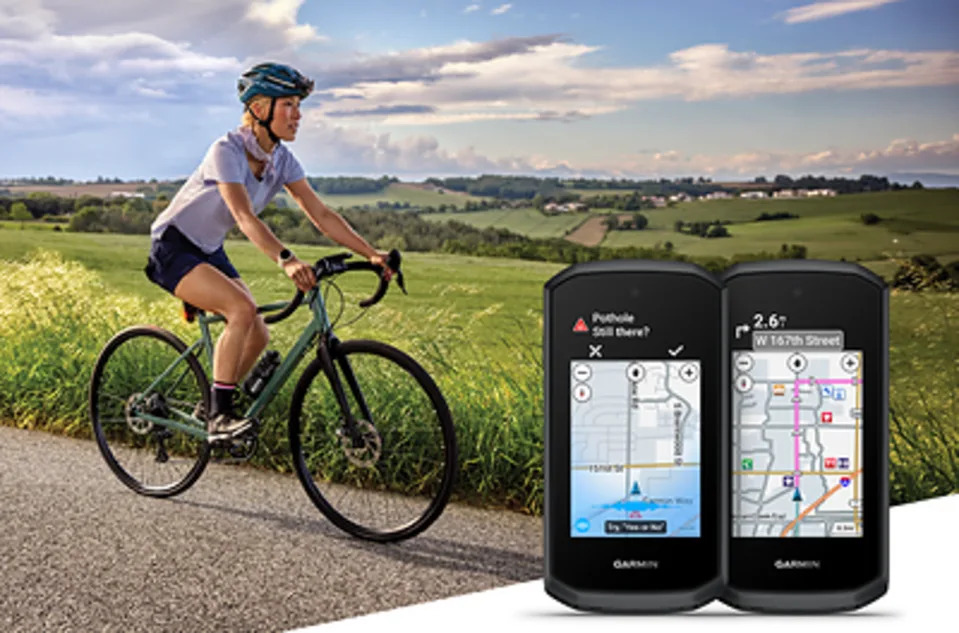
A phone in a mount covers some navigation. Consider a cycling computer when you need dedicated route guidance, ride data, longer battery life or better weather resistance. Compare those functions with what you already have before paying for another device.
Test your setup before the next ride
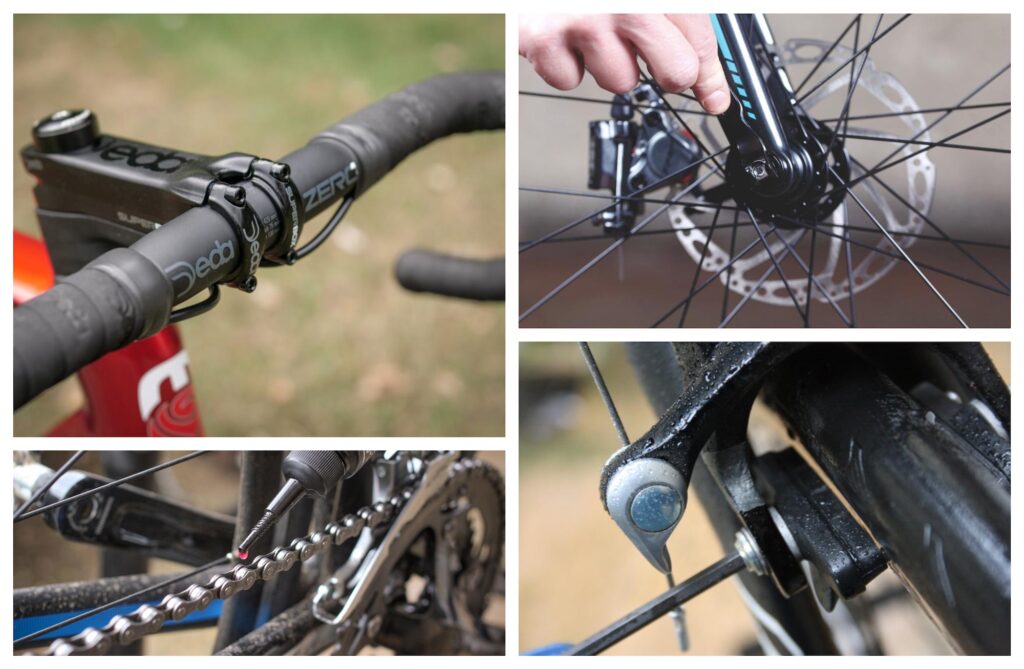
The League of American Bicyclists’ ABC Quick Check is a short way to spot obvious equipment problems before you set out.
- Air: Tires should be inflated correctly for their setup.
- Brakes: They respond properly and their parts look secure.
- Chain and cranks: Look for obvious drivetrain problems or loose parts.
- Quick release: Confirm the wheels are secure using whatever system your bike has, thru-axle included.
- Check: Take a short, slow ride and see how the bike responds.
On that slow ride, notice whether a bag shifts, a mount moves or new equipment interferes with normal operation. Practice with your repair items away from home before you depend on them.
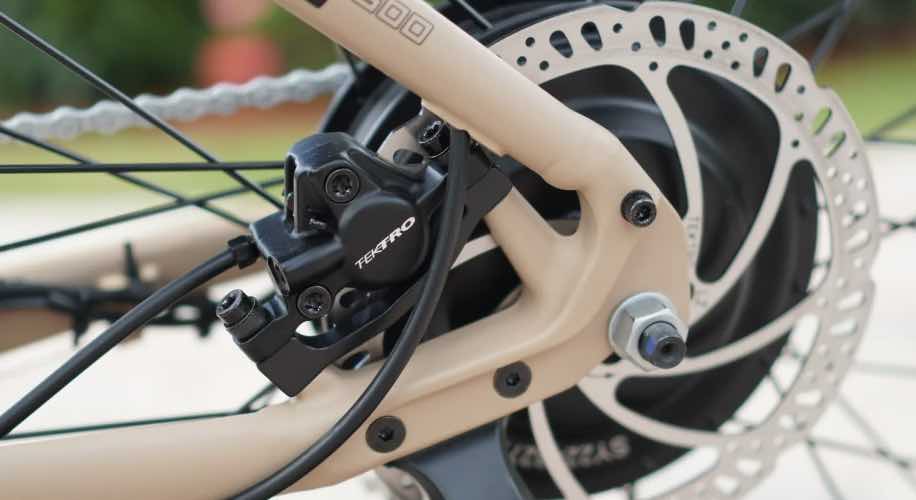
If the brakes are faulty, the wheel hardware is damaged or another safety-critical part feels loose, don’t ride. Get it fixed first.