
Check your bike before every ride, keep the tires and a conventional drivetrain in good shape, and learn one maintenance skill at a time. If you can’t confirm that the brakes, wheels, steering or another critical part works, don’t ride until a qualified person has looked at it. The ABC Quick Check is the place to start.
You don’t need a workshop full of tools to look after a bicycle. You need to recognize which tasks are routine, which problems require attention, and where a straightforward job becomes a specialist repair.
A few repeatable inspections and cleaning habits are enough to start. Add skills as you gain experience, based on your equipment and how you ride.
What bike maintenance covers and where to start
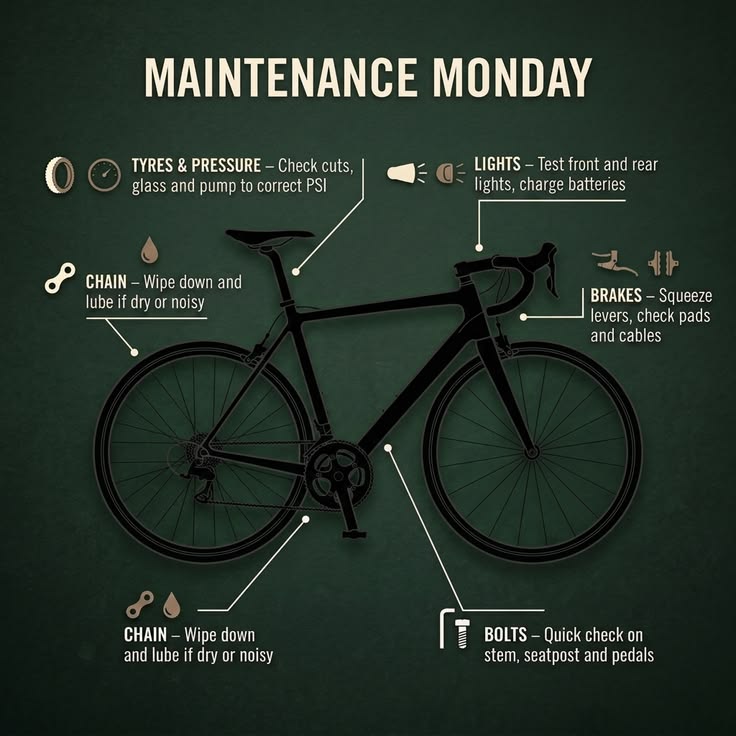
Bike maintenance falls into four categories: inspection, routine care, repair, and professional service. The first two mean knowing your bike’s condition and dealing with ordinary wear and dirt. The other two start when a part needs fixing or you can’t tell what condition it’s in.
A rider who upgraded from a Trek FX Sport to a Trek Domane SL 6 Gen 4 wrote on r/ladycyclists, “The more I love cycling, the more I realize I don’t know much about it. Specifically about taking care of my bike.”
Confidence comes from small jobs: knowing your tire valve, knowing how your brakes feel when they work.
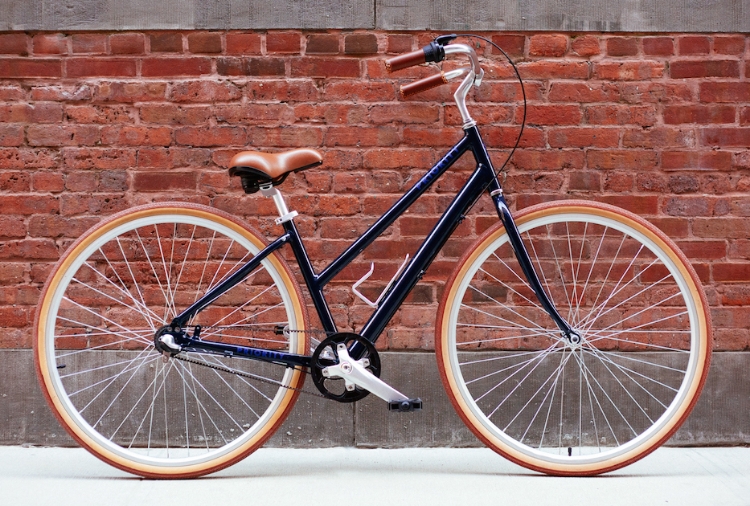
Prioritize the parts whose failure matters most: brakes, tire integrity, wheel attachment, steering, and drivetrain function. Cosmetic appearance comes last.
A quick visual check can miss hidden defects, so a bike that looks fine still needs servicing when a problem develops.
Before every ride: the ABC Quick Check
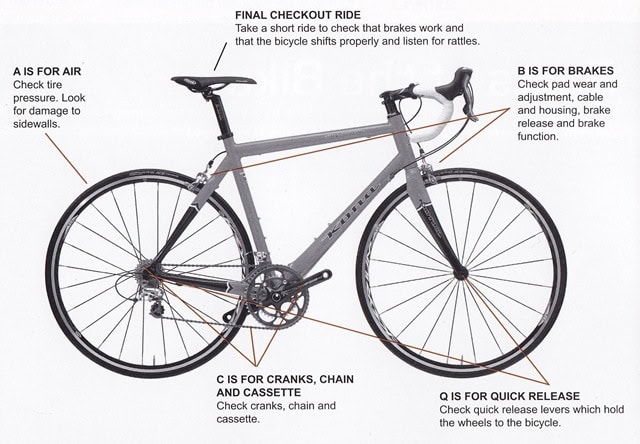
A short inspection before you leave can reveal obvious damage and changes in how your bike works. The League of American Bicyclists’ Basic Bike Check organizes the routine around air, brakes, chain and cranks, wheel attachment, and a final functional check.
| Check | What to examine | What needs attention |
|---|---|---|
| A: Air | Tire condition, visible cuts, correct seating against the rim, and inflation | A soft, damaged, or incorrectly seated tire |
| B: Brakes | With the bike stationary and beside you, apply each brake separately while trying to roll the bike gently forward | The bike rolls, the lever travels unusually far, or the brake engages weakly |
| C: Chain and cranks | Chain engagement, anything blocking the drivetrain, and any looseness at the crank arms | Jamming, severe slipping, or loose crank arms |
| Quick: Wheel attachment | Whether the fitted quick release, thru-axle, or axle-nut system is secure | Movement, looseness, or doubt about whether the wheel is held |
| Check: Overall function | Obvious damage, unusual movement, or abnormal operation | Anything you need to investigate before riding normally |
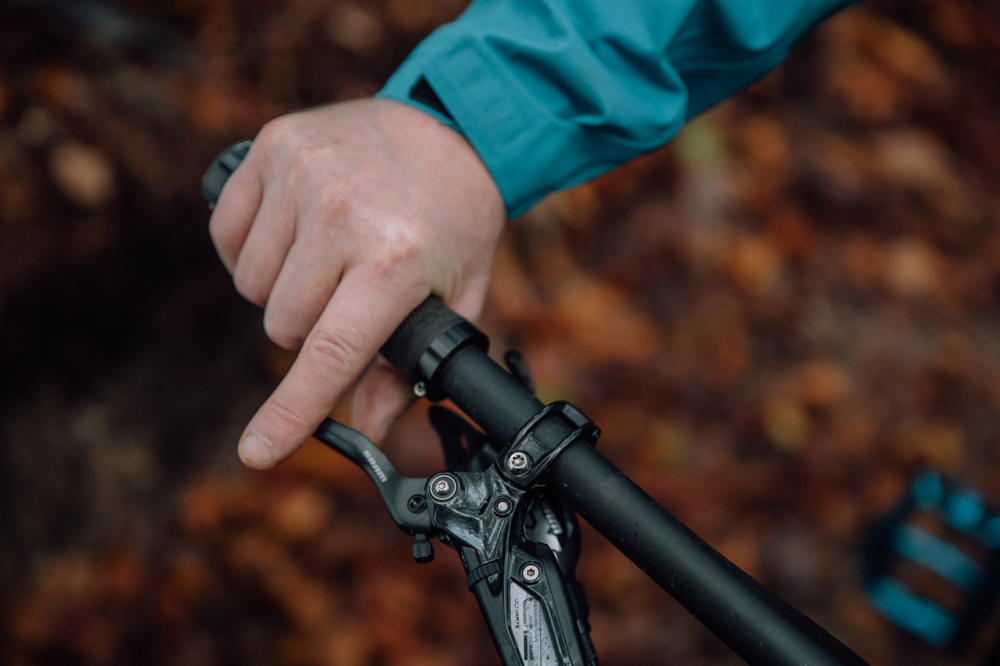
Wheel-retention systems each work differently. A quick release, a thru-axle, and axle nuts are secured in different ways, so learn the mechanism on your bike.
If a check reveals a fault in braking or wheel retention, don’t ride. Fix the problem and verify the fix first.
Tires first: inflation, valves, and puncture readiness
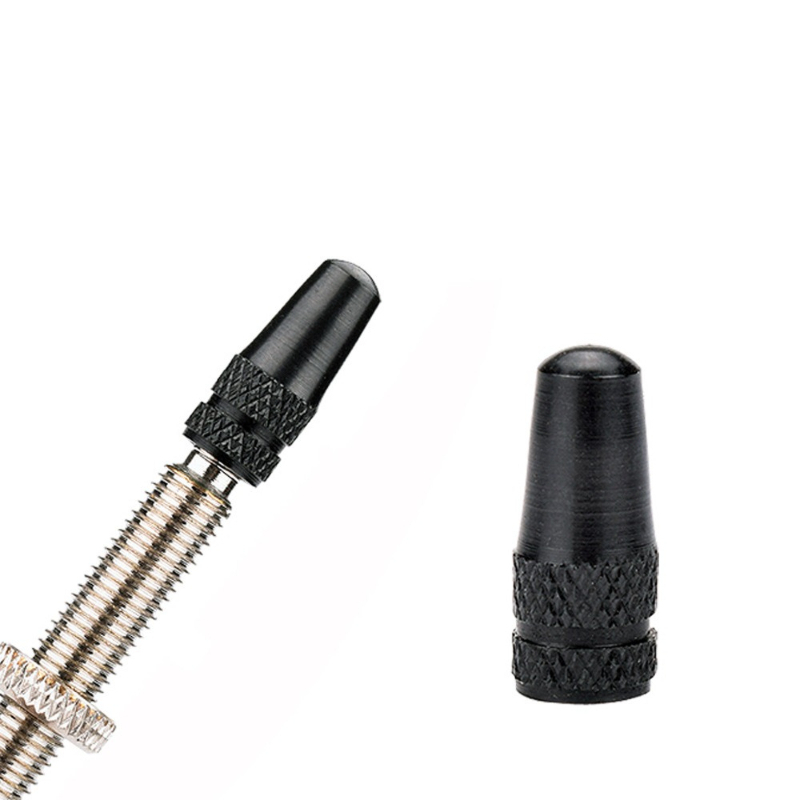
Tire maintenance starts with three things: the valve type, the tire system, and the inflation equipment that fits both.
Presta and Schrader valves each need a pump head or adapter that fits. A floor pump with a pressure gauge gives you a measured reading at home. Pressing a tire with your thumb can tell you it feels soft, but it doesn’t measure pressure.
The right pressure depends on tire and rim limits, rider load, terrain, and the manufacturer’s guidance. The maximum pressure printed on the tire is a system limit to keep in mind, not a target for every setup.
Your puncture equipment must match the tire system
A conventional tire with an inner tube needs a matching spare tube, tire levers, and a way to inflate on the road.
A tubeless setup needs plugs, sealant, and a different repair method. With no inner tube, what you carry changes.
A mini-pump gives you reusable inflation. CO₂ inflates a tire quickly from a compact cartridge, but each cartridge holds a finite supply.
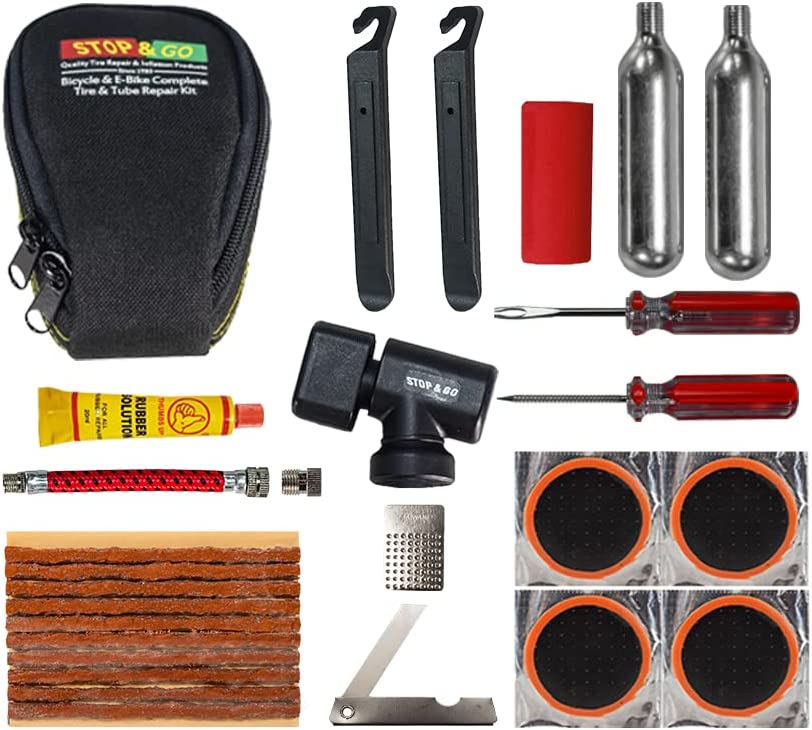
Even a familiar puncture repair can be physically hard. One commuter and recreational cyclist found that weak grip made getting the tire off a struggle, so they use a set of metal tire levers.
A tight tire bead makes removal hard. Good tools, good technique, a helping hand, or supervised practice all help. If a setup is especially stubborn or unfamiliar, ask for help.
Chain and drivetrain care: dirt, lubrication, and wear
A conventional drivetrain includes the chain, chainrings, cassette or sprockets, and any derailleurs. It transfers your pedaling effort to the driven wheel.
Keeping the chain reasonably clean and lubricated helps manage contamination and wear. Grit, dirt, and moisture decide how much attention the drivetrain needs, especially after harsh rides.
These steps cover conventional chain drives. Belt-driven bikes and certain specialized drivetrains follow different procedures set by their components.
Cleaning a conventional chain
- Inspect the chain for dirt, grit, and anything abnormal.
- Remove the contamination with cleaning materials that suit your drivetrain.
- Let the chain dry for as long as the cleaning product’s instructions say.
- Apply chain lubricant to the surfaces it’s meant for, following its directions.
- Treat any noise, slipping, or shifting problem that remains as a separate mechanical symptom.
The right supplies depend on your chain and the conditions you ride in. Chain waxing has its own preparation requirements, so beginners can start with conventional cleaning and lubrication.
A clean chain can still be worn
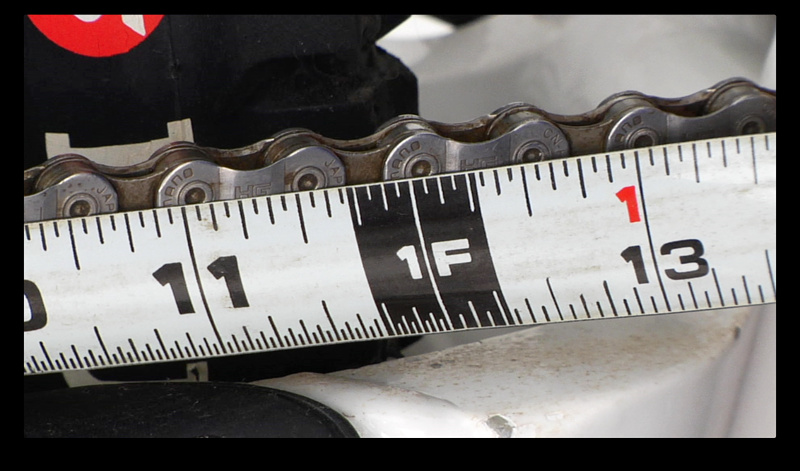
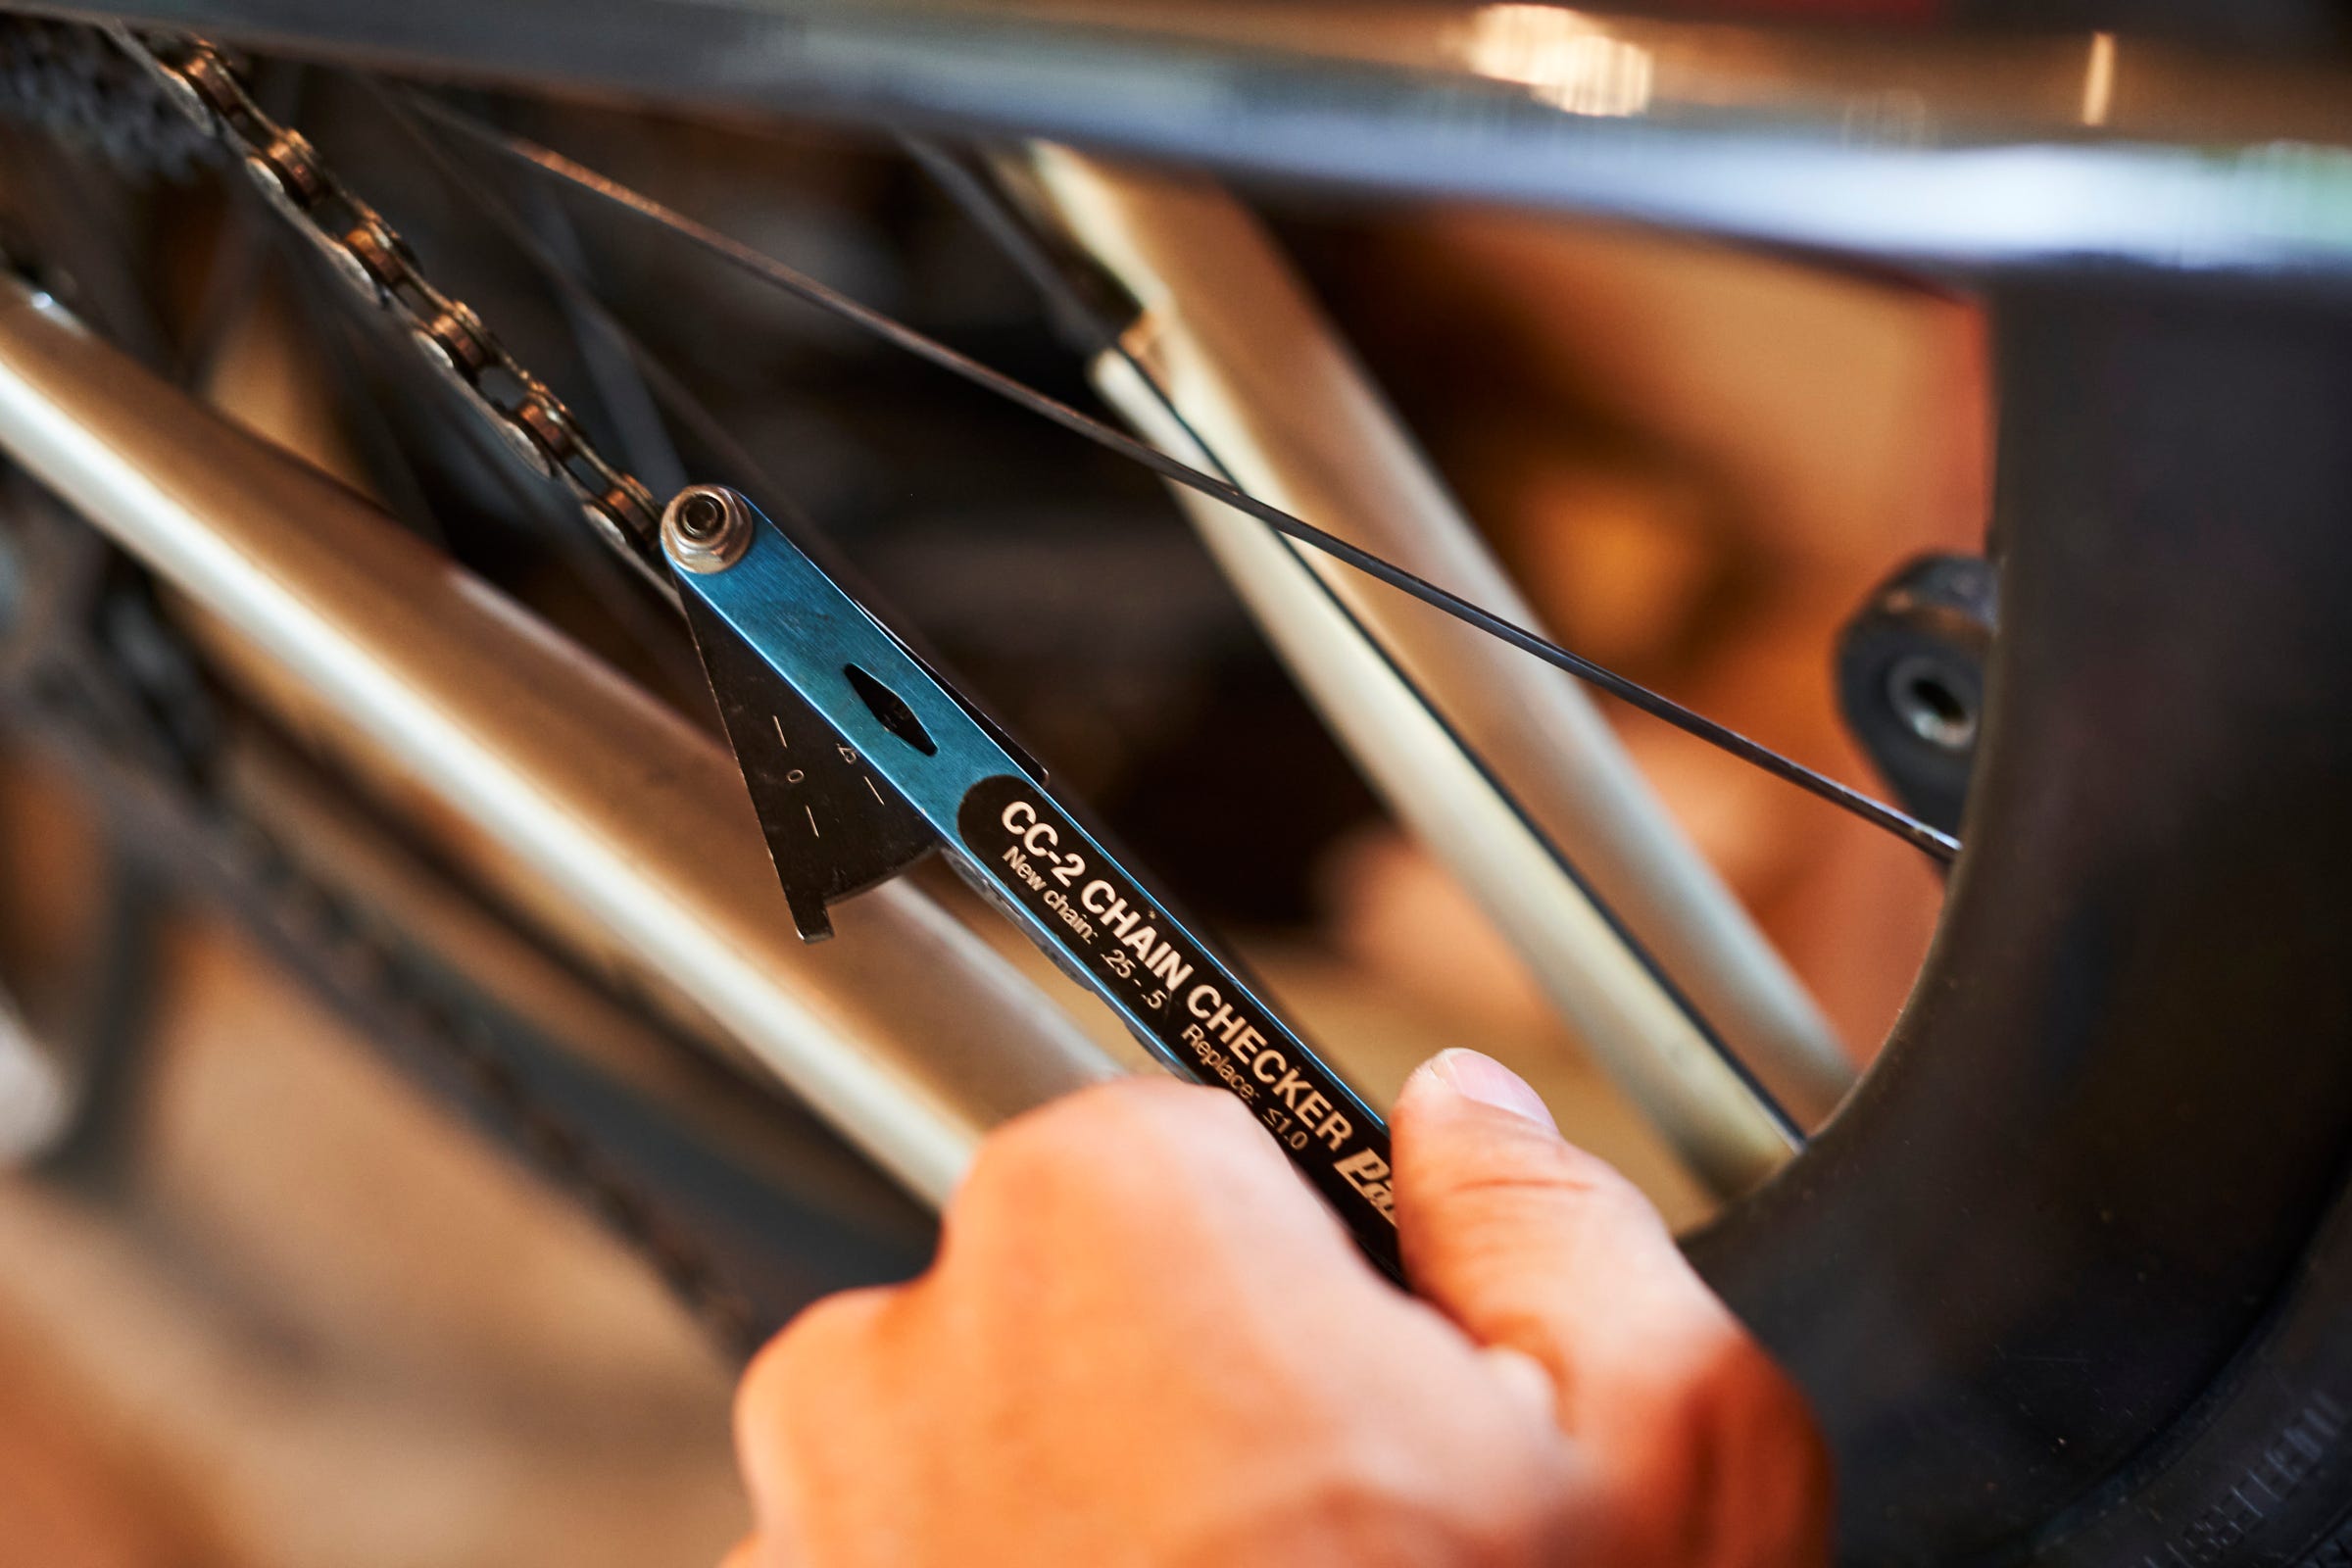
Cleaning removes dirt. Mechanical wear remains, and it changes how the chain engages with the rest of the drivetrain.
A chain-wear indicator measures wear, using the method that matches your chain. Park Tool’s guide to replacing a worn chain explains why measurement matters and how chain wear relates to other drivetrain components.
If poor shifting or slipping continues after routine care, check for wear, misadjustment, or another fault. Measure the chain. Don’t judge it by noise.
Washing and drying without damaging components
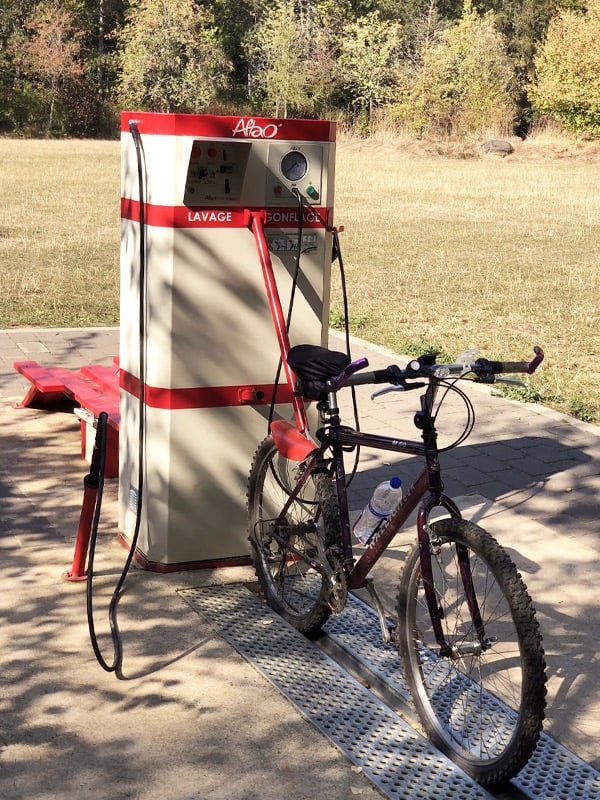
After a wet ride, mud, grit, and road moisture collect on the frame and components. Clean the accessible non-drivetrain surfaces with mild cleaning products and soft materials, rinse as needed, and dry the bike. Keep oils, grease, and incompatible cleaners away from disc-brake rotors and pads, because contamination can impair braking, as Liv Cycling warns in its beginner maintenance guidance.
How often should you maintain your bike?
Time your maintenance to your bike’s condition and how you use it. Wet roads, grit, frequent riding, and new symptoms all bring work forward.
USA Cycling separates before-ride checks from a closer monthly inspection. Its pre-ride and maintenance guidance assumes a reasonably maintained bike ridden at least once a week.
| Timing or trigger | What to do |
|---|---|
| Before every ride | Do the quick condition and function inspection |
| Monthly, under USA Cycling’s stated conditions | Inspect wear, fasteners, brakes, and drivetrain condition more closely |
| Before the first ride on a bought, rented, or borrowed bike | Do the closer inspection before you rely on the bike, since its condition and maintenance history are unfamiliar. If you can’t do it, ask the seller, rental provider, or lender to carry out the checks in your presence |
| After wet, muddy, or gritty use | Clean and check earlier, since contamination and exposure raise maintenance needs |
| When a new symptom appears | Investigate the affected system. A problem you’ve found takes priority over the schedule |
| When a task exceeds your skills or equipment | Arrange professional service |
For regular riders, REI also suggests tune-ups twice a year.
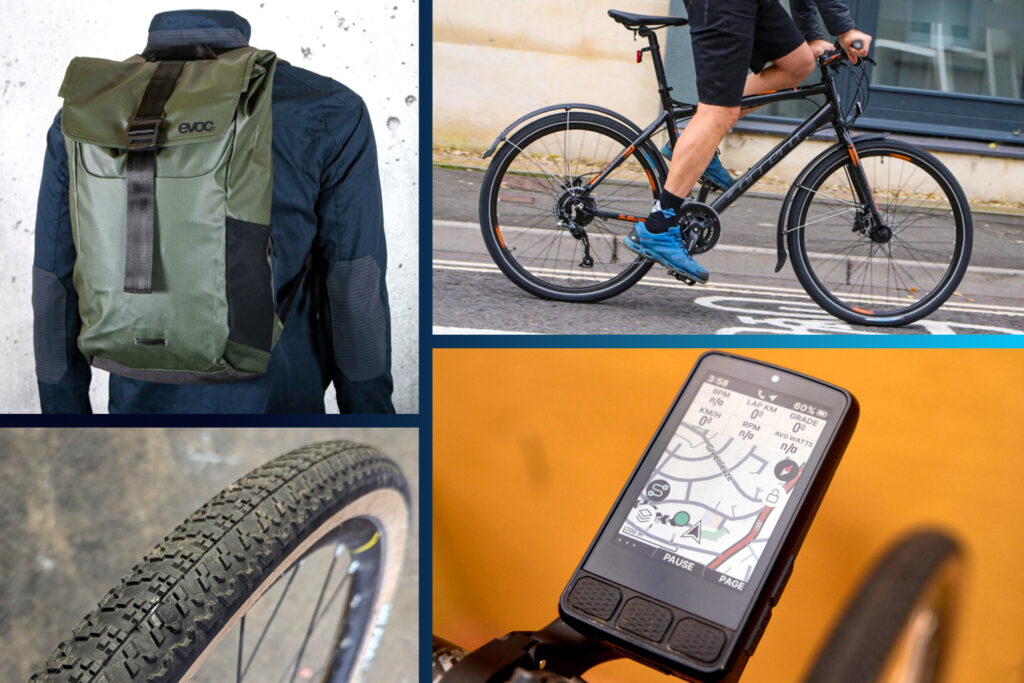
One commuter faced a local tune-up that started at $89 and took a week, which didn’t work because they needed the bike for work and had no other transportation.
Pick your next recurring inspection point and record it in a calendar or simple maintenance note.
A beginner toolkit built around real maintenance jobs
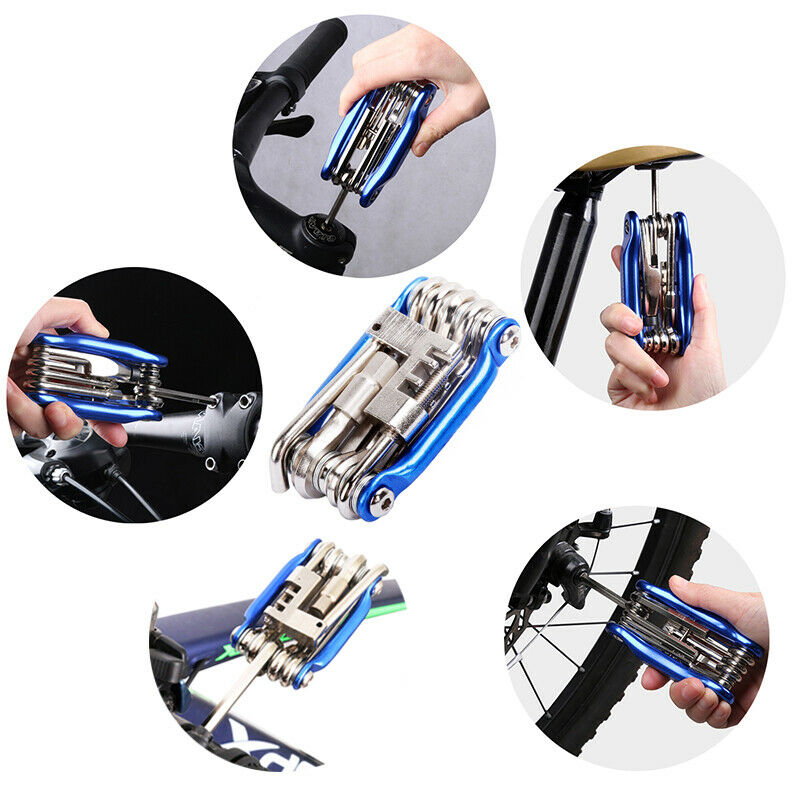
Choose tools for the work you expect to do. A few matching items cover routine care, and specialized equipment makes sense once you take on specific procedures.
For basic care at home
- Floor pump with pressure gauge: For measured inflation. The pump head has to match your tire valve.
- Cloths and brushes: For removing dirt from the frame and components you can reach.
- Chain-care products: For conventional chain drives, used as the product and drivetrain instructions say.
- Matching hand tools: Hex/Allen or Torx tools for components with those interfaces.
To carry on a ride
- Portable inflation: A mini-pump or CO₂ setup that fits your valve.
- Puncture supplies: A matching tube and tire levers for a tube system, or tubeless supplies for a tubeless setup.
- Compact multi-tool: Works when its interfaces match your bike and the roadside job.
For particular jobs learned later
Chain-wear gauges, precision torque tools, and specialized removal or adjustment equipment come into play when a task needs them. A general multi-tool can lack the right interface or the precision a component requires.
Before buying a tool, identify the component and the job. Valve type, fastener interface, axle system, and drivetrain design decide what fits.
As a beginner, add equipment as skills become relevant, and use classes or a qualified mechanic for work that needs unfamiliar tools.
The first maintenance skills worth practicing

A good first repair skill is one you can recognize, rehearse without time pressure, and evaluate afterward.
Beginners often ask which maintenance skills matter most if they want to do as much as possible themselves.
For many beginners, this order works well:
- Recognize the components: The names and positions of the tires, brakes, wheel attachments, crank, and drivetrain parts on your bicycle.
- Get comfortable with routine care: The basic supplies and methods for inflation and cleaning.
- Be ready for punctures: Which equipment your tire system requires and how to use it.
- Rehearse one simple repair: Practice a tube change or another beginner procedure under controlled conditions.
- Add specialist knowledge when you need it: Wear assessment and more involved adjustments, once you’ve learned the requirements of the components involved.
A tube change is easier to learn at home, with a stable workspace and instructions for your actual wheel and tire. Learning it during a roadside breakdown adds pressure to an unfamiliar job. On a bike with disc brakes, don’t squeeze the corresponding brake lever while the wheel and rotor are removed unless the proper pad spacer or brake block is in place.
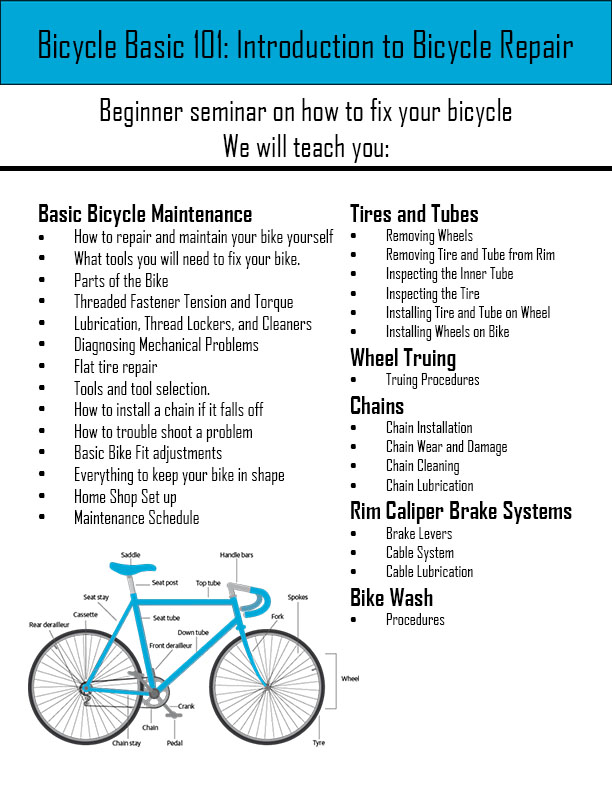
Park Tool’s Repair Help library offers detailed procedures for individual mechanical tasks. A local class or supervised lesson can also help when a tire is unusually difficult to remove or a technique is hard to follow.
When a bicycle needs a mechanic
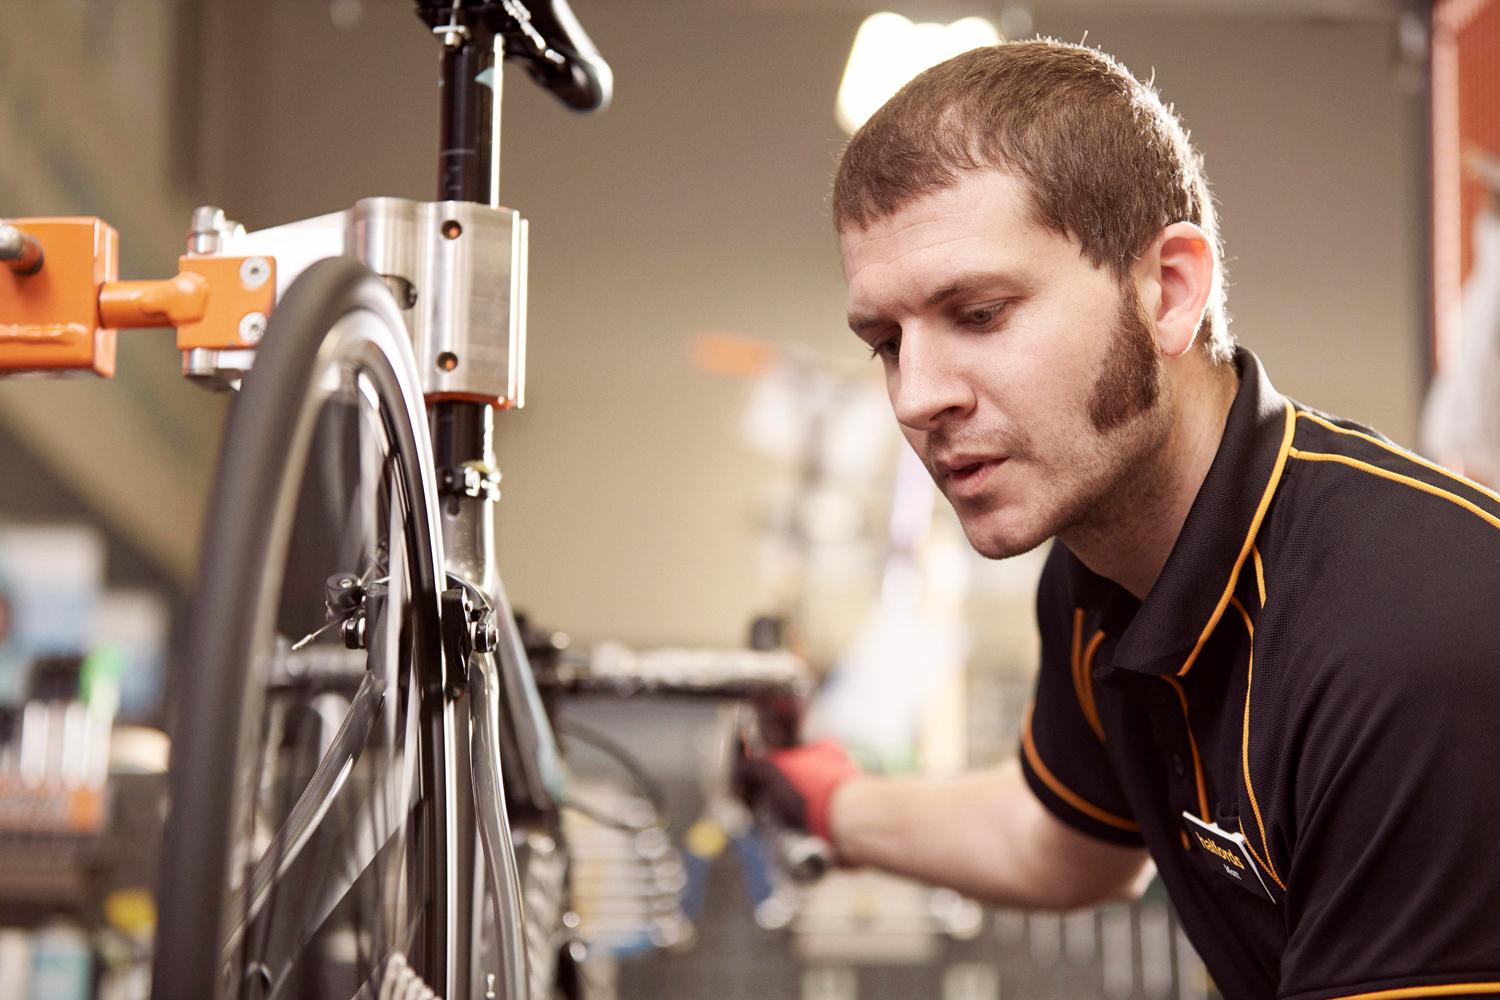
Go to a mechanic when an essential function is unreliable, you can’t tell what’s causing a problem, or the repair needs precision and equipment beyond your experience.
You can describe what the bike does without diagnosing why. A change in brake-lever travel, a loose-feeling wheel, or a chain that jumps under load tells a mechanic what to look at.
| Symptom or concern | Useful observation | Next decision |
|---|---|---|
| Weak braking or abnormal lever travel | Which brake is affected and what has changed | Stop riding until braking is restored and verified |
| Oil, grease, or incompatible cleaner on disc brakes | Which rotor or pads were exposed and to what product | Keep the affected braking system out of use until the correct component procedure or qualified service has dealt with the contamination |
| Loose wheel or uncertain axle attachment | Which wheel and retention system are affected | Don’t ride until the attachment is secure |
| Steering play or abnormal movement | Where the movement occurs and when you notice it | Get it assessed before riding |
| Visible tire damage or severe air loss | Where the damage is and whether the tire holds air | Identify the repair you need; don’t ride on an unsafe tire |
| Chain slipping, jumping, or jamming | Which symptom occurs and under what conditions | Investigate wear or adjustment before relying on the drivetrain |
| Unknown fastener setting | Which component, fastener, and operation are involved | Use the specified component procedure or get qualified help |
Brake, wheel-retention, and steering problems need extra care because they affect control of the bike.
Fastener work takes more than a torque reading. A cross-threaded fastener stays incorrectly installed even when you use a torque wrench. Both the component instructions and sound mechanical technique matter.
Describe the problem before the appointment
A useful description includes the affected component, the change you noticed, when it began, and any work you did beforehand.
For example, “The rear brake lever now travels farther than it did before cleaning” gives the mechanic a symptom they can observe without assuming a cause.
After maintenance, check the result before riding normally
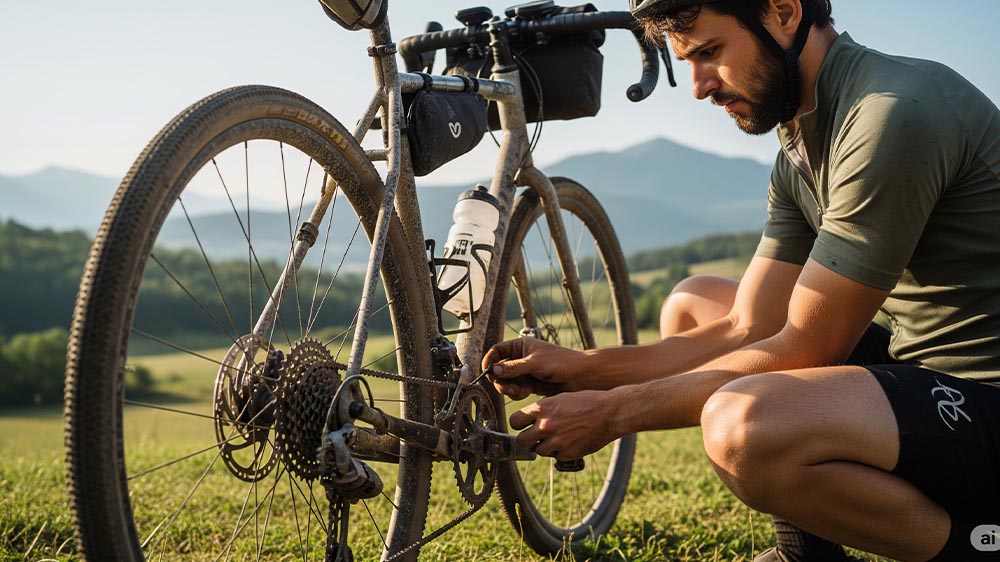
The test depends on the work:
- After tire inflation: Check that the tire sits correctly and holds the intended pressure.
- After conventional chain care: Confirm that the drivetrain moves and shifts as expected, with no obvious binding or malfunction.
- After work affecting a wheel or brake: Confirm that the wheel is secure and the brakes work, using stationary checks for that component.
Once the stationary checks pass, take a cautious test ride under controlled, low-risk conditions. Never test an unresolved critical problem at riding speed.