
Tubeless pays off when your tire and rim are rated for it and punctures or poor grip are a real problem for you. Otherwise tubes are fine, and latex or TPU tubes cover most of the speed argument. Check compatibility with the manufacturers before converting.
Tubeless vs. tubes: which is worth it for you?
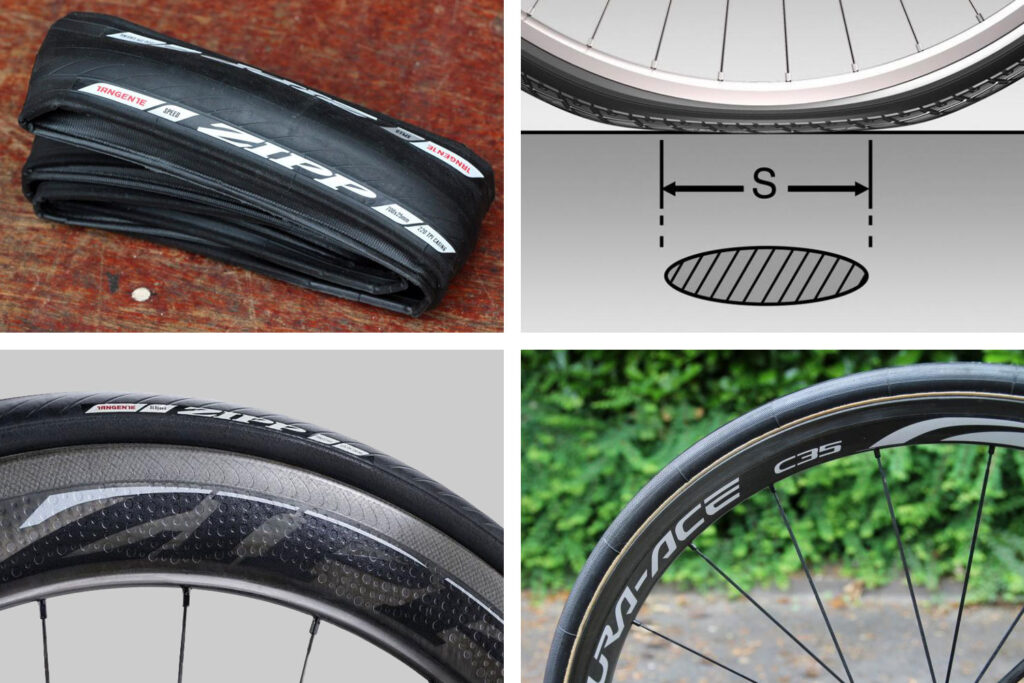
Switch only if you have a problem to fix: repeated small punctures, poor traction on rough ground, or a specific speed goal. If your current tires are reliable and comfortable, you gain little by changing how they hold air.
| What matters | Tubeless | Inner tubes |
|---|---|---|
| Small tread punctures | Sealant can close them while you ride | Need a patch or a new tube |
| Pinch flats | No tube to pinch | A hard hit can pinch the tube against the rim |
| Lower-pressure riding | Lower pressures become practical on rough surfaces | Pinch-flat risk limits how low you can go |
| Initial setup | Compatible tire and rim, valve, airtight rim bed, and usually sealant | Compatible tire and inner tube |
| Ongoing attention | Sealant condition; leaks at the bead, tape, or valve | Inflation, tire inspection, tube repairs |
| Roadside recovery | Sealant, a plug, a spare tube, or transport | Patch, new tube, or transport |
How tubeless tires and inner tubes hold air
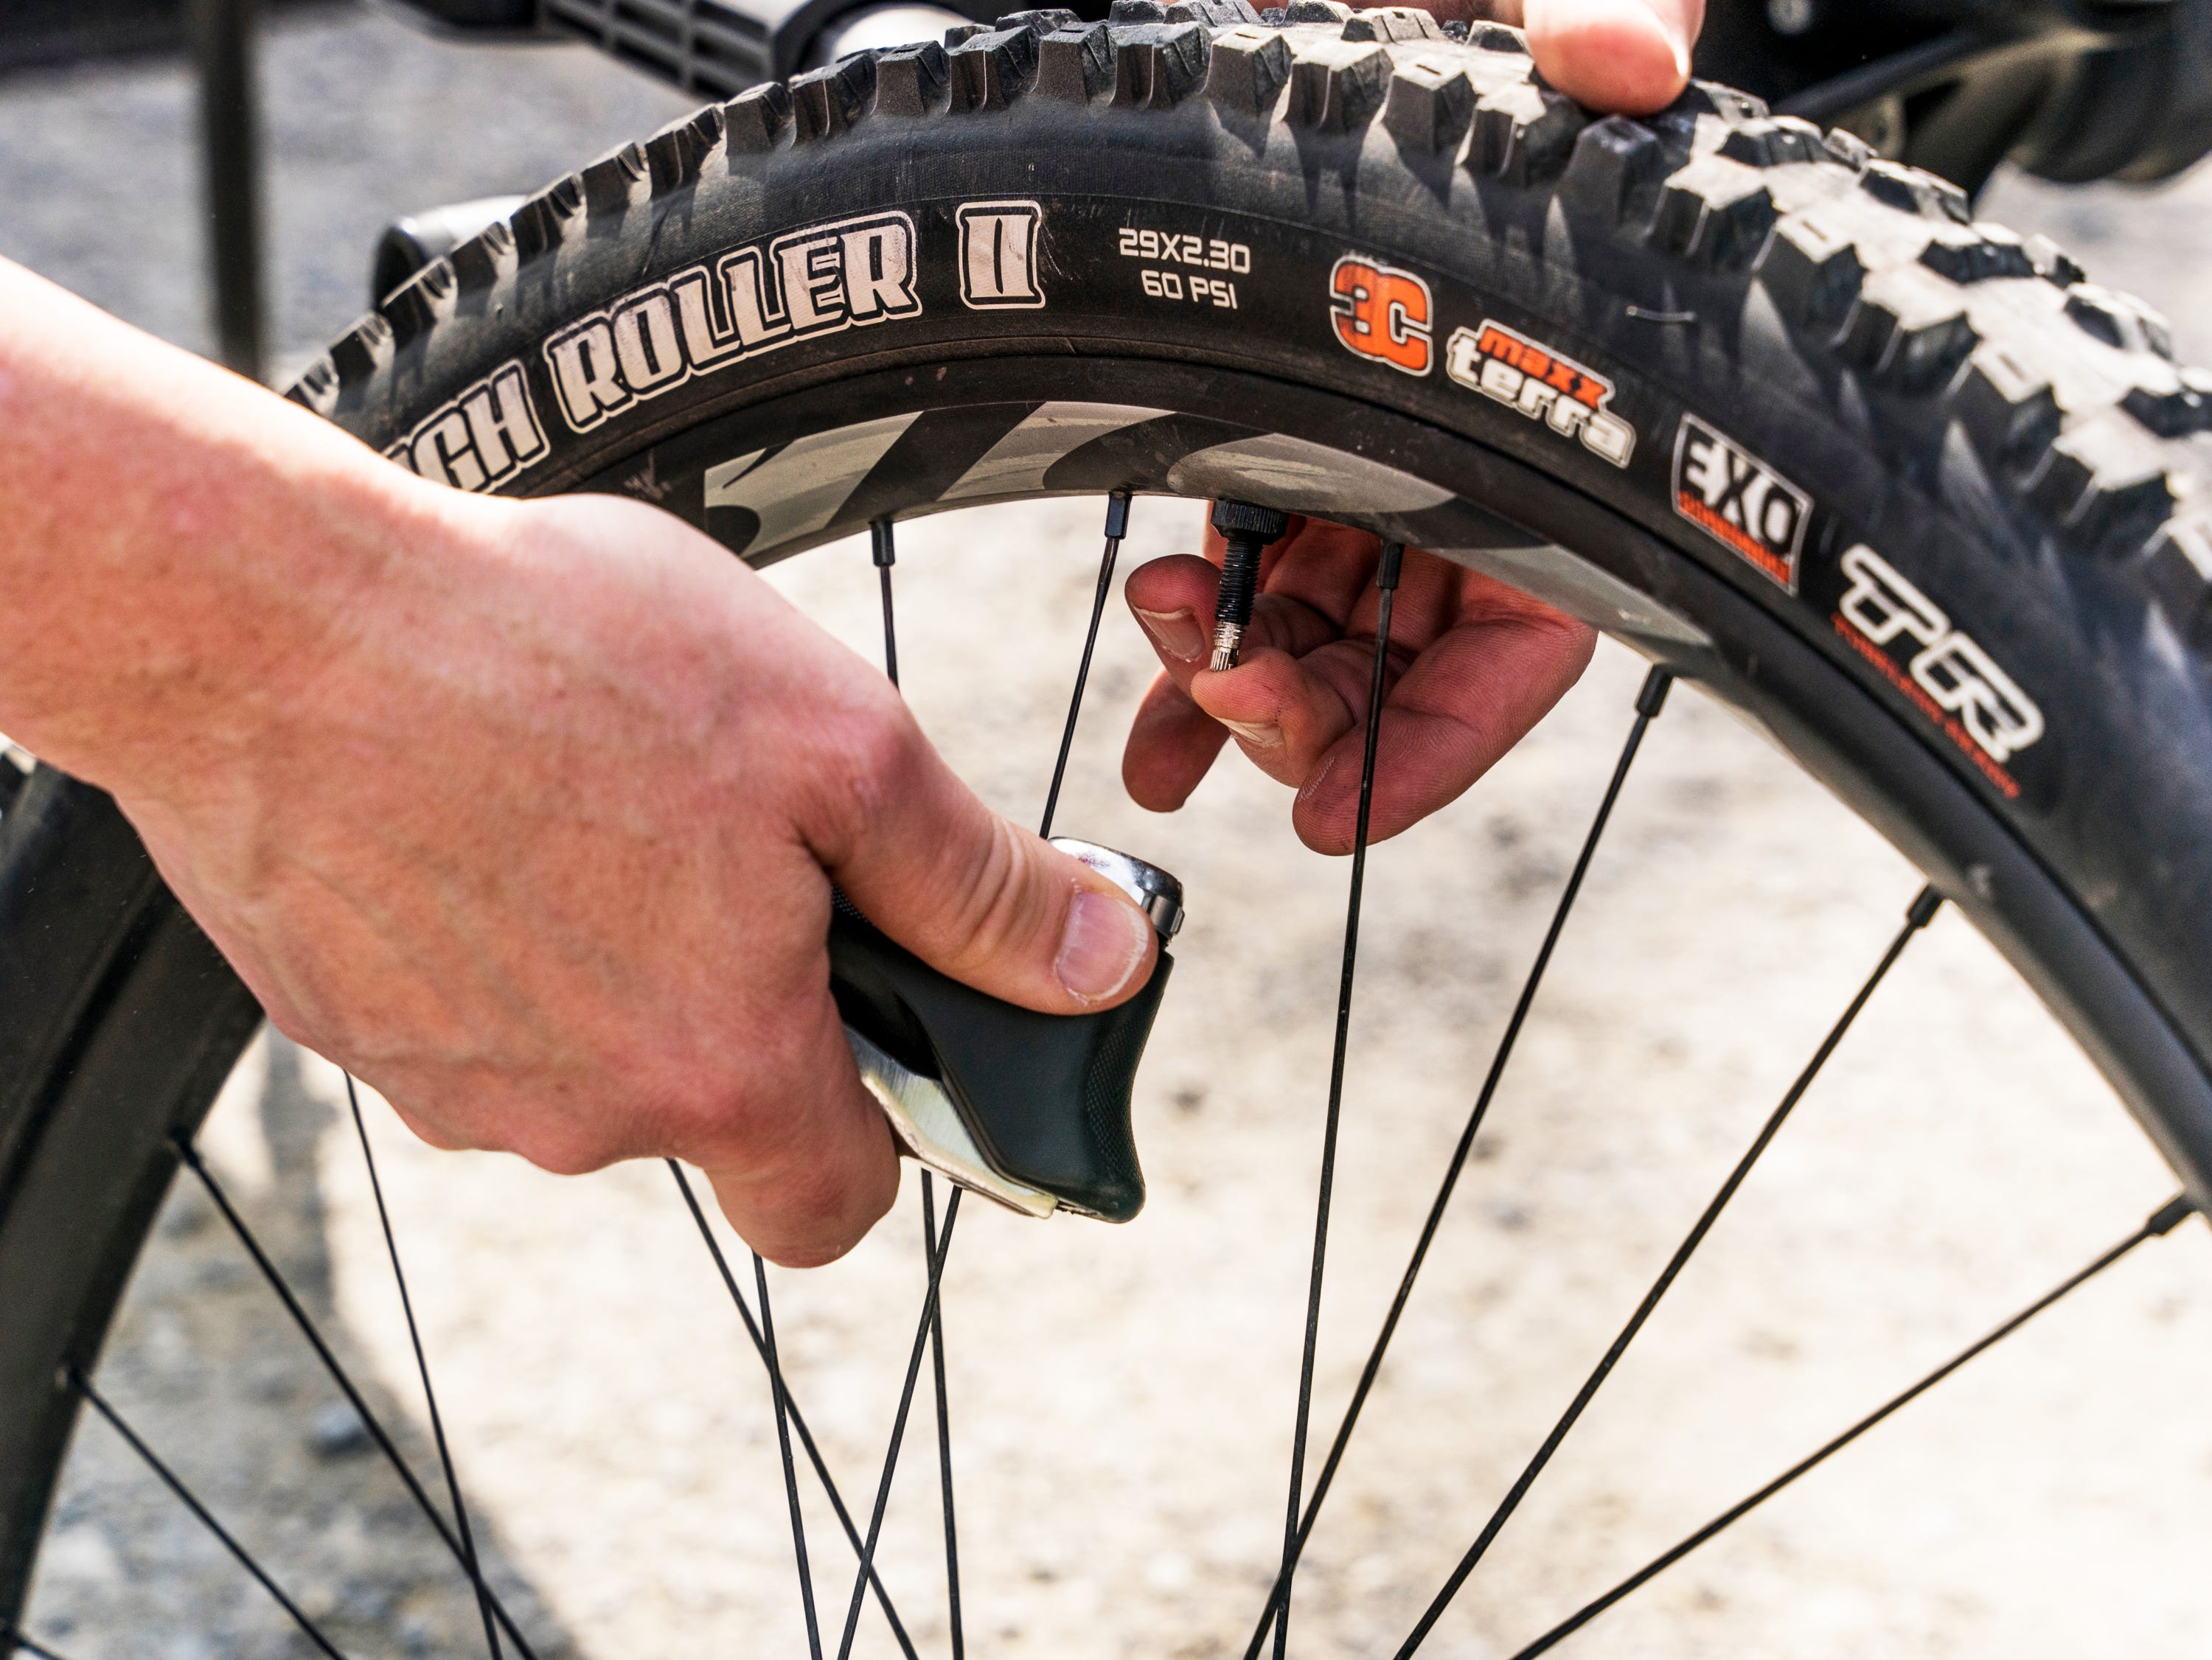
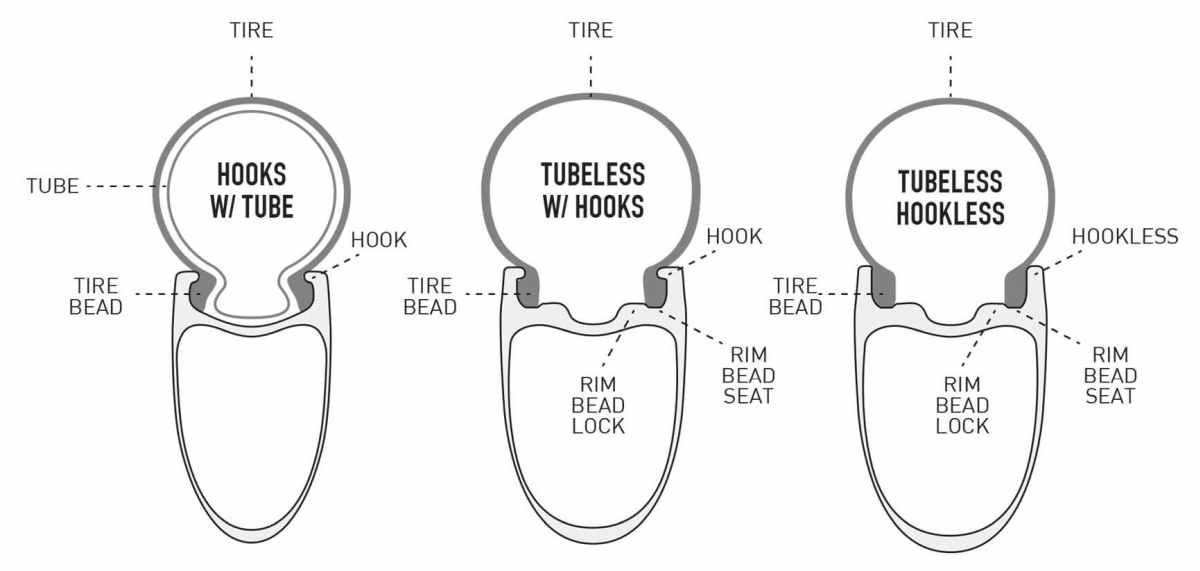
In a conventional clincher setup, the tire sits on the rim and a separate inner tube holds the air. The tube is usually butyl, latex, or thermoplastic polyurethane (TPU). In an approved tubeless setup, the tire bead seals against the rim, and the rim bed or tape and the valve close off the air chamber. Liquid sealant can plug some small punctures. With no tube, the classic snakebite pinch flat is gone. Impacts can still damage the tire or wheel.
Can your tires and rims safely run tubeless?
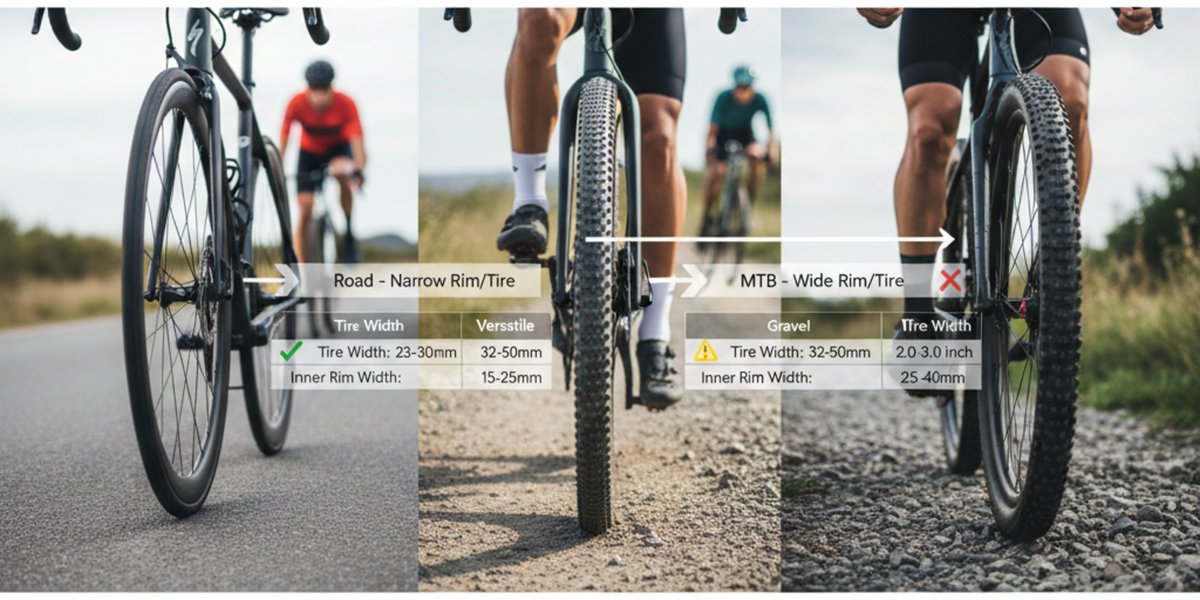
Both the tire and the rim must be approved for tubeless. A TLR or TR marking on a tire tells you something about that tire only. It cannot approve an unsuitable wheel.
Find the brand, model, size, and model year of each part, then compare both manufacturers’ compatibility documents: allowed tire types, bead requirements, and pressure limits.
Hookless rims need extra care. Under SRAM/Zipp’s tubeless guidance, Zipp hookless wheels require tires with an approved tubeless bead, even when you run a tube. Zipp sets a 73 psi maximum for the road wheels that guidance covers. Other wheels have their own manufacturer limits.
A compatible wheel still needs correctly fitted tape, valves, and sealant, plus equipment that can seat the bead.
Safety stop: Without approval for the exact components, do not convert. Tape and sealant cannot make an unapproved tire and rim safe, and a tire that holds air on a workshop floor says nothing about bead retention. If the information is unclear, keep your tubes until the manufacturer or a qualified bike shop confirms compatibility.
Punctures: what tubeless seals and what it doesn’t
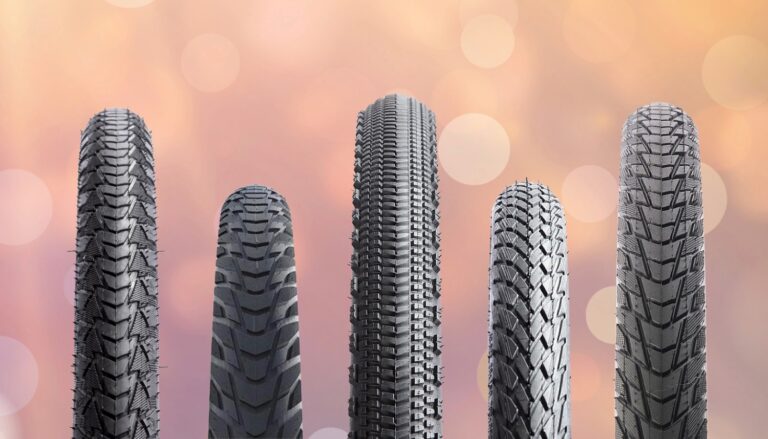
Sealant can close some small holes from thorns or similar debris, sometimes without a stop. The tire may lose some air before it seals. With a tube, a penetrating object usually means patching or replacing the tube.
A gravel cyclist on r/ladycyclists wrote, “I’ve been riding about 120 miles a week this season and have gone through about 10 spares on my gravel bike.” Ask whether those failures were small tread holes that sealant could have closed.
Tire construction matters too. TOUR’s 2023 road-tire tests rated physical penetration resistance alongside rolling performance and handling. Some casings resist punctures better than others, whether or not sealant could close the hole afterward.
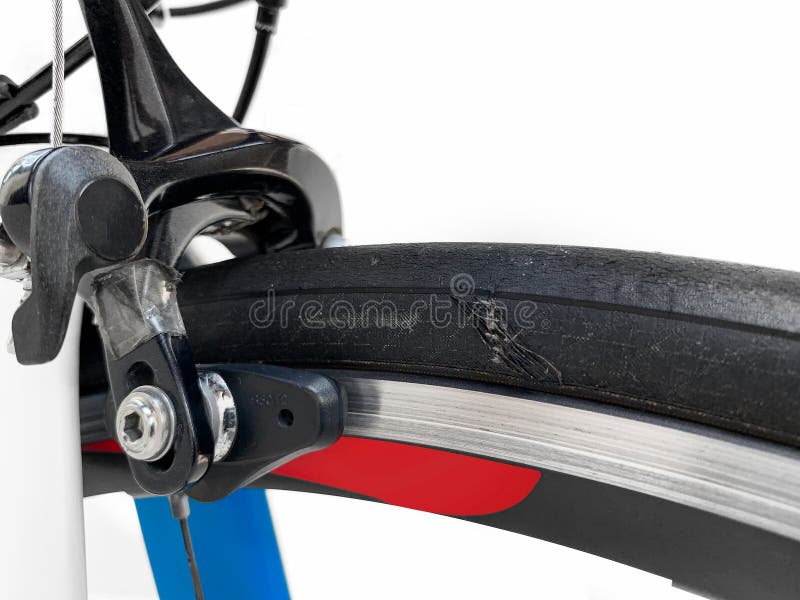
Sealant only closes suitable openings in the tire, and how well it works depends on the damage and the condition of the fluid. Large cuts, damaged beads, rim strikes, and leaks at the valve or rim tape are different problems.
Before choosing tubeless, sort the failures you’ve had: small tread penetrations, tube pinch flats, sidewall cuts, or unexplained pressure loss. The type of failure decides which advantage applies to you.
Grip, comfort, speed, and weight: what changes?
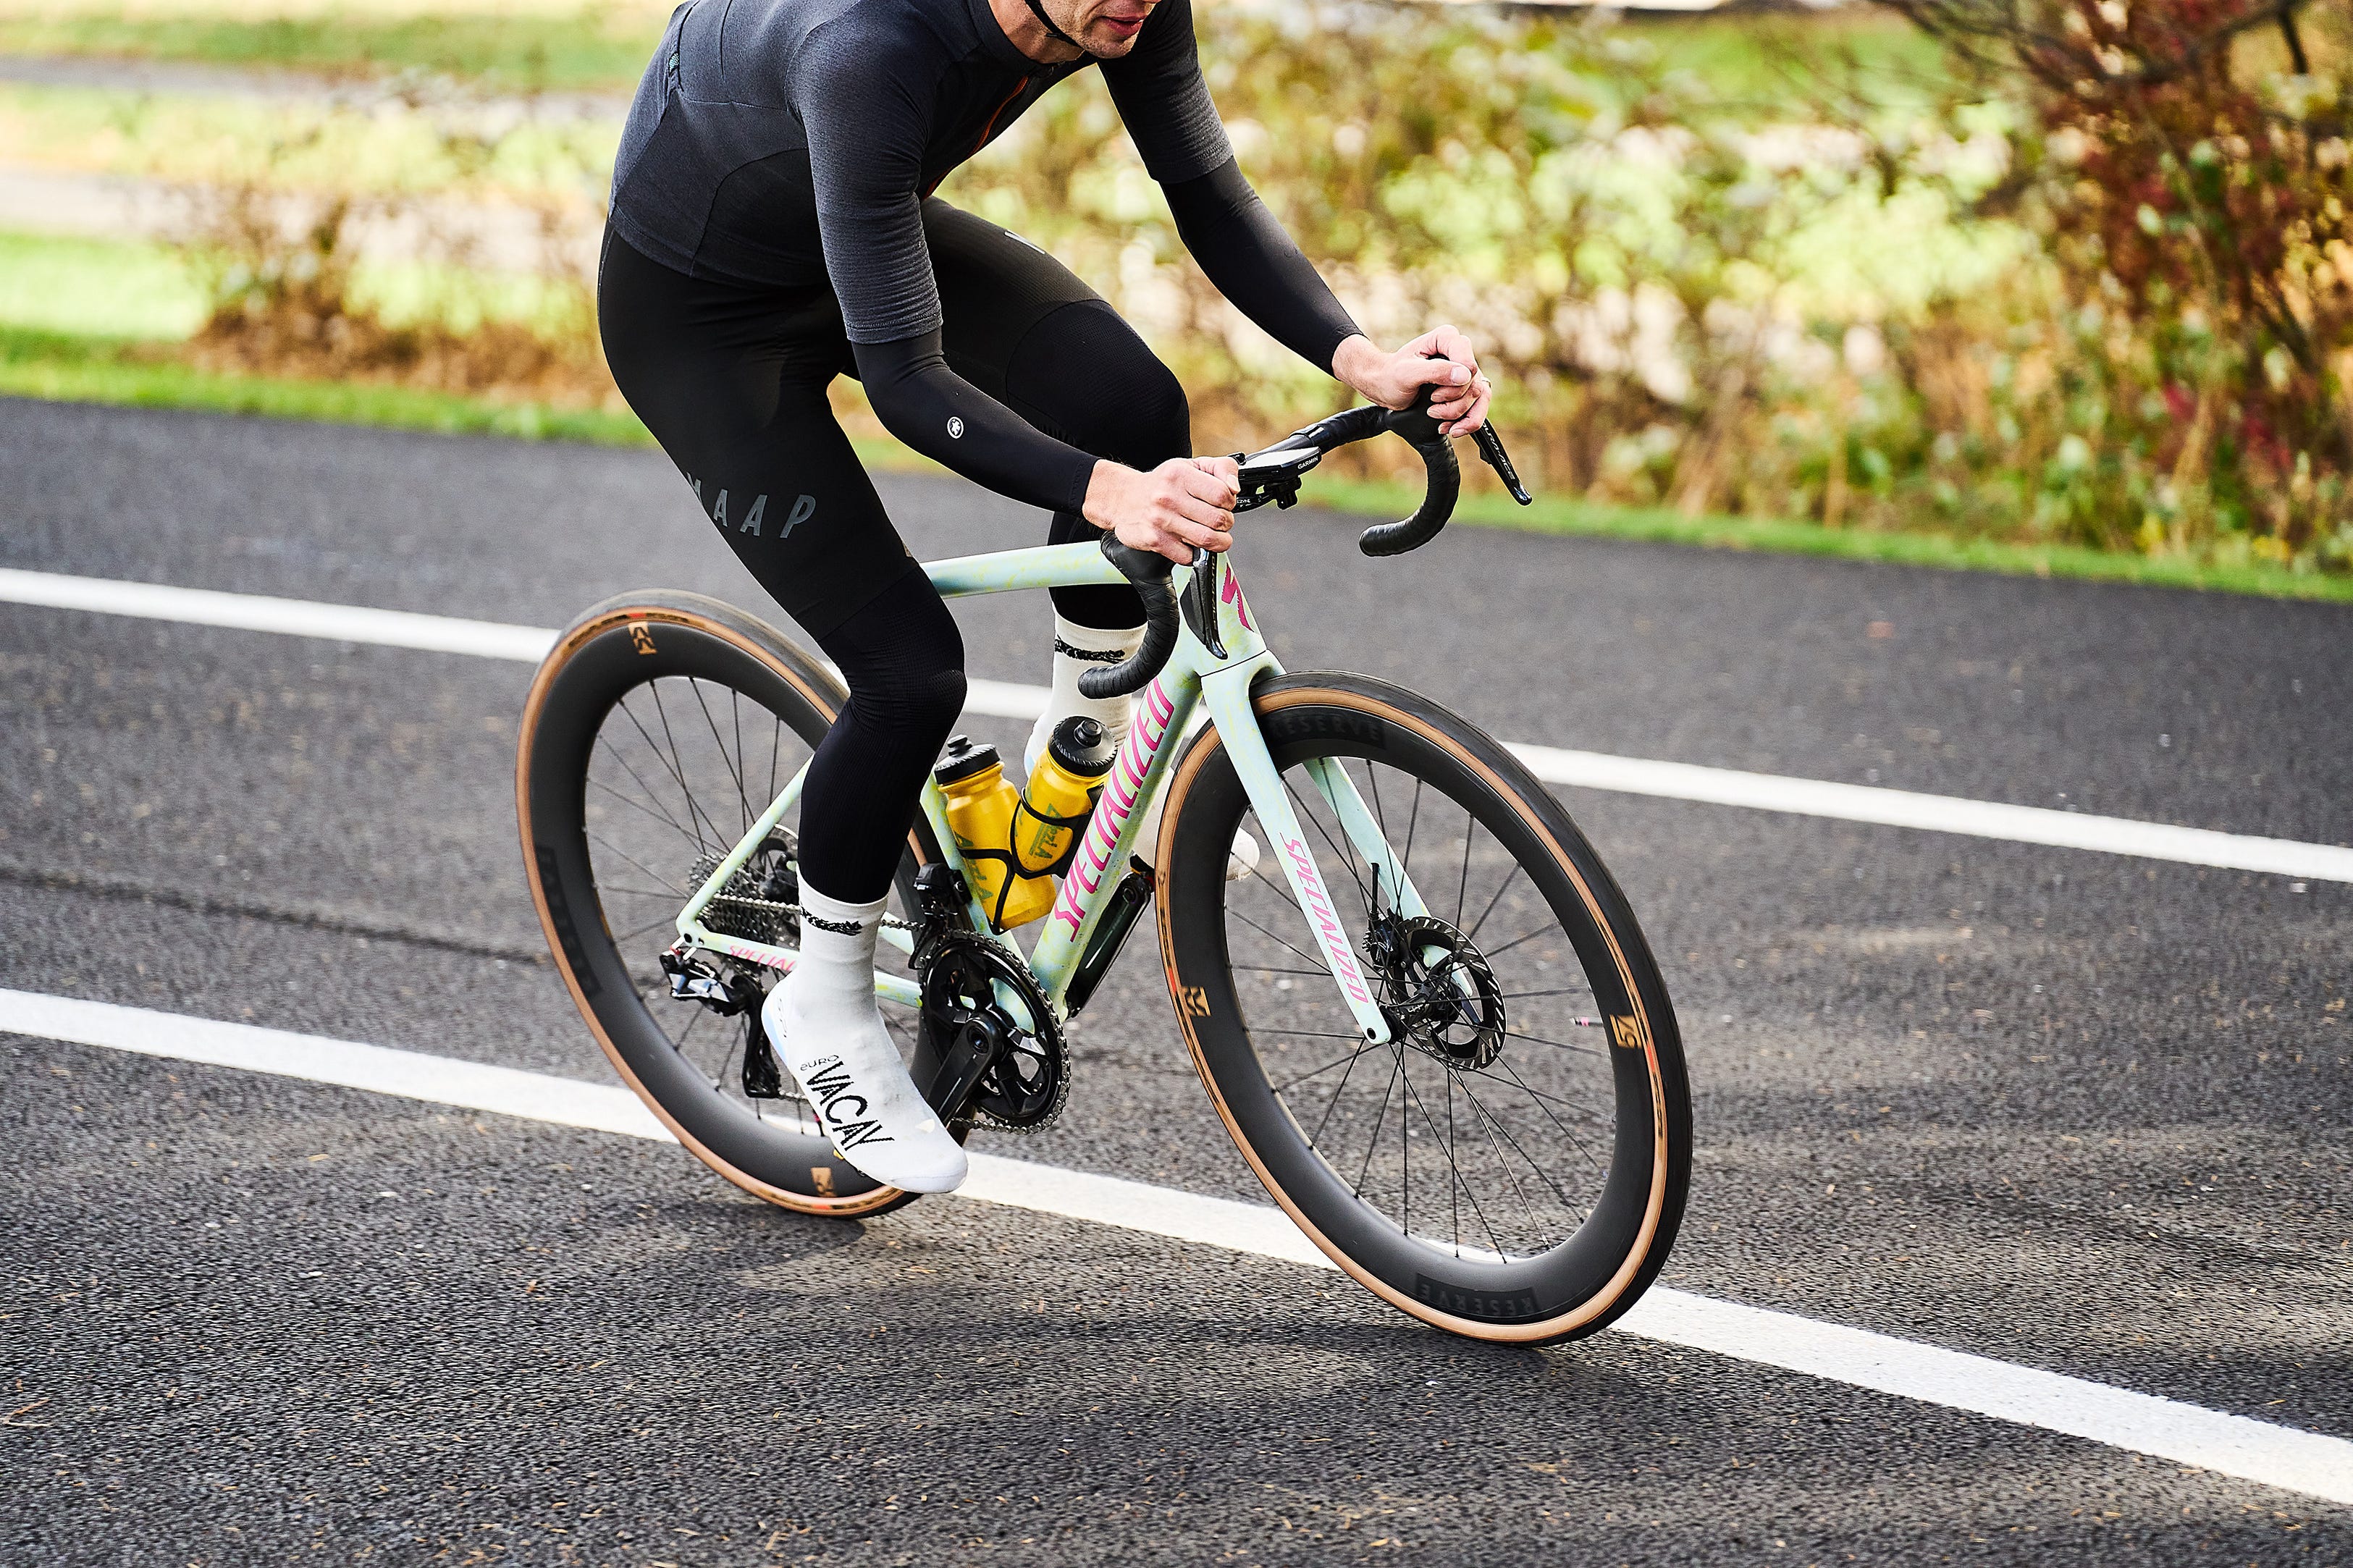
On rough ground, a compatible tubeless setup lets you run lower pressure because there is no tube to pinch. At a suitable pressure, the tire conforms better to uneven surfaces, which can improve comfort and grip. Go too low and you risk rim strikes, tire squirm, or air escaping at the bead. Stay within the tire and rim pressure limits, and match pressure to your load and terrain.
Rolling resistance depends on the tire and on how it holds air. Bicycle Rolling Resistance tested six configurations using the same Continental Grand Prix 5000 S TR 25-622 tire at 80 psi.
The drum test ran at about 18 mph with a 42.5 kg (94 lb) wheel load and a 17.8 mm internal-width rim. The tubeless setup held 20 mL of sealant.
| Tested configuration | Rolling resistance per tire |
|---|---|
| Tubeless with 20 mL sealant | 10.3 W |
| Vredestein Race Latex tube | 10.5 W |
| Revoloop Ultra TPU tube | 10.9 W |
| Schwalbe Aerothan TPU tube | 11.4 W |
| Continental Race28 Light butyl tube | 11.8 W |
| Continental Race28 standard butyl tube | 13.0 W |
Compared with tubeless, the standard butyl tube added 2.7 W per tire and the latex tube just 0.2 W. These are lab measurements for this tire under these conditions.
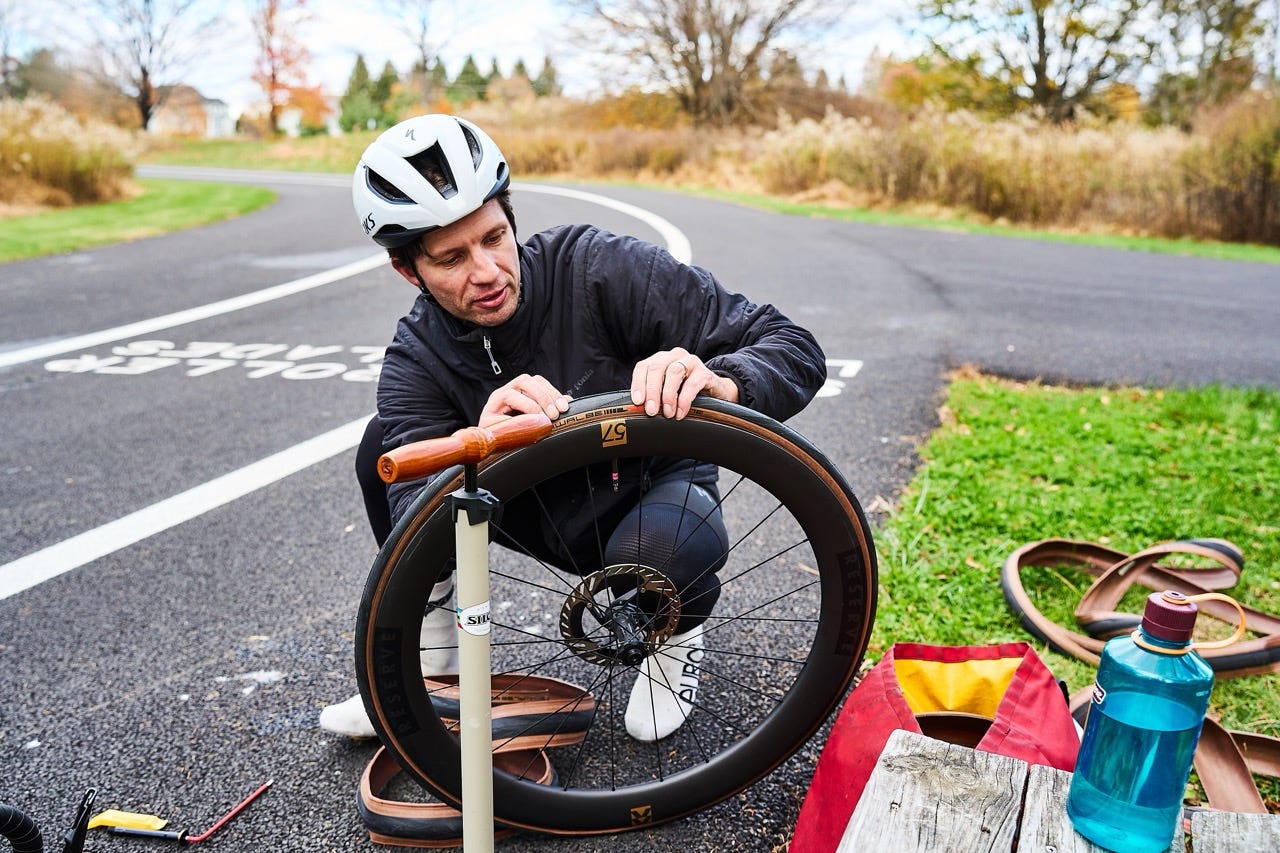
Weight depends on the whole assembly. Dropping the tube saves its weight, but valves, tape, sealant, and tire construction add to the tubeless total. In TOUR’s 2023 comparison, one TPU road tube weighed about 40 g and the standard butyl example about 100 g.
If speed is your reason for changing, look for matched tire and tube or sealant tests at comparable pressures and loads.
Installation, maintenance, and real costs
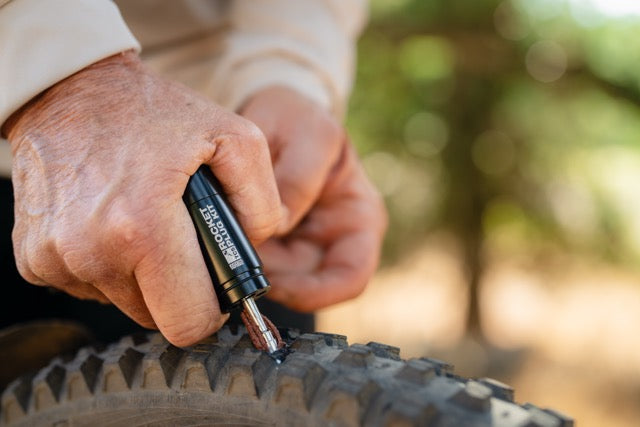
Converting costs little if your tires and wheels are already tubeless-ready. If they aren’t, you’re buying new ones. After that, you keep the seal tight and the sealant fresh.
List what you would buy and keep paying for:
- Tires and rims: Note what is already fitted and what, if anything, needs replacing.
- Tape, valves, and sealant: The right parts for your wheel, plus sealant top-ups.
- Fitting equipment: A suitable pump, possibly a booster or compressor, or a shop’s installation charge.
- Consumables and repairs: Ongoing sealant against spare tubes, patches, and plugs.
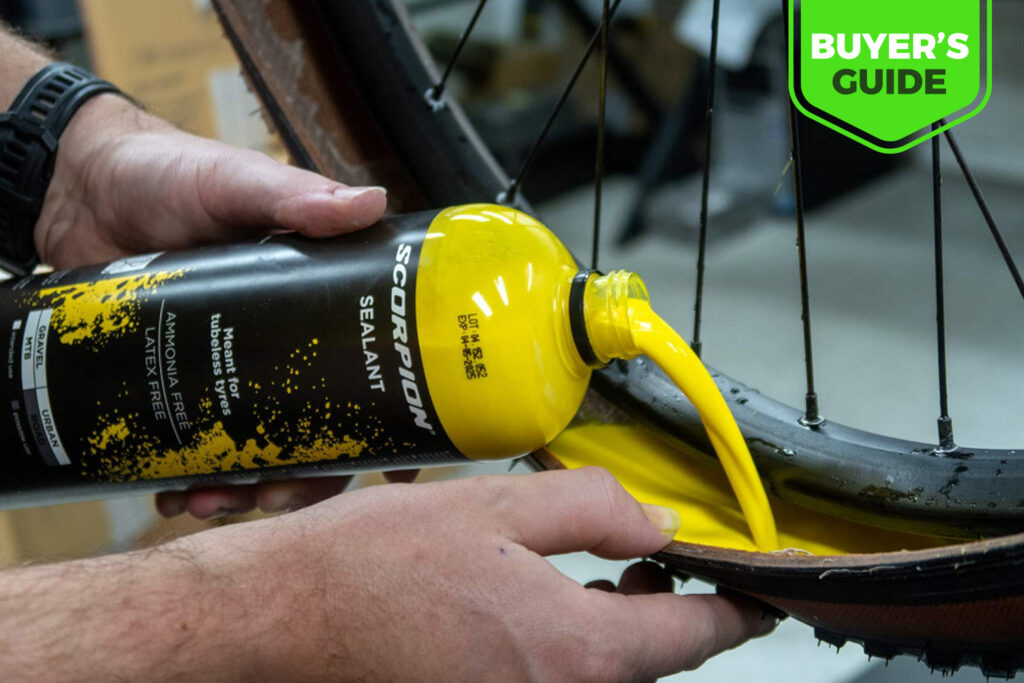
Both systems need pressure checks and tire inspection. Tubeless adds sealant checks and the occasional job of tracking down a leak at the bead, tape, or valve. If your bike sits unused for weeks, that upkeep gets harder to justify.
Schwalbe says its Doc Blue sealant remains active for approximately 2,000 km or 2 to 7 months, depending on conditions including temperature. Schwalbe also advises checking it before major rides or events.
Follow the maker’s guidance for the sealant in your wheels, and check that active fluid remains before a long ride. Then weigh real part and shop prices against the puncture or ride-quality benefit you expect.
Roadside repairs when sealant or a tube fails
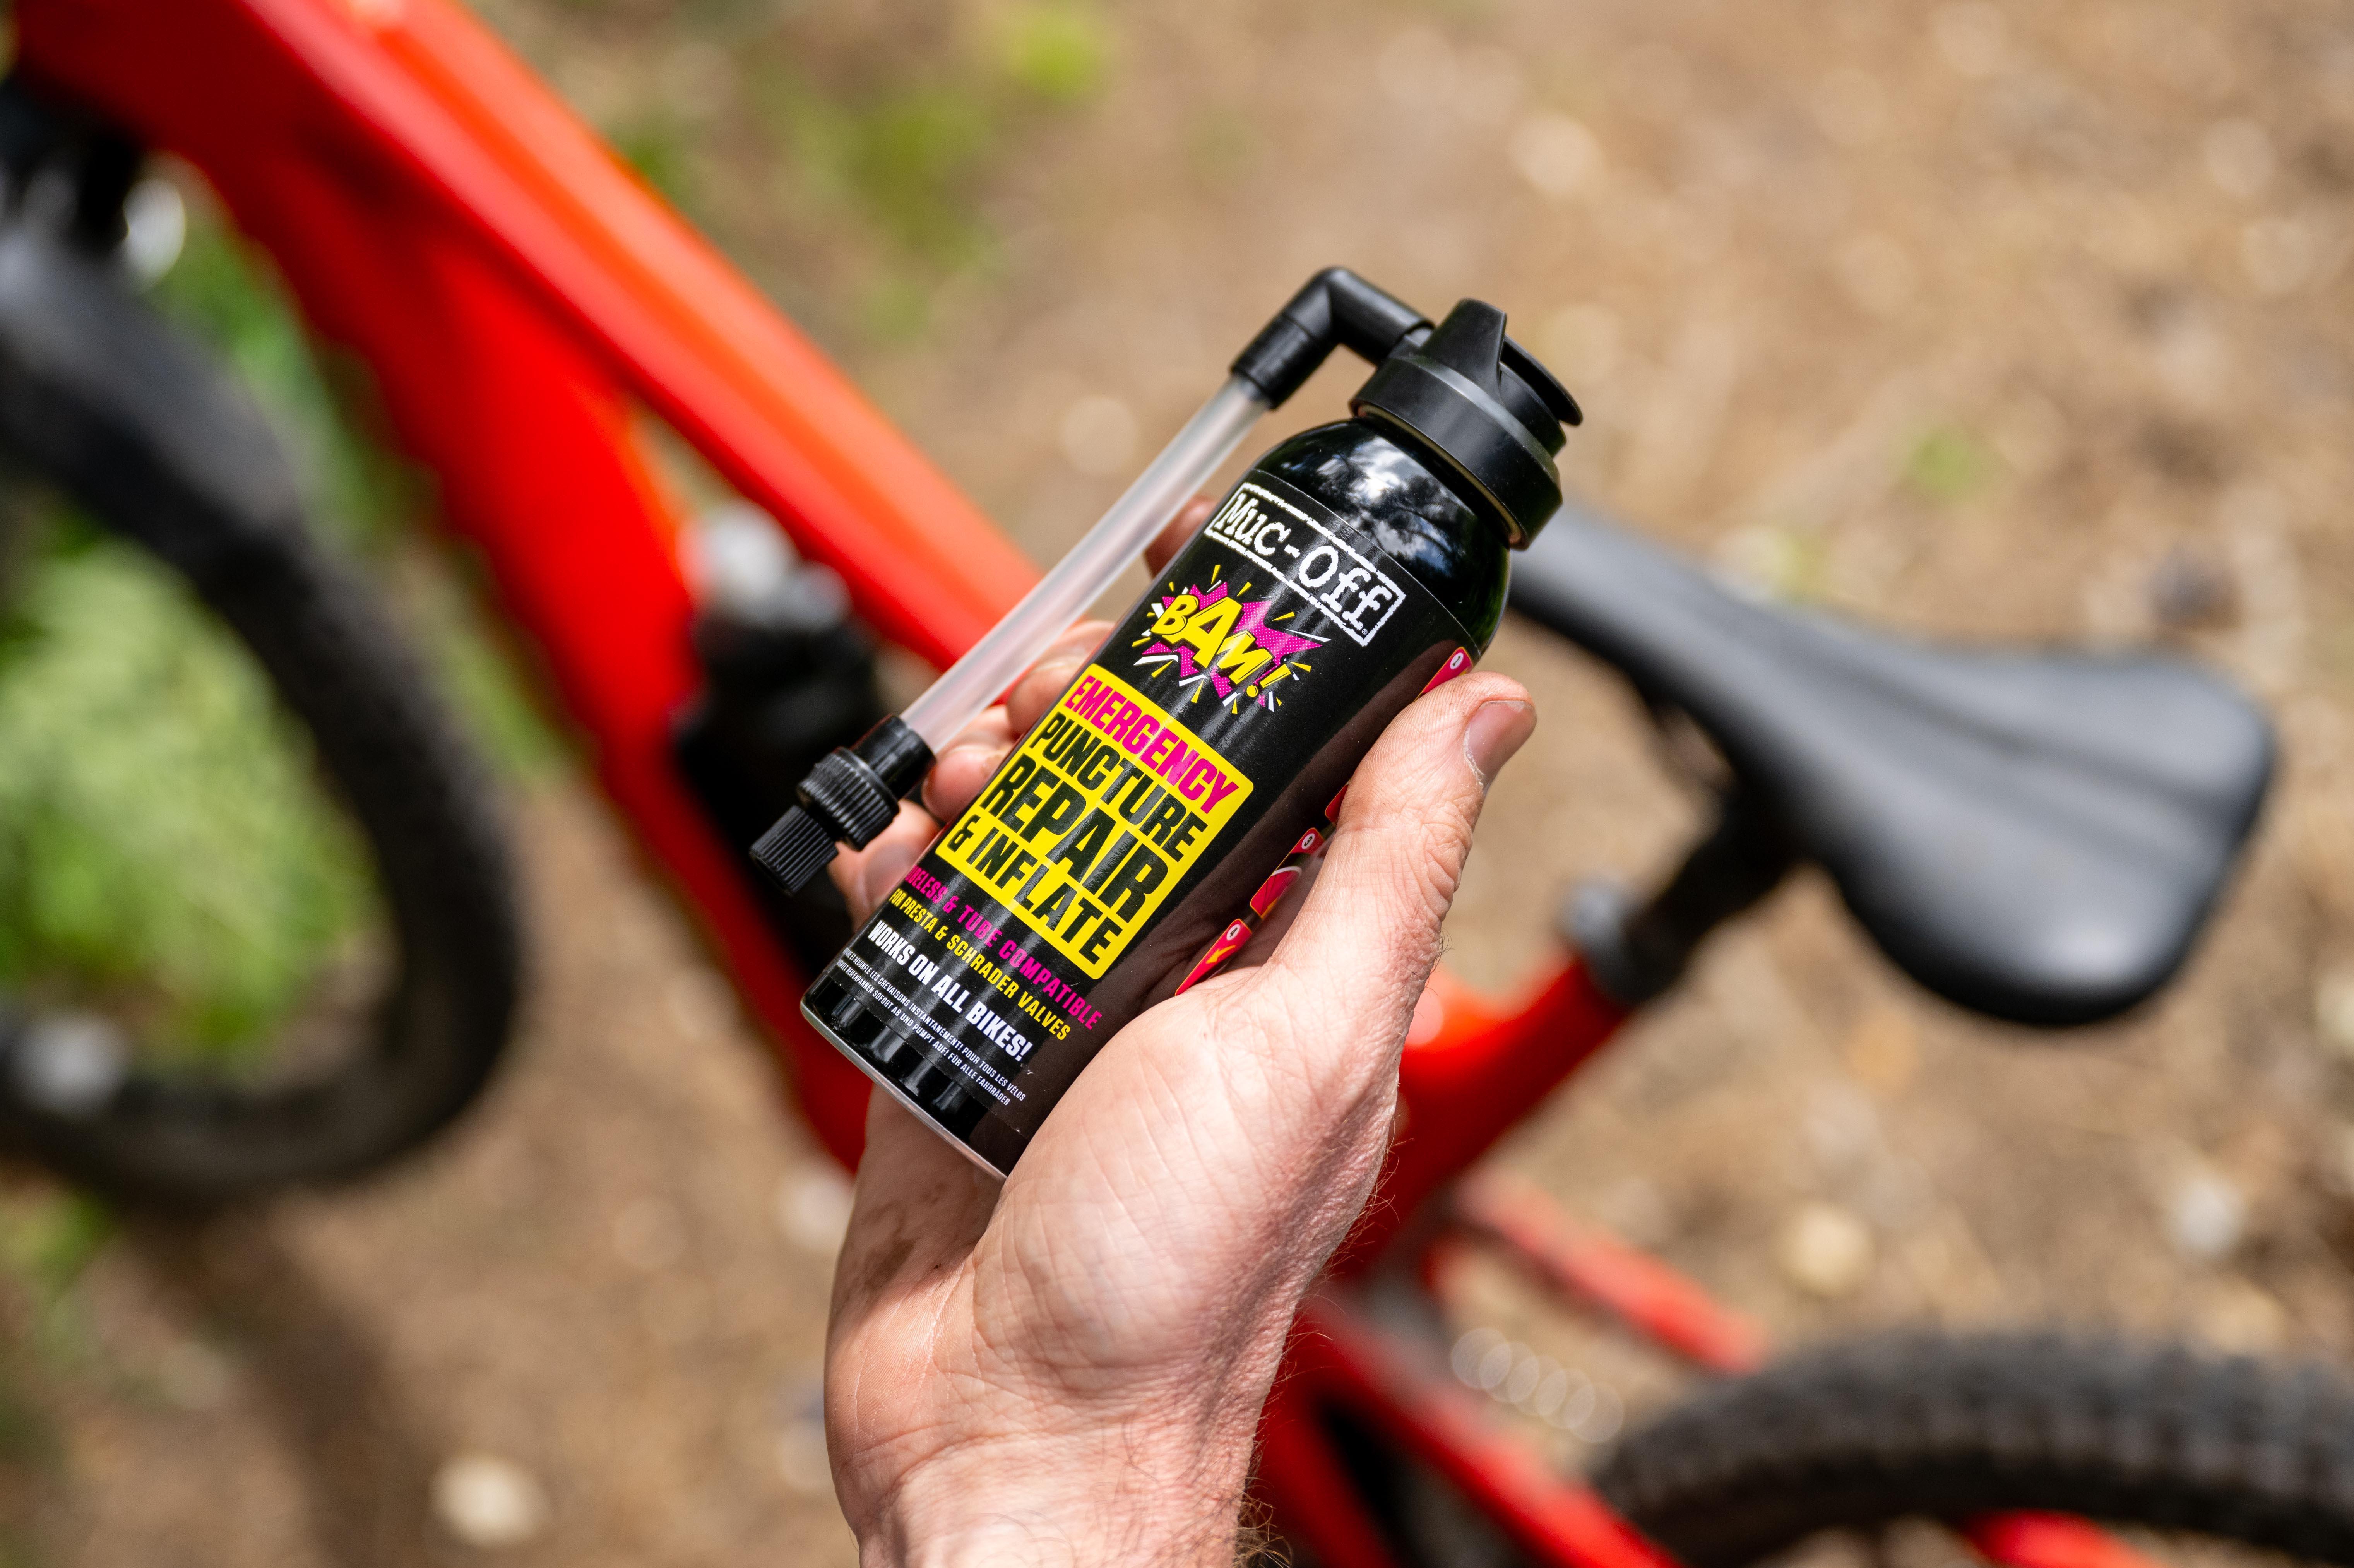
Tubeless often saves a stop when sealant closes a small puncture. When air keeps leaking, the cause could be a hole in the tread, a bad valve, damaged rim tape, or a damaged bead, and each needs a different fix.
Before relying on sealant alone, Prepare a roadside tubeless puncture repair plan for punctures it cannot seal.
A road rider with years of tubeless experience says they love running tubeless when it works but often feel lost when it doesn’t.
| Failure | Tubeless response | Inner-tube response |
|---|---|---|
| Hole remains open | Plug the tire, or fit a spare tube if the assembly is still safe | Remove the embedded object, then patch or replace the tube |
| Unexplained air loss | Check bead, tape, valve, and casing | Check tube, valve, tire, and rim parts |
| Large casing tear, damaged bead, or rim damage | Stop riding if structural safety is compromised and arrange a safe recovery | Same. An inflated tube does not make a damaged assembly safe |
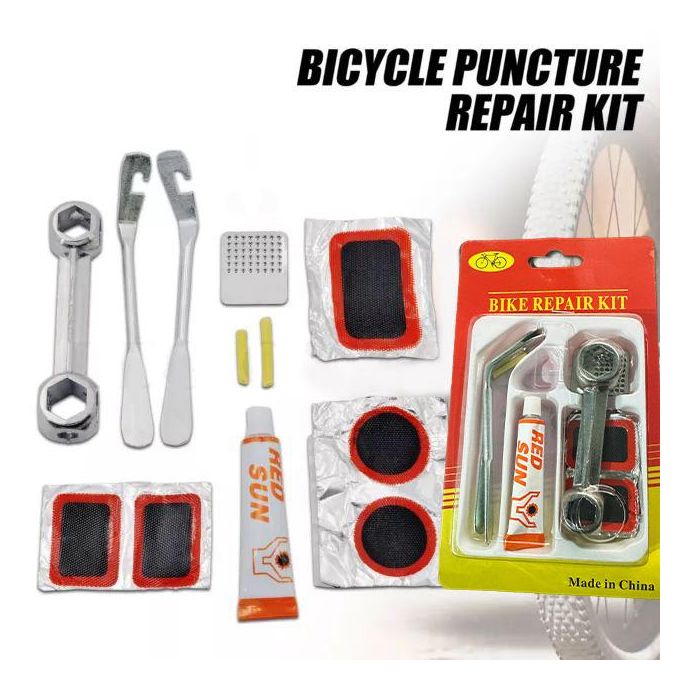
A plug helps with a tire puncture but cannot fix a leak around the rim. Before a longer ride, pack inflation equipment, tire levers, a compatible spare tube, and a tubeless plug kit if your system uses one, and know how to use them. If the tire or wheel can’t be made safe, the get-home plan is transport.
Could TPU or latex tubes be the better compromise?
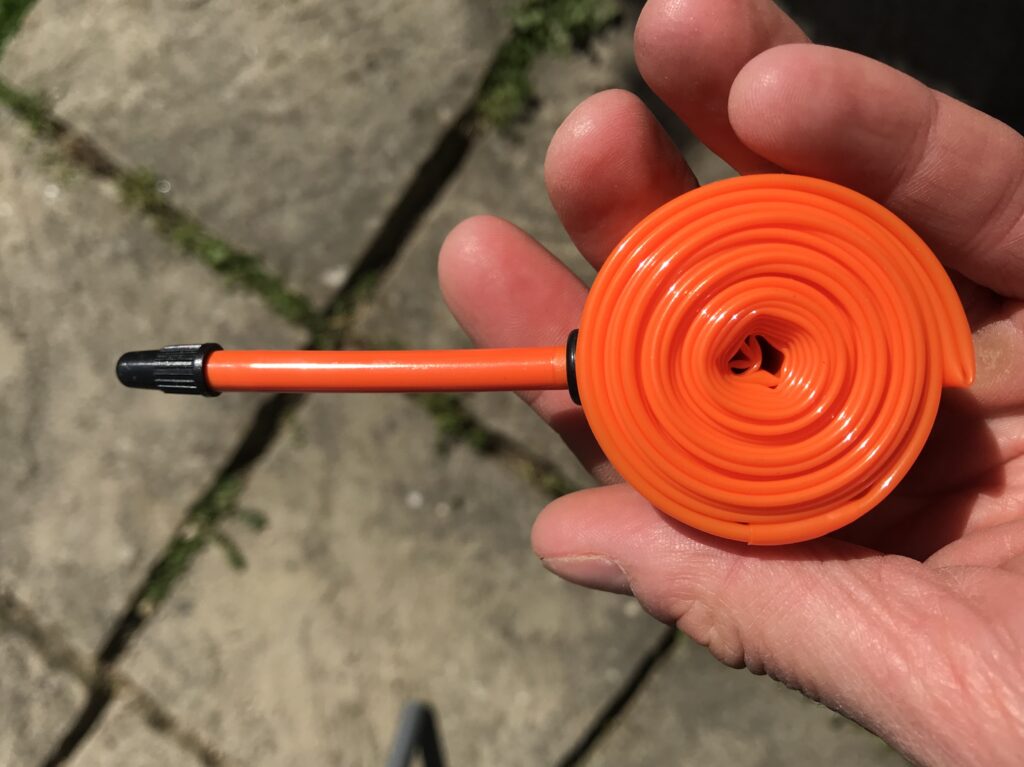
If your road tires already serve you well, try lighter tubes before a full tubeless conversion. Some latex and TPU setups roll almost as well as selected tubeless combinations, with no sealant routine.
One rider running tubeless on both a road and a gravel bike was tempted to test TPU tubes, such as RideNow or Schwalbe Aerothan, to simplify maintenance and ditch the sealant mess.
Standard butyl is the familiar option. Latex did well in the named road tests but has its own air-retention and handling trade-offs. TPU tubes can be light and compact, though measured performance varies by product.
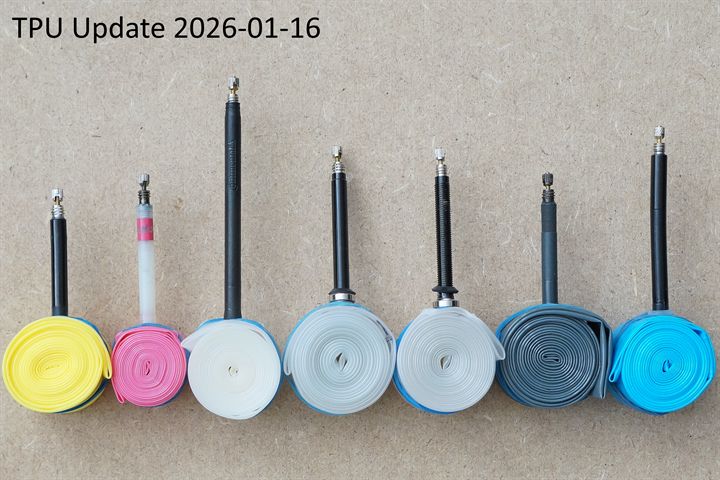
A separate Bicycle Rolling Resistance study, updated in January 2026, found latex and TPU close together and standard butyl slower. Across three road tires (Continental Grand Prix 5000, Vittoria Corsa G+ 2.0, and Michelin Power Time Trial), the 80 psi three-tire averages were 10.8 W for Vittoria Latex 25/28 and 10.9 W for Pirelli P Zero SmarTube RS TPU. RideNow Ultralight TPU averaged 11.1 W, and Continental Race28 standard butyl averaged 12.6 W.
These averages come from a different test series than the GP5000 S TR table above. A lightweight tube can still puncture, and it has no sealant to close the hole.
Before you buy, check a tube’s tire-size compatibility, valve fit, weight, and controlled test results.
Best choice for road, gravel, mountain biking, and commuting

Ride type narrows the options, but your actual punctures and your ability to recover from one decide whether a switch makes sense.
A commuter on r/cycling, using a Checkpoint gravel bike for city riding, wrote, “I’ve never had a puncture so far, and have no idea how to install a tube in a tire… So if I got a flat on my way to work I wouldn’t fix it anyway.” Whichever system you run, plan a realistic way home.
| Riding situation | Choice to consider | What could change it |
|---|---|---|
| Occasional paved-road riding | Keep conventional tubes | Repeated punctures or a specific measured performance benefit |
| Road riding with frequent small punctures | Approved tubeless setup | Whether the actual failures are sealable tread holes |
| Gravel with thorns or sharp debris | Approved tubeless setup | Low puncture exposure or unwillingness to maintain sealant |
| Rough mountain-bike trails | Approved tubeless setup | Equipment limits, pressure needs, and field-repair readiness |
| City commuting | Either system | Puncture exposure and ability to recover from a flat |
| Road performance with otherwise reliable tires | Compare latex and TPU tubes | A particular approved tubeless combination may serve other needs |
Before you convert
Whichever system you run, learn the roadside fix before you need it. If your current tires are reliable and comfortable, you gain little by changing how they hold air.