
Let the sealant handle a small tread puncture in a sound casing. If air keeps escaping, insert a compatible plug, reinflate within your tire and rim limits, and check that the repair holds. If the casing or bead is damaged, or the leak keeps coming back, a plug is no permanent fix: inspect or replace the tire.
Find the leak before choosing a repair
A wet spot on the tread, a hiss at the valve and sealant oozing around a spoke nipple all leave you with a soft tire. Each needs a different repair. Stop somewhere safe and find where the air is escaping before you open a plug kit.
On a tubeless wheel, the casing, bead, rim tape and valve hold air together. Sealant handles tread punctures. A leak at the valve stem or the spoke holes comes from another part of the seal. SRAM/Zipp’s tubeless troubleshooting guide describes each of these leak paths.
| What you notice | Cause | Repair path |
|---|---|---|
| Small wet or hissing spot in the tread | Puncture through the tire | Sealant first, then a compatible plug if needed |
| Tread hole keeps leaking after contact with sealant | Sealant has not closed the puncture | Plug if the casing is in good shape |
| Plug backs out or the same hole leaks again | Repair has not held | Check the repair and move to a fallback |
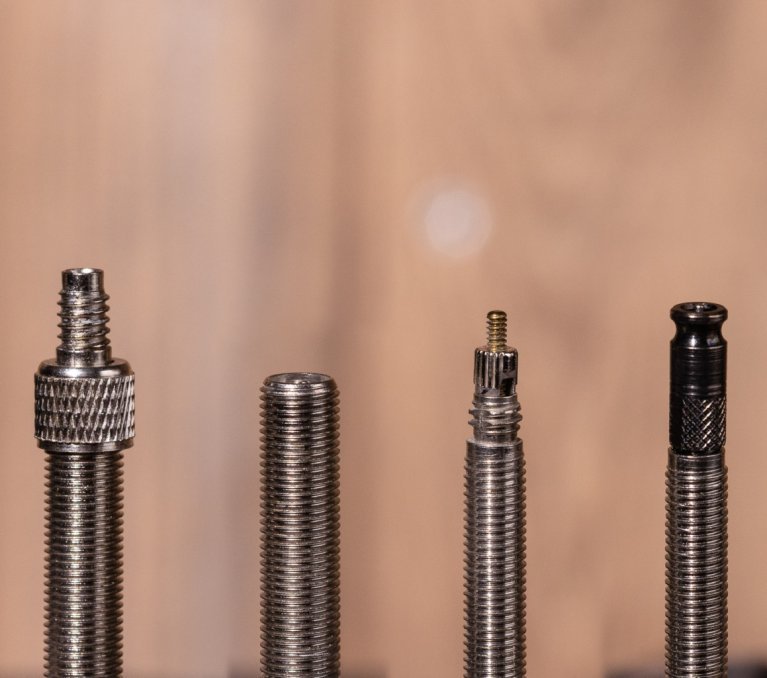
| Bubbles or a hiss around the valve | Valve core, stem, or seal | Check the valve assembly |
| Bubbles at spoke nipples | Rim-tape leak | Check or service the rim tape |
| Large slash, bulge, exposed reinforcement, or damaged bead | Structural damage | Stop riding. Decide whether the tire can be saved. |
When you can’t see the source, soapy water shows bubbles at a leaking valve or spoke hole.
Do not keep riding on a tire with a torn or bulging casing, exposed reinforcement or a damaged bead.
Let the sealant work on a small puncture
Liquid sealant can close a small hole without a plug if it reaches the puncture. Schwalbe advises rolling the wheel carefully or turning the damaged spot toward the ground so the sealant touches the opening. Then watch whether the hiss and fluid loss stop.
If a sound tread puncture keeps leaking, use a compatible plug. If the sealant has dried out or run low, follow the sealant maker’s instructions.
Plug a puncture that sealant won’t close
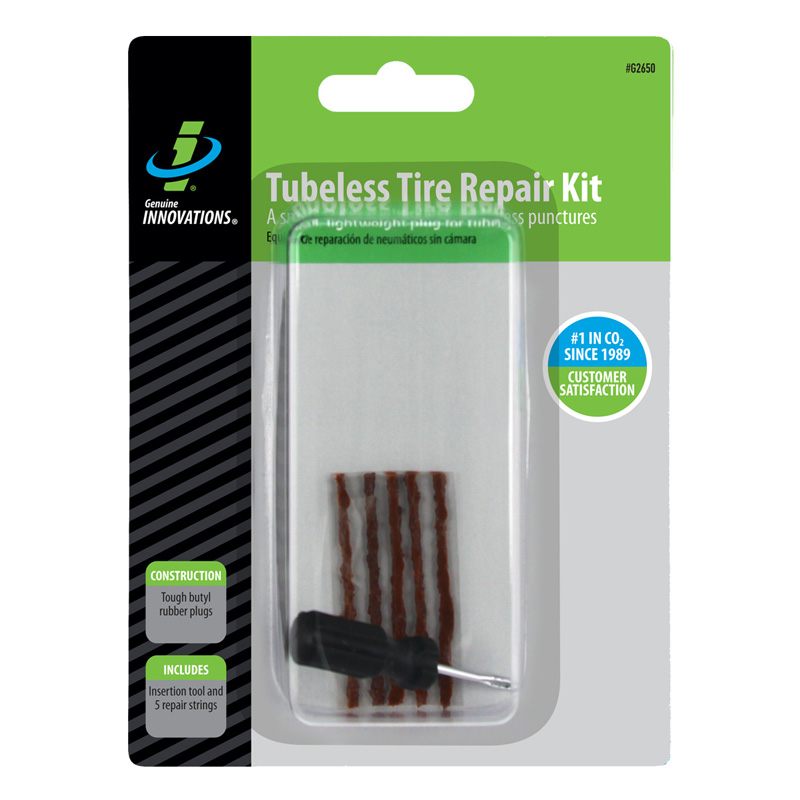
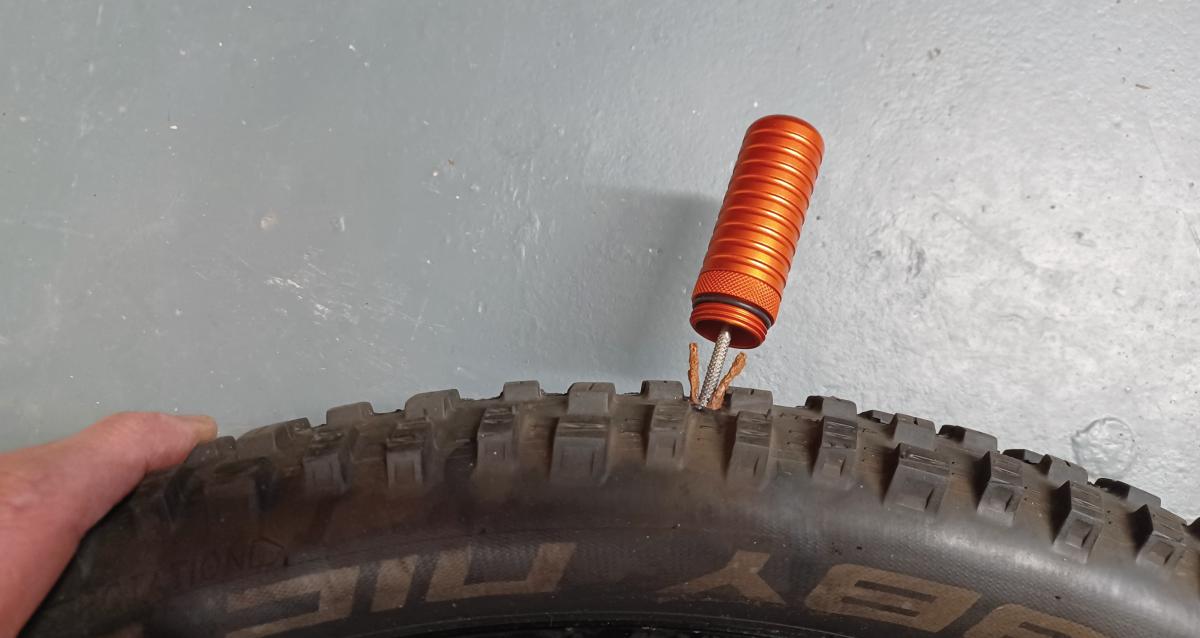
A plug fills part of a puncture from outside the tire, and the sealant closes the space around it. You do not need to remove the tire from the wheel for a tread puncture. Riders often call a rubber-string plug a bacon strip.
The steps below are for the Park Tool TPT-1, which comes with five vulcanized rubber plugs. Other kits work differently, so don’t copy these steps to another tool.
Using the Park Tool TPT-1
These steps follow the Park Tool TPT-1 instructions.
- Locate the opening. Find the puncture. If a sharp object is stuck in it, remove it when you can do so safely.
- Prepare the hole. Use the knurled section of the TPT-1 as Park Tool directs. Do not enlarge the hole or damage the material around it more than you need to.
- Load the strip. Center one of the rubber plugs in the forked tip of the tool.
- Insert the plug. Push the plug into the puncture until about 1/4 inch (6.35 mm) of its ends still shows outside the tire. That is the spec for this tool.
- Hold and withdraw. Slide the retainer against the tire to hold the plug in place, then pull the insertion tool out carefully.
Park Tool describes a TPT-1 plug repair as temporary and advises replacing the tire as soon as possible.
When your tool uses DART material
Stan’s DART uses a flexible treated material that reacts with latex-based tubeless sealant. Stan’s developed it with its own sealant and reports some reaction with other latex-based formulas, but equal results with every sealant are not established.
The flexible DART material needs no trimming. For the insertion method, follow the Stan’s DART instructions.
Check whether the repair holds
A repair has worked when the tire holds the pressure it is meant to run at, with a seated bead, a sound casing and no leak. Getting the tire up to pressure proves nothing if the puncture leaks again at your normal riding pressure.
Inflate with a pump or inflator and read the gauge. Stay within the tire and rim manufacturers’ limits and use whichever maximum pressure is lower. SRAM/Zipp gives a 73 psi ceiling for the Zipp road wheels it covers. Do not apply that figure to every tubeless or hookless wheel.
- At the puncture: Listen for hissing and look for fresh sealant escaping.
- At the plug: Check whether the plug stays in place or starts to emerge.
- At the bead: Look for uneven seating against the rim.
- On the casing: Look for a bulge or a change in the shape of the damaged area.
- On the gauge: Watch for a pressure drop after you inflate.
One r/cycling rider’s repair looked fine until it failed: “This time the plug had partly worked its way out, and air was leaking from the sides.” If the plug moves or air starts leaking again, stop relying on that repair.
Install an inner tube if the roadside fix fails
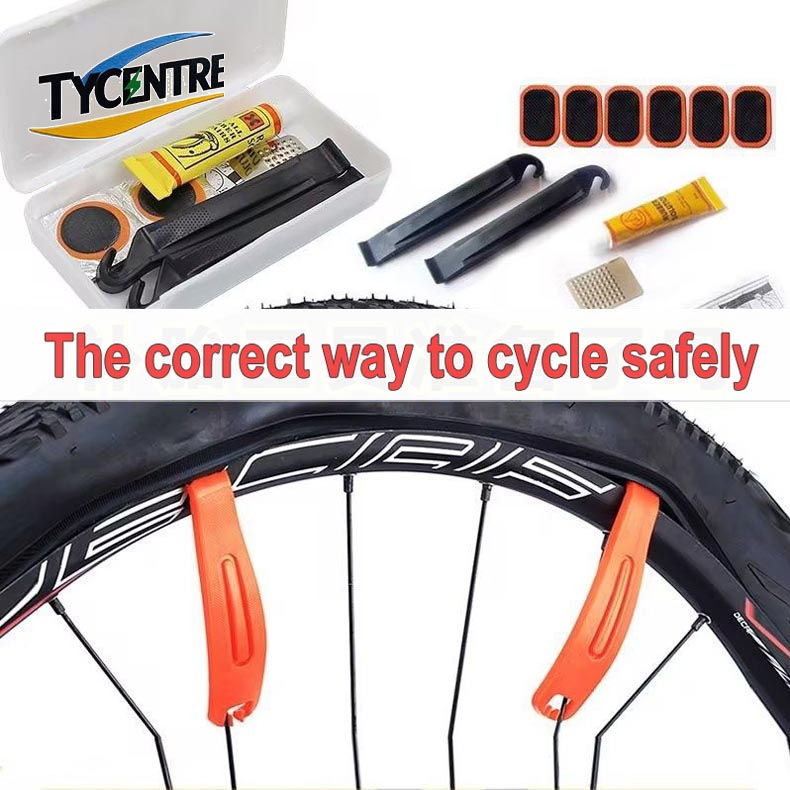
An inner tube can get you home when sealant and a plug have failed, as long as the casing and wheel can still contain it.
- Open the tire. Remove the wheel if you need to, release any remaining pressure and unseat one tire bead carefully.
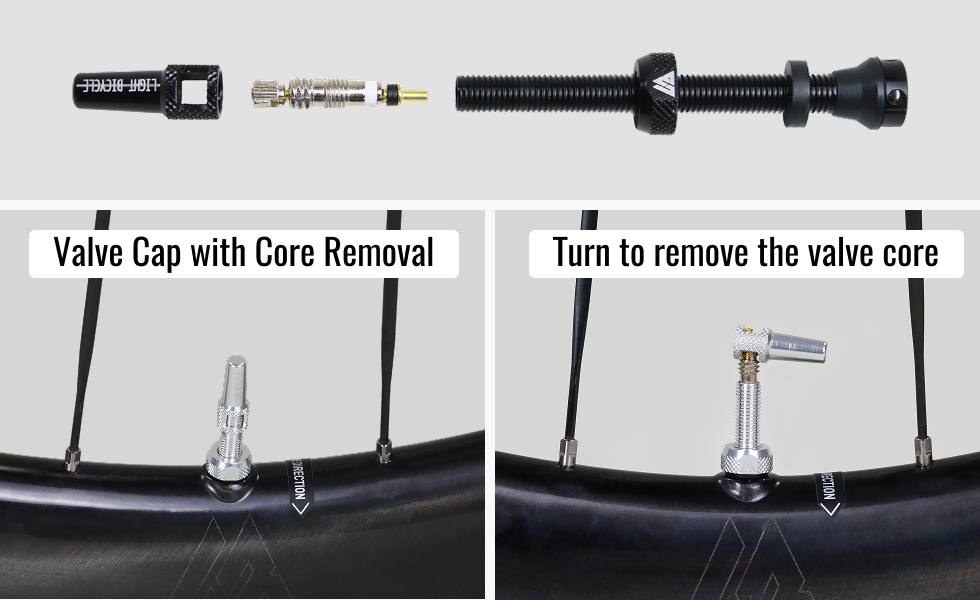
- Remove the tubeless valve. Take the valve stem out of the rim so the tube’s valve can pass through the hole.
- Check inside. Find any sharp object still in the tire and check whether the casing can safely hold the tube.
- Fit a compatible tube. Use a tube that fits your tire’s size range and your wheel’s valve configuration.
- Remount the bead. Don’t pinch the tube or cut the rim tape with a lever.
Schwalbe advises wiping out as much sealant as you reasonably can. Leftover sealant does not damage the tube. A badly ripped tire may not hold the new tube either.
Hookless systems keep their tire-approval and wheel-pressure restrictions even when you install a tube. One rider who finished a group ride on an emergency tube wondered whether to leave the tube in or go tubeless again. Keep the tube in if the casing is in good shape and your tire and rim allow it. Switch back to tubeless later, after you have checked the puncture and the seal.
Know when the tire needs an internal repair or replacement
A plug seals the leak but does not restore torn reinforcement. When a cut looks unclear or a failure keeps returning, check the tire from the inside if you can remove it.
At home, check the inner casing around the puncture, plus the bead and the reinforcement nearby. Some tubeless tire damage can be repaired from the inside with a product and procedure approved for that tire. Each patch system has its own preparation, bonding and cure steps, and ordinary inner-tube patches are not a universal casing repair.
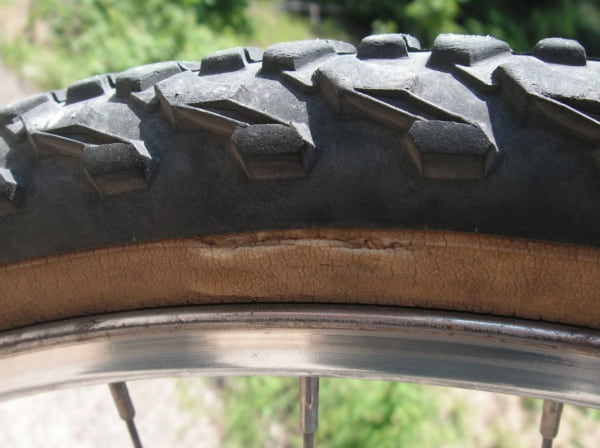
Park Tool’s TB-2 boot supports certain ripped tire casings as a temporary measure. The Park Tool tire repair guide says the boot must cover the tear without crossing the tire bead, and it recommends replacing the damaged tire promptly. Stan’s says DART can also seal some sidewall punctures. For a damaged bead, a bulging casing, exposed reinforcement or a cut beyond what the repair covers, replace the tire or have a mechanic check it.
Carry a tubeless repair kit you can use
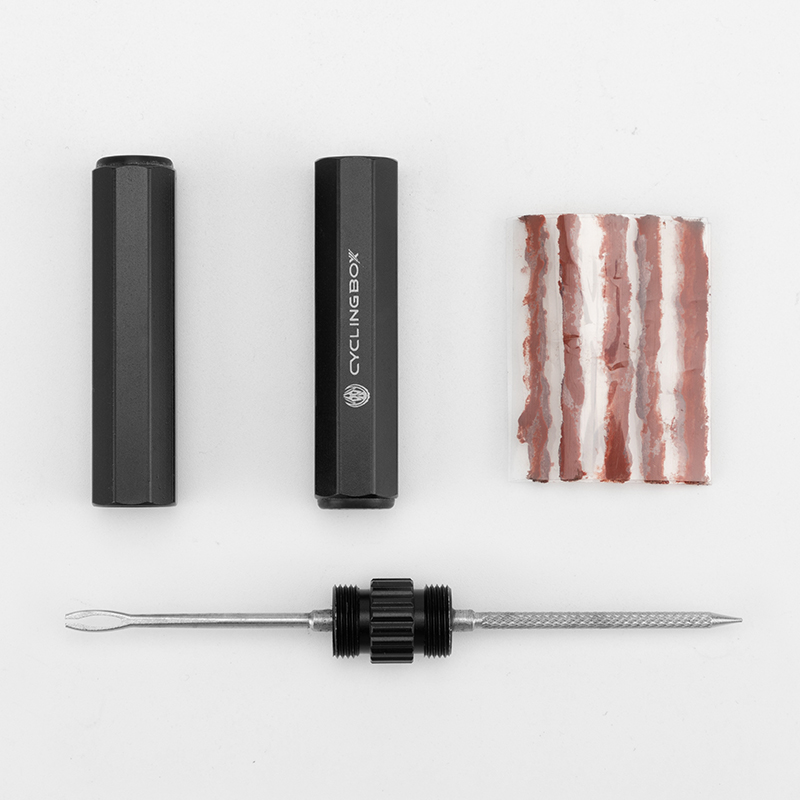
A roadside kit should cover a routine puncture and a fallback if the plug fails.
- Mini pump or compatible inflator
- Plug tool with spare plugs
- Compatible inner tube
- Tire levers for a tight bead when you fit the tube
- Valve tools if your setup needs the core or stem removed
- Optional sealant and tire boot
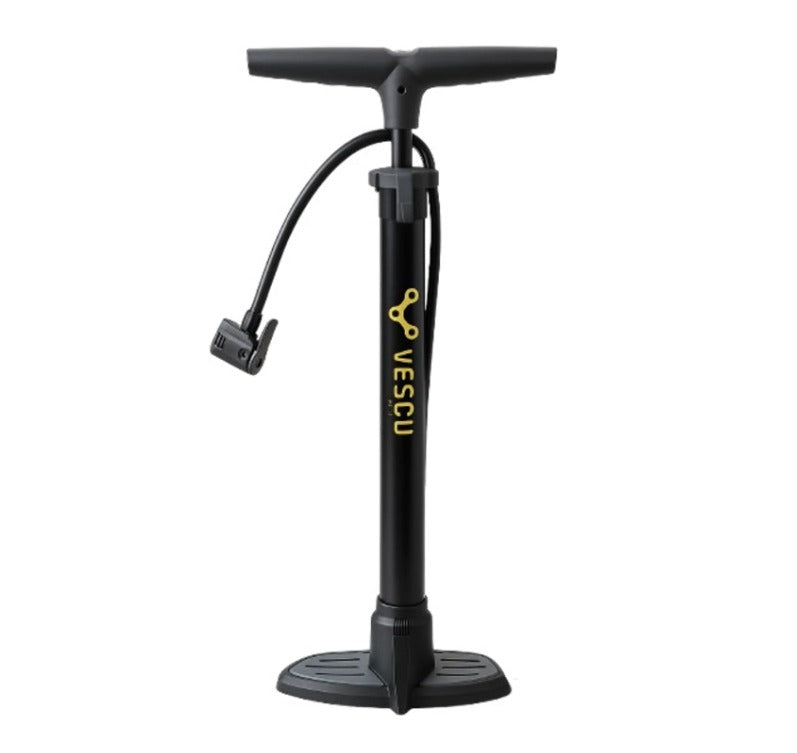
Lay out your kit before you ride, check that the tube’s size and valve fit your wheel, and practice with the tools on your own wheel. A tight tubeless bead is a poor surprise when you are already stranded.
CO₂ also affects what you pack. Schwalbe cautions against using CO₂ with its Doc Blue sealant. SRAM/Zipp describes CO₂ as a temporary inflation option. Replace it with ambient air afterward, since retention may be shorter.