
For a standard, serviceable chain, leave it on the bike. Wipe or brush off the grime, use a drivetrain-safe cleaner on stubborn buildup, dry the chain, then lubricate the rollers and wipe off the excess. If the chain is worn or damaged, replace it. If you run a dedicated wax system, follow that system’s own procedure. Check the chain and brakes before your next ride.
Before you start: does your chain need cleaning, lube, or replacement?
Black film on the outside of the chain needs a wipe and fresh lube. Thick, gritty sludge between the links needs a proper clean. Look for dirt, corrosion, stiff or damaged links, and poor shifting before you reach for the degreaser.
| What you find | First response | When to change course |
|---|---|---|
| Light surface dirt; links move freely | Wipe off the grime and lube as part of your routine | Grit still sits inside the links: clean the chain more thoroughly |
| Mud, oily grit, or stubborn buildup | Clean the chain on the bike, more thoroughly | The cleaner or your current lube system calls for another method |
| Damaged links, serious rust, measurable wear, or persistent skipping | Measure the wear and check for damaged links | A wear gauge shows the chain needs replacing |
| Chain maintained with a dedicated wax system | Follow that system’s care instructions | Wax chains have their own cleaning and lube routine |
One new cyclist with a four-year-old used bike and a recently replaced cassette had never cleaned a chain and wondered whether the whole chain has to come off. It doesn’t. Clean it on the bike. On a bike that age, check the wear before you spend time on a deep clean.
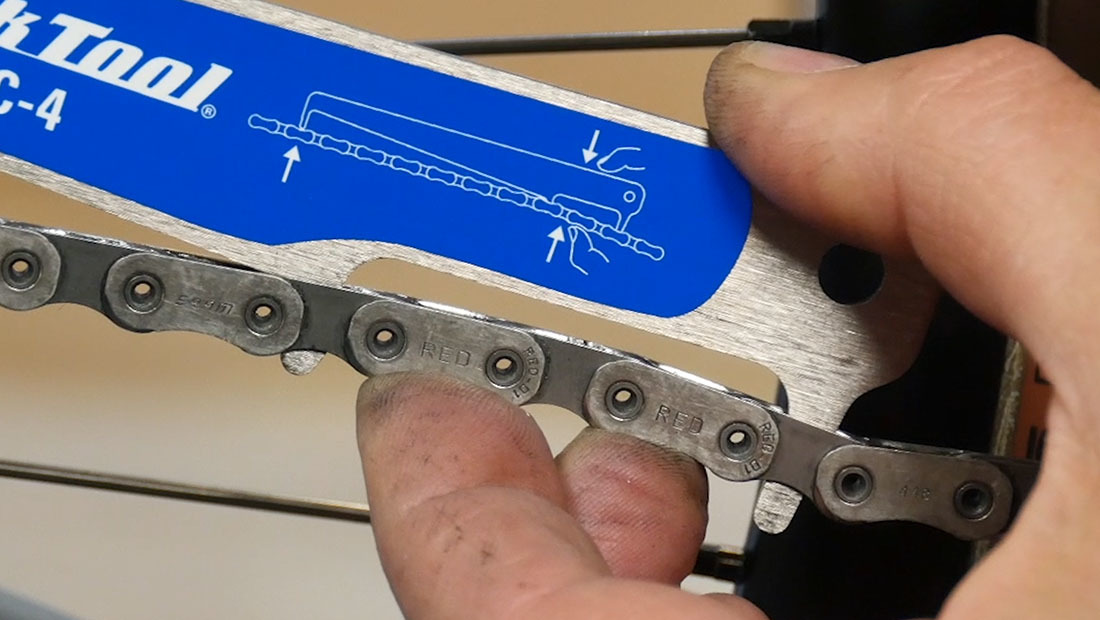
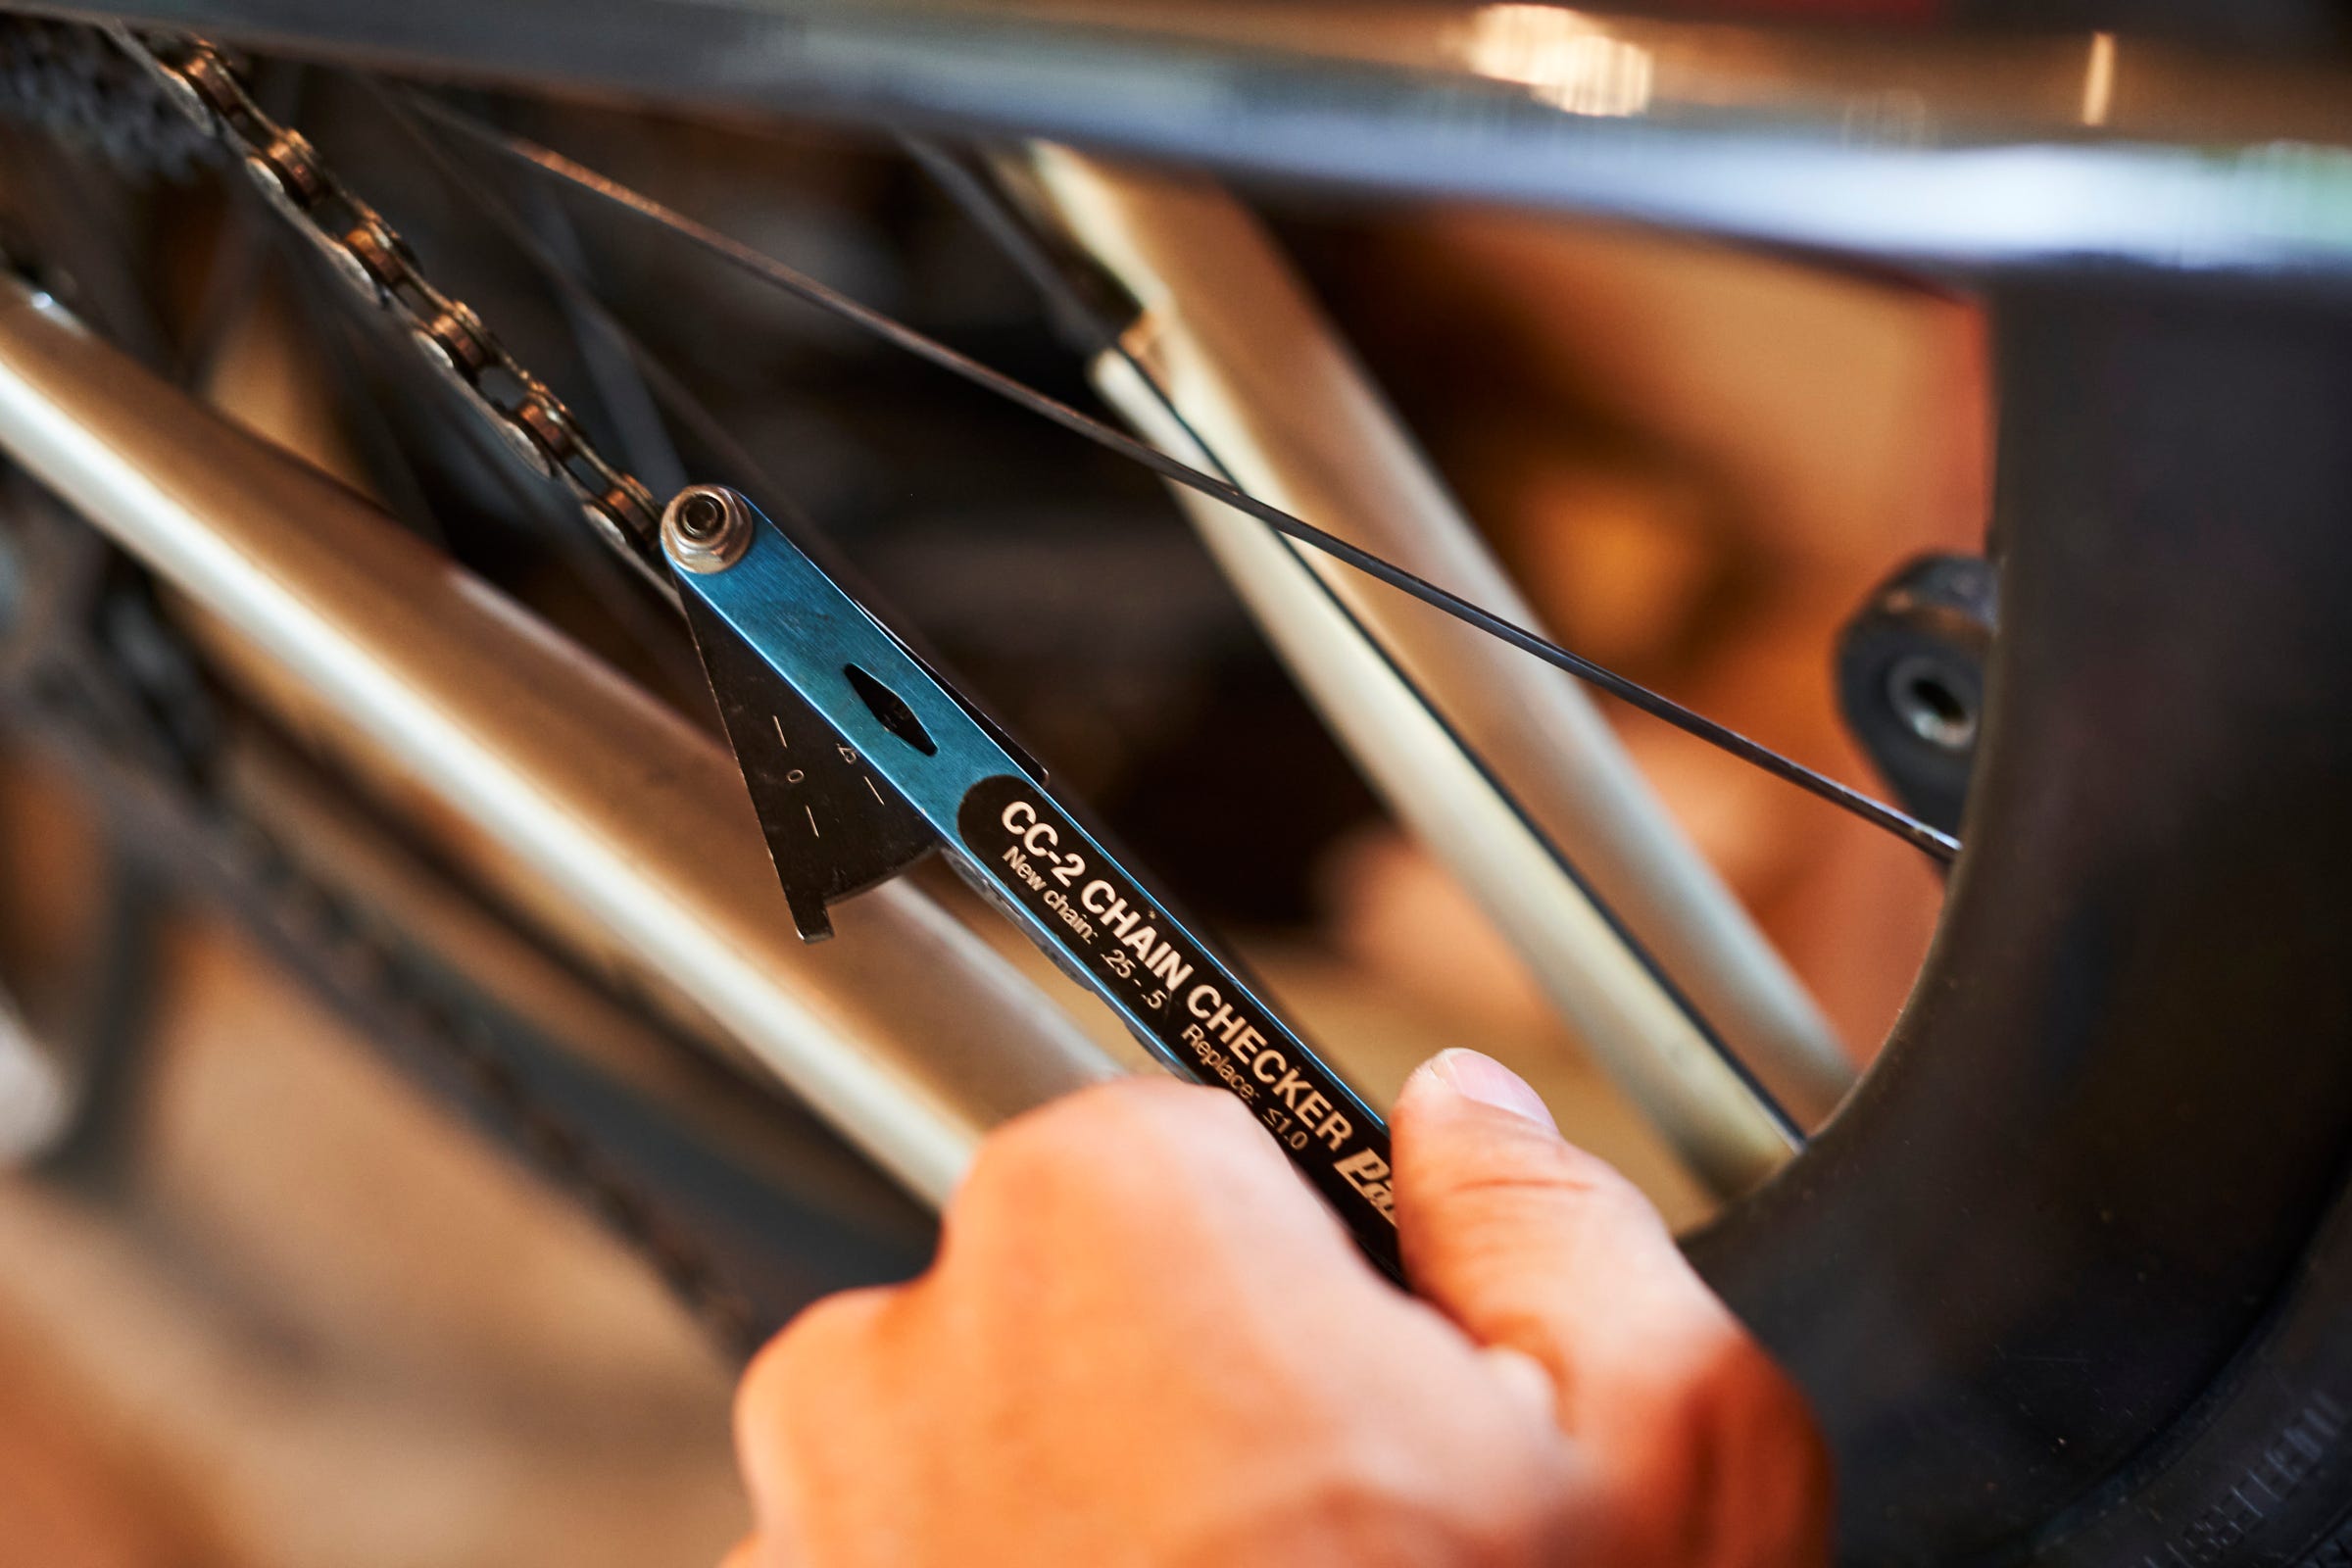
What riders call chain “stretch” is actually wear at the joints. Worn links stop meshing properly with the cassette and chainrings, which hurts shifting and wears out other drivetrain parts. A chain-wear gauge gives a better measurement than looking at the chain.
Park Tool’s CC-4.2 marks wear at 0.5%, 0.75%, and 1.0%. Which of those means replace depends on your drivetrain and chain manufacturer’s guidance.
What you need and how to set up without making a mess
A rag and a brush are enough to start with the chain on the bike. A repair stand and a chain scrubber are optional.
- Two rags: One for dirty work, the other for drying and wiping off excess lube.
- Firm brush or old toothbrush: For dirty links and the drivetrain surfaces you can reach.
- Drivetrain cleaner: For sticky oil and grit that a wipe won’t remove.
- Bike-chain lubricant: Pick one that suits the chain’s existing treatment and your riding conditions.
- Floor protection: Cardboard, newspaper, or a tray under the work area.
- Gloves: Protection from grime and cleaning fluid.
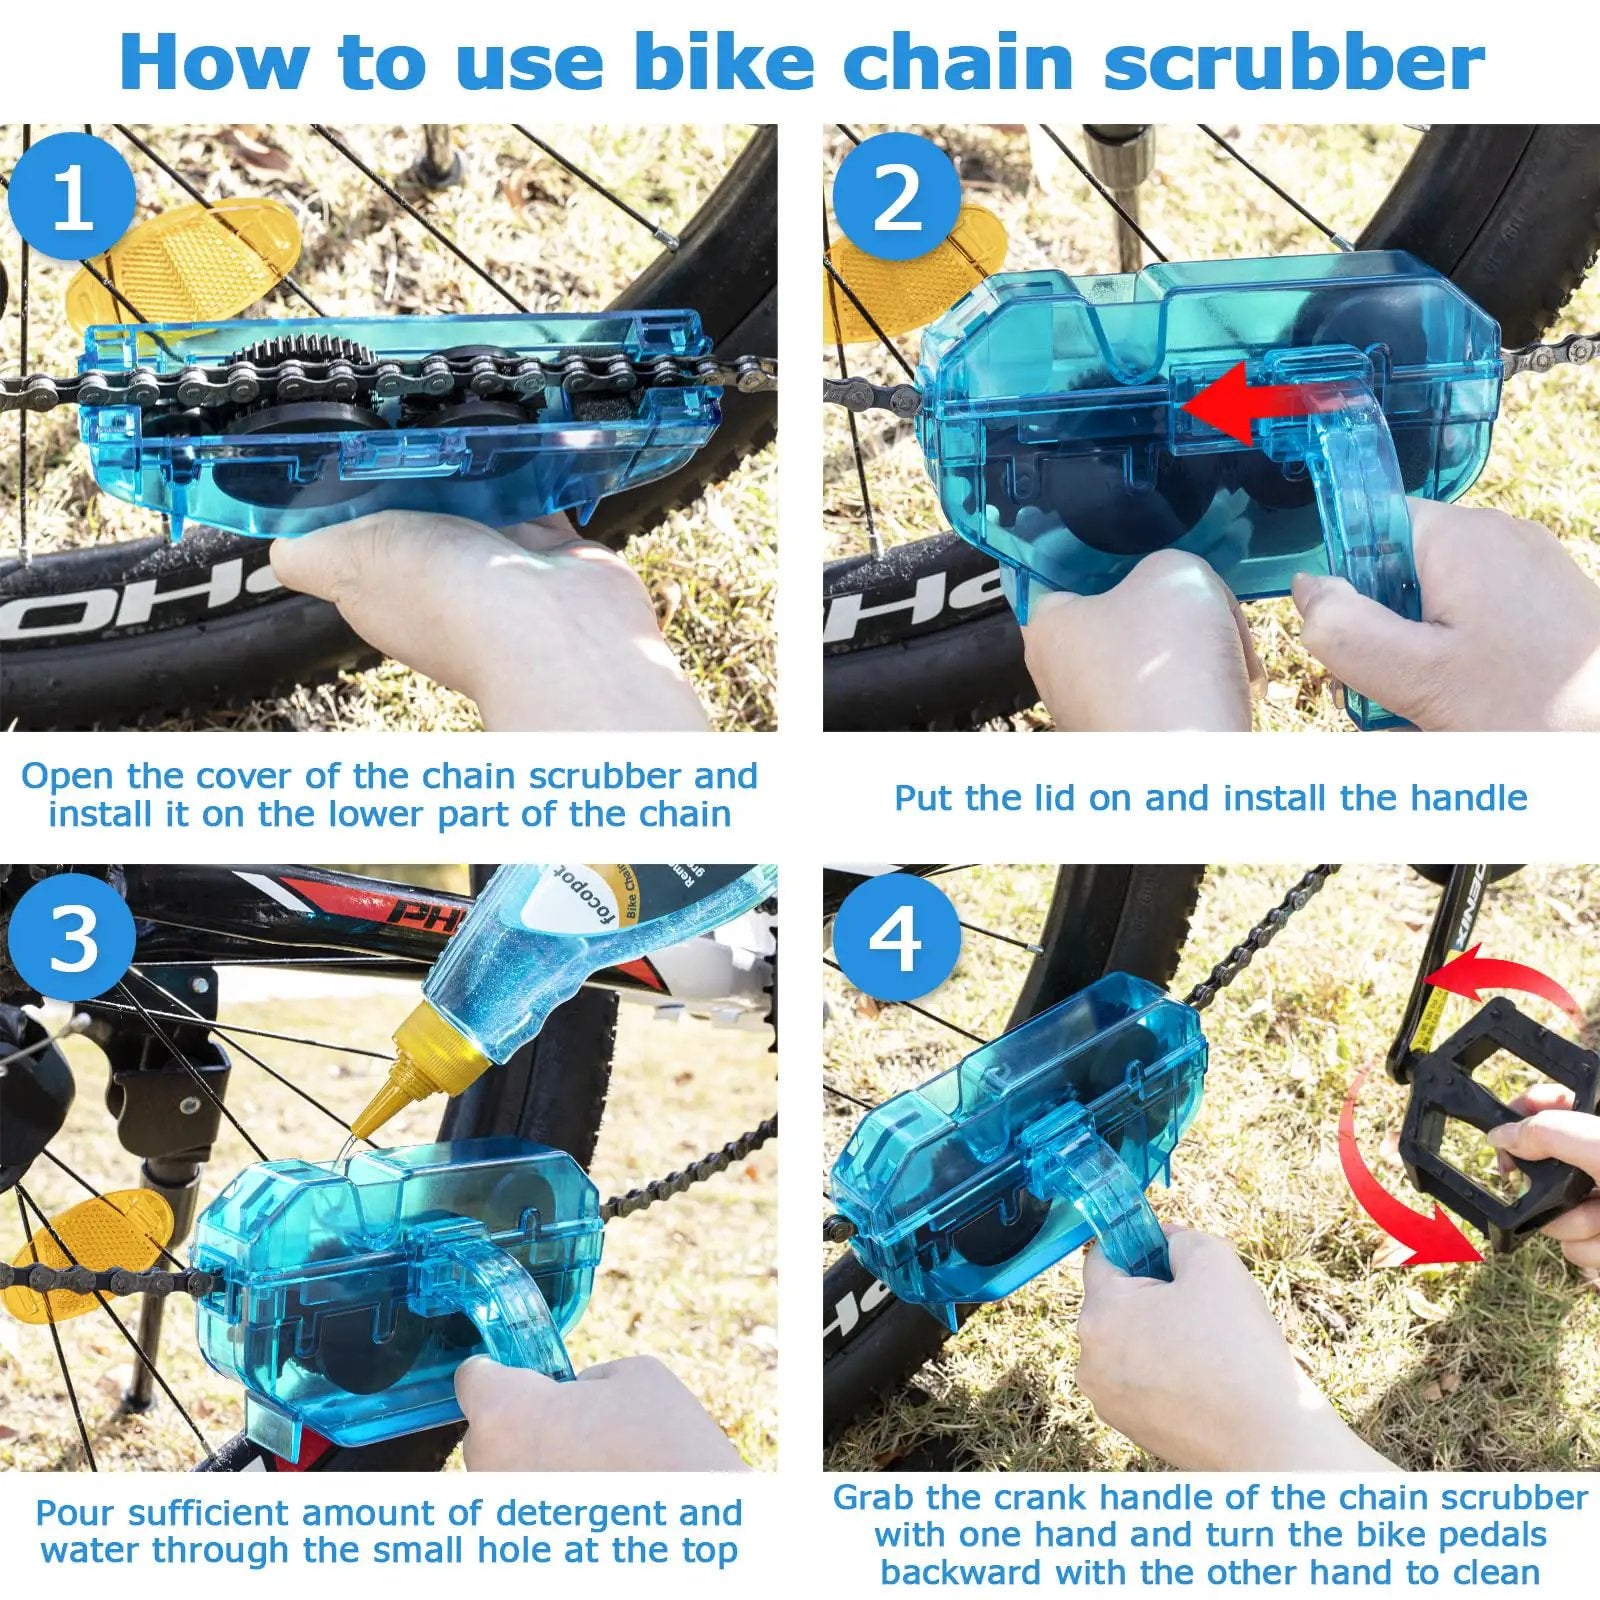
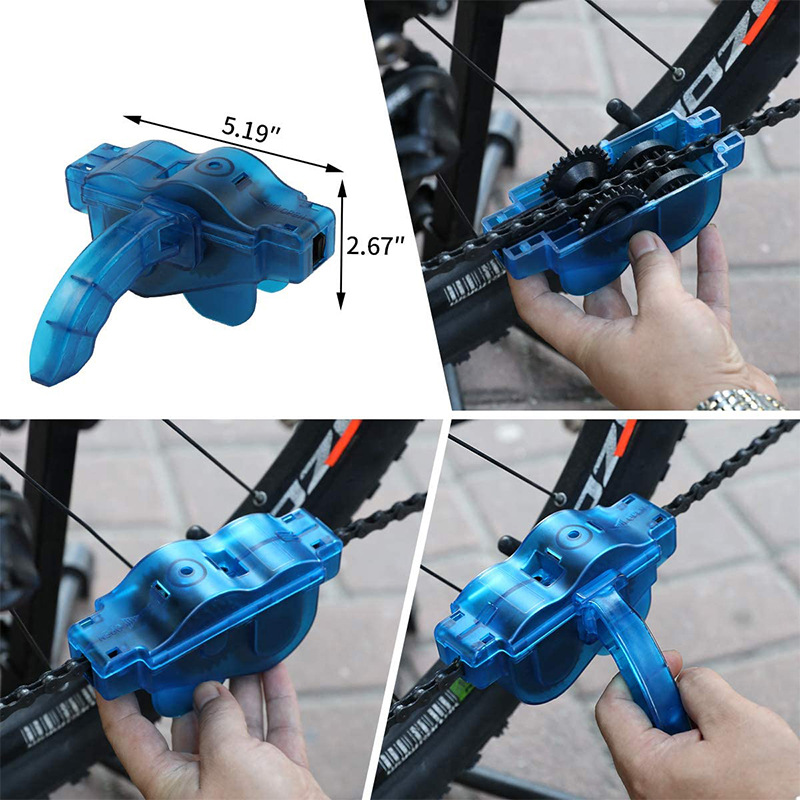
Park Tool’s CM-5.3 is one example: a chain scrubber that holds cleaner around the moving chain and makes a deep clean easier.
Put the bike where it can’t topple while you turn the cranks by hand. Keep your fingers away from the points where the chain runs onto a chainring or rear cog. The exposed lower run of chain is where you’ll work with the rag or brush.
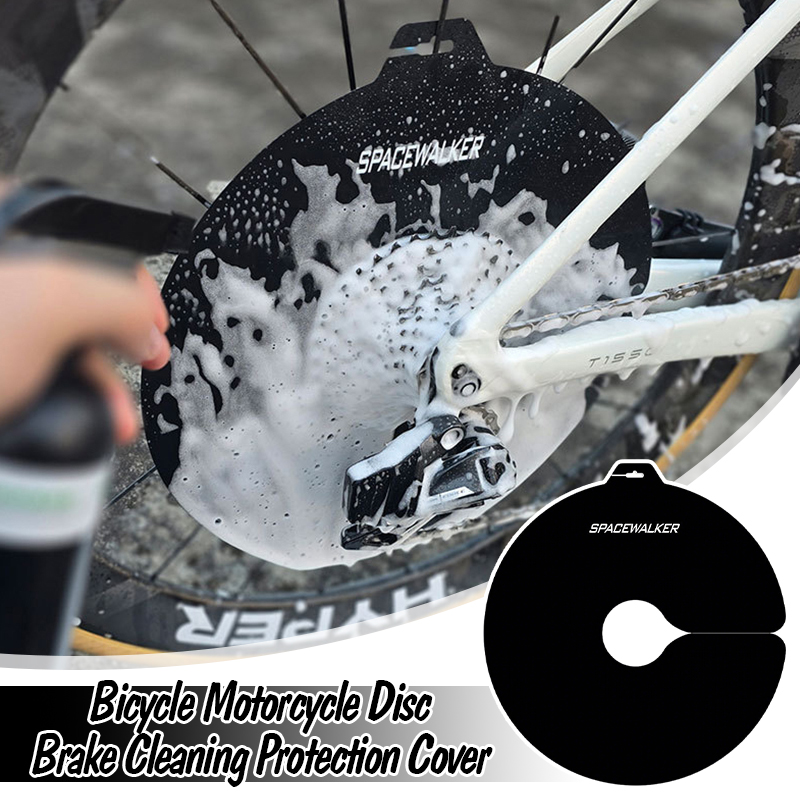
Keep degreaser, chain oil, and dirty rags off disc brake rotors and pads. Contamination there reduces braking performance.
Match the cleaner to your components. SRAM’s drivetrain-care instructions specify pH-neutral products in the pH 6 to 8 range for the drivetrains they cover. On an e-bike, follow its power-off or service-mode instructions before you work near powered components.
How to clean a bike chain without taking it off
Start with a dry wipe. If oily grime or embedded grit won’t come off on the rag, bring in a degreaser.
For light dirt: wipe and brush
Hold the rag around the lower, straight run of chain, away from the chainring and rear cogs. Turn the cranks backward slowly by hand so the chain runs through the cloth. Brush out the dirt left between the links, especially lodged grit, and keep going until the thick grime is gone.
For stubborn grime: clean more thoroughly
- Apply cleaner. Put it on a brush or into a chain-cleaning device as the instructions say, and aim it at the chain’s lower run.
- Loosen the buildup. Brush the dirty links, or run the device, while you move the chain backward by hand.
- Remove the residue. Wipe or rinse the way the cleaner’s instructions say.
- Dry the chain. Wipe it with a clean rag and let any remaining moisture evaporate before you lube.
Don’t blast bearings or electronics with high-pressure water.
Contain the used cleaner
Catch spent cleaner and dirty rinse liquid in the tray or on absorbent material, and keep it out of storm drains. Dispose of it as your local waste authority instructs.
How to lubricate the chain and why you wipe it afterward
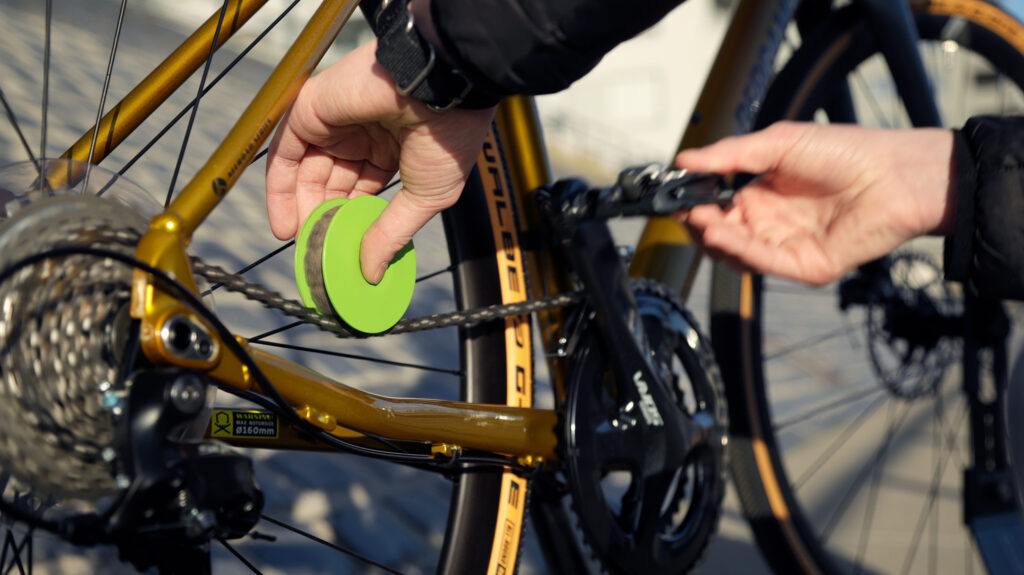
Lube has to reach the rollers and joints where neighboring links move. Use a chain-specific product that suits the chain’s existing treatment.
- Position the applicator. Aim at the lower run of chain, where you can see the rollers.
- Add controlled drops. Turn the cranks backward and put a small drop on each roller or link joint along the chain.
- Let it settle. Follow the product’s distribution, drying, or curing instructions before you ride.
- Wipe off the excess. Run a clean rag over the outside of the chain. Oil left on the outside collects dirt.
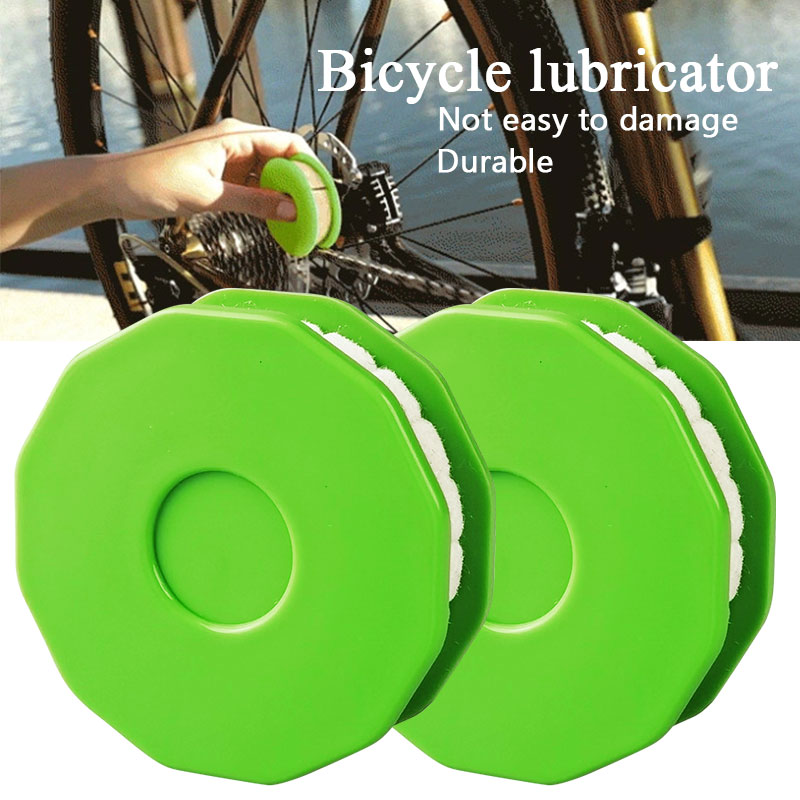
“I’m largely looking for a temporary fix before my next ride as I don’t have time to take anything apart,” wrote one r/ladycyclists rider whose bike was squeaking before another ride. If the chain is dirty but serviceable and dry, and you can’t clean it properly, fresh lube works as a short-term fix. Clean it properly when you have time. More lube won’t repair a worn link or fix an unrelated shifting fault.
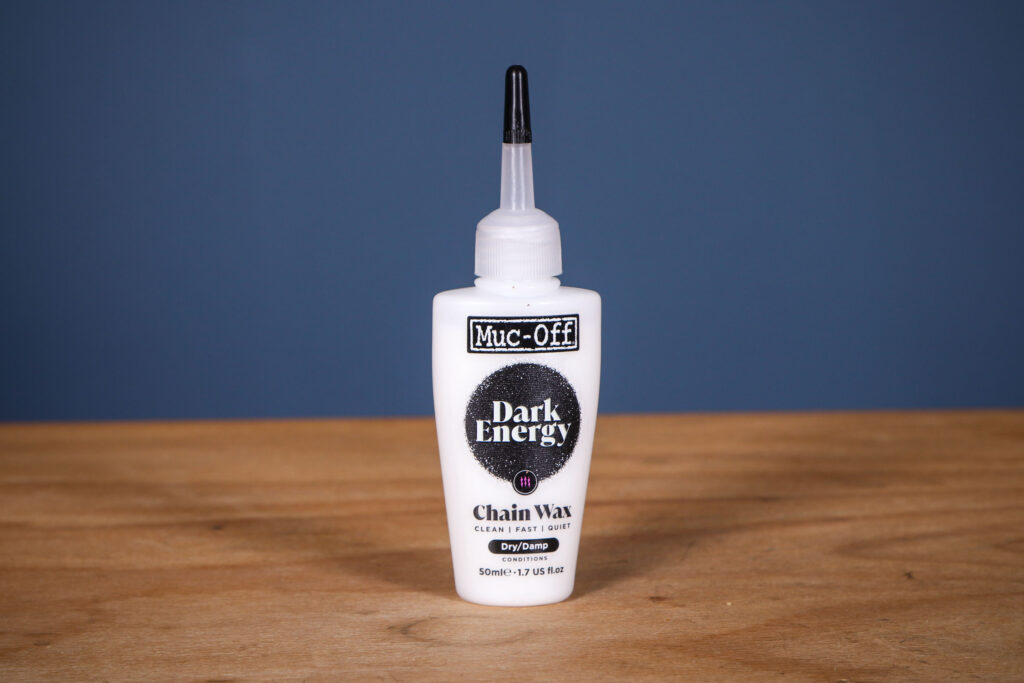
Wet, dry, or wax: choose a lubricant that matches your rides
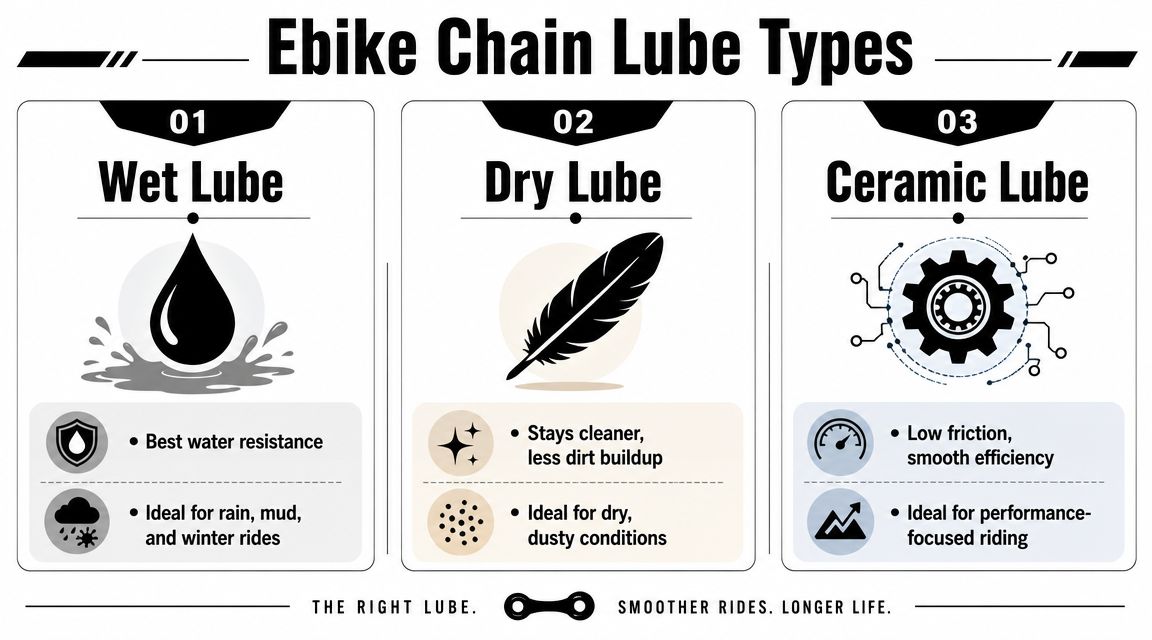
Wet, dry, and wax are different formulations with different upkeep routines. Start with the weather and with whatever treatment is already on your chain.
| Type | Riding context | What to account for |
|---|---|---|
| Wet chain lube | Rain and wet or muddy rides | Water-resistant, but it leaves residue that holds grime, so wipe the outside well |
| Dry chain lube | Dry roads and dusty conditions | Drying and reapplication times vary by product |
| Drip wax or immersive wax | A wax-based chain system | Wax needs different preparation and curing than oil lube, and the chain has to be compatible |
If your rides mix dry grit and frequent rain, an all-condition lube works as a compromise, as long as it suits the chain’s existing treatment. Its label covers application and curing.
How often should you clean and relubricate your chain?
Check the chain sooner after rain, mud, or heavy dust. A clean, dry ride on pavement leaves less to remove. BikeRadar gives roughly 100 miles as a fair-weather road reference, Trek suggests at least monthly attention for regular riding, and Liv recommends degreasing and relubricating every couple of weeks. In practice, let the chain’s condition and your lube’s instructions tell you when it’s due.
Check your work and know when cleaning won’t fix the problem
Once you’ve cleaned and lubed, inspect the result.
| Check | What passes | What to do if it fails |
|---|---|---|
| Chain exterior | No heavy grit or thick film of excess lube | Wipe off the residue or clean the chain again |
| Link movement | Links move freely, nothing binds or looks damaged | Have a stiff or damaged section inspected |
| Pedaling and shifting | Normal pedaling and gear changes on a cautious test | Look for the cause, see below |
| Brakes | Rotors and pads clean; braking feels normal | Clean the brakes or have them checked before you ride |
Squeaking or skipping that stays after cleaning can come from chain wear, a stiff link, derailleur adjustment, or another drivetrain part. If it persists, have a mechanic inspect the bike.
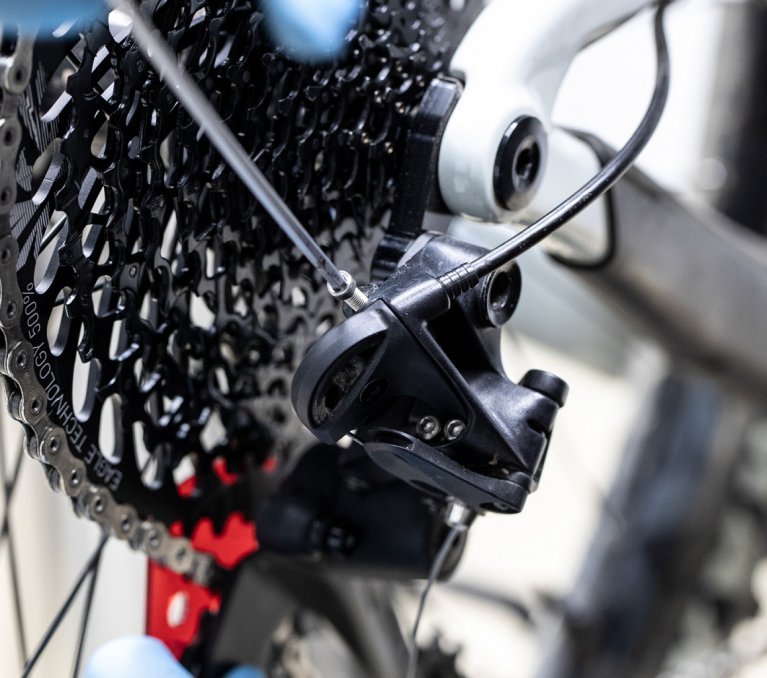
One cyclist back from forest and gravel routes asked how best to clean the chain, rear derailleur and cassette, and whether a hose would do. Skip high-pressure water, which can reach bearings and electronics. Brush and wipe the accessible drivetrain surfaces instead, keep cleaner off the brakes, and dry everything before you lube.
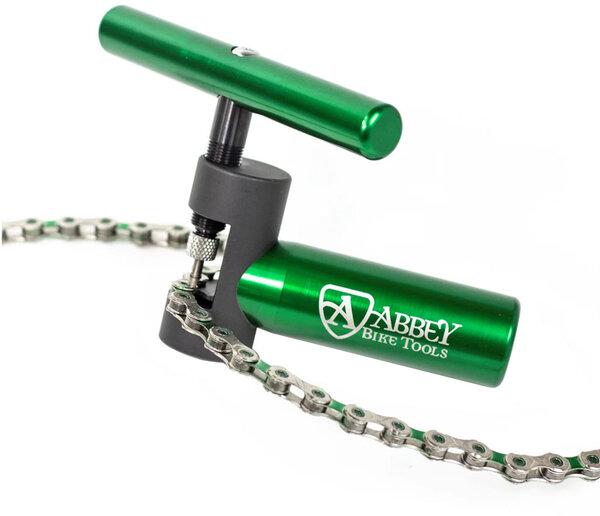
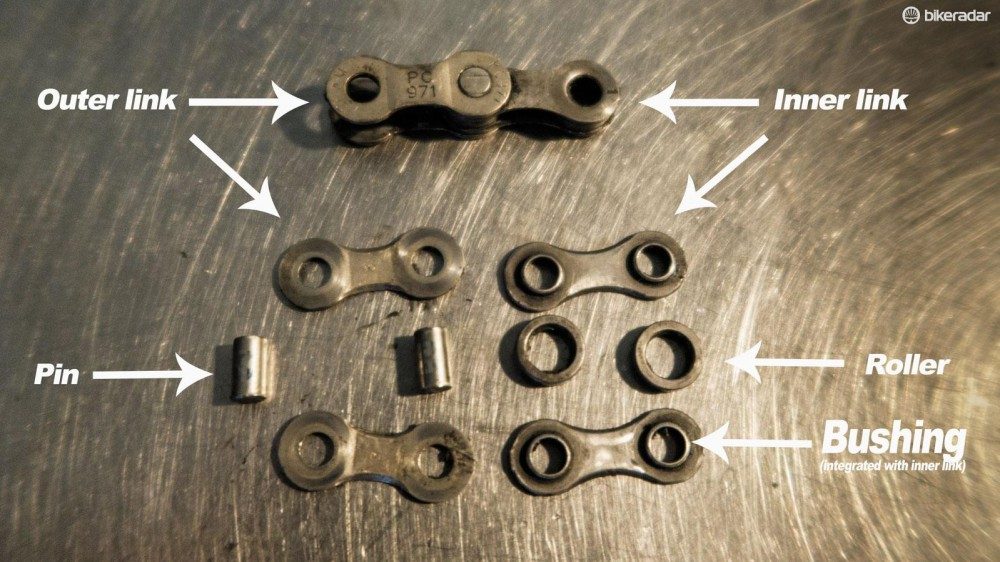
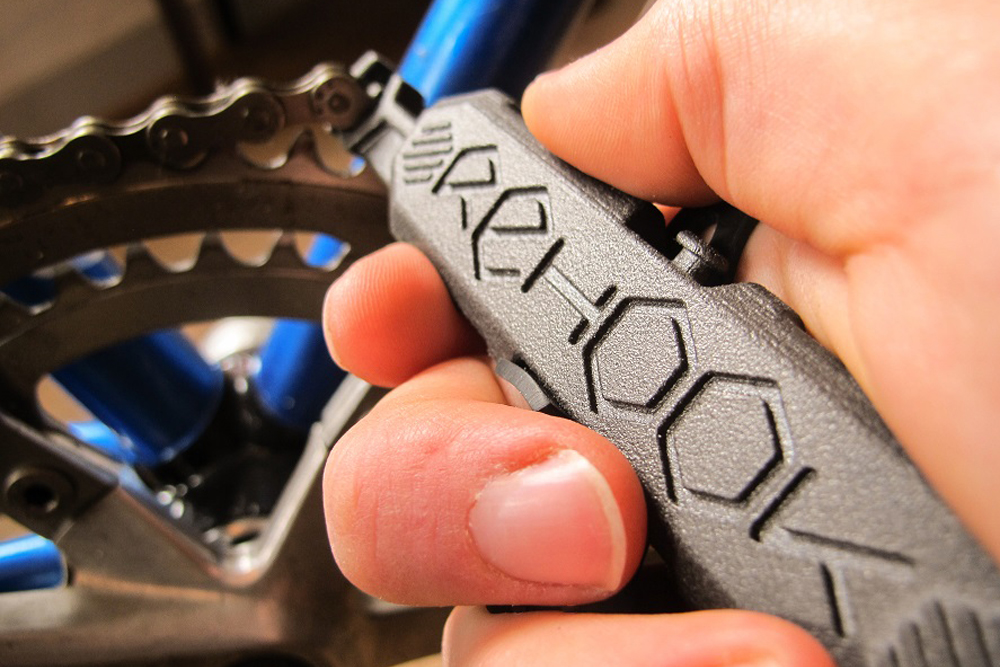
If a deeper service means opening the chain, identify the connecting link first. Some SRAM PowerLock connectors are single-use and must be replaced once opened. Other connectors follow their own rules.