
Find out what punctured the tube first, then fit a matching new tube or patch the old one. Before you ride, make sure the bead sits evenly, the wheel is locked in and the brakes work. If the setup is tubeless, the tire or wheel is damaged, or you can’t finish the checks, use a different repair method or get qualified help.
Check your tire setup and tools
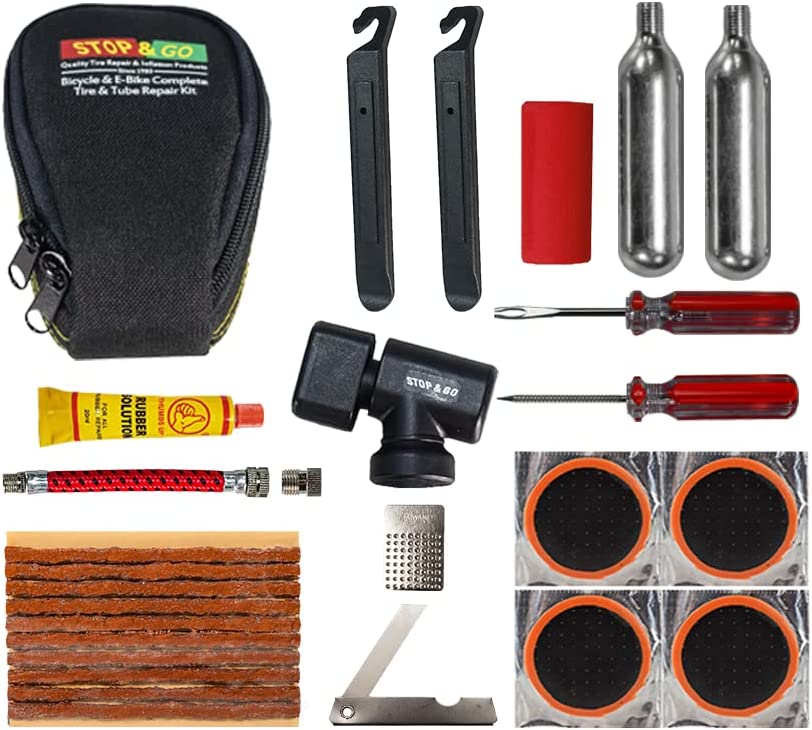
You can fix most flats with a spare inner tube, tire levers and a pump, as long as the wheel has a conventional clincher tire with a removable tube.
Not sure which tire system you have? Start with Identify whether your tire is tubed or tubeless.
| What you find | Repair route |
|---|---|
| A conventional tire containing an inner tube | Follow the tube repair below |
| A tubeless setup without an inner tube | Use tubeless-specific puncture repair |
| A tire marked tubeless-ready | Check whether a tube is installed. The sidewall marking describes compatibility, not what is fitted |
| A wheel with unfamiliar or specialized hardware | Use the model-specific procedure, since a generic wheel-removal sequence may not apply |
For a tube-equipped wheel, you’ll need:
- Spare tube or patch kit: A tube that fits the tire, or materials for patching the punctured one.
- Tire levers: Plastic ones made for bicycle tires.
- Pump: A hand or floor pump, or a compatible CO₂ inflator.
- Wheel-removal tool: A wrench or hex key, if your axle needs one.
- Extras: A rag, a small light and something to mark the puncture.
Check that the pump head fits your valve. A Schrader valve has a spring-loaded central pin. A Presta valve has a small threaded tip that opens for inflation.
At the roadside, get away from traffic and find stable ground before you touch the wheel.
Remove the wheel without disturbing the brakes
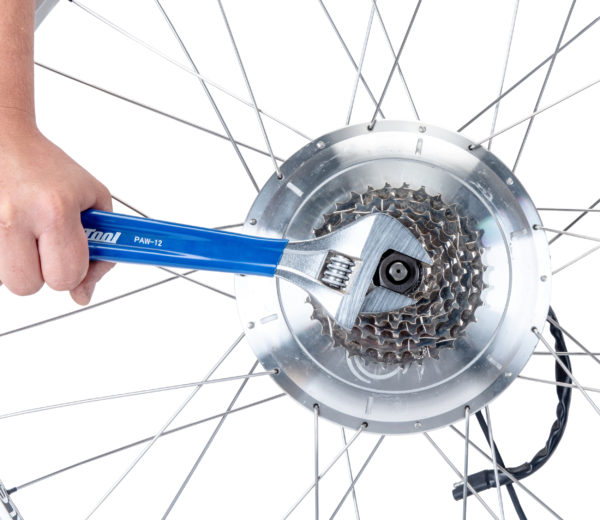
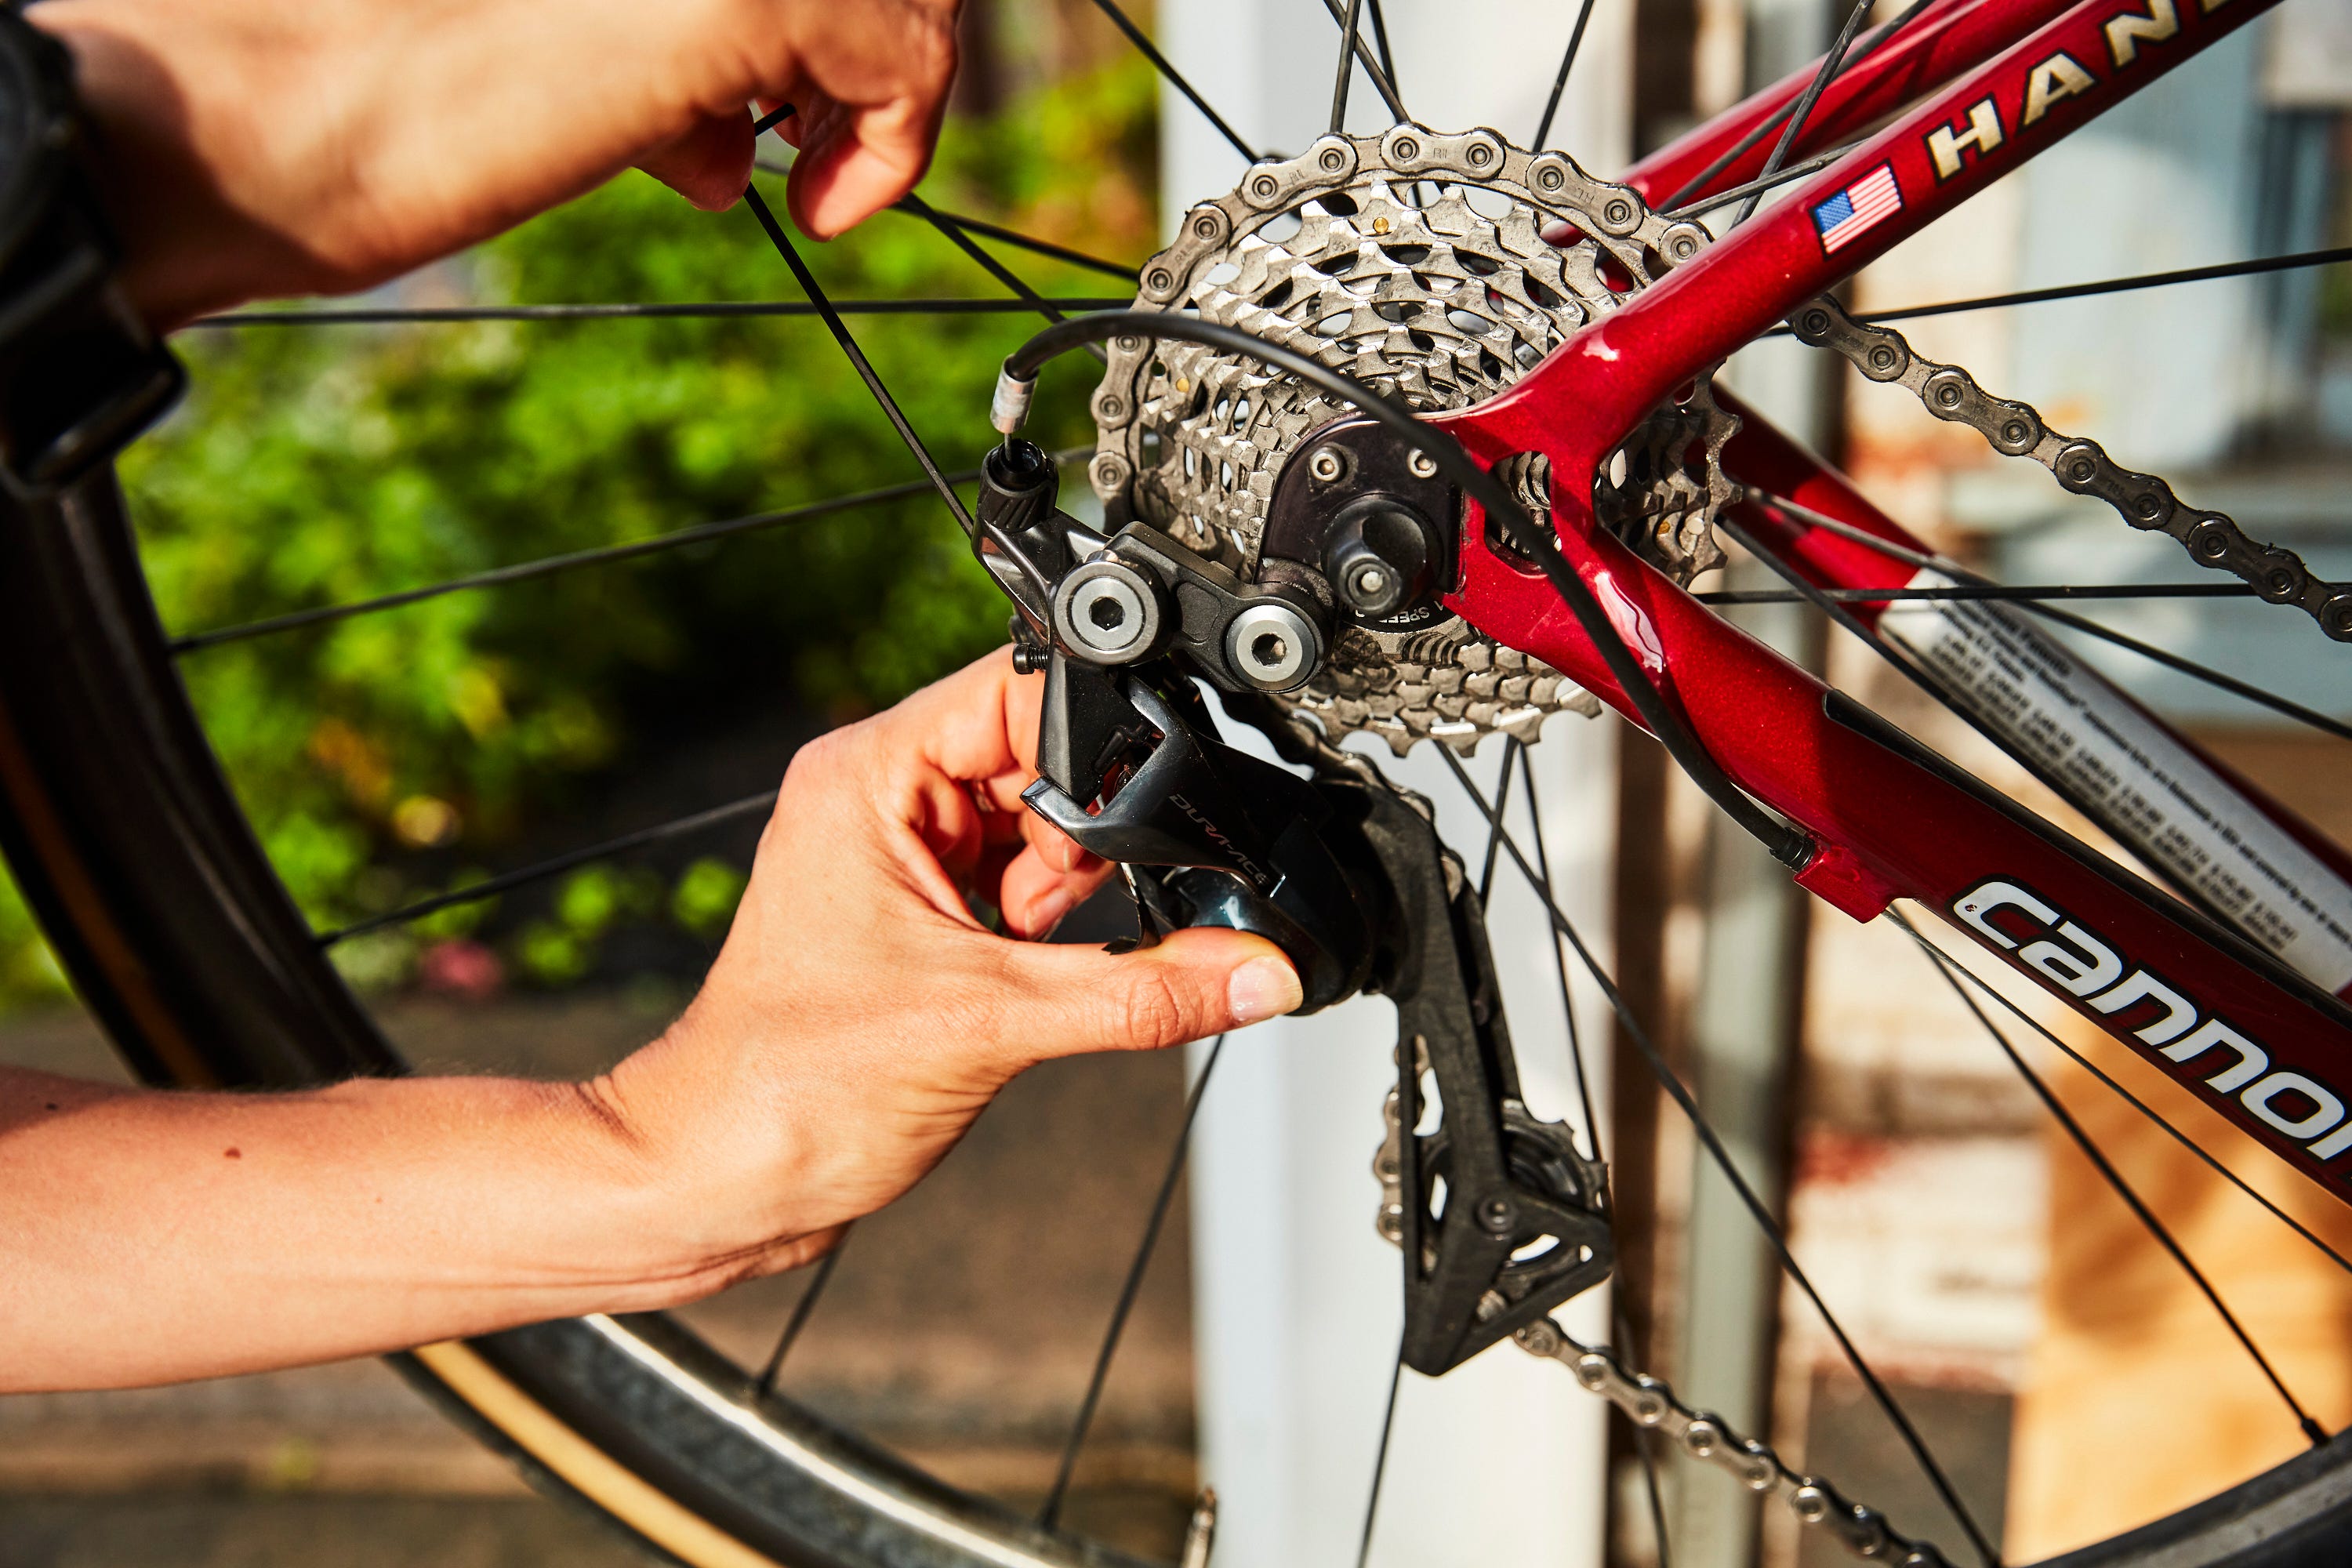
How the wheel comes off depends on its axle and brake type. Secure the bicycle so it can’t fall while you work. On a rear-wheel flat, shift to the smallest rear cog first if the drivetrain allows it. That gives the derailleur and chain more clearance.
Check how the wheel is held in:
- Quick-release skewer: Open the lever and loosen it until the wheel drops free of the dropouts.
- Thru-axle: Use its lever or tool to unscrew the axle and pull it out.
- Solid axle with nuts: Loosen the nuts with a wrench.
Rim brakes have a release that opens the pads so the tire can pass between them. Disc brakes don’t have one. On the front wheel, guide the axle out of the fork. At the rear, move the derailleur carefully and guide the wheel past the chain and cassette. Keep axle parts and spacers in order.
With hydraulic disc brakes, don’t squeeze the brake lever while the rotor is out of the caliper. The pads or pistons can close, and the wheel gets hard to reinstall.
Some thru-axles, hub-motor e-bikes and specialized wheels need model-specific removal instructions. Don’t force an unfamiliar release or pull against attached wiring. Set the wheel down where the rim and brake rotor are protected.
Unseat the bead and remove the tube
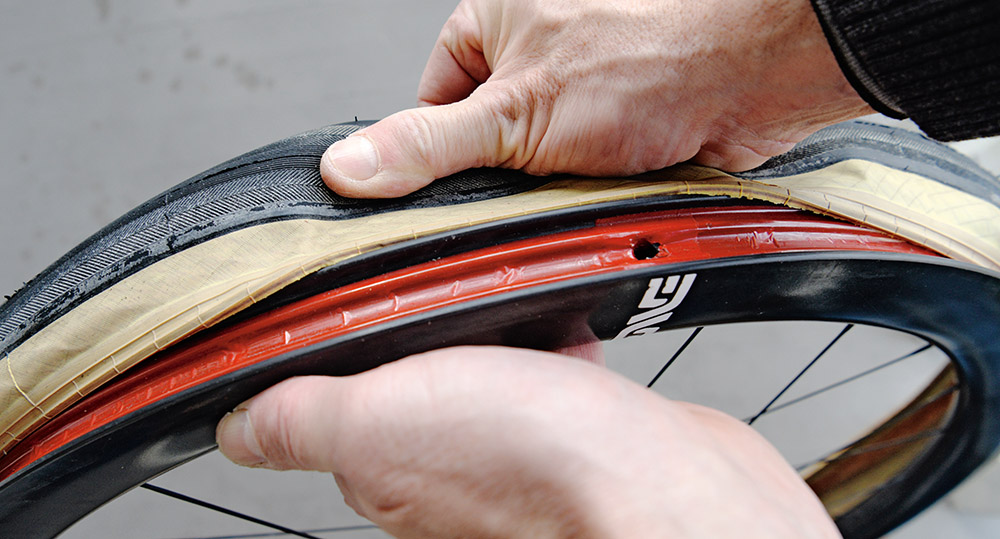
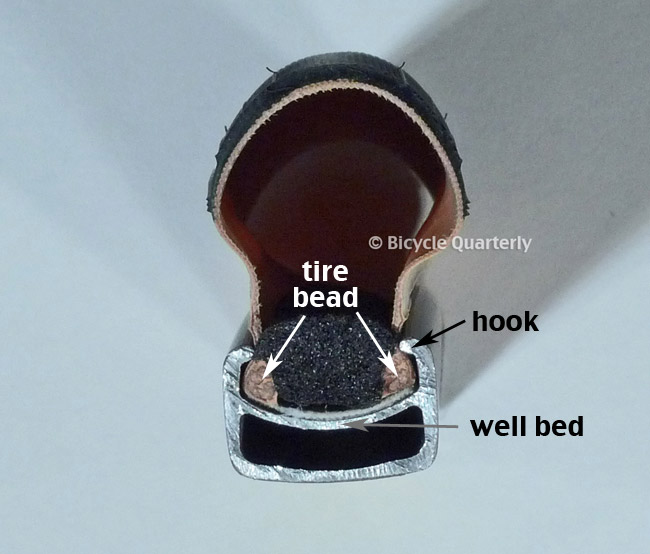
The tire bead is the reinforced edge that sits against the rim. Squeezing it toward the middle of the rim loosens it so you can lift it off.
Let out all the air first, because leftover air makes the bead harder to handle. On a Presta valve, loosen the small locknut at the tip, then press the tip in. On a Schrader valve, press the central pin.
- Lift one bead: Start by hand. If you need to, slide a plastic tire lever under the bead and lift it over the rim edge.
- Open enough space: Work along the lifted bead until you can reach the tube. Swapping a tube doesn’t require removing both beads.
- Draw out the tube: Start opposite the valve and ease it out.
- Free the valve: Guide it out through the rim hole without yanking on the surrounding material.
- Note the orientation: Remember how the tube sat relative to the tire and rim. It helps you find what caused the puncture.
Don’t use a screwdriver or knife. They can damage the tire, rim or tube.
Find the cause before installing a new tube
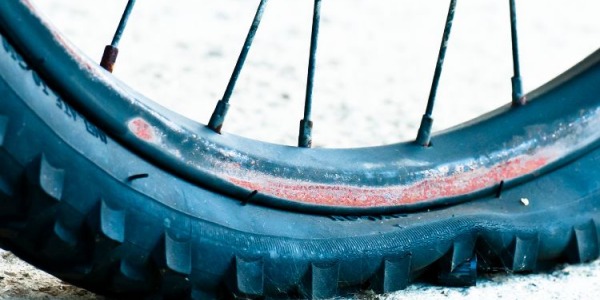
The old tube often tells you the most. A new tube can puncture again if whatever caused the first flat is still in the tire or against the rim.
Pump just enough air into the removed tube to find the leak, then listen or feel for escaping air. If you have water, bubbles will show a small hole. Mark the spot and compare it with the matching part of the tire and rim.
| Damage you find | Cause | Where to look | What to do |
|---|---|---|---|
| Small hole on the tread-facing side | Thorn, glass, wire or other debris | Matching area of tread and casing | Remove embedded material before fitting another tube |
| Two parallel slits | Impact pinch between tube, tire and rim | Impact conditions and inflation | Check your pressure and the hit that caused the pinch |
| Hole on the rim-facing side | Rim tape, spoke nipple or rim-bed defect | Matching rim area and tape | Fix the rim problem first |
| Tear or leak at the valve base | Valve misalignment or stress | Valve hole and tube position | Check the valve and tube for damage |
| Shredded tube and torn casing or bead | Extensive tire or wheel damage | Casing, bead and rim condition | Don’t treat it as an ordinary patchable hole |
A pair of parallel cuts is often called a snakebite or pinch flat, because an impact can compress the tube against the rim.
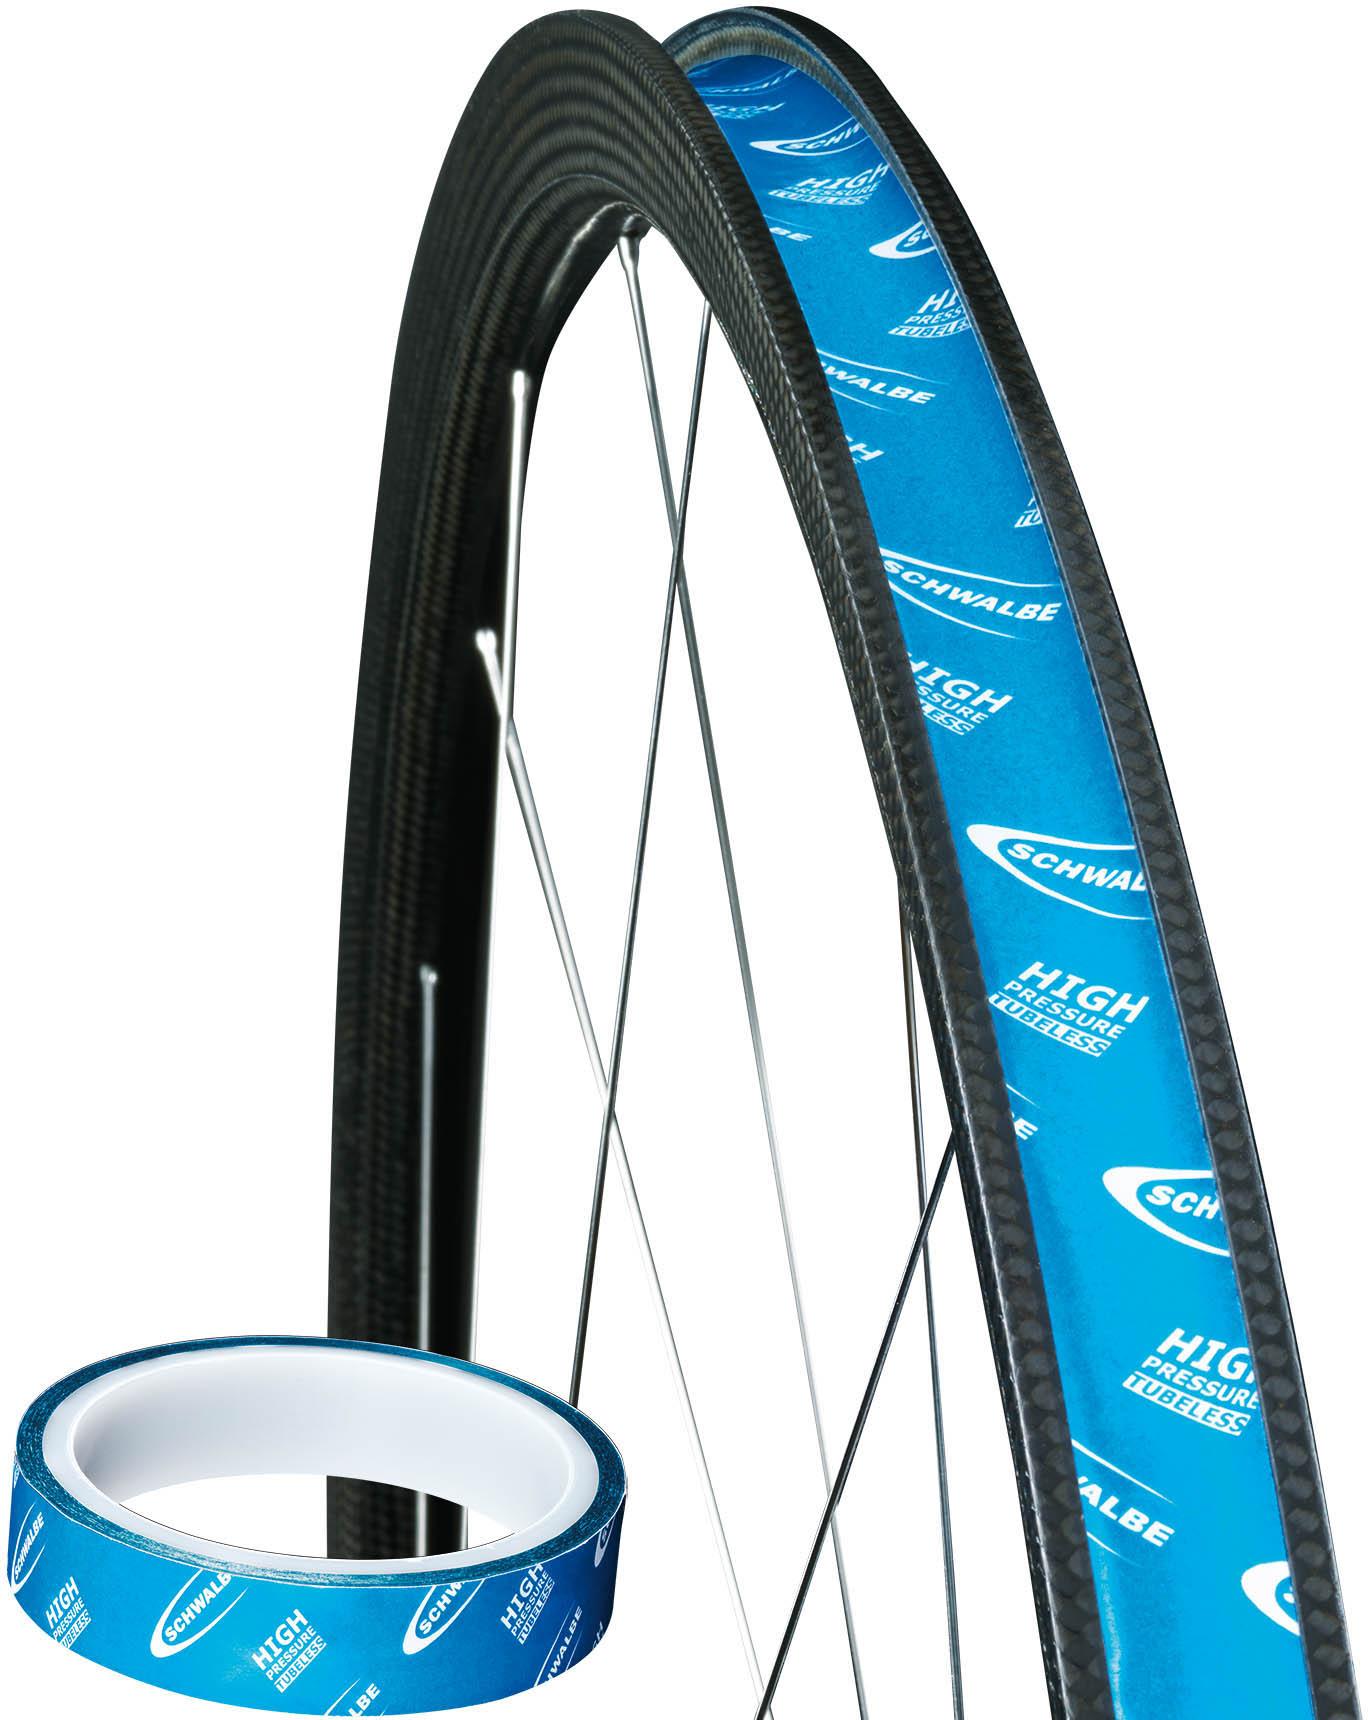
For a tread-side hole, inspect both sides of that section of tire and pull out anything sharp still stuck in it. For damage on the rim side, examine the tape over the spoke holes and the rim bed nearby.
If the hole keeps showing up in the same place, the cause is still in the tire or rim. One rider kept getting flats in the front tire, with the hole in the same spot each time.
Park Tool’s tire and tube guide covers the inspection method and the puncture types.
Pick a tube, a patch or a new tire
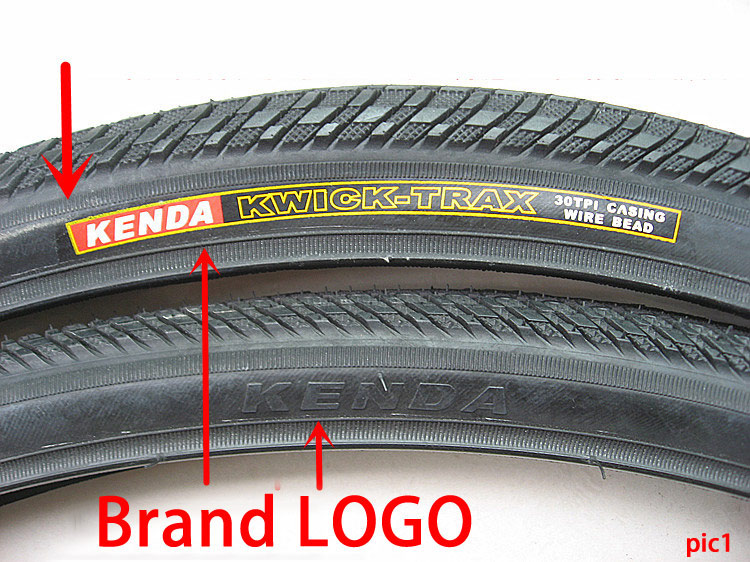
A compatible replacement tube is the simplest fix for a conventional flat. A small hole in sound tube material can also be patched with a kit made for that material. Damage to the bead, casing or rim means fixing that part.
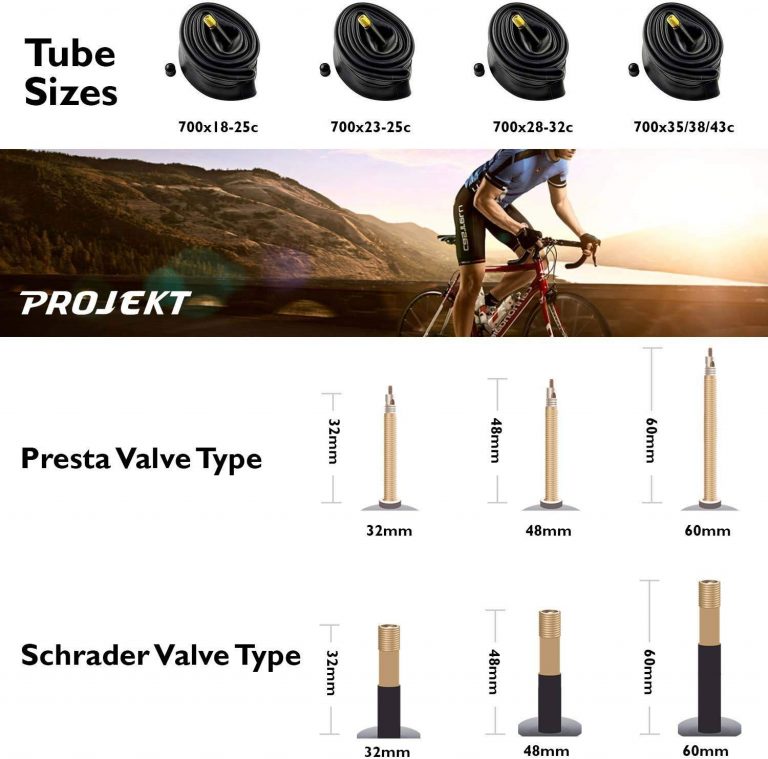
Match the replacement tube to your tire and wheel:
| Parameter | What must match | Example or constraint |
|---|---|---|
| Wheel diameter | ISO/ETRTO bead-seat diameter | 700c = 622 mm; 650B = 584 mm; 650C = 571 mm |
| Tube width range | Fitted tire width | The tire’s width must fall within the tube’s stated range |
| Valve type | Rim hole and pump compatibility | Presta and Schrader use different valve fittings |
| Valve length | Rim depth | Deeper rims may require a longer valve stem |
Check the size before you buy, because less common sizes are harder to find. A US rider with narrow 650B road tires couldn’t find inner tubes that fit 650b x 25-28.
When patching makes sense
Follow the instructions in your patch kit. A conventional vulcanizing patch goes on like this: find and mark the hole, clean and roughen the area, apply adhesive as directed, let it dry for the time your kit gives, then press the patch down firmly and check that the edges are bonded.
Check that the patch suits your tube material. Park Tool lists its VP-1 vulcanizing patches for butyl and latex tubes, not TPU, and its GP-2 pre-glued patches for standard butyl and TPU tubes, not latex. Neither is meant for a tubeless tire body.
Park Tool describes GP-2 pre-glued patches as temporary trailside repairs and a correctly applied VP-1 vulcanizing patch as more durable. After applying a GP-2, don’t inflate the tube outside the tire to test the bond. Stretching can weaken it.
Replace a badly shredded tube. A serious tear in the casing or bead needs a new tire or a qualified assessment, even if a fresh tube holds air. A tire boot can cover certain casing tears in an emergency, but only temporarily. It doesn’t restore the tire.
Install the tube and seat the bead
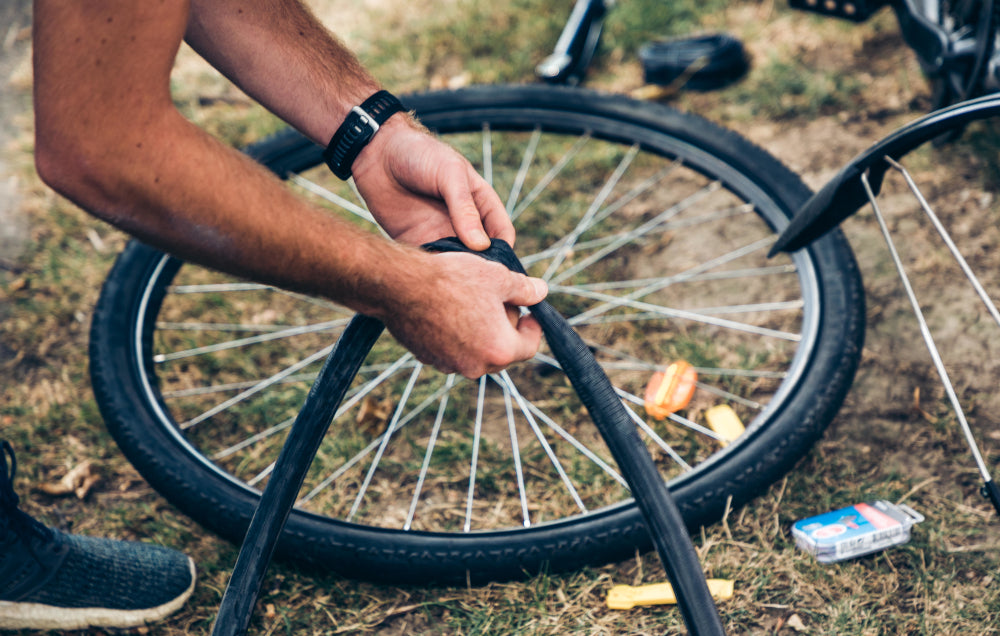
Pump a little air into the replacement or repaired tube, just enough to give it a round shape. Feed the valve through the rim opening, keep the stem straight and lay the tube inside the tire without twists.
Work the loosened tire bead back onto the rim with your hands.
Use the rim’s center channel
Push the part of the bead you’ve already mounted down into the rim’s recessed center channel. That shrinks the circumference and gives you slack for the last section, which is usually the tightest. Move around the wheel with your palms and fingers. If the final stretch won’t clear the rim edge, go back around and push the mounted sections into the channel again.
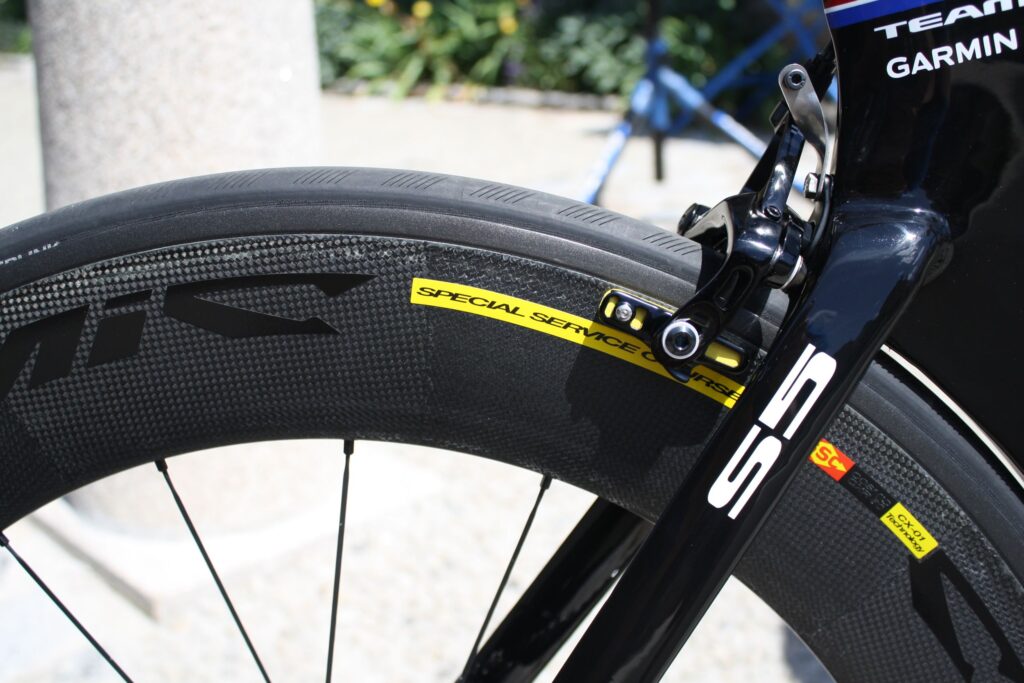
Expect the last section to be the hard part. One rider in r/cycling described a first tube change: “Cause I just did mine and it literally took hours. Taking off the tire was hard, but putting it back on was way harder – I swear the skin of my fingertips were coming off.”
A plastic tire lever can help with the last section, but use it only as a last resort. It can catch and puncture the new tube under the bead.
Before adding real pressure, look along both tire edges for any tube caught between the bead and rim. The valve should stand straight.
Inflate, refit the wheel and check the repair
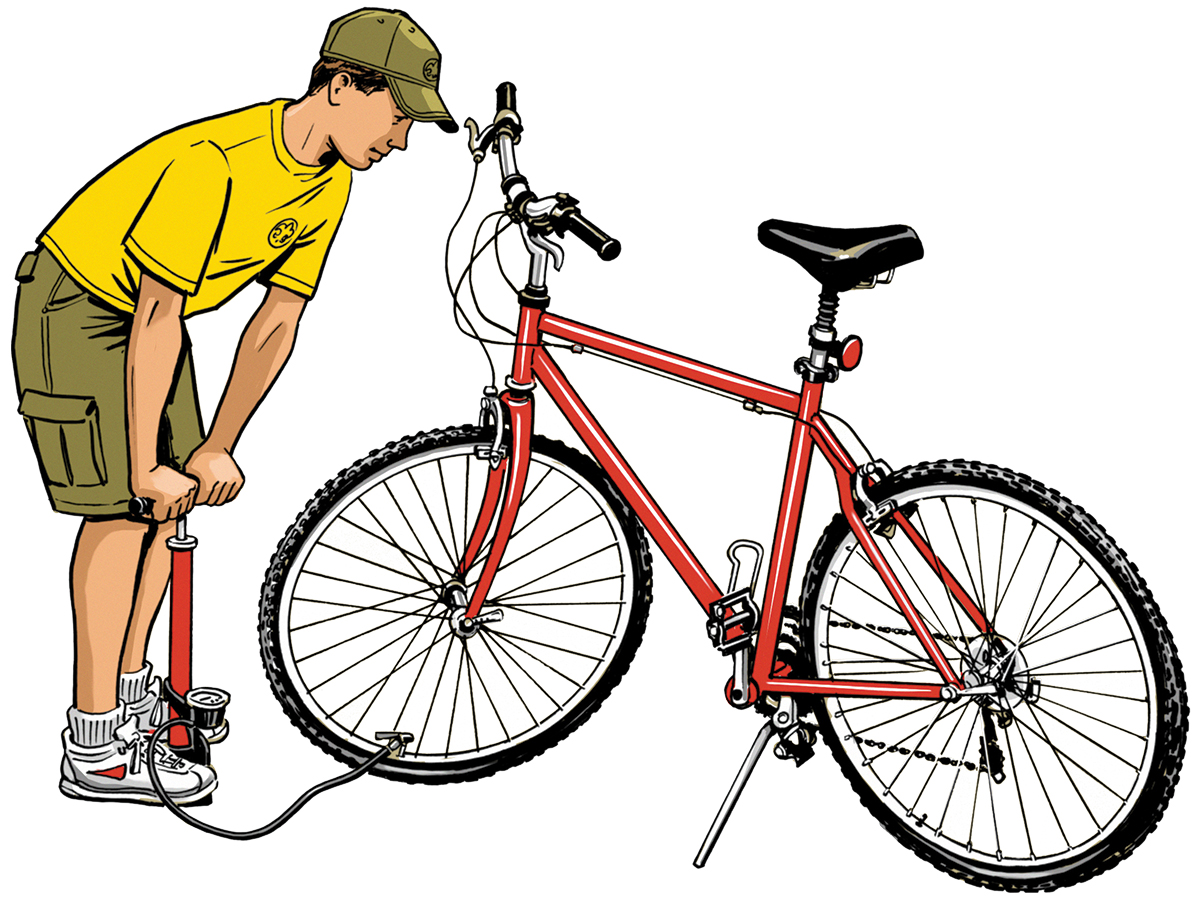
Start with low pressure so the tire takes shape, then check the bead-seating line on both sides. It should sit evenly against the rim. If you see a bulge, a low section or exposed tube, deflate and reseat before adding more air.
Once the bead is seated, inflate to the pressure for your tire and rim, within the manufacturer’s limits. Use a gauge if you have one.
On a derailleur-equipped rear wheel, guide the chain onto the smallest cog as the wheel goes into the frame. Seat the axle fully in the fork or frame, then tighten the quick-release, thru-axle or axle nuts following the hardware’s instructions. If you opened a rim-brake release, close it.
Don’t ride until every item on this list passes:
- Tire bead: Even on both sides of the rim. If not, deflate and reseat.
- Inner tube: Nothing exposed or caught under the bead. If there is, redo the installation.
- Inflation: Right for the tire and rim. Adjust the pressure if it isn’t.
- Wheel: Axle fully seated and secured.
- Brakes: Levers give effective stopping force. Check with the bike stationary: a disc rotor should sit correctly in its caliper, and rim-brake pads should work as intended.
- Rotation: Wheel centered and spinning without abnormal rubbing. If something rubs, check the fit.
If all six pass, take a gentle test ride in a safe place before riding normally.
If it goes flat again
If the tire loses air right after installation, look for a trapped tube, a crooked valve or a puncture you made while mounting. If it fails after another ride, compare the new hole with the old one and go back to the matching tire or rim defect above. Slow air loss can come from a valve-core leak, a poor patch bond or another small puncture, so find the actual source before blaming the tube. If flats keep coming back after these checks, take the bike to a shop.
If you can’t finish at the roadside
A missing tube that fits, a bead you can’t mount without risking damage, or wheel hardware you don’t recognize can stop a roadside repair. If the bike isn’t safe to ride, arrange transport or a qualified repair. Riding on a flat tire can damage the tire or wheel.
Before you rely on a portable kit, practice a full tube change at home with the gear you’ll carry. You’ll find missing tools or unfamiliar fittings there instead of at the roadside. Carry compatible repair supplies, and check tire condition and pressure before each ride.
Before the next flat
Expect the hardest part to come last, when you work the tire back onto the rim, so practice a tube change at home before you need one on the road. If the same spot keeps going flat, the cause is still in the tire or rim.