
Pick a pressure that both your tire and your rim allow, then set it for each wheel based on your weight, tire width, and the road you ride. If the tire and wheel limits don’t overlap, sort that out before you ride, then fine-tune with a gauge.
The number printed on your tire looks precise. Then a bike shop tells you one PSI, a calculator gives you another, and the rear tire looks a little squashed when you sit on the saddle. Which number goes in the tire?
First, separate what the equipment allows from what suits the ride. A smooth road, cracked city pavement, and a rocky trail make different demands on a tire carrying the same person.
What the tire sidewall and rim limits mean
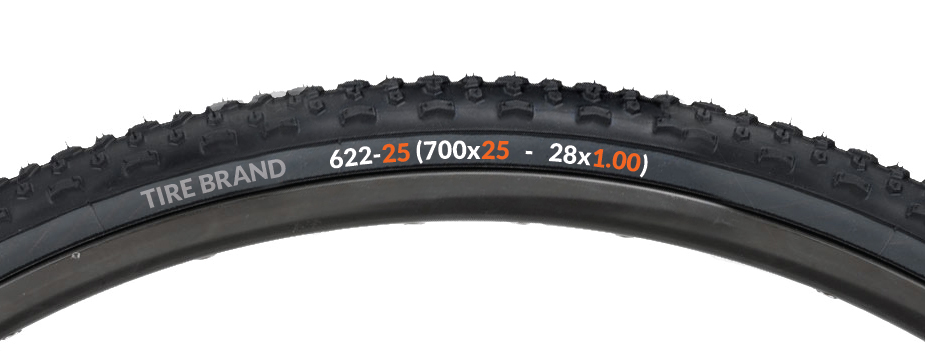
The minimum and maximum printed on a tire mark its operating range. The maximum is the most air the tire is allowed to hold, and your everyday pressure can sit below it. Pressure appears in PSI (pounds per square inch), bar, or both. One bar is about 14.5 PSI.
Your wheel has its own requirements. Tire dimensions, rim design, and whether the rim has a hooked or hookless bead decide which tires are approved and how much pressure the wheel takes. An inner tube doesn’t override the rim maker’s compatibility rules.
Zipp’s tubeless straight-side (TSS) systems have a general ceiling of 5 bar, about 72 PSI, and some models go lower at particular tire widths. The Zipp Road Wheels pressure specifications list 51 PSI for the 303 XPLR with a 40 to 44 mm tire. That figure covers that combination only, not every Zipp wheel or hookless rim.
If a tire’s required minimum is above the rim’s maximum, no pressure in between works. The two ranges must overlap, and the tire must be approved for the wheel system.
Schwalbe lists the Marathon Plus 37-622 at 55 to 85 PSI (4 to 6 bar). A Marathon Plus 50-559 variant carries a different specified range: 30 to 70 PSI (2 to 5 bar).
Read the tire marking and the wheel maker’s specification for your exact model and size, and find the range where both overlap. If they don’t overlap, fix the pairing before you ride.
The inputs that determine tire pressure
Two riders on similar bikes can need different starting pressures because their tires carry different loads and roll over different surfaces. Start with the bike as you’ll actually ride it, bags included.
- Total system weight, in pounds: rider, bicycle, clothing, bags, and carried gear. SRAM counts all of it, and even a two-liter hydration pack adds load. Bags can also shift weight between the wheels, so note the front and rear split if you know it.
- Tire width: the marked size, plus the measured mounted width if the calculator asks for it. A tire marked 700×42c can inflate to a width other than 42 mm, depending on the tire and rim, so measure the mounted, inflated tire.
- Wheel details: rim type, internal width, and wheel diameter.
- Tire construction: tube or tubeless, and casing type. The casing is the fabric structure beneath the tread and sidewall rubber, and calculators separate supple, standard, and reinforced versions.
- Conditions: smooth pavement, broken streets, gravel, or trails, wet or dry.
Write these down once and reuse them. If you can’t tell your casing category, look it up in the tire specification instead of picking one.
Find separate front and rear starting pressures
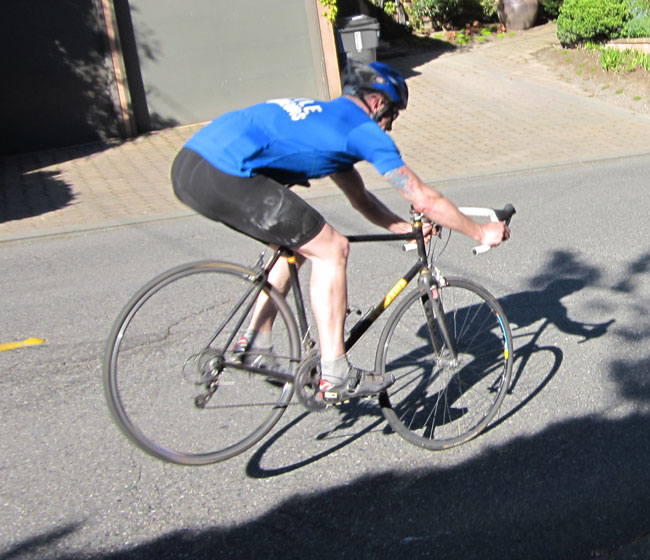
Feed your setup record into matching manufacturer guidance or a tire-pressure calculator to get a starting value for each wheel. The SILCA Pro Tire Pressure Calculator takes total weight, measured tire width, surface, tire type, and weight distribution. SRAM/Zipp’s method also uses rim information and casing categories.
Front and rear pressures can differ because the wheels carry different loads. The rear often carries more, but luggage and riding position change that. A fixed extra percentage for the rear hides the details a calculator needs, so enter the real setup.
Model-specific manufacturer tables are another route when their stated conditions fit your bike. Schwalbe, for example, publishes separate front and rear guidance for specified Pro One TLE tires under a 19 mm internal-rim condition.
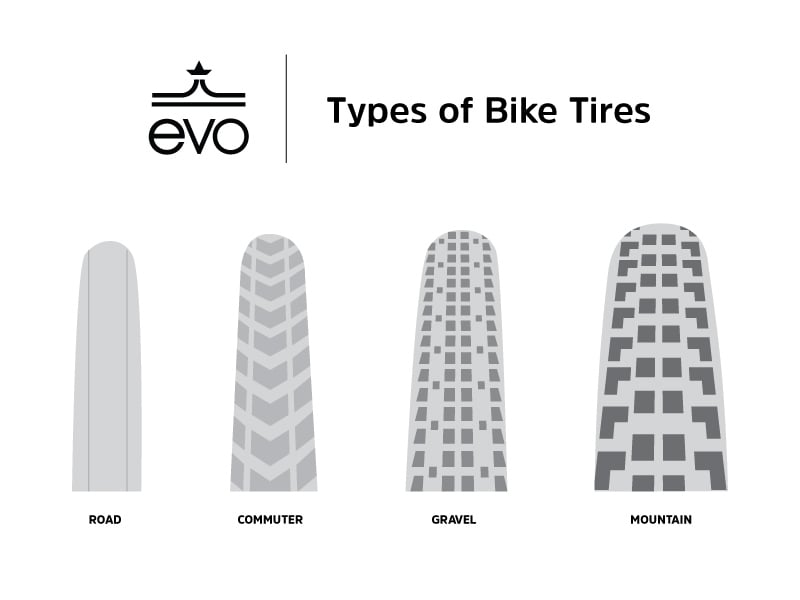
A calculator estimates a starting setting. It doesn’t certify that your tire and wheel are compatible.
When the sidewall, calculator, and bike shop disagree
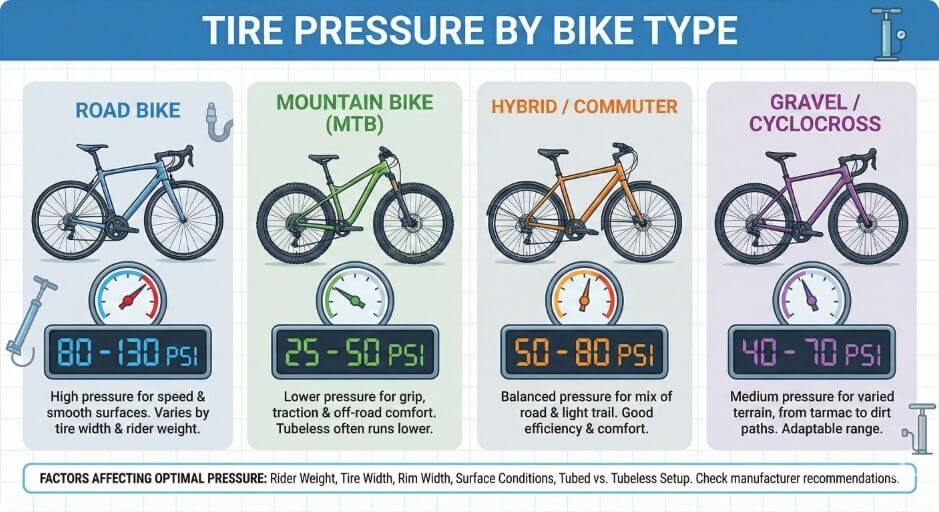
These three recommendations sound contradictory because they answer different questions. Printed specifications set limits. A calculator estimates from the details you enter. A shop mechanic suggests what works based on what they know about the bike and rider.
| Pressure source | What the number means | What decides its use |
|---|---|---|
| Tire sidewall | Minimum and maximum for that exact tire | The tire version and conditions |
| Rim or wheel maker | Compatibility and pressure ceiling for the wheel | Wheel model, approved tires, and width |
| Manufacturer pressure table | Recommended starting pressure for defined equipment | Whether your bike matches its stated assumptions |
| Pressure calculator | Estimate from the details you enter | Accuracy of your inputs and the allowed range |
| Shop or riding companion | Experience-based suggestion | How well they know your setup |
One rider on a Liv Avail AR3 ran into this in an r/ladycyclists discussion. The bike had 700×32c tires marked 50 to 85 PSI. The rider reported a total system weight of 155 lb and rode cracked Buffalo streets. SILCA suggested about 57.5 PSI front and 59 rear. The shop had used 80 PSI.
After trying 70 PSI, the rider still thought it seemed low and could see a slight bulge in the back tire when sitting on it.
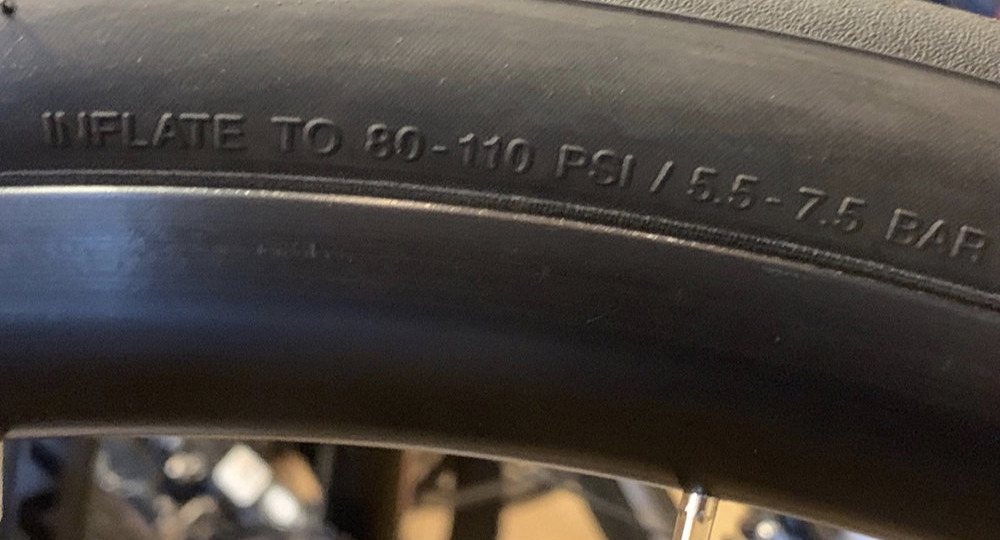
All four numbers sit inside the tire’s printed 50 to 85 PSI range, so the sidewall alone can’t choose between them. The wheel’s requirements and the calculator’s assumptions were still unchecked, and the rider had picked a casing input without confirming it. Averaging 59 and 80 PSI keeps none of the reasoning behind either number.
When advice differs, sort each figure into an equipment limit, a model-based estimate, or an informal suggestion. Throw out anything that breaks the tire and rim limits. Between the estimates that remain, your actual inputs and how the bike rides decide.
How road, gravel, and mountain-bike surfaces affect pressure
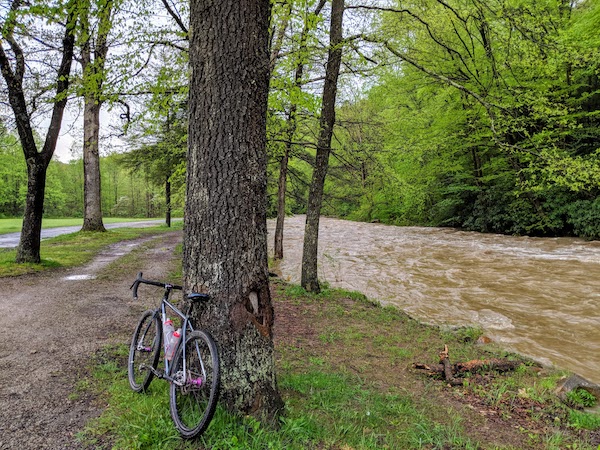
Pressure changes how a tire flexes under load and how much of each bump reaches the bike. Smooth roads, potholes, loose gravel, and rocky singletrack ask different things of a tire.
A narrow road tire runs a different pressure range from a high-volume mountain-bike tire, though construction and total load still matter. On uneven ground, too much air feels harsh and makes the bike bounce. Too little lets the casing deform until the rim strikes the obstacle.
- Smooth pavement: pressure affects how much energy the tire loses flexing. In a roller experiment, narrow road tires needed more power at lower inflation.
- Cracked city streets: a firm tire amplifies bumps and feels harsh. Vibration on rough streets is another source of energy loss.
- Firm gravel: more give adds comfort and changes steering response and ride feel.
- Loose or rocky trails: control and rim impacts matter most, and low pressure raises the risk of impacts.
- Wet surfaces: grip effects depend on the tire and the surface.
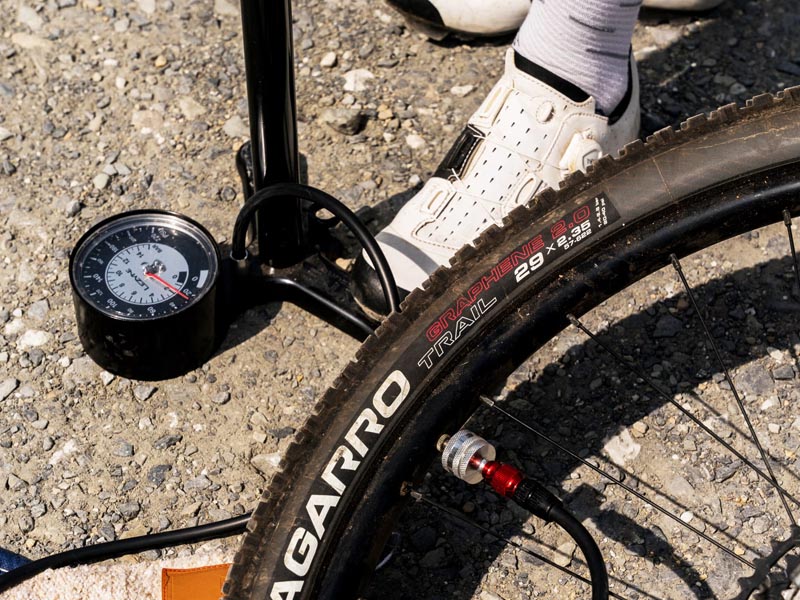
On a commute with paved streets, gravel paths, and a short rocky section, set the pressure for the rocky stretch, where poor control or repeated rim hits cost the most. The paved parts will feel a little different than on an all-pavement ride.
Check pressure and refine it on a familiar ride
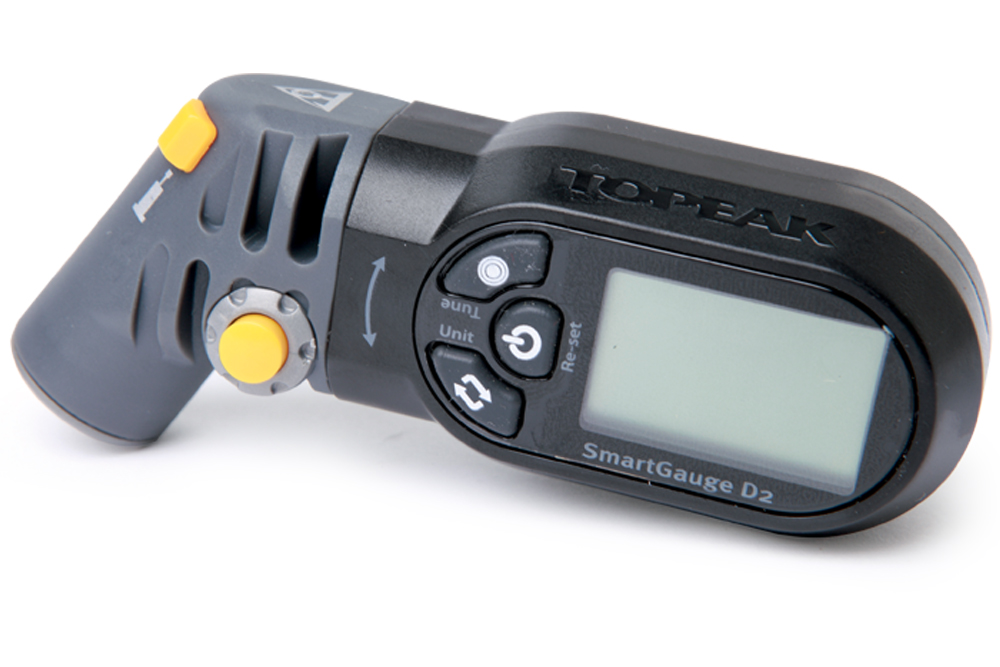
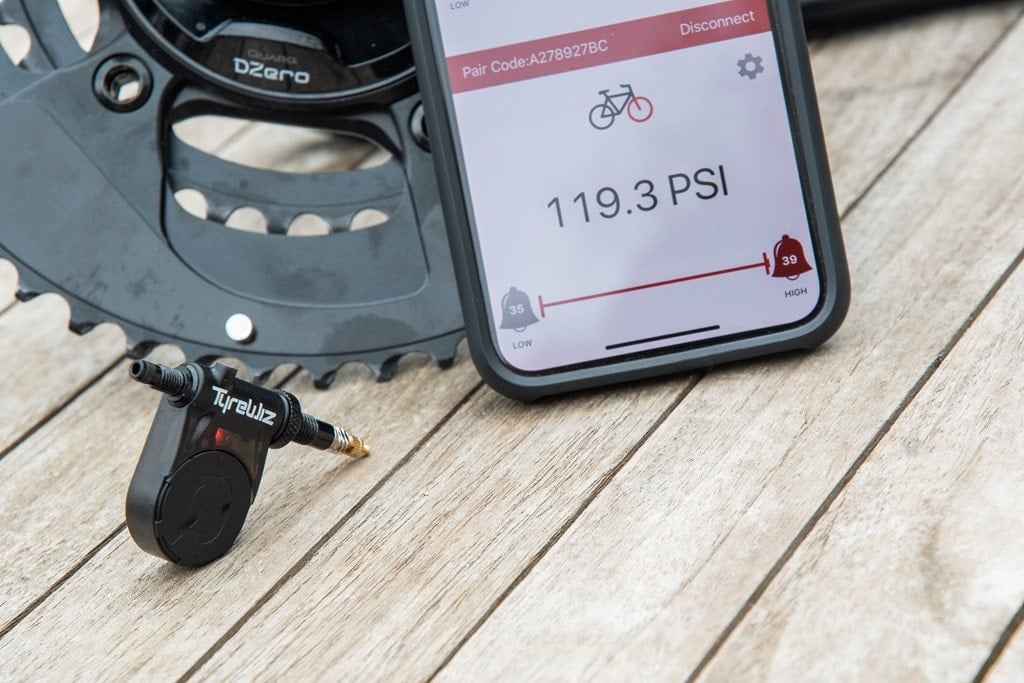
A gauge gives each wheel a repeatable reading. A thumb squeeze misleads you with stiff casings. Schwalbe notes that its reinforced Marathon Plus tires can feel hard even when the pressure is too low.
A familiar route makes changes easy to judge because you already know the bumps and turns. Watch for harshness, bouncing, steering response, and rim impacts.
- Measure: Write down front and rear PSI from the same gauge.
- Observe: Note the surface and the specific handling or comfort issue.
- Adjust: Change one setting by a small amount, staying within the limits.
- Compare: Keep or reverse the change based on the next comparable ride.
A commuter in an r/bikecommuting discussion rode a tire that measured 40.5 mm wide when mounted. The former pressure was roughly 55 to 65 PSI, and the new setting was 40 PSI front and 42 PSI rear. With no measured speed comparison, the commuter wrote, “The lower PSI feels like a dream. I don’t feel any slower and I stopped feeling some bumps.” The result is one rider’s report, but it shows a large drop in pressure can make the ride smoother without feeling slower.
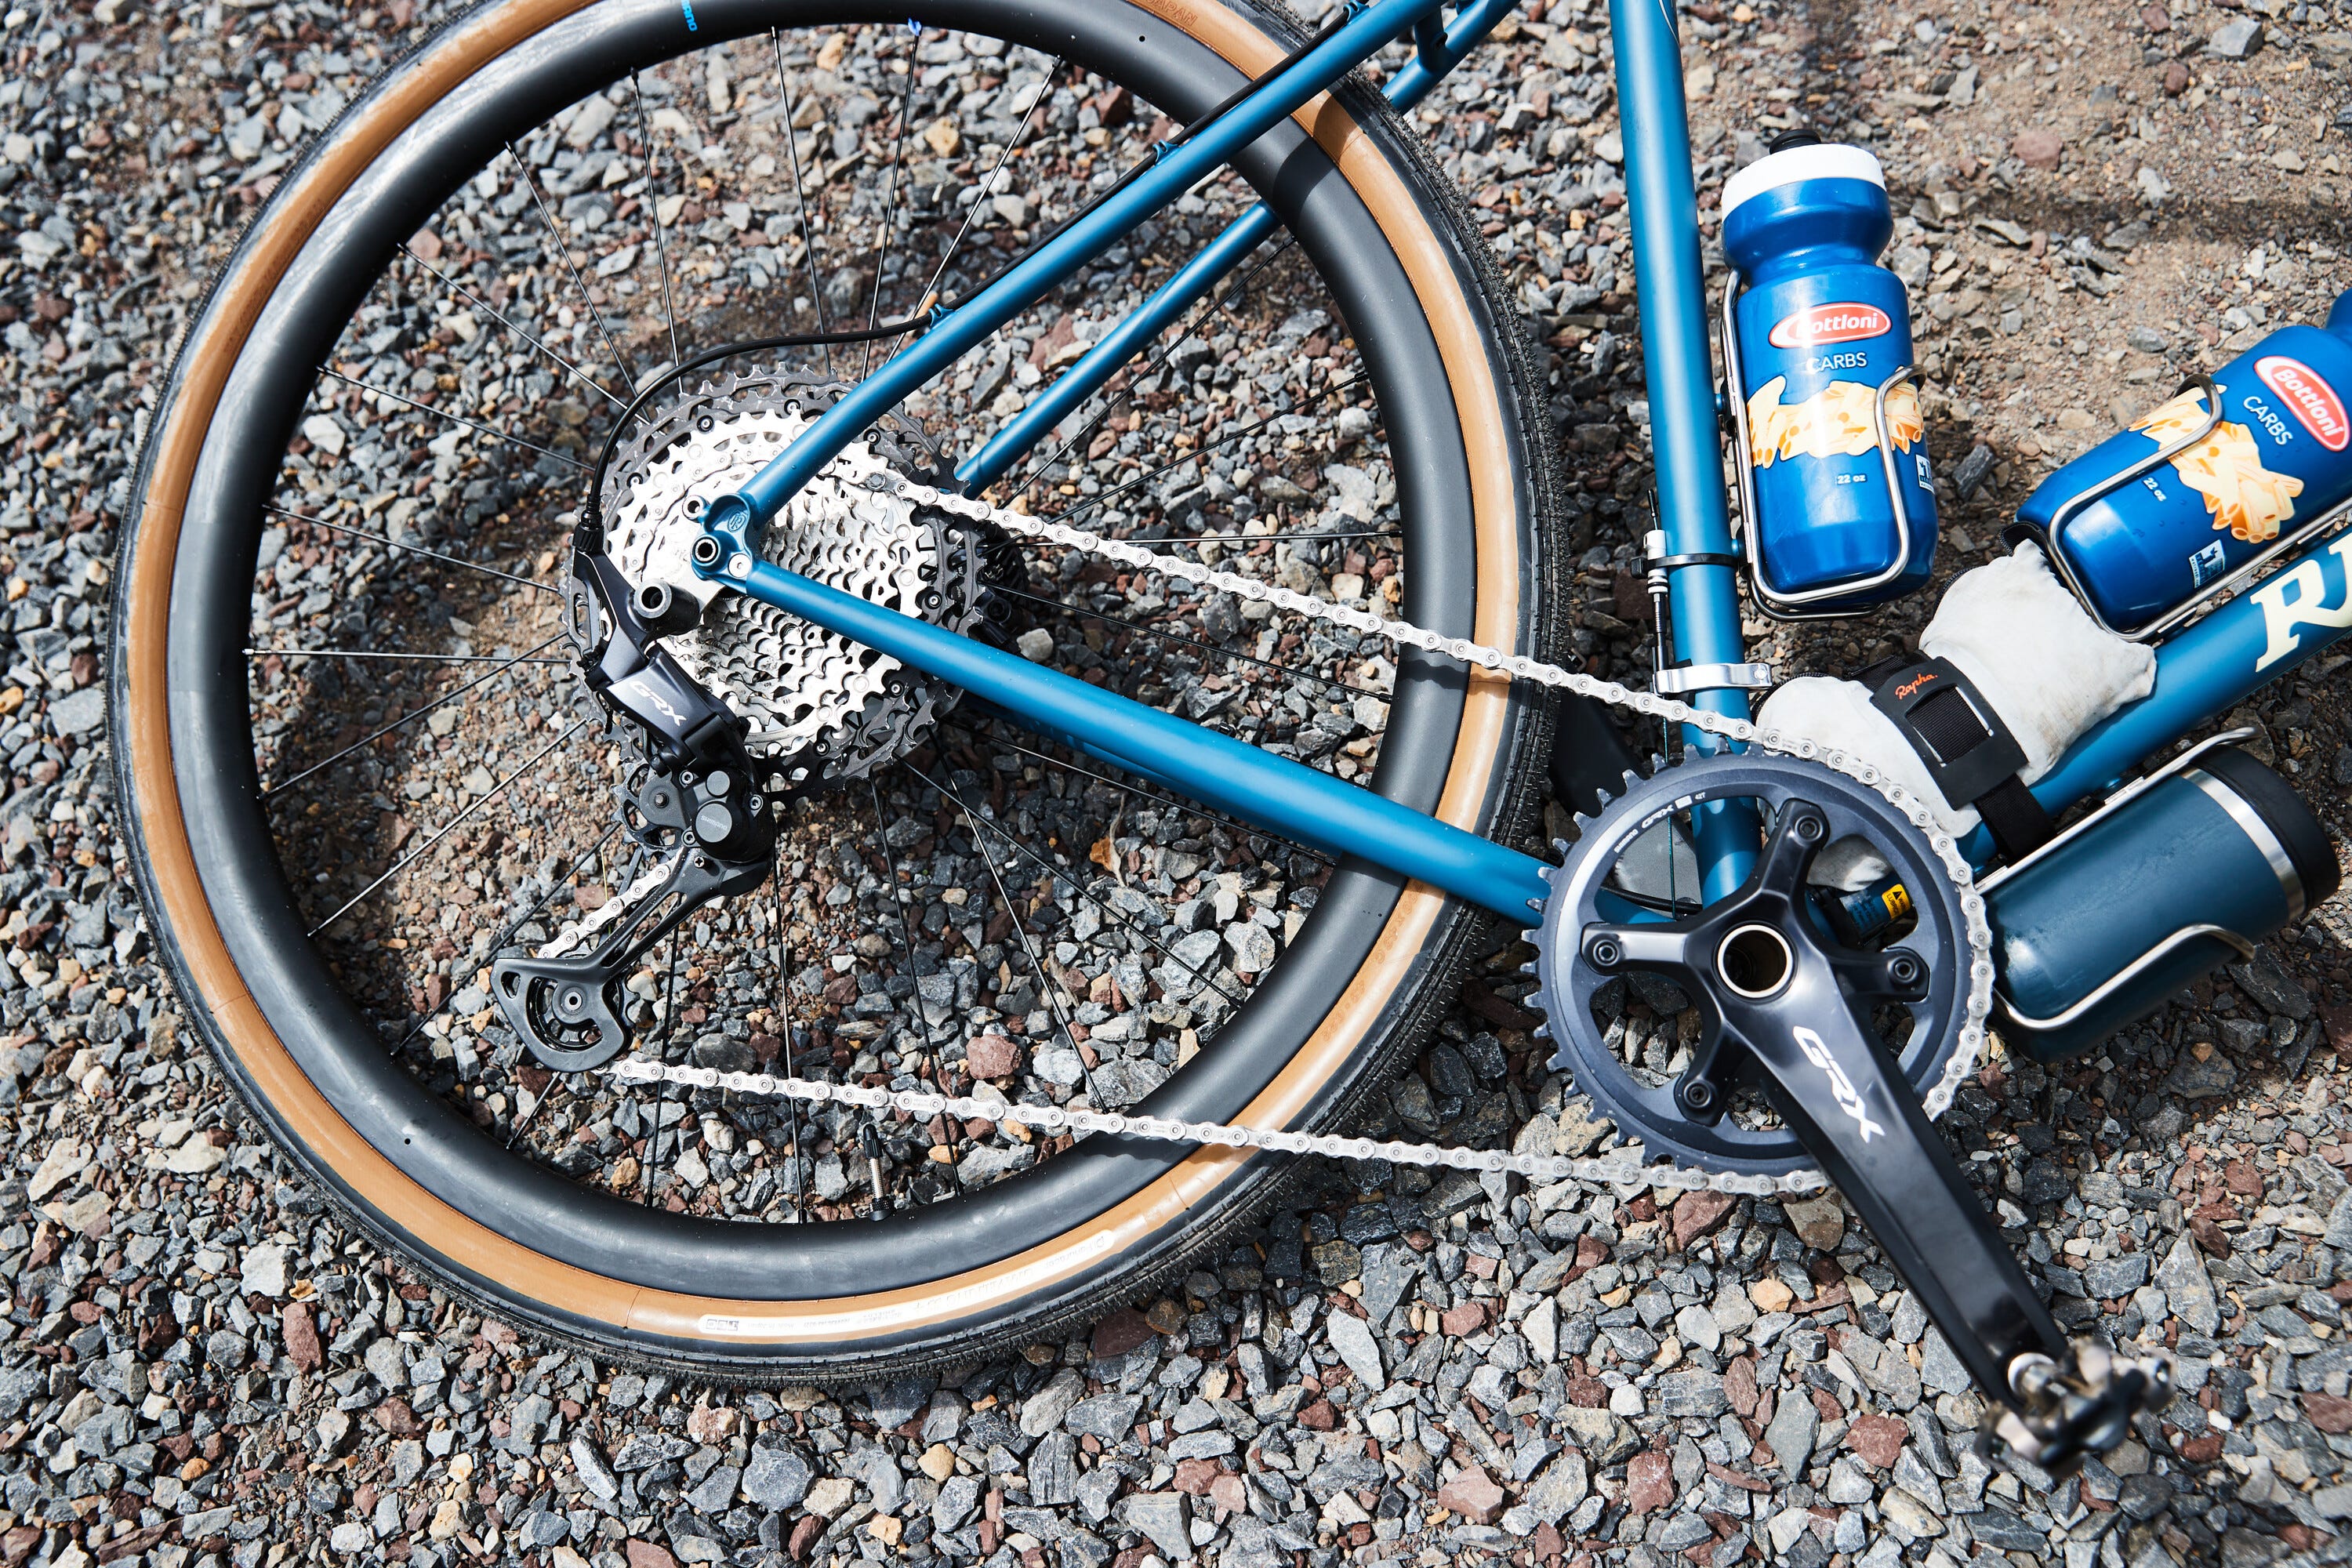
Air pressure changes between rides. Schwalbe generally advises a gauge check at least monthly, and before every ride for latex tubes. SRAM advises setting pressure before riding, and equipment that loses air faster needs more frequent checks. A short written history shows when the pressure changed unexpectedly.
Pressure warning signs and when to stop riding
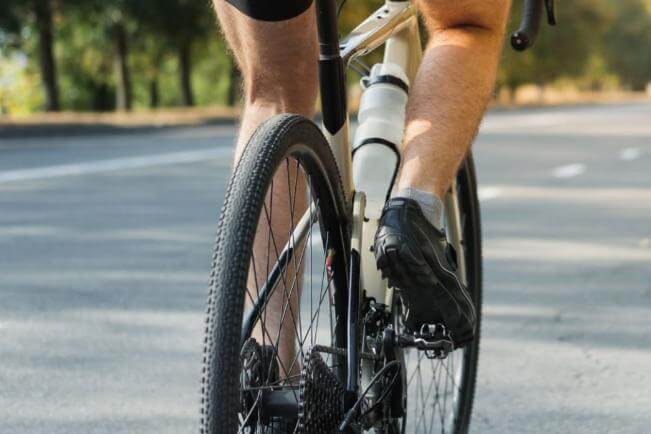
A tire carries load by changing shape where it meets the ground. Some flattening under a seated rider is normal, and its look alone can’t tell you whether the pressure is right.
| What you notice | What it means |
|---|---|
| Slight, stable flattening under load | Normal tire deflection. Judge pressure by the gauge and the limits. |
| Harshness or bouncing on broken pavement | The pressure is too firm for the conditions. |
| Repeated rim strikes or tube pinch flats | The tire compresses too much for the load or impacts. Stop and inspect the setup. |
| Bead or sidewall damage, instability, or rapid unexplained air loss | Mechanical fault. Stop riding and get it inspected or repaired. You may need a different tire-and-wheel configuration. |
Long-term underinflation damages sidewalls, and with inner tubes, heavy compression causes pinch flats. At the other end of the range, a tire can meet its specifications and still feel harsh on broken streets.
Once you find pressures that work, note them down for front and rear, with the tire and the surface they suit. If the ride feels harsh or the tire looks squashed, adjust in small steps and ride the same familiar route to compare.