
Identify your valve, match the pump head to it, and inflate within both the tire and rim limits. If air leaks at the head or the tire won’t hold pressure, repair the problem before you ride.
A pump head can look like it fits and still leak air around the valve. Before you take anything apart, find out which valve your wheel has and which head is built for it.
Identify your bike tire valve: Presta or Schrader
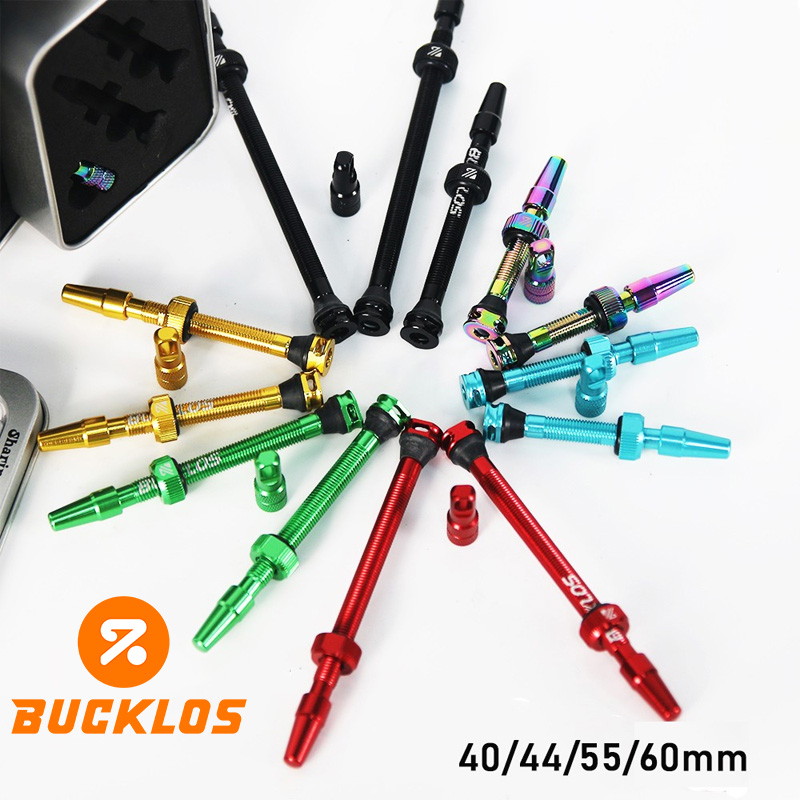
Presta and Schrader valves have different stems and tips. Both appear on bicycles, so the bike type tells you little. Look at the valve.
- Presta: A narrow metal stem with a small knurled nut at the tip. Loosening that nut opens the valve. The dust cap, if fitted, is a separate part and is not the nut.
- Schrader: A wider valve like the one on a car tire. A small spring-loaded pin sits in the center of the opening. There is no tip nut.
Dunlop/Woods valves and the Schwalbe Clik Valve also exist. If yours matches neither common type, work out which system it is before you attach a pump head, and don’t force a head onto it.
Match the pump head to your valve
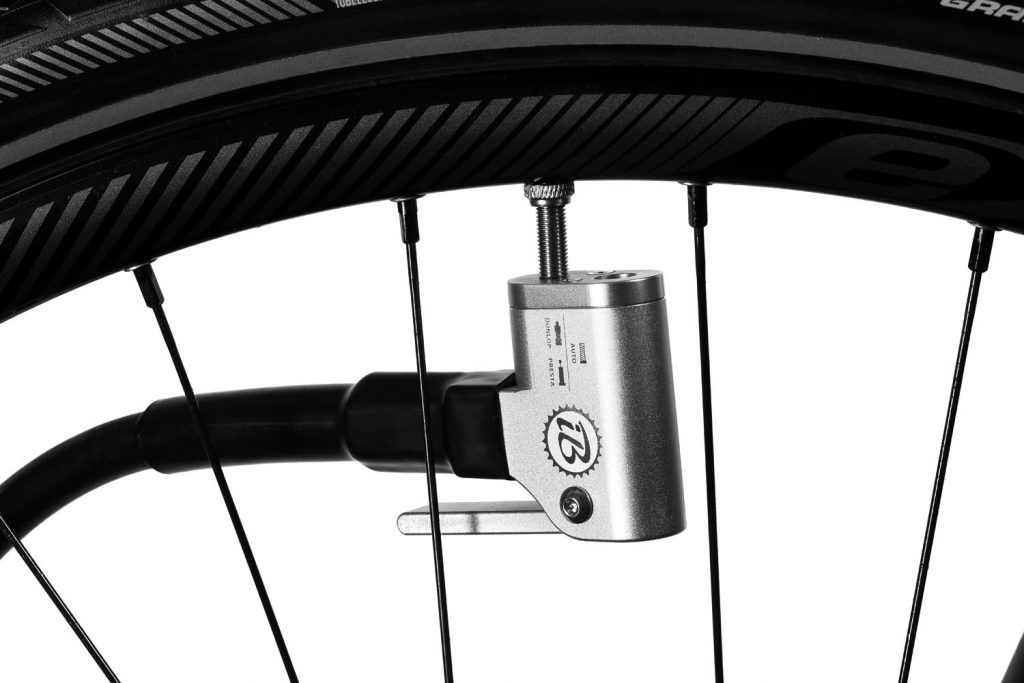
If the head supports your valve, seat it properly. If it was built for the other valve type, you need a different opening, an adapter, or the manufacturer’s method for changing its internal fitting.
One rider asked how to make a Schrader mini pump work with Presta valves.
| Pump-head design | What to look for | How to use it |
|---|---|---|
| Dual-port | Separate openings for Presta and Schrader | Use the opening marked for your valve. Engage the lock if there is one. |
| Reversible insert | One head with an internal fitting or gasket you can reposition | Follow the pump’s instructions for the right internal arrangement. Take apart only heads built for conversion. |
| Universal push-on | One opening that accepts both common valve types | Push the head fully onto the valve and operate its lock. |
| Threaded chuck | A fitting that screws onto the valve | Screw it onto the valve and release it as the pump’s instructions say. |
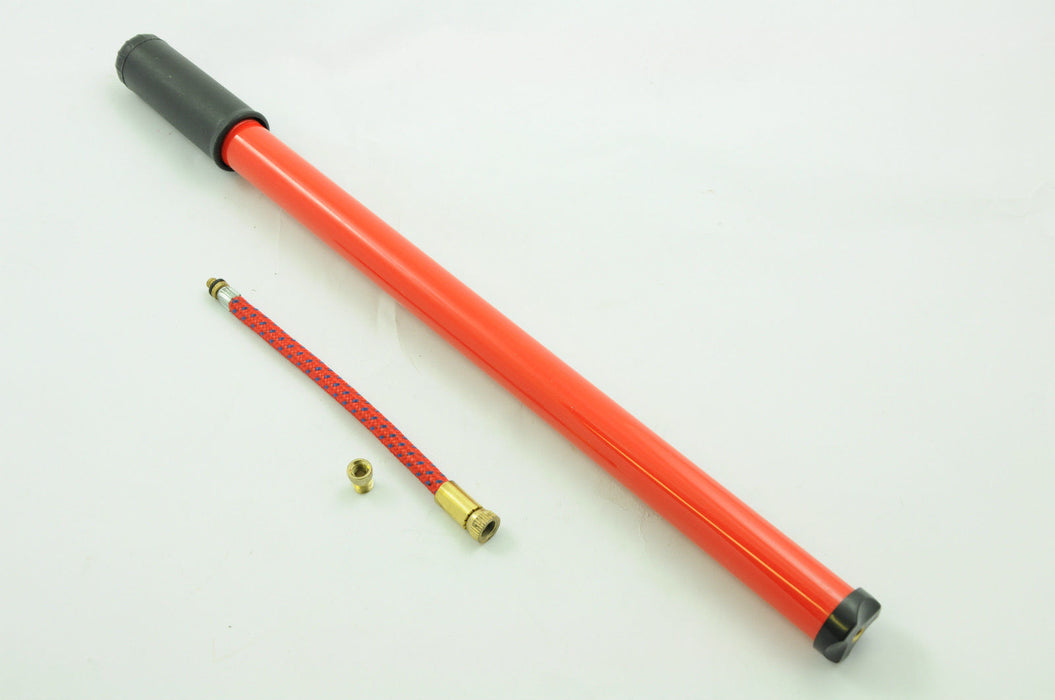
Locks differ between pumps. On Trek’s illustrated floor pump, you raise the lever to lock the head. Other heads push on, screw on, or click on, so check how yours works.
If your pump supports only Schrader and your bike has a Presta valve, a Presta-to-Schrader adapter lets you connect the two.
Riders with a Schwalbe Clik Valve should check head compatibility too. Park Tool documents older dual-port heads such as the PFP-8 that inflate a Clik tire but give no accurate pressure reading on their gauge. That applies only to those documented heads.
Find a safe tire pressure before inflating
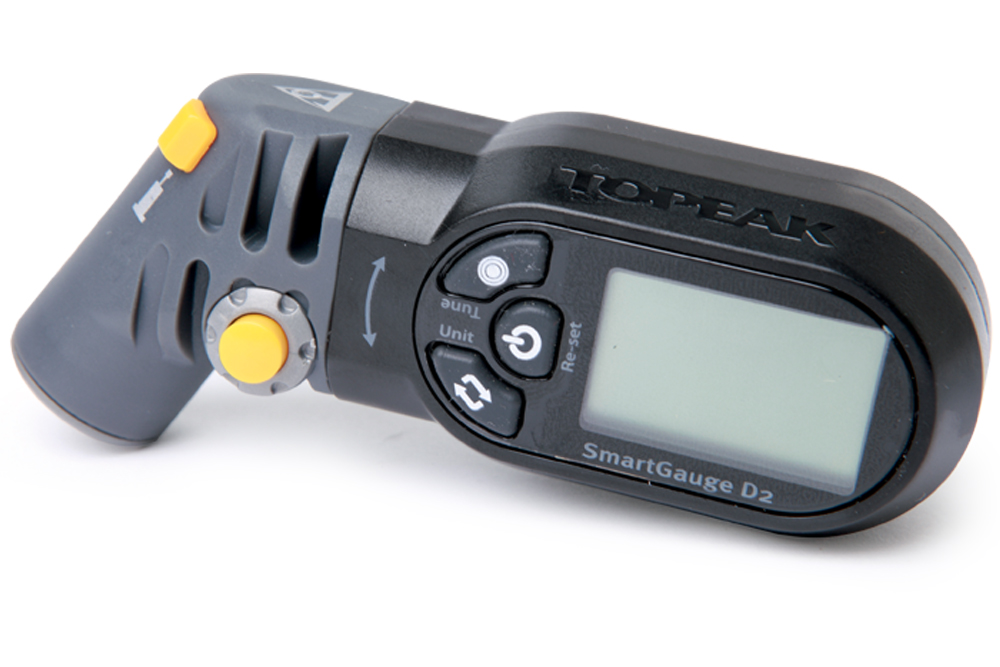
Pick a pressure within your tire’s range and any wheel or rim limits. When the tire and rim have different maximums, the lower one governs.
If you need a suitable starting range, see Find an appropriate pressure before inflating the tire.
The tire sidewall or the manufacturer’s documentation lists the tire pressure. Check the wheel manufacturer’s limits as well. Hookless or straight-side rims can add requirements for tire compatibility, width, and inflation pressure.
Continental’s tire and rim guidance includes this worked example:
- Tire: A 28-622 tire with a maximum pressure of 6 bar (87 psi).
- Rim: A maximum permitted pressure of 7 bar (101 psi).
- Combined limit: 6 bar (87 psi), because the tire has the lower maximum.
6 bar is the maximum for this combination. Choose the pressure that suits your tire and riding setup at or below that figure.
PSI means pounds per square inch. Some gauges also show bar. Use the pump’s gauge to follow the pressure as you inflate, or a separate tire-pressure gauge if the pump has none. If the reading is unstable or implausible, check the connection or the measurement before adding more air.
How to pump up the tire
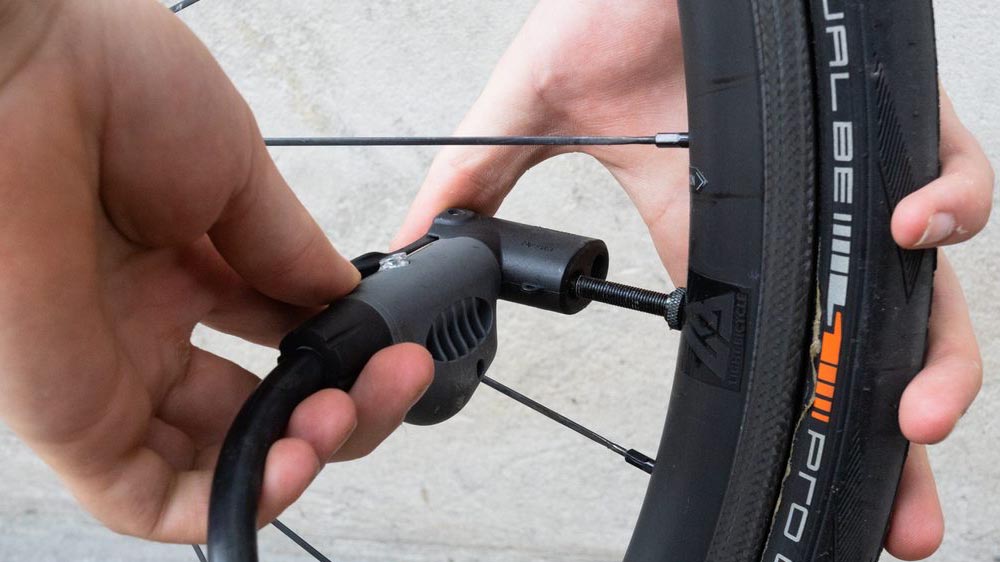
- Prepare the valve. Remove the dust cap if there is one. On a Presta valve, loosen the small nut at the tip so air can pass, and press the tip briefly to confirm it is open.
- Position the head. Place the matching pump head straight onto the valve stem. If the tire is completely flat and the stem slides back toward the rim, hold the stem while you attach the head.
- Secure the head. Lock it, push it on, or screw it on, as your pump requires. Keep it in line with the stem so it does not bend sideways.
- Start pumping. On a floor pump, steady the base and use deliberate strokes. Watch the gauge.
- Watch the seal. If air hisses continuously around the head or the head shifts on the stem, stop and reseat it before you continue.
- Stop at your pressure. Finish when the gauge reaches the pressure you chose for your tire and rim.
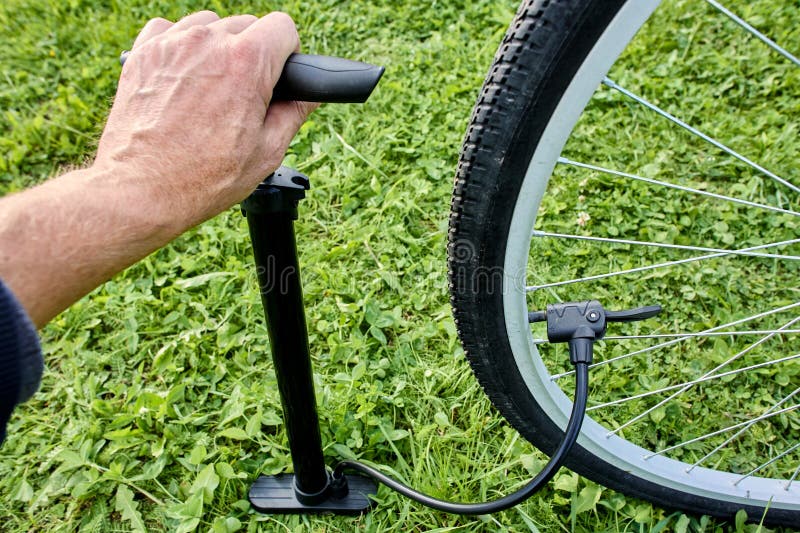
Using a mini or hand pump: what changes?
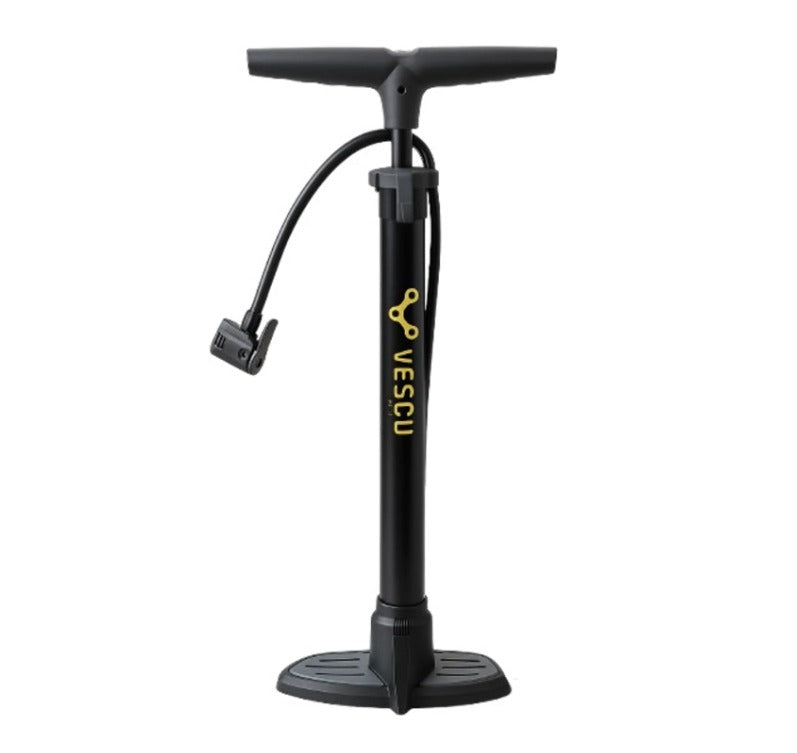
A floor pump stands on a stable base and moves more air per stroke. A mini pump is easier to carry, but it takes many more strokes and more effort to reach the same pressure. Some connect directly to the valve, others through a hose, and some have no gauge.
Remove the pump head and confirm the tire holds air
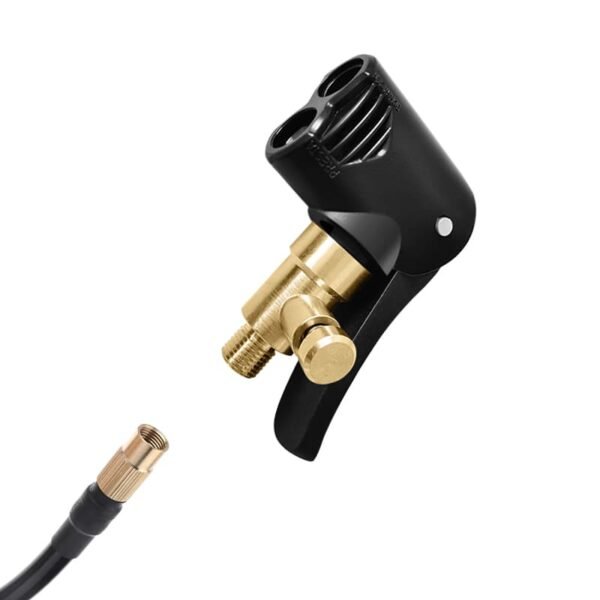
Release the head with its own lock or thread, then pull it straight off the valve stem. Pulling sideways puts unnecessary force on a narrow Presta valve.
A short hiss as the head comes off is compressed air leaving the pump hose. Air that keeps escaping, or a tire that gets noticeably softer afterward, is a different problem.
A rider on r/cycling described air that kept escaping at this moment: “When I unlock, the tire continually expels air until I remove the nozzle.”
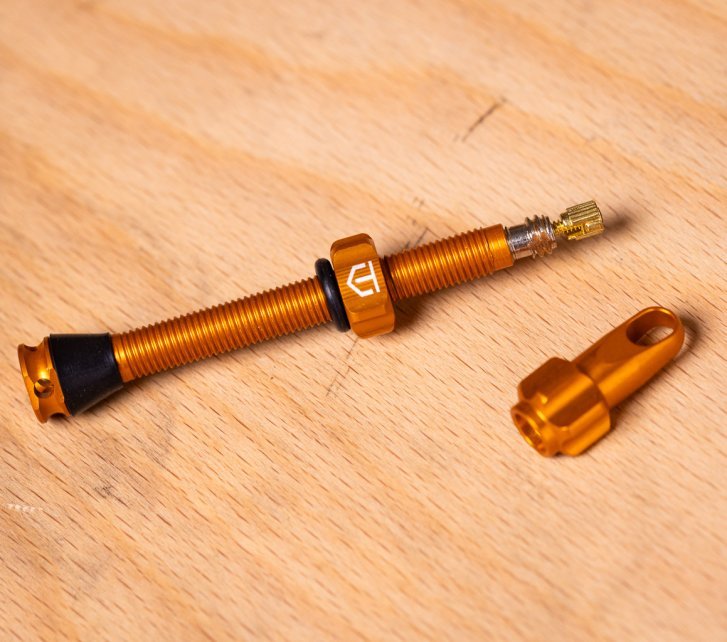
On a Presta valve, gently tighten the tip nut after you remove the head, and replace the dust cap if you took one off.
Check that the tire keeps its pressure after you disconnect. If you are unsure, read the remaining pressure with a compatible gauge.
If your pump is a Lezyne with an ABS button, read the instructions for that chuck before you press it. On Presta, the button releases back-pressure in the pump system. On Schrader, pressing it can release air from the tube.
Bike pump not working? Diagnose the symptom
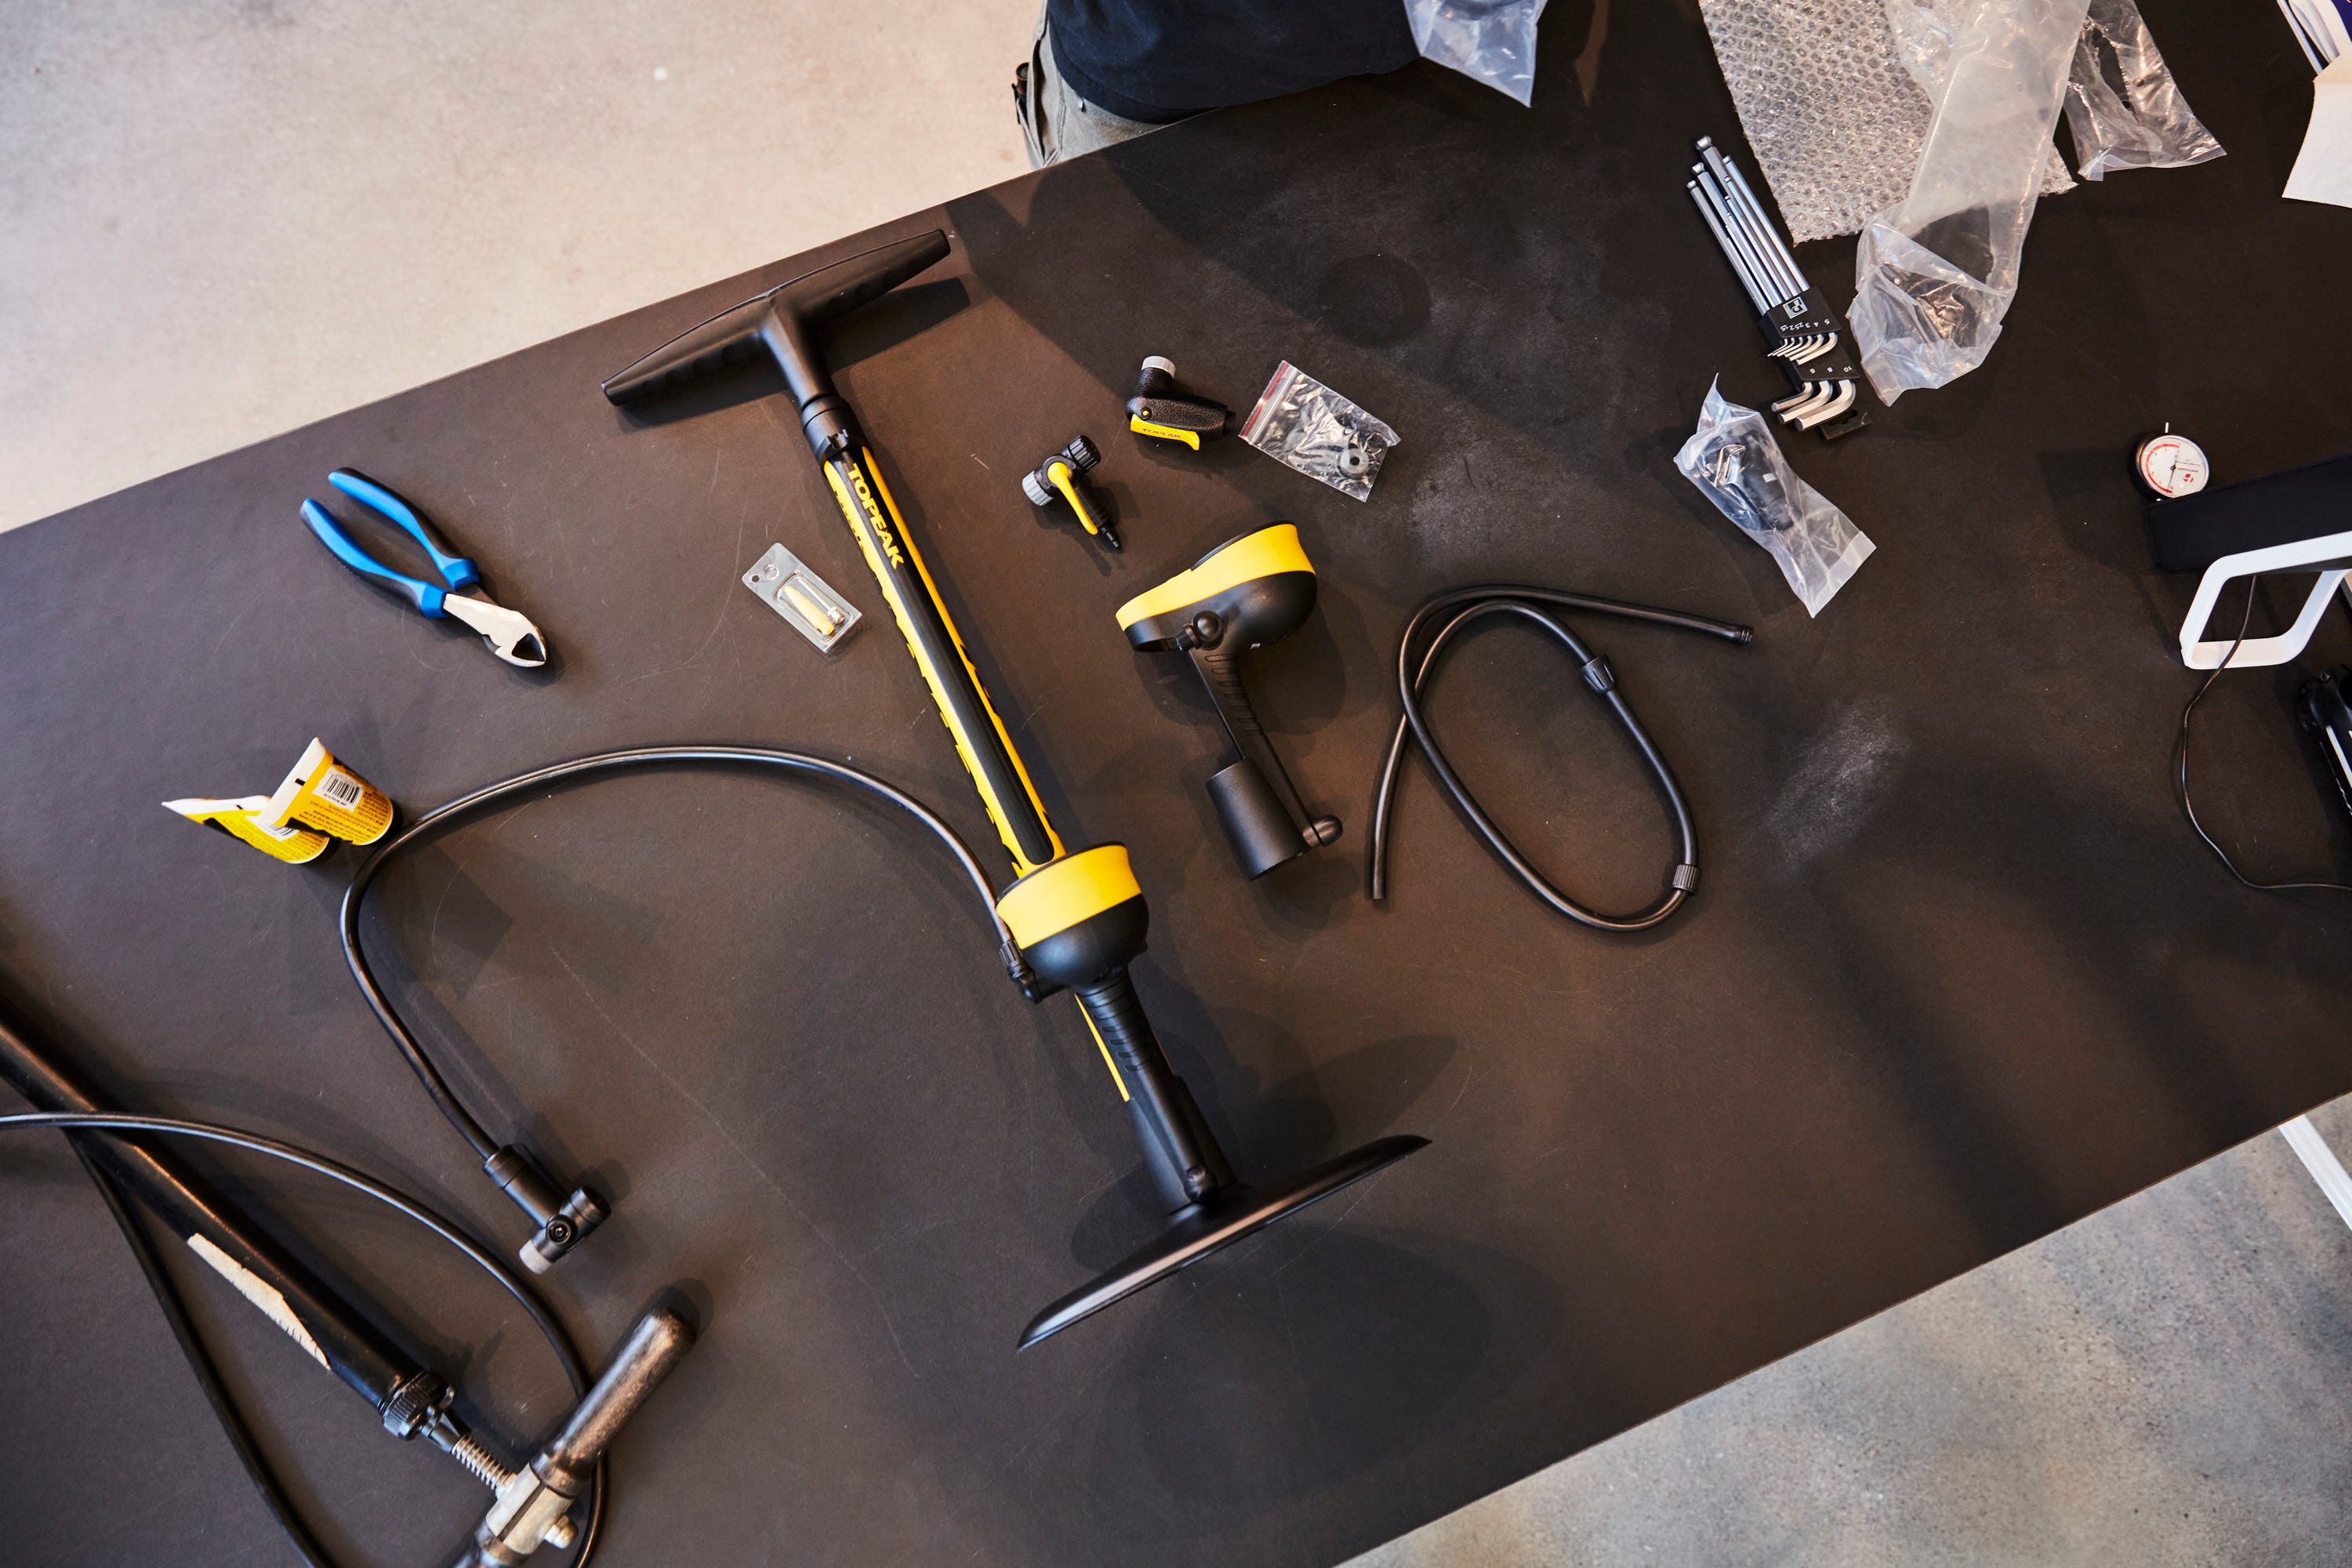
Air escaping around the head, heavy resistance in the first strokes, and a tire that goes soft after you disconnect each point to a different cause. Check whether the problem happens only while the pump is attached or continues after you remove it.
A novice with a cheap pump described the first symptom: air kept coming out of the needle.
| What happens | Possible cause | What to check or do |
|---|---|---|
| Air hisses continuously around the pump head. | The head is poorly seated, the port is wrong, or the seal is loose. | Check the head’s position and the port. Reattach it with the correct lock. |
| The pump is unusually hard to push from the first strokes. | The Presta tip is probably still closed, or something blocks the air path. | Take the head off and check the valve opening before you pump again. |
| The gauge rises, but the tire stays soft. | Air is not entering the tire, or the gauge reading is wrong. | Check that the head is fully on and that the tire takes air. Compare with a separate gauge if you have one. |
| The head will not fit or barely reaches the valve. | The head is incompatible, the wrong port is selected, or the stem is hard to reach. | Use a supported head, an adapter, or an extension. |
| The tire goes soft again after you remove the pump. | Air is escaping through the valve, the valve core, or a puncture. | Inspect the tire and valve for leaks. Repair the tire if it keeps losing pressure. |
| A threaded chuck loosens a removable valve core. | The core was not tight enough, or the chuck was tightened too much. | Stop and secure the core following the service instructions for that component. |
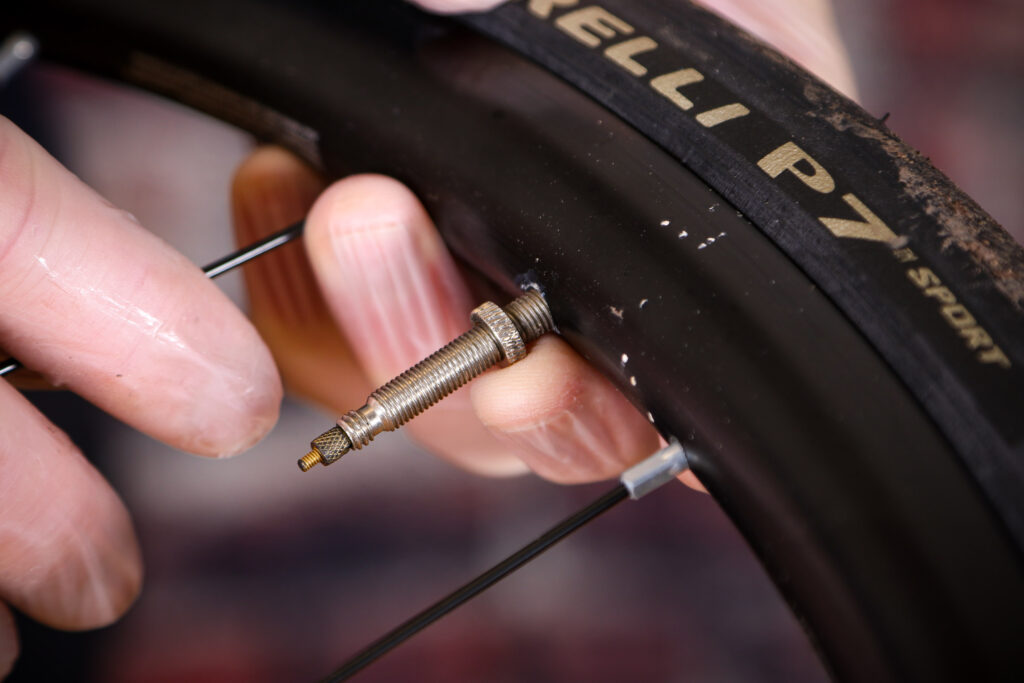
More pumping will not repair a damaged tire or a leaking valve, and visible damage or poor tire seating needs attention first.
If the tire goes soft again
More pumping won’t repair a damaged tire or a leaking valve. If the tire is soft again after you remove the pump, inspect the tire and valve for leaks before you blame the pump.