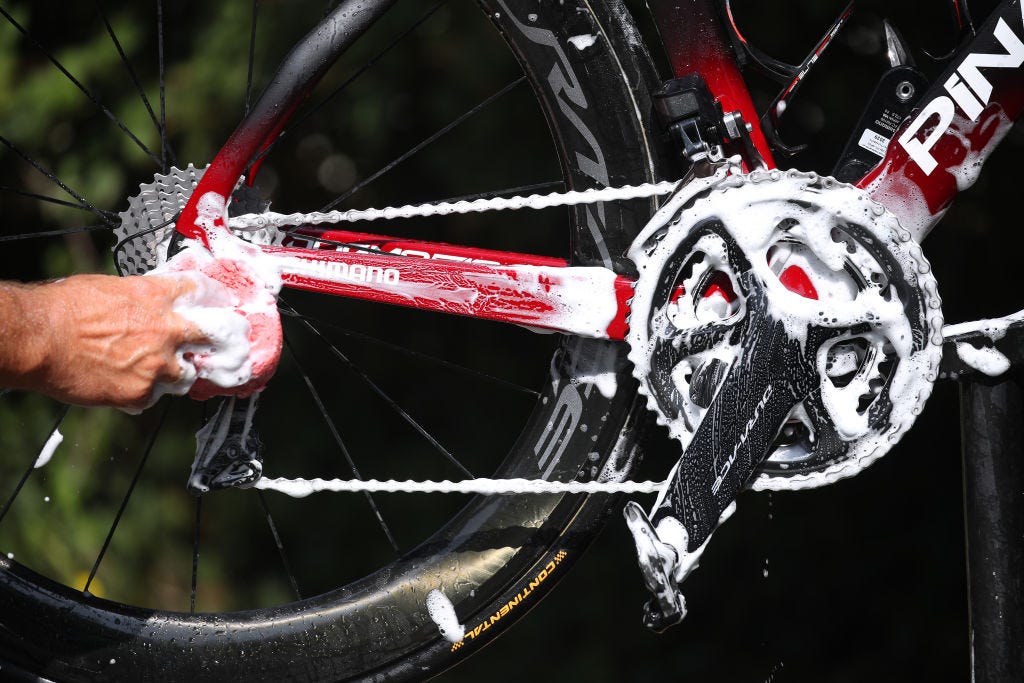
Look over your tires, brakes, chain, cranks and wheel attachments before every ride, and wash the bike when it gets dirty. A pump, cleaning supplies and a few job-specific tools cover the simple work.
What counts as basic bike maintenance
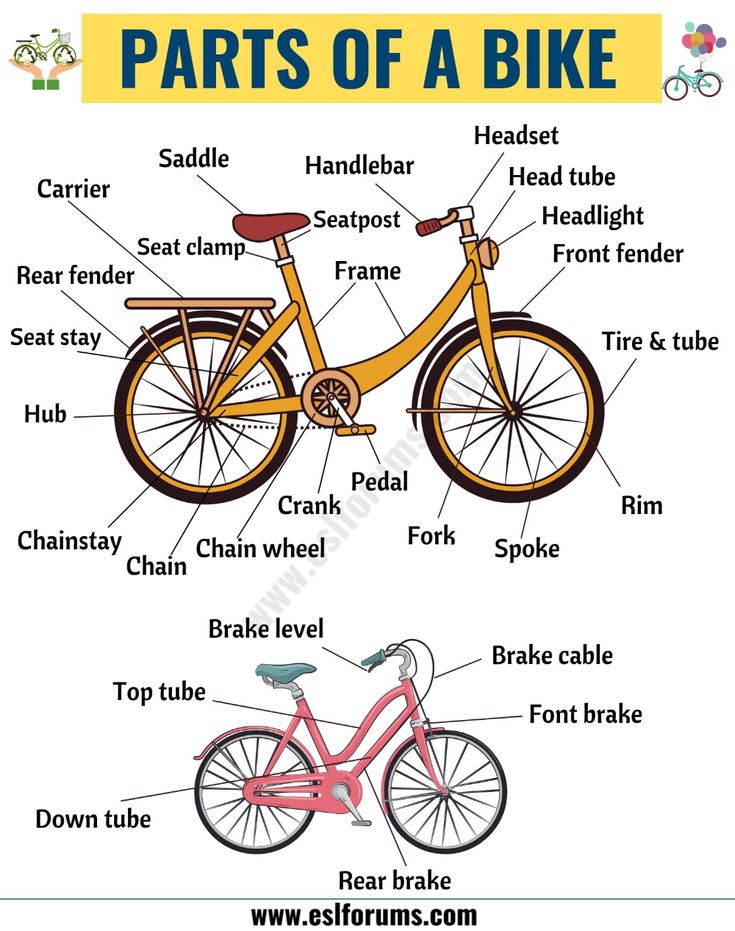
Bike maintenance has three parts: inspecting components for trouble, cleaning and lubricating them, and repairing or replacing worn parts. Start by locating your tires and valves, brake levers, chain, the cranks that hold the pedals, and the fittings that secure your wheels. A normal routine pairs a short check before each ride with cleaning and wear checks when the bike needs them. You don’t need a repair stand or a workshop full of tools to begin. Critical adjustments and repairs, though, require the right equipment, instructions, and skill.
Check your bike before every ride
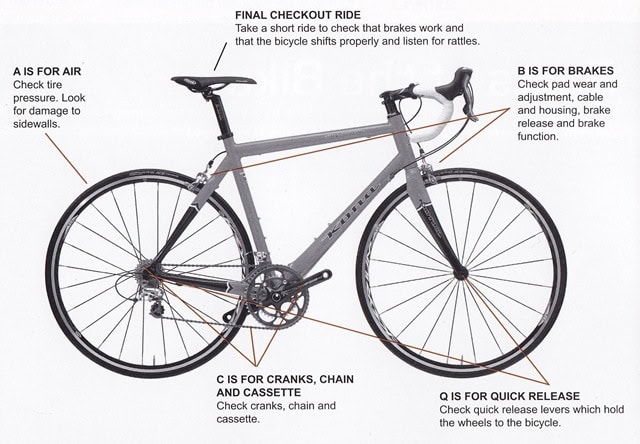
A pre-ride check catches problems before you leave. The League of American Bicyclists’ ABC Quick Check covers air, brakes, chain and cranks, wheel releases, and a final operational check.
Air: look at both tires
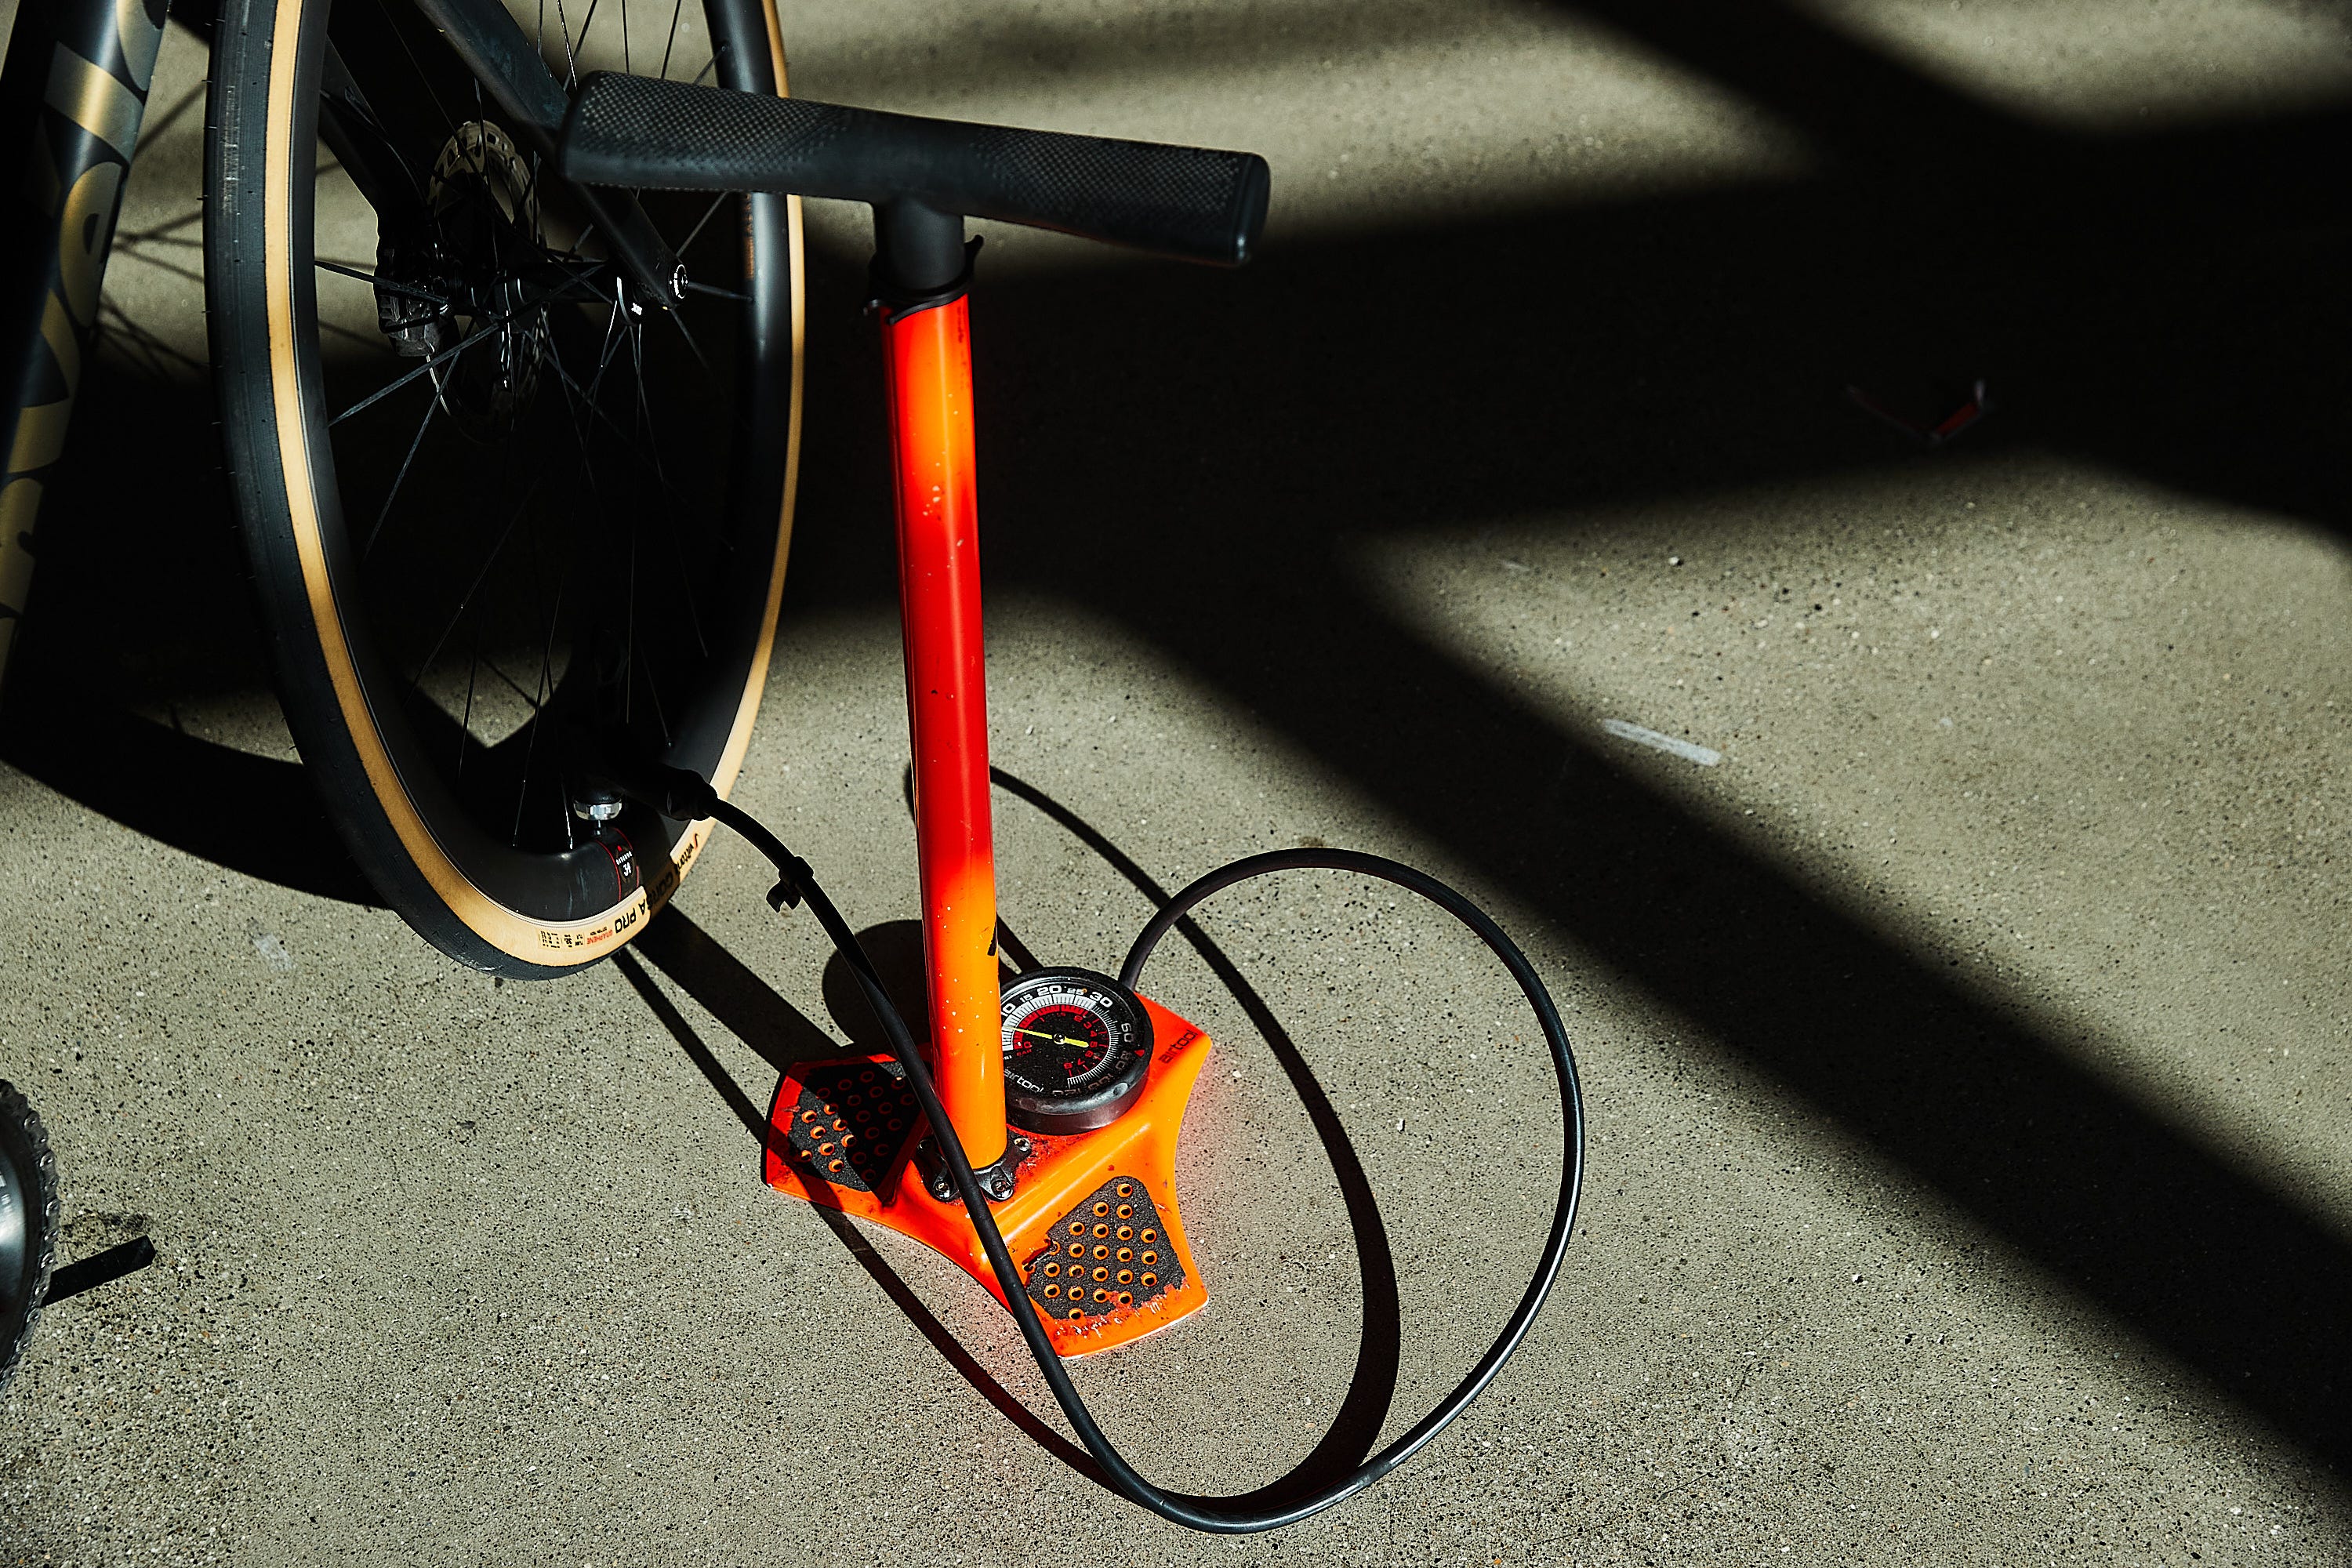
Inspect the tread and sidewalls for visible damage, then check inflation. A tire that feels unexpectedly soft needs attention before you ride, and repeated air loss means you should find the cause. Look for pressure markings on the tire sidewall and check your bike’s guidance before inflating. Use a gauge when you have one. In the United States, tire pressure is commonly expressed in pounds per square inch (PSI).
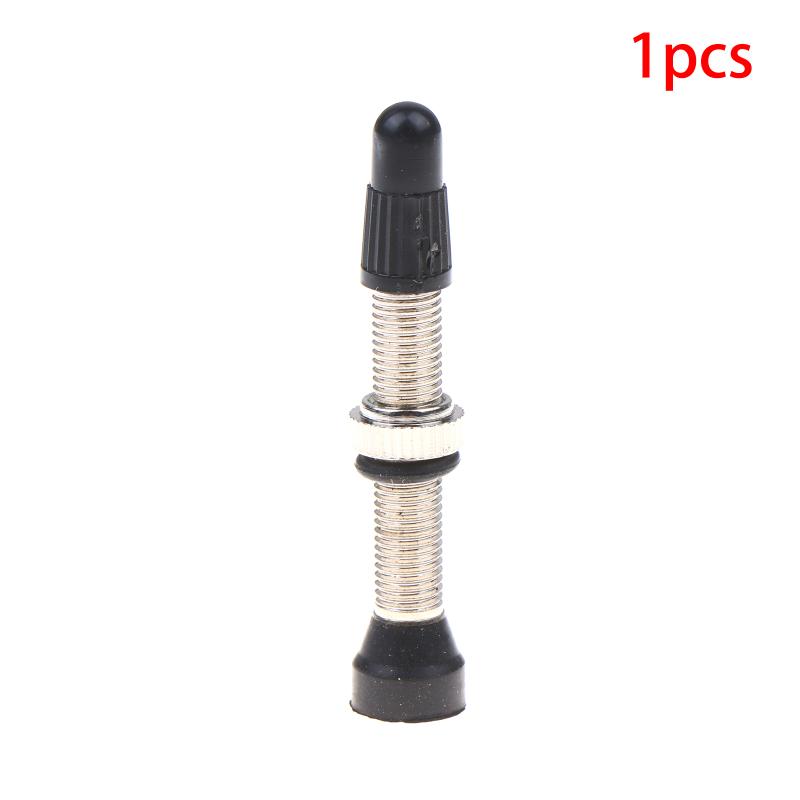
Look at the valve before you attach a pump. A narrow Presta valve and a wider Schrader valve need a compatible pump head or adapter. If you’re unsure which you have, identify it before inflating.
Brakes: test each one separately
Squeeze the front and rear brake levers one at a time. Each should engage smoothly and feel firm, without pulling all the way to the handlebar grip. Check the pads for visible wear where you can see them. If a lever feels weak, inconsistent, or different from usual, don’t ride until it’s fixed.
Rim brakes act on the wheel rim, and disc brakes act on a rotor near the hub. Inspection and service details differ between the two. This functional check tells you whether something is wrong, while the manufacturer’s instructions govern adjustment and wear limits.
Do not ride with unreliable brakes, an insecure wheel, significant unexpected movement in the steering or cranks, or suspected frame or fork damage. Get the problem fixed before you use the bike.
Chain and cranks: notice changes
On a chain-driven bike, the chain runs between the front chainring and the sprockets at the rear wheel. The crank arms connect the pedals to this drivetrain. Look for obvious damage, heavy dirt, or abnormal movement.

Wheels: check how they’re secured
Find out whether each wheel uses a quick-release lever, a thru-axle, or axle nuts. Confirm it’s secure using the instructions for that system. If a wheel feels loose, or you can’t confidently verify the fastening, get a mechanic’s help. Guessing how much force a lever or nut needs is unsafe.
Once these checks pass, a controlled, low-speed ride confirms that braking and handling feel normal. Never use a road test to investigate a brake or wheel fault you’ve already found.
How often should you maintain your bike?
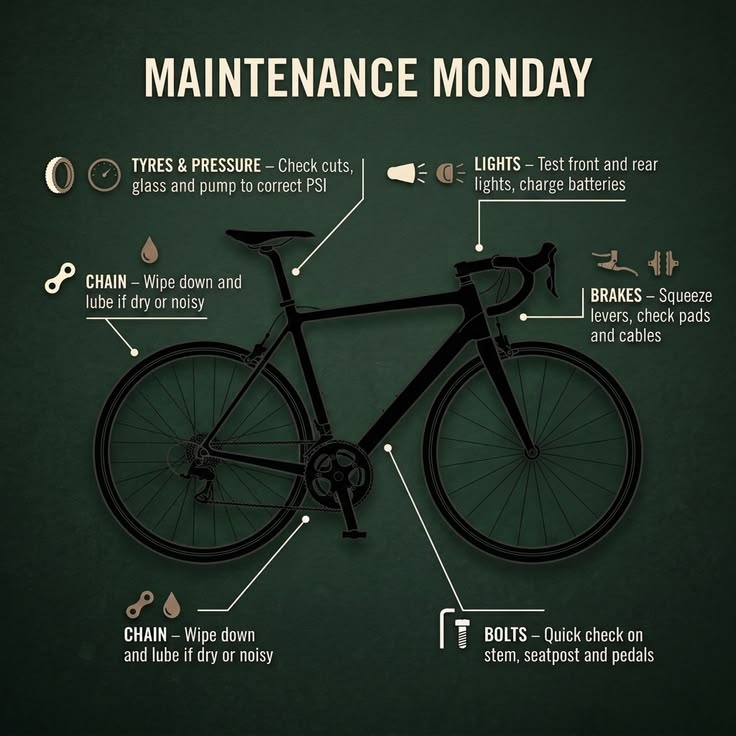
Check before every ride. Clean after wet, muddy, or dusty rides. Look at a conventional chain when it gets grimy, dry, or squeaky. Beyond that, follow the service instructions for your bike’s components.
| When to check | What to look for | Your next action | When to get help |
|---|---|---|---|
| Before each ride | Tire condition, braking, wheel security, visible damage | Run the pre-ride check | Any critical fault you can’t resolve |
| After wet, muddy, or dusty riding | Contamination on the bike and drivetrain | Clean and dry the affected parts | Damage or abnormal operation remains |
| When a conventional chain looks grimy, dry, or sounds squeaky | Grime, dry appearance, squeaking | Clean if dirty; lubricate with the correct method | Persistent slipping, damage, or doubt about wear |
| During periodic wear checks | Chain and other wear-prone parts | Inspect or measure with suitable tools | A worn part needs replacement or diagnosis |
| At a documented service interval | Requirements for your bike or component | Follow the manufacturer’s procedure | Specialist tools or skills are required |
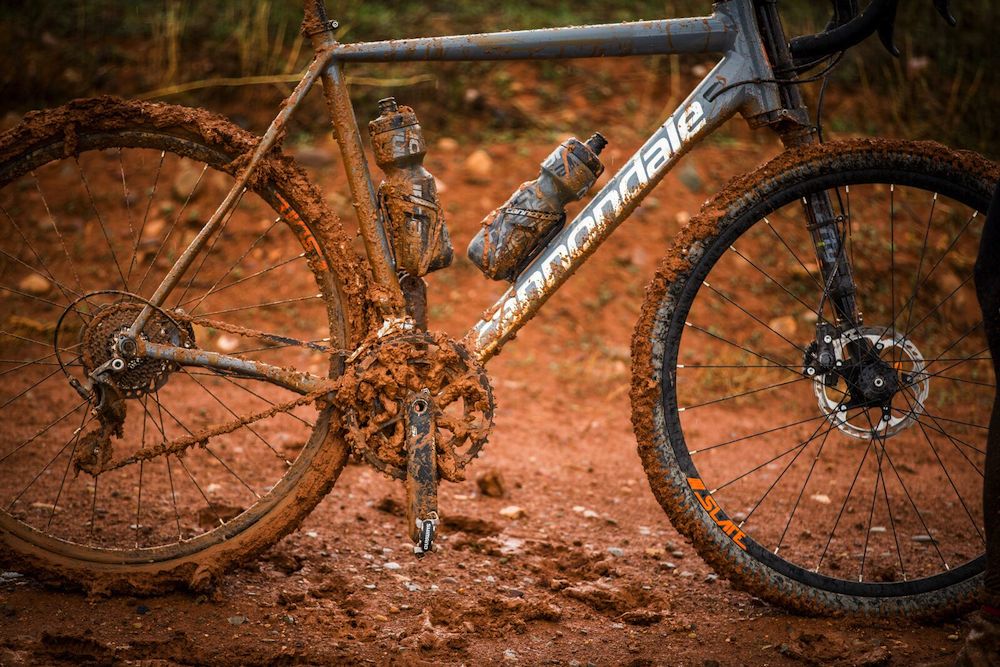
A muddy commute calls for cleaning that an occasional dry-weather ride doesn’t.
Trek recommends its at-home maintenance procedures every 25 hours of riding. Liv Cycling’s beginner guidance describes degreasing and re-lubricating the drivetrain about every couple of weeks.
Cleaning and wear are separate decisions
Dirt on a chain calls for cleaning, and a dry or squeaking chain needs lubricant once it’s clean. Wear is a different question. Lubricant can’t reverse worn metal, so use a compatible chain-wear tool or ask a mechanic whether the chain needs replacing.
Keep a simple record of what you did, any unusual symptoms, and any service a mechanic or the manufacturer specifies. A note on your phone works.
Clean your bike and lubricate the chain correctly
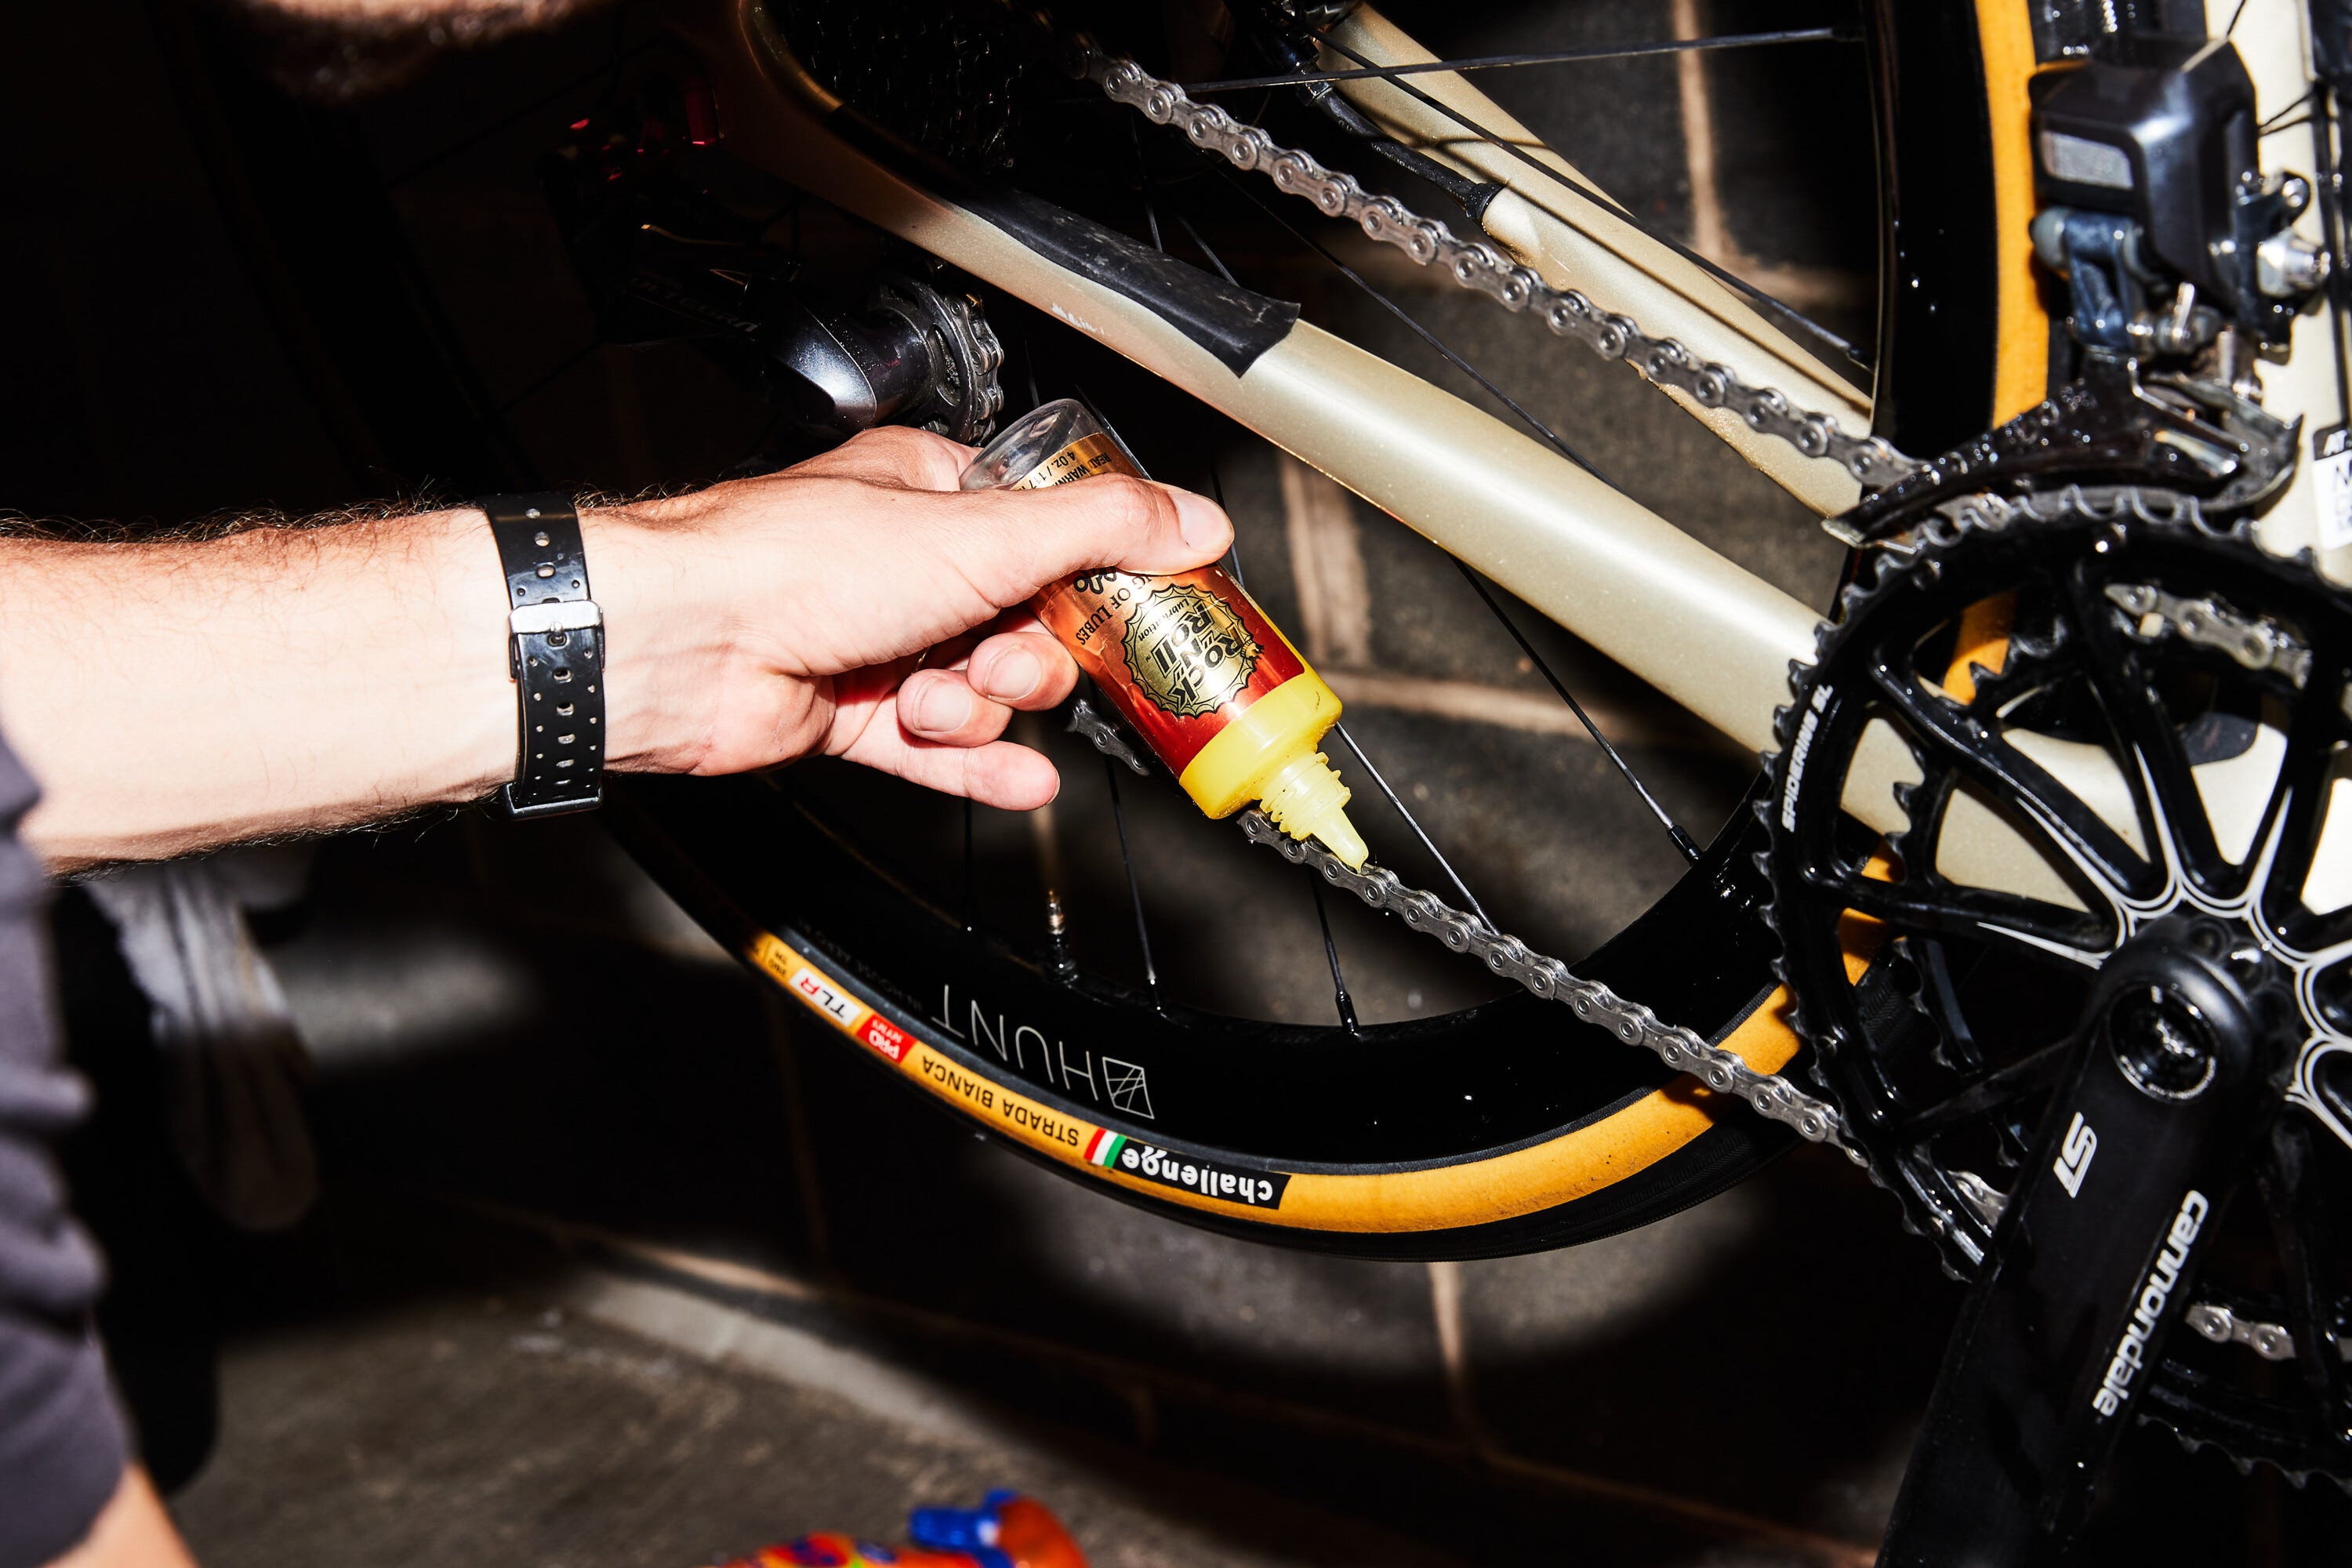
Cleaning removes grit and makes damage easier to spot. Use a gentle cleaner compatible with your bike’s materials, rinse carefully, and dry the cleaned parts. Park Tool’s bike washing guidance advises against aiming high-pressure water at sensitive components, where water and contamination can get into bearings.
- Clear loose dirt. Remove it without grinding grit into the surfaces.
- Wash. Follow the cleaner’s instructions and rinse gently around components.
- Dry the bike. Wipe the cleaned areas and look for damage the dirt hid.
- Protect braking surfaces. Keep cleaners and lubricants off brake pads and disc rotors.
For indoor work, Park Tool recommends putting cardboard or a similar barrier on the floor before cleaning a dirty drivetrain. In a small apartment you don’t need a repair stand for basic wiping and inspection, as long as the bike is supported securely.
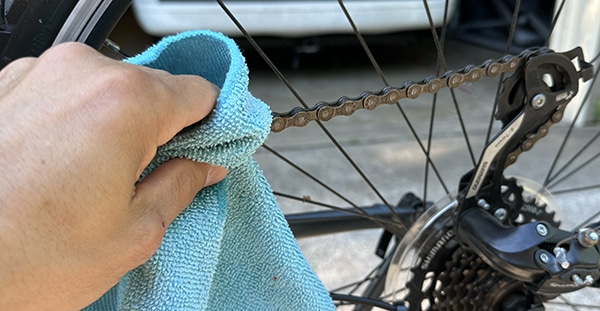
For a conventional lubricated chain
If dirt has collected on the chain, clean it with a compatible method and let it dry. Apply lubricant suited to the chain system, then wipe off the excess. The aim is to lubricate the chain’s moving parts and leave no extra lubricant on the outside.
Pick the instructions for the drivetrain you have. Waxed chains and belt drives need different care, and these chain-lubrication steps don’t cover them.
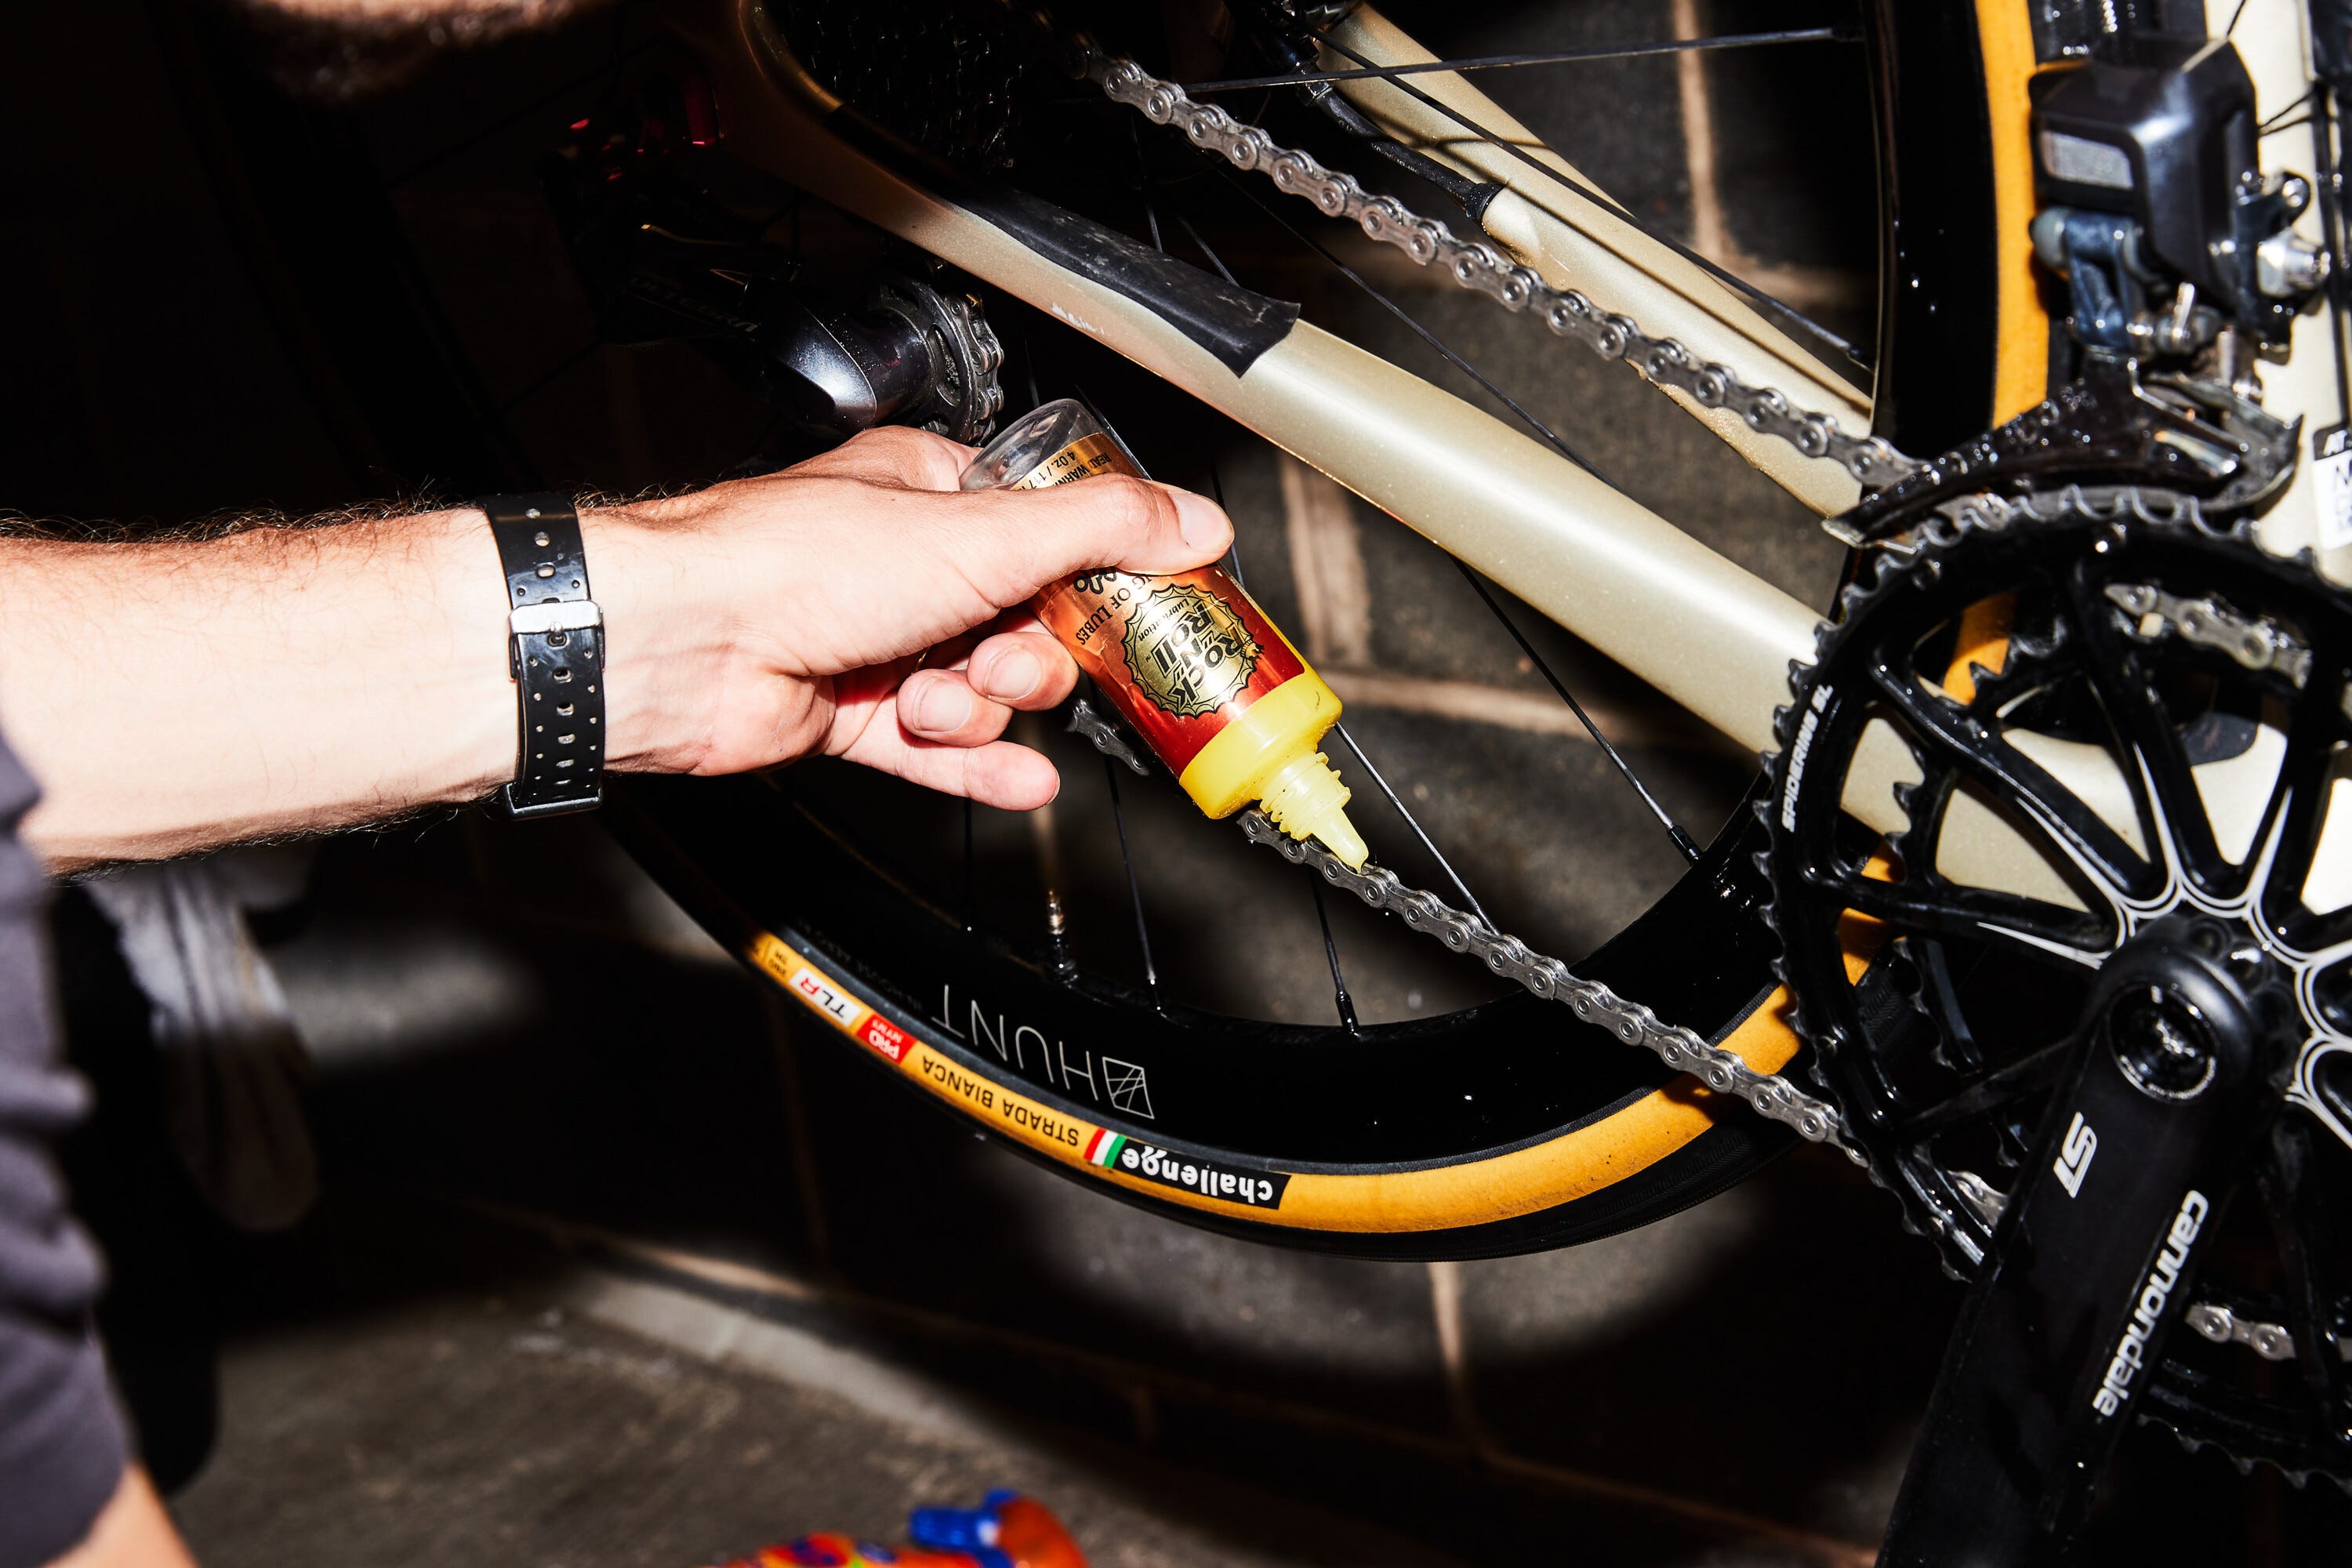
Oil or lubricant on disc brake rotors or pads can compromise braking. If you suspect contamination or braking turns abnormal, follow the brake manufacturer’s service instructions and get a mechanic’s help. A quick wipe doesn’t prove braking is restored.
If the grime comes off but the chain keeps skipping, treat that as a mechanical problem. Check for wear with a compatible measuring tool or have a bike shop assess it before you decide what to replace.
Which bike maintenance tools do you need?
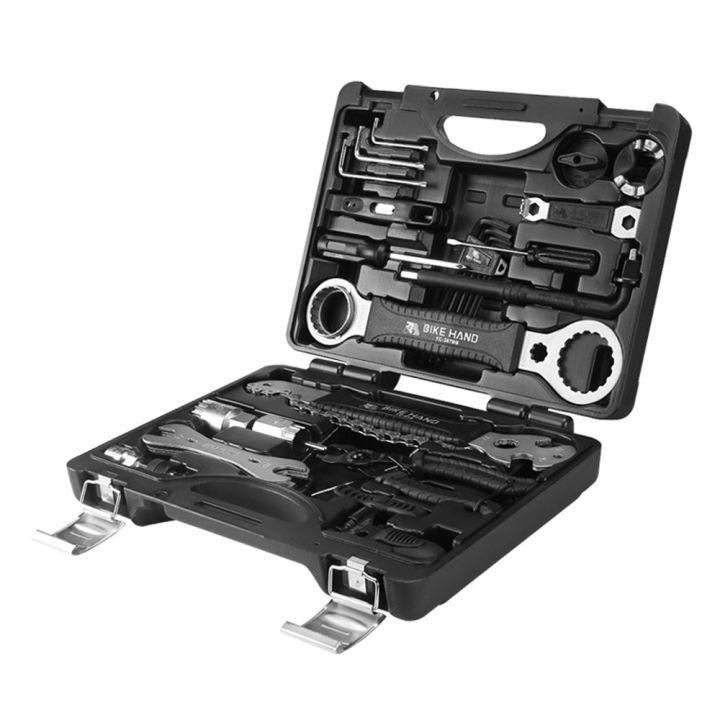
Buy tools for tasks you understand and plan to do. A pump and basic cleaning supplies are enough to start. Add equipment when you know which component you’re working on and how to check the result.
| Task | Useful tool or supply | Check first | When to defer |
|---|---|---|---|
| Check tire inflation | Floor pump and pressure gauge | Valve compatibility and tire/bike pressure guidance | Damaged tire or valve, or unexplained air loss |
| Wash the bike | Rags and compatible gentle cleaner | Materials and cleaner instructions | Visible damage or a fault remains |
| Care for a conventional chain | Chain-cleaning supplies and suitable lubricant | Chain and lubrication system | Unfamiliar system or persistent mechanical problem |
| Learn to fix a flat | Compatible tire levers and a replacement tube | Tire, valve, wheel, and tube compatibility | You can’t safely remove and reinstall the wheel |
| Assess chain wear | Compatible wear-measuring tool | Drivetrain-specific interpretation | Measurement is uncertain |
| Tighten a specified fastener | Correctly fitting tool; torque wrench when required | Exact component procedure and torque value | Specification or correct tool is missing |
You don’t need a full workshop
In an apartment you can still check tires, work the brake levers, wipe accessible surfaces, and clean a chain with modest supplies. If a tire is hard to remove, or a job needs unfamiliar force or adjustments, learn it at a bike-maintenance class, bike co-op, or local shop.
Torque matters once you start adjusting fasteners. A hex key that fits a bolt doesn’t tell you how tightly to turn it. Follow the component specification and use the right torque tool when required, since excessive tightening can damage parts. Park Tool’s torque wrench guidance explains why.
Warning signs that call for inspection or a bike shop
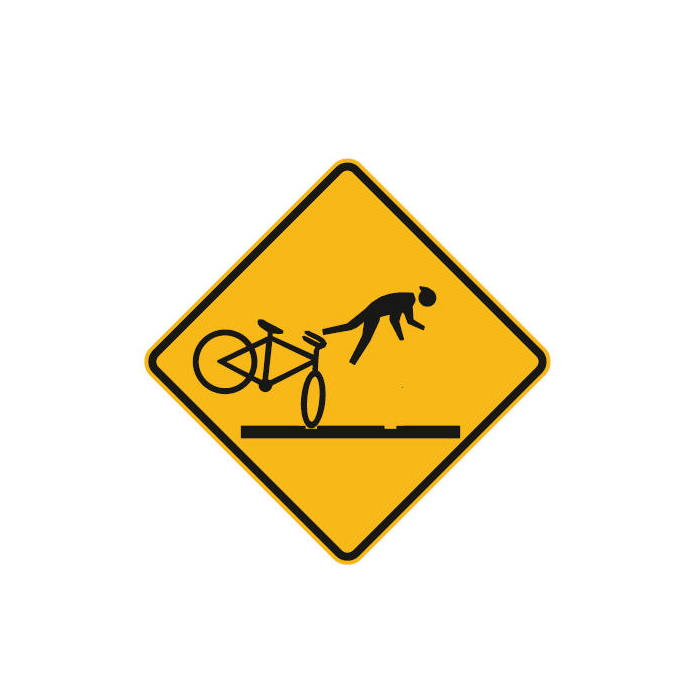
When a component behaves abnormally, decide whether it’s ordinary upkeep or a mechanical fault that needs diagnosis. You don’t need to name the broken part to recognize unreliable braking, an insecure wheel, or visible frame damage as reasons to stop riding.
| What you notice | Next action | Can you ride? |
|---|---|---|
| Unexpectedly soft tire | Inspect and inflate using the correct guidance; investigate recurring loss | After you fix it |
| Dirty conventional chain | Clean, dry, and lubricate as the system requires | After normal operation is confirmed |
| Weak or inconsistent brakes | Get it diagnosed and fixed | No |
| Loose or uncertain wheel attachment | Verify the axle system correctly or get a mechanic’s help | No |
| Suspected frame or fork crack | Get it assessed | No |
| Unexpected steering or crank movement | Get it inspected and fixed | No |
| Persistent chain skipping or drivetrain noise | Have the drivetrain assessed; noise alone doesn’t prove wear | Only once safe operation is established |
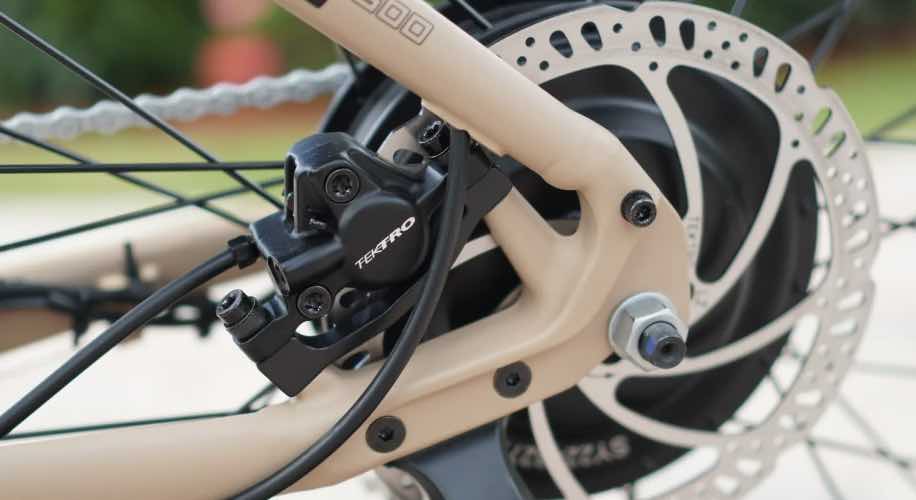
If a brake lever suddenly pulls unusually far, park the bike and fix the braking fault before you ride again.
Where DIY work ends
A manageable home task has instructions you understand, compatible tools, and a result you can verify. Brake repair, unknown axle fastening, suspected structural damage, and adjustments that need unavailable torque specifications fall outside that for a beginner. A qualified mechanic can inspect unclear problems and handle work that needs specialized tools.
When in doubt
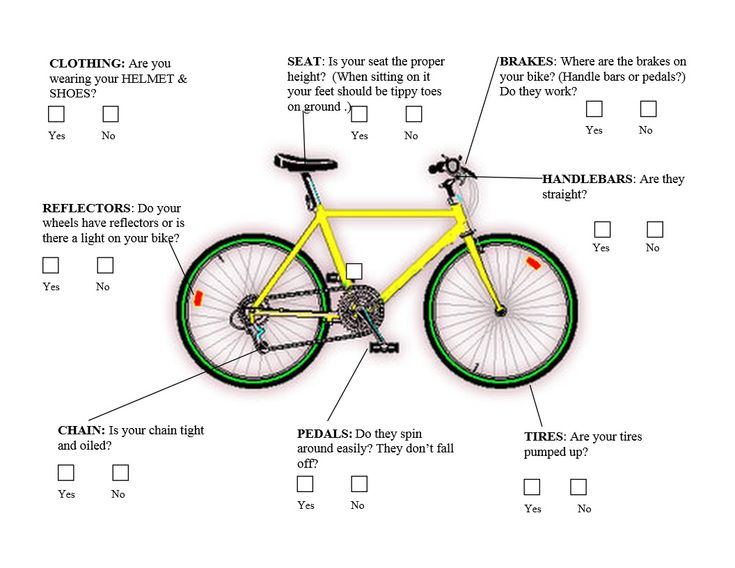
When in doubt, park the bike. A job is yours if you understand the instructions, have compatible tools and can verify the result. Anything involving brakes, wheels, steering or the frame goes to a mechanic, and the bike stays parked until it’s fixed.