
Before each ride on a familiar bike, check the tires, brakes, drivetrain, wheel security, and controls. If they pass, do a slow test of braking and handling. If a safety-critical part fails, or you can’t confirm it’s secure, don’t ride until it’s fixed and rechecked or a qualified mechanic has inspected it.
Does this bike need more than a quick check?
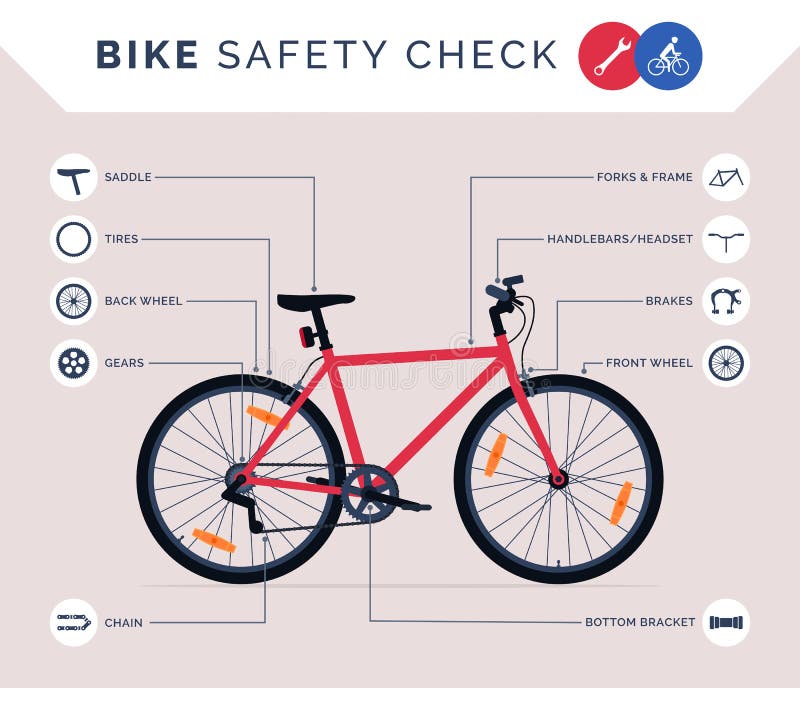
A pre-ride check looks for obvious faults and anything that isn’t working right before you leave. It’s a repeatable inspection, and you don’t need to dismantle the bike or tune it up. Start by deciding how well you know its condition.
- A familiar, regularly ridden bike. If it’s been working normally and you know its recent condition, use the routine checks below.
- A used, borrowed, or stored bike. Give it a fuller inspection before you rely on it.
- A bike after a crash or a suspected serious fault. Have a professional inspect it when you’re unsure about damage or safety-critical condition. A quick check can’t rule out hidden structural damage.
Short rides need the same check.
The League of American Bicyclists’ ABC Quick Check stands for Air, Brakes, Chain and Cranks, Quick Release, then Check.
Look at the tires, then check the pressure
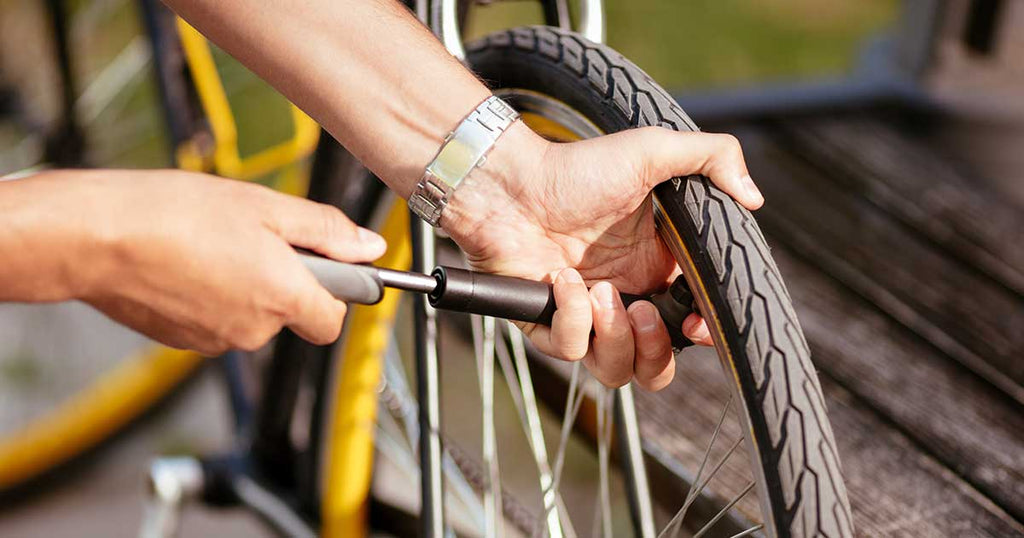
Inspect both tires, tread and sidewalls included. Look for cuts or other damage, a nearly flat tire, or a tire that has lost its shape. Deal with any of these before you ride.
Inflation is a measurable part of the inspection. A soft-looking tire can tip you off, but a pressure gauge gives you the pressure in PSI.
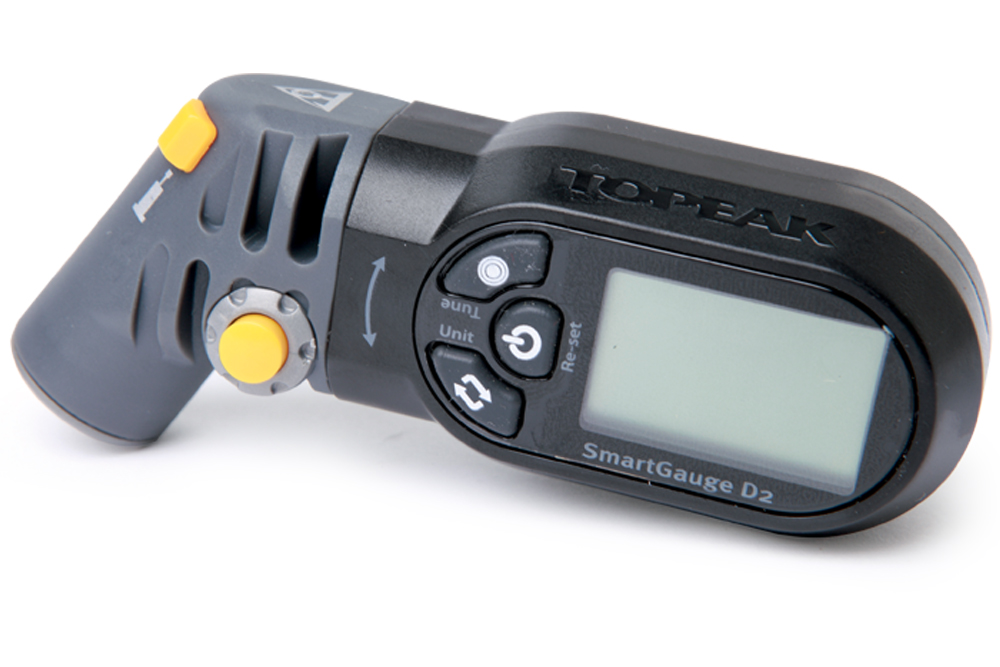
Check the gauge reading against the limits and instructions for your tire, rim, and tubeless setup. Riding pressure varies with tire type, load, and riding conditions, and Schwalbe’s tire-pressure guidance explains those factors. The maximum permitted pressure is a limit. You don’t need to inflate to it on every ride.
If a sound tire just needs air and you know the correct pressure and inflation method for its valve, inflate it within the equipment limits and check it again.
Check your brakes before you roll
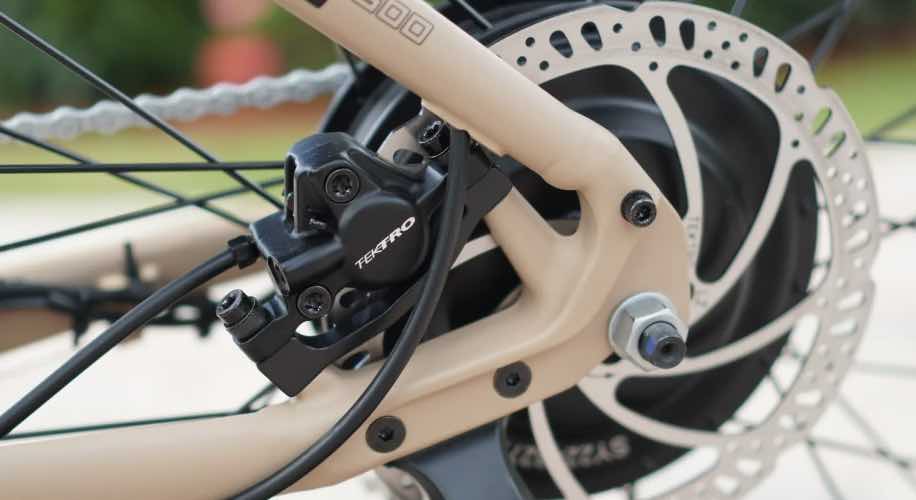
Check your brakes with the bike standing still. With hand-operated brakes, squeeze each lever and confirm it engages without unexpected lever travel or a weak response. Then hold each lever in turn and gently try to push the bike forward on level ground. That wheel should resist rolling. Look for visible damage, parts touching where they shouldn’t, and rubbing you can’t explain.
| Brake type | Check while stationary |
|---|---|
| Rim brake | Squeeze the lever and watch the pads engage the rim. |
| Disc brake | Operate the lever and check engagement and the visible condition around the rotor and caliper. |
| Coaster brake | If you can safely lift the rear wheel, spin it and press a pedal backward to check that braking engages. |
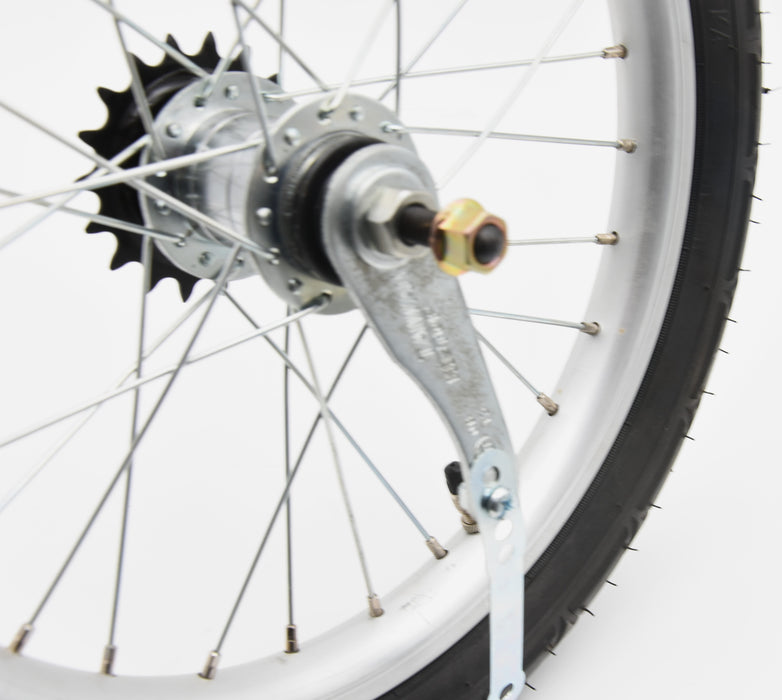
A coaster brake works by backpedaling, so the hand-lever check doesn’t apply. Its stationary wheel test and the slow test later are separate checks. If you can’t safely do the stationary check, leave it to a mechanic.
Look over the chain and cranks
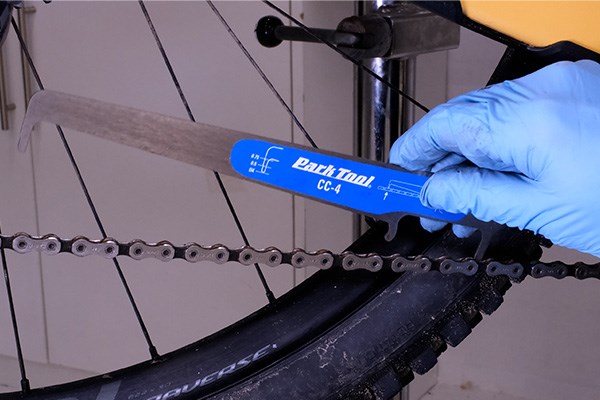
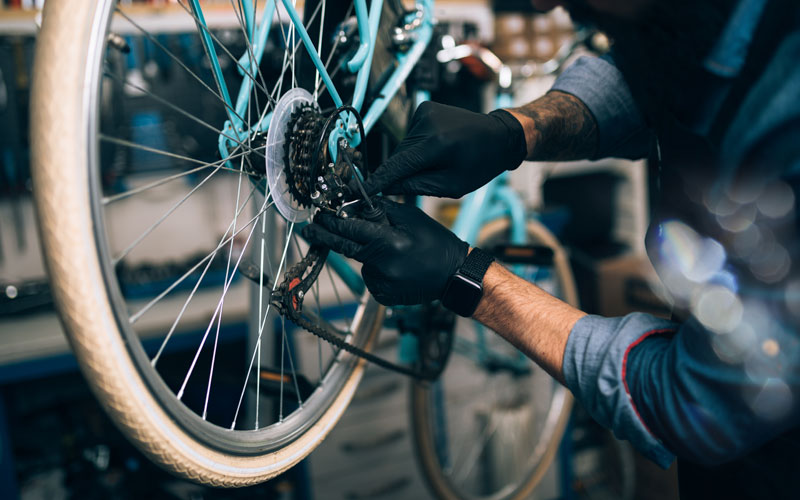
Find the chain and the crank arms, the parts that transfer pedaling force into the drive. The chain should sit where it belongs, and nothing you can reach should look damaged or loose. Watch for a crank that moves when it shouldn’t, or a drivetrain that doesn’t look the way it usually does.
Keep hands, hair, and loose clothing away from moving parts. Do this with the bike standing still.
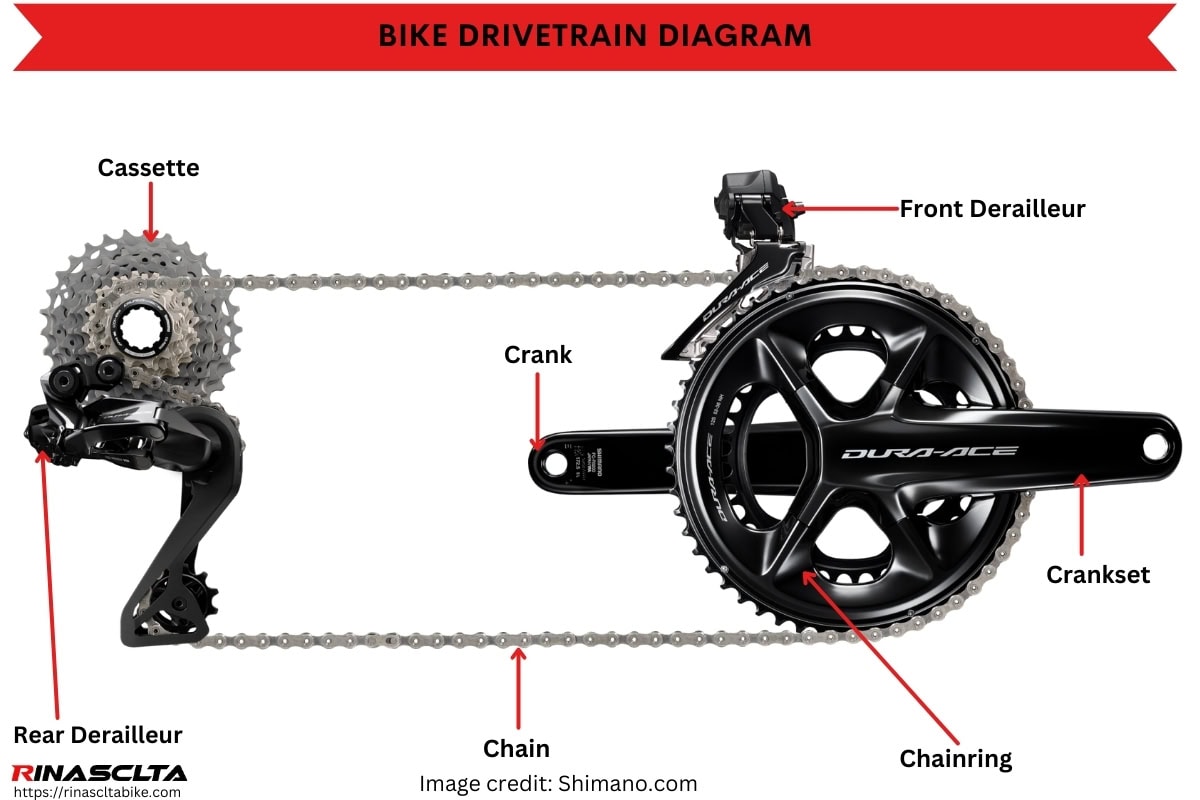
If your bike has a belt drive or another setup, follow the instructions for those parts.
Check what holds each wheel on
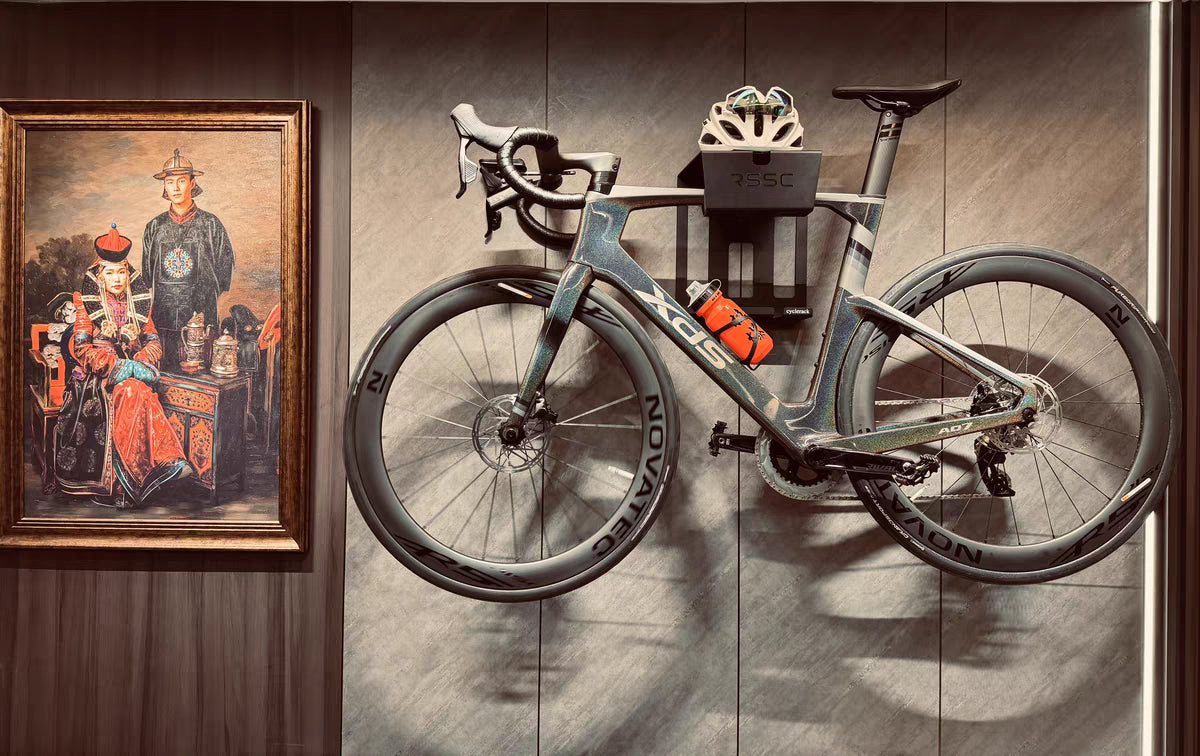
Check what holds each wheel to the bike. The ABC mnemonic names Quick Release, yet wheel attachments may use a cam-operated skewer, a thru-axle, or axle nuts. A lever alone doesn’t tell you it’s a quick release, since some thru-axles have levers too.
| Fastening system | How to recognize it |
|---|---|
| Quick release | A skewer runs through the wheel’s hollow axle and uses a cam-closing lever. |
| Thru-axle | An axle passes through the hub and engages the frame or fork. Some versions have a lever. |
| Nutted axle | Axle nuts retain the wheel at the frame or fork. |
Park Tool’s wheel removal and installation guide distinguishes these fastening systems. With the bike safely supported, gently rock each wheel side to side. Confirm both wheels are seated in their attachments with no play. If a wheel moves, or you can’t confirm how it’s fastened, it fails the check.
It happens on real commutes. In a September 2024 r/bikecommuting post, a commuter wrote, “Yesterday on my way to work my wheel fell off halfway there (5 km). Kind of.”
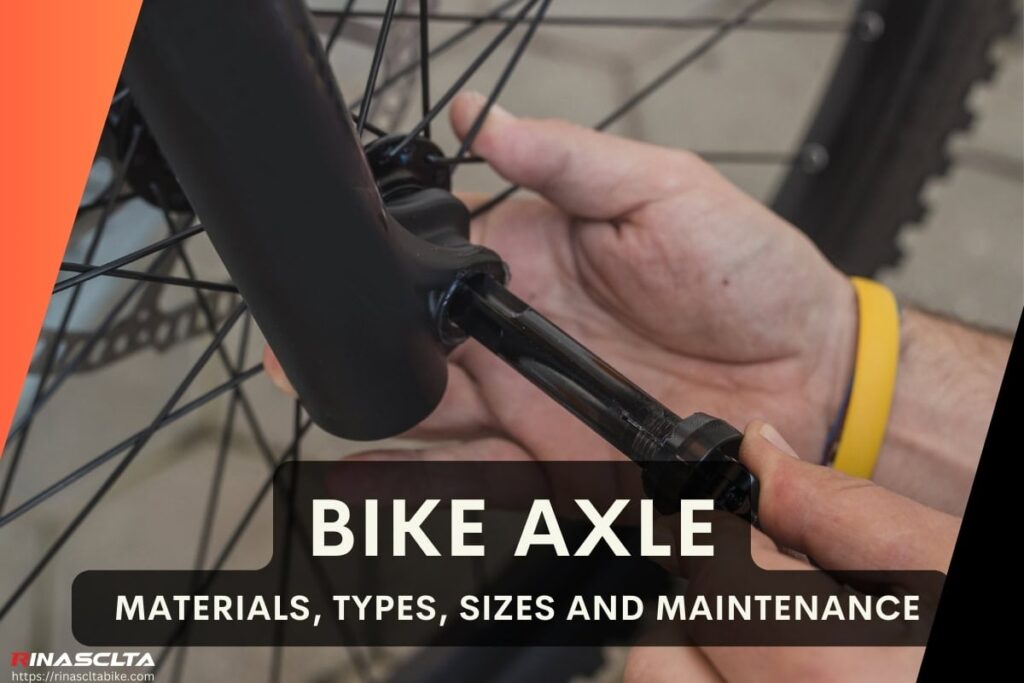
Treat this as a check for every ride. Trek’s October 2021 Bicycle Owner’s Manual includes wheel attachment among its before-every-ride checks.
Use the instructions for your fastener to check that it’s secure. Don’t loosen an unfamiliar fastener to see how it works, guess a torque, or ride to test a loose wheel.
Check the bars, saddle, and any ride-essential attachments
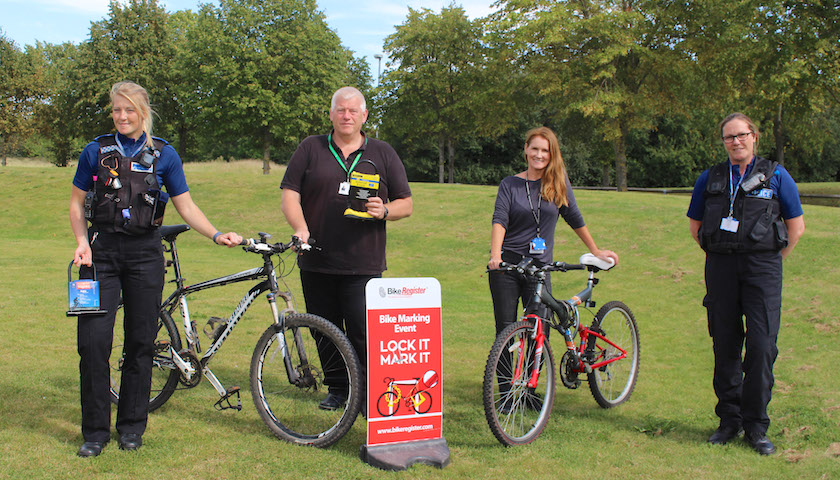
The handlebars, steering controls, and saddle should stay secure in place. With the bike standing still, check whether the bars or saddle shift at their mountings. Look closely if the bike has been transported or something felt different on your last ride. Loose bars affect steering, and a saddle that turns or slips changes your riding position.
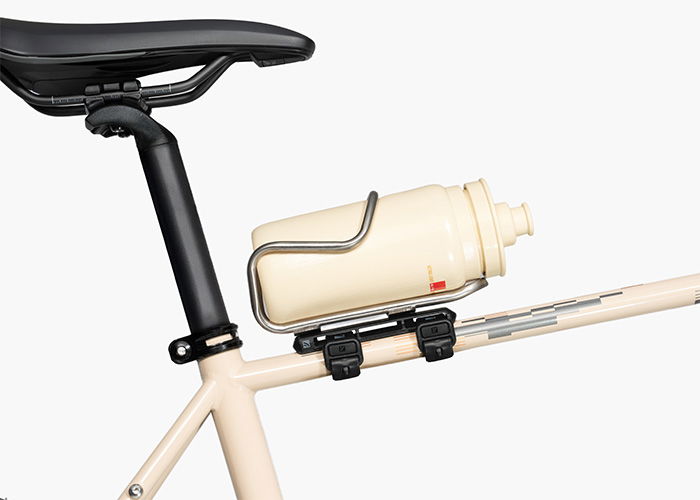
Check any attachments your ride depends on. A loose bag mount can interfere with the bike. Lights matter if you’ll ride in low light, and local rules may govern their use.
On an e-bike, check that the battery is retained as the manufacturer’s instructions describe. For an unfamiliar steering clamp or battery fitting, follow the equipment instructions. Don’t improvise an adjustment.
Go, fix, or stop
| Finding | Decision |
|---|---|
| No problems with the tires, brakes, drive, wheels, controls, or essential attachments. Continue to the slow test. | Go |
| Low pressure, no visible tire damage, and you know the correct pressure and inflation method. Correct the pressure, then return to the tire check. | Fix and recheck |
| A damaged tire, or pressure or repair requirements you don’t know. Get technical guidance or a repair before you ride. | Stop |
| A brake that doesn’t work, engages poorly, or has rubbing that doesn’t go away. Have it checked or repaired. | Stop |
| A wheel with play, or a fastening you can’t verify. Keep the bike parked until the fastening is verified. | Stop |
| Loose steering, saddle, or essential attachment, or obvious structural damage. Correct or inspect the defect before you ride. | Stop |
Finish with a slow test
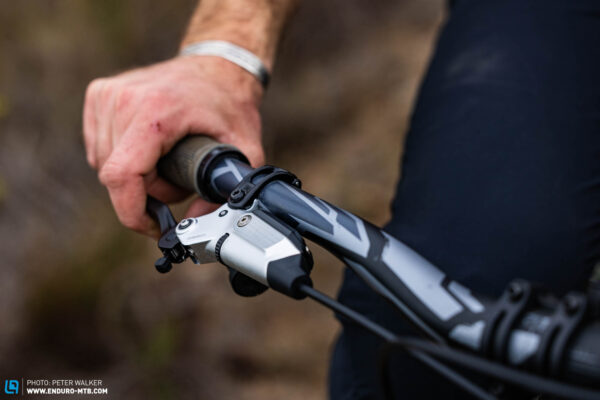
Only after the checks above pass, roll slowly on level ground away from traffic. Apply the brakes for a controlled stop and notice how the steering and handling feel. Stop if the brakes or steering feel wrong.