
Pick the ride whose pace, route and group-riding demands you can handle, whatever its label says, even “beginner” or “no-drop.” If the organizer can’t explain the hill pace and how riders regroup, choose an easier ride. Otherwise, save the route and introduce yourself to the leader before the start.
Which group ride should you choose for your first time?
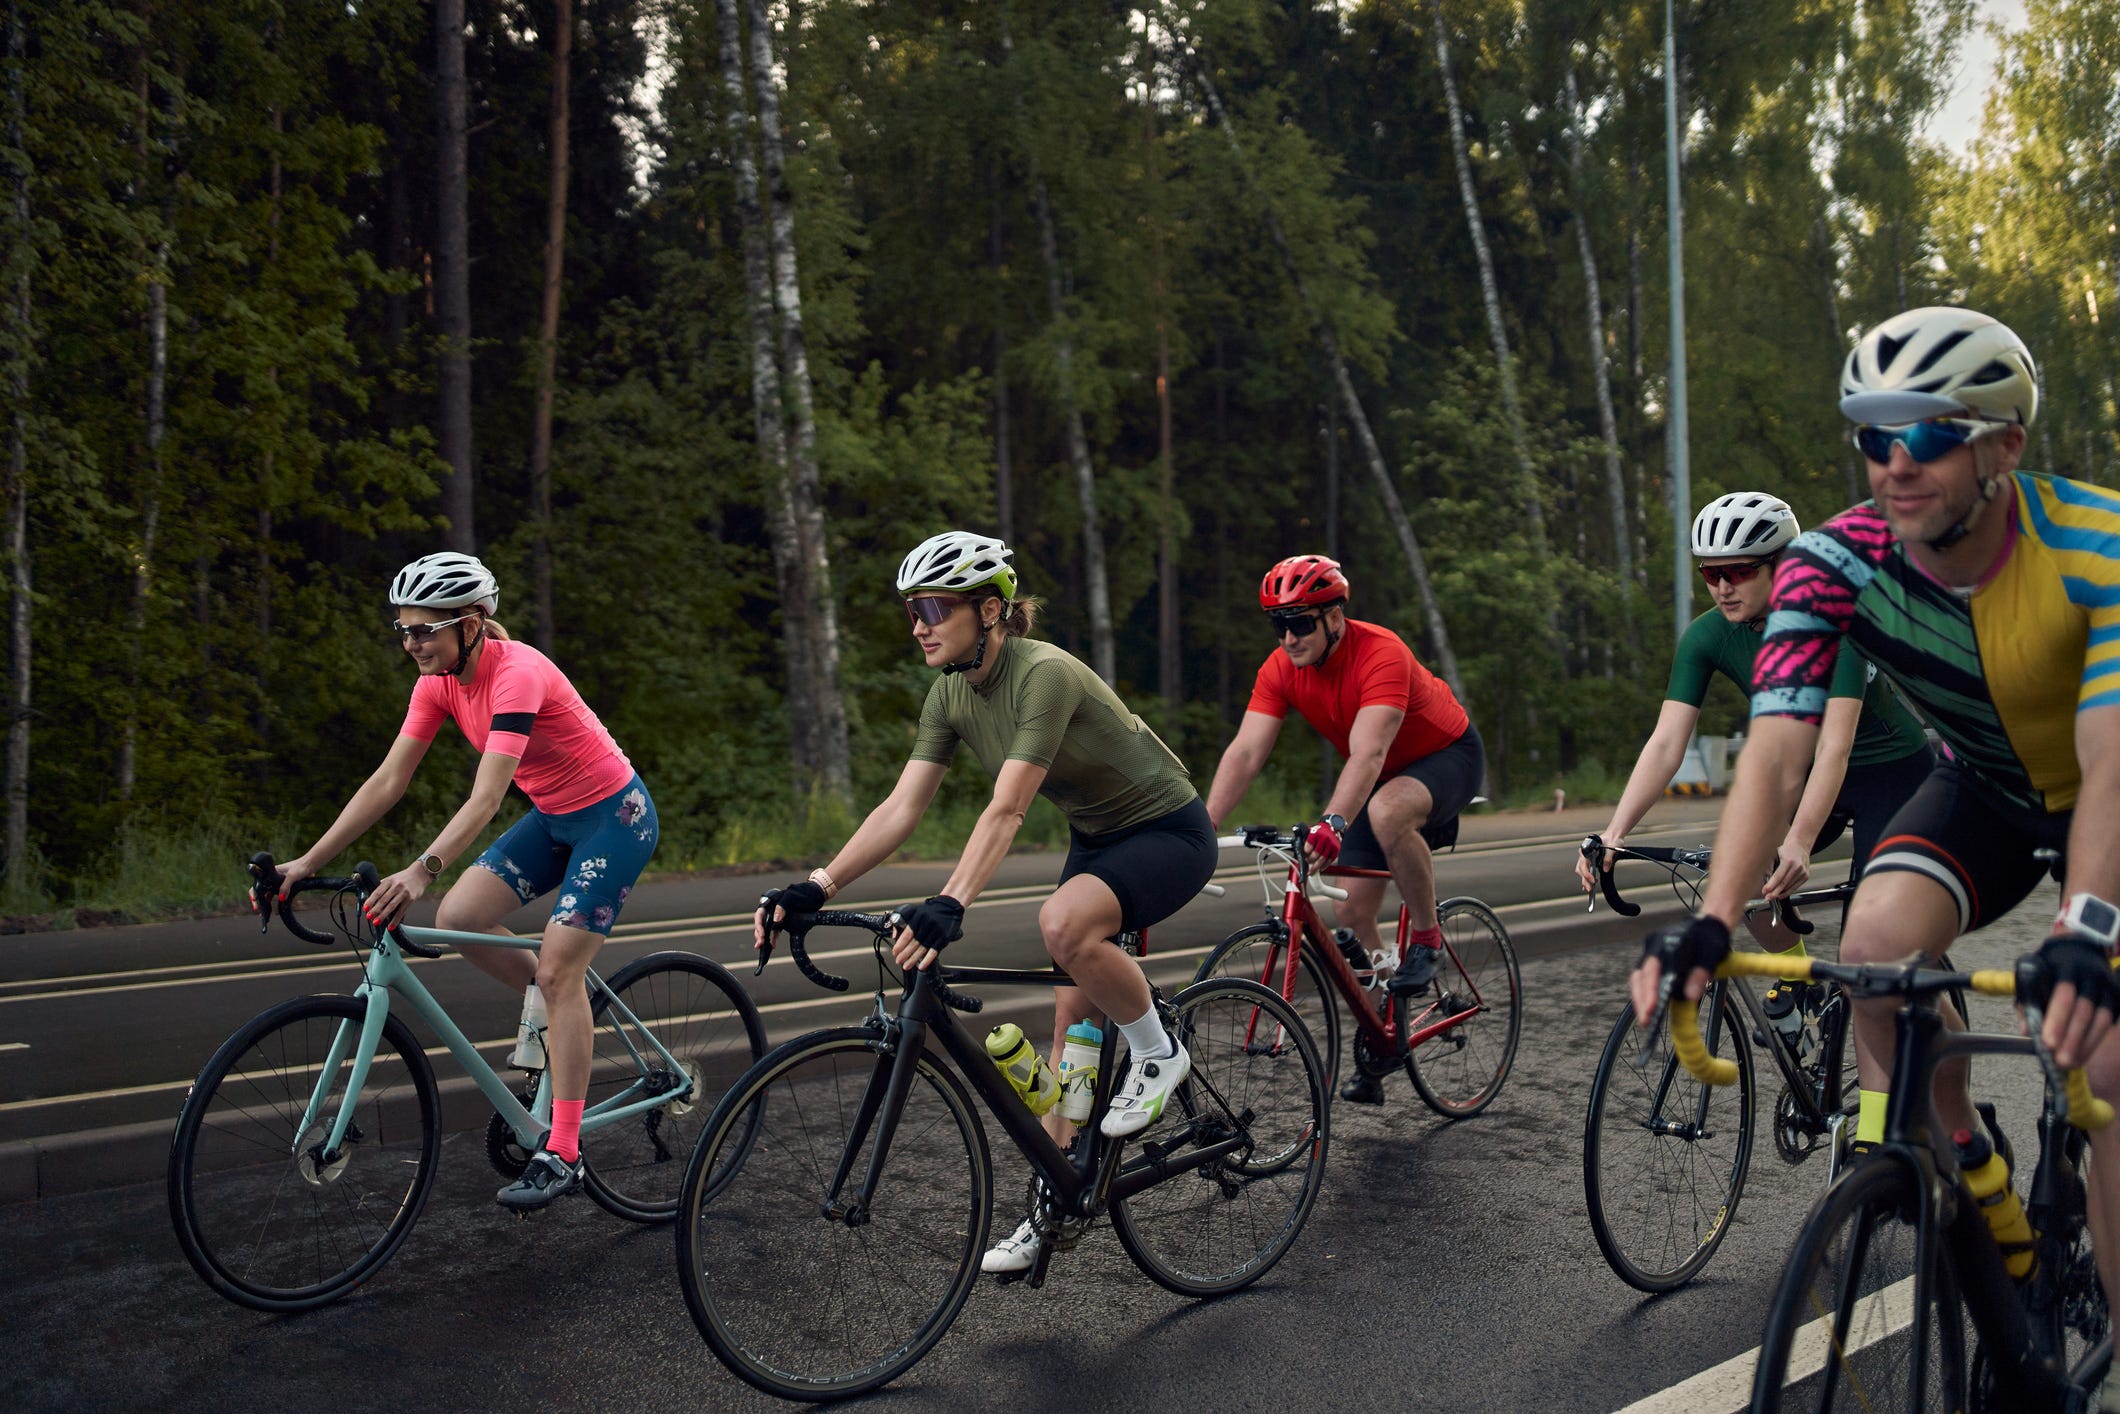
Start with a ride built for newcomers: a social coffee ride, an introductory club outing or a well-organized no-drop ride. Those names come from organizers, and no standard defines how hard each one is.
To narrow your choice by speed, route, and regrouping, Check whether a group ride pace suits you.
Read the route and the expectations as closely as the title. A short distance can still include steep climbs, busy intersections, rough surfaces or riders packed close together. A group that is relaxed over coffee can be demanding on the road.
Speeds need context. A listed moving average can sound easy while the group rides much faster on flat roads or climbs hard before it meets at a regroup point, an agreed waiting spot on the route. Your solo pace shows your endurance, but the listing also has to fit your group-riding skills.
These are hypothetical examples, not listings from actual clubs:
| Ride description | Likely demands | First-ride decision |
|---|---|---|
| Social coffee ride, relaxed pace, named sweep (the rider assigned to stay near the back) | Social focus, with someone at the back | Shortlist it if the distance, climbing and surface are comfortable |
| No-drop road ride, fast climbing, summit regroups | Harder uphill effort. You ride alone between regroup points and need the confidence to find your way | Choose an easier ride if you can’t sustain the climbing pace safely |
| Fast training ride with rotating pulls | Close coordination and time at the front of a paceline | Reject it as a first group outing if you haven’t learned those formation skills |
How do no-drop rides handle slower riders?
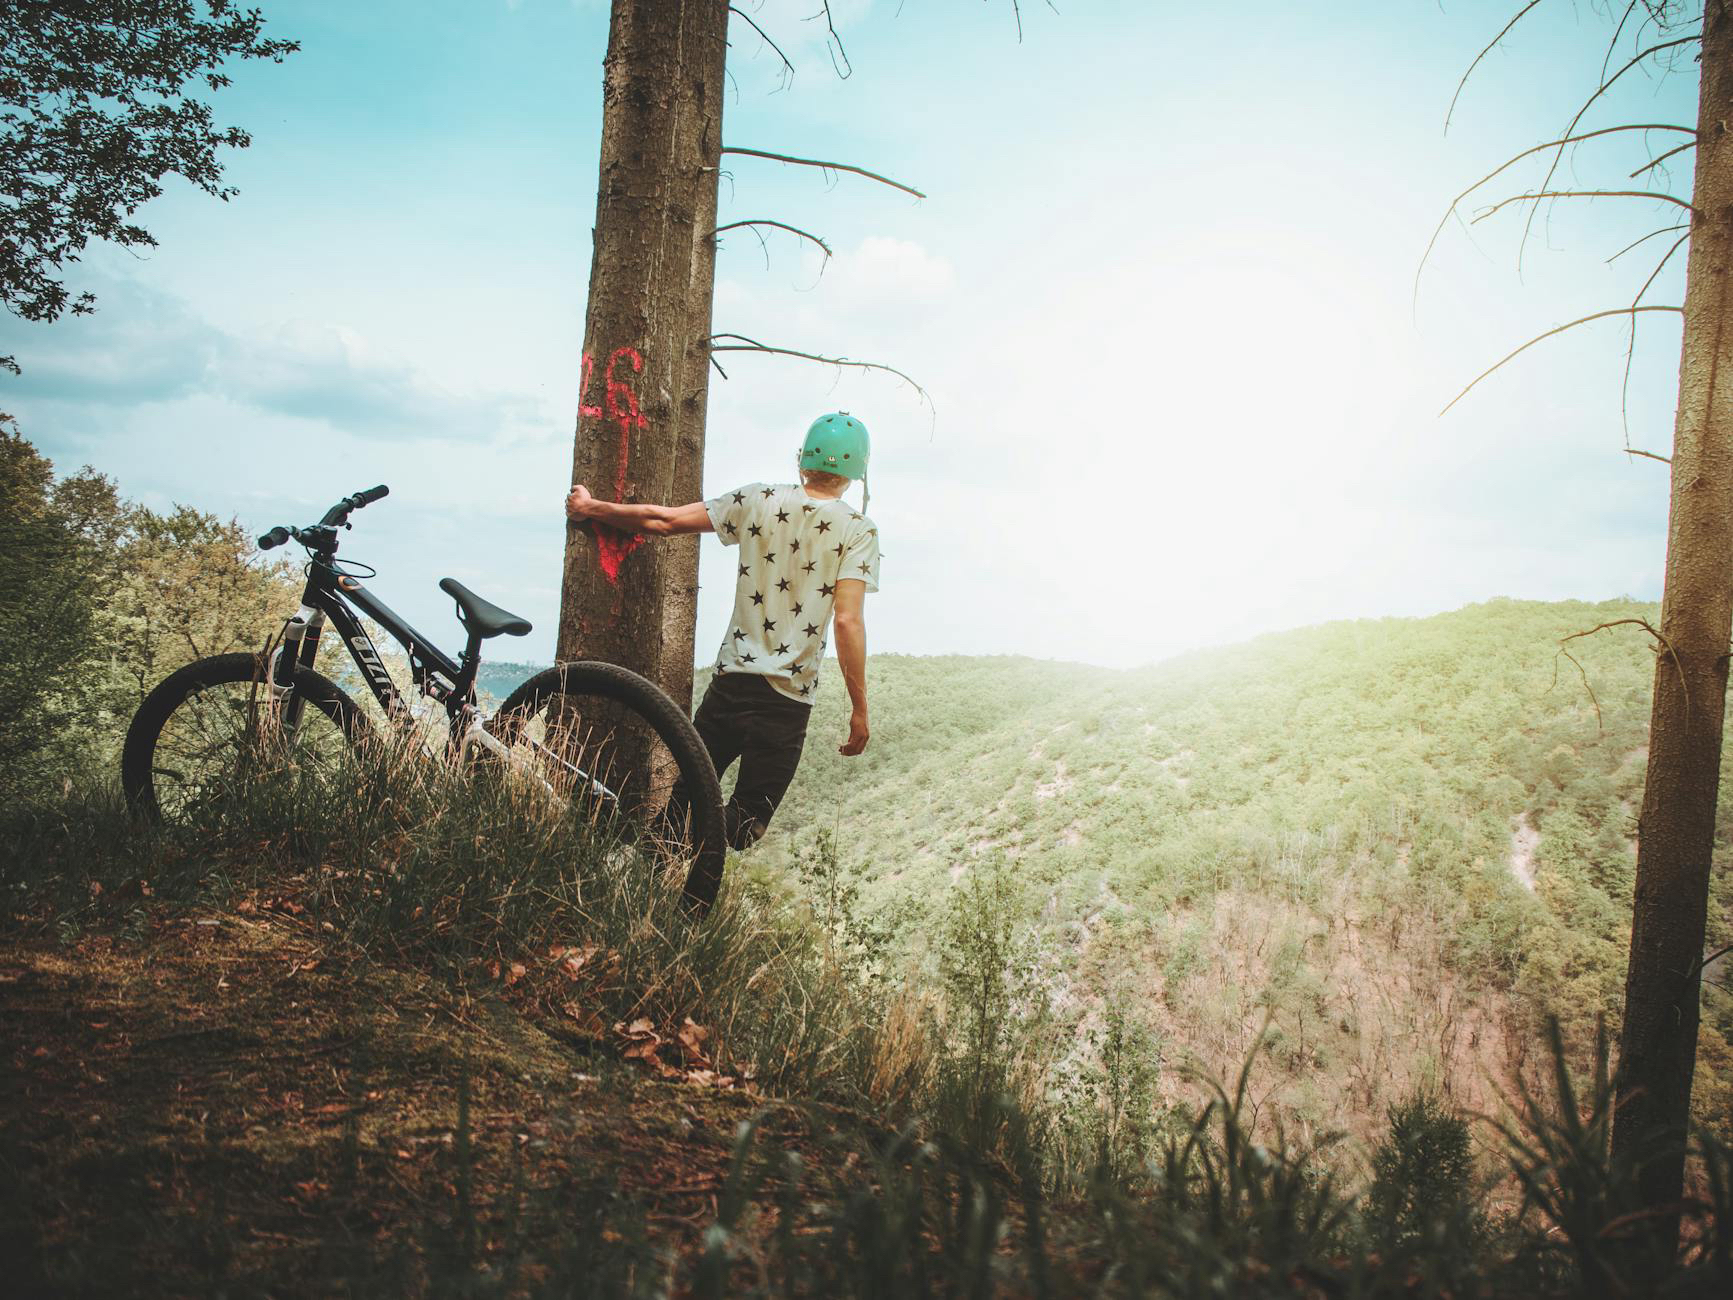
It depends on the organizer’s policy. Some groups regroup at agreed places, some assign a sweep and others expect you to hold a minimum pace. Even on a no-drop ride, you can end up alone between regroup points.
Before relying on that description, Understand what a no-drop ride should mean and ask the organizer how regrouping works.
| Possible policy | What happens | What it means on the road |
|---|---|---|
| Regroup at set locations | Faster riders wait at designated points | You ride separately between regroups |
| Designated sweep | The sweep travels near the rear | Support depends on that person’s agreed role |
| Minimum-pace expectation | Riders are expected to sustain a stated level of effort | A slower rider falls outside the ride’s intended pace |
Policies overlap. A group can provide a sweep, split up on climbs and wait at the summit. A flat tire or an unexpected stop gets handled differently from a rider who is simply climbing slowly.
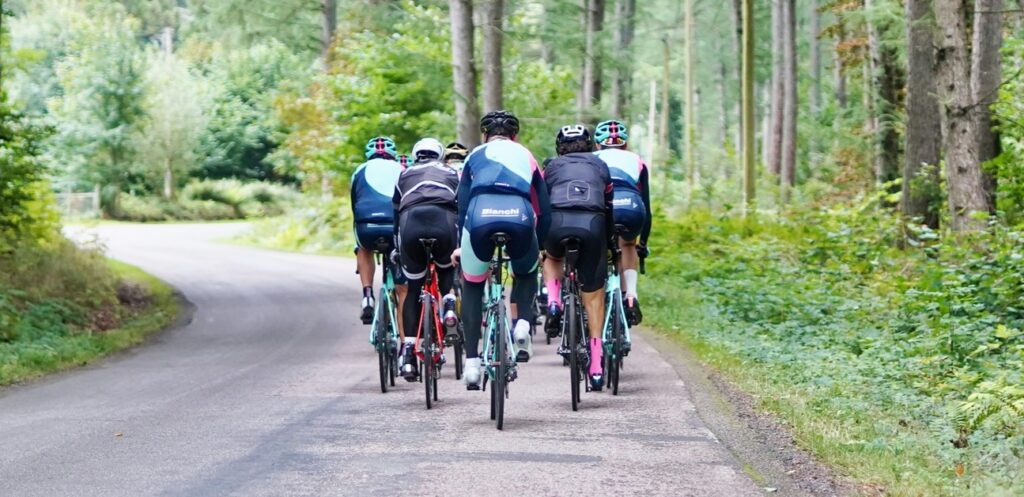
On a drop ride, if you lose contact, you continue on your own under the group’s stated rules.
What should you ask the organizer before the ride?
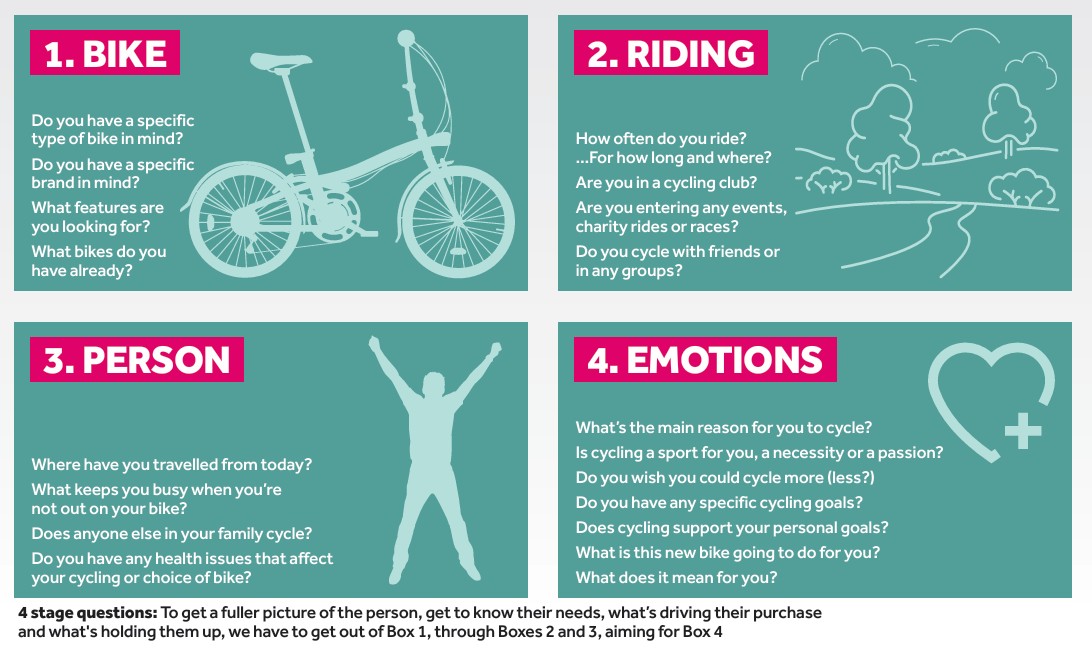
Ride descriptions leave out the details that decide whether a ride suits you. One message before the event answers them while you still have time to pick another ride.
A first-timer got separated from a no-drop group on a climb. Their takeaway, from an r/cycling group-ride discussion: “The only thing I’d do differently next time is ask about the expected pace before we roll out.”
A message you can send
Hi, I’m new to group rides and considering joining yours. Is the listed speed an average, and how fast does the group ride on climbs? Could you share the route and explain where you regroup, whether there’s a sweep or minimum pace, and what happens if someone falls behind or gets a flat? Are beginners expected to rotate or take pulls? What equipment is required, and who should I contact if I need to leave the ride independently? Thanks!
A leader, a sweep, mechanical help and pickup are four separate things. Count only on what the organizer names for this ride. If you need an accommodation, tell the organizer exactly what it is, since an inclusive label says nothing about what help is on offer.
If the organizer promises a sweep but can’t say whether that rider stops for mechanical trouble, you can’t tell how far the support goes.
What should you bring and check before leaving?
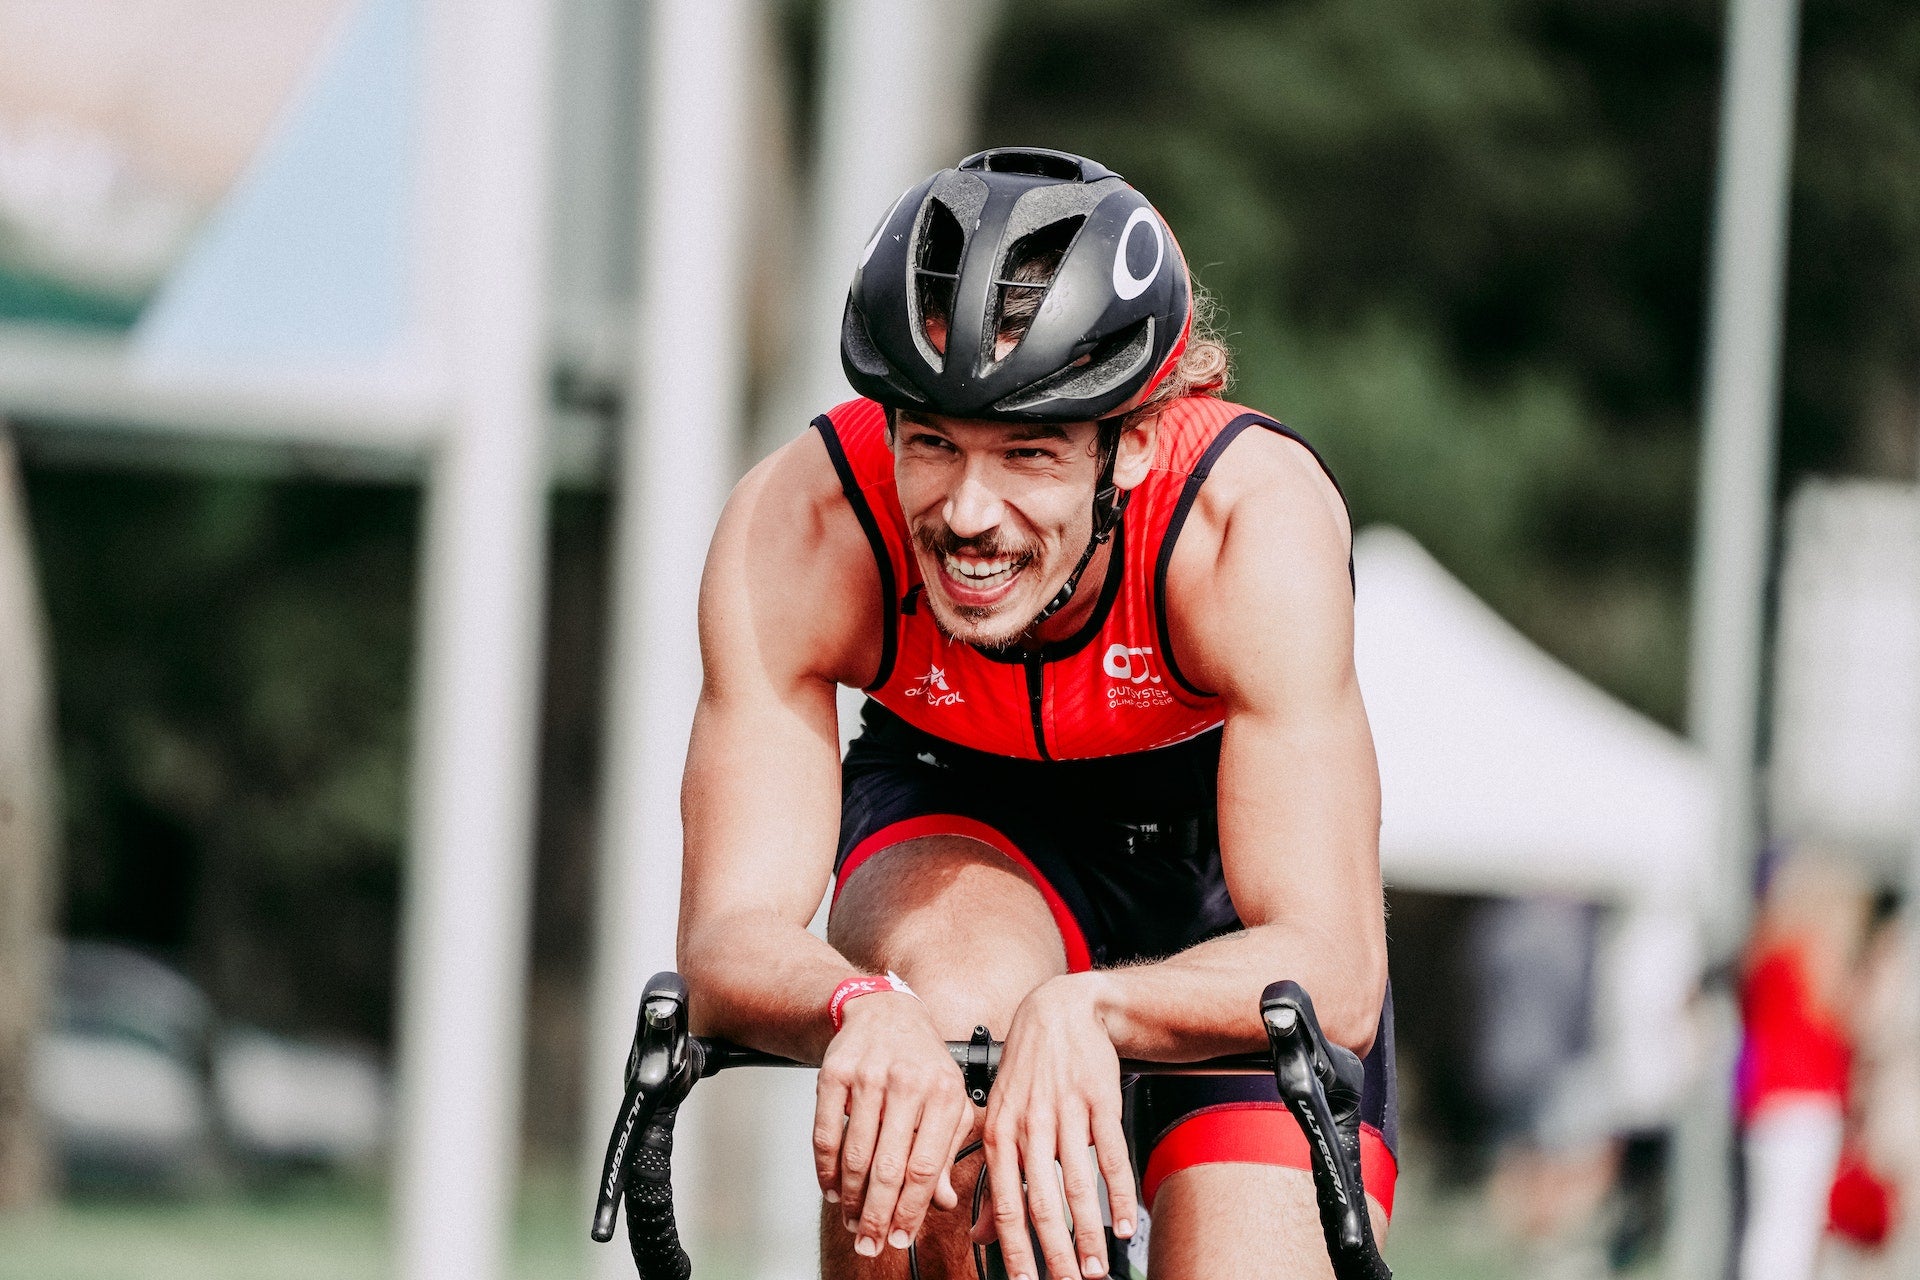
Bring a working bike, the equipment the ride requires and the information you need to get home.
- Bike condition: Check that your brakes work, your tires are in good shape and your bike can handle the route surface.
- Required equipment: Bring the helmet, lights and any other items the organizer requires. Check local rules too.
- Personal essentials: Carry enough water for the ride, a working phone and basic supplies.
- Route and return: Save the route and the agreed contact information, and know how to reach a safe destination if you continue alone.
- Conditions: Check the meetup time, weather, daylight and visibility, and arrive early enough to be ready at rollout.
The National Highway Traffic Safety Administration stresses bike readiness, visibility and route planning for riding on public roads.
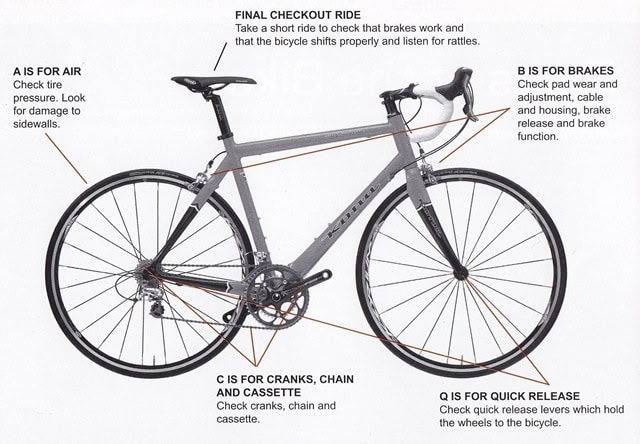
Wear comfortable clothing that stays clear of moving parts, as long as it meets the ride’s rules. Jerseys or padded shorts help over longer distances, but you don’t need them for an introductory ride.
Pack only tools you know how to use. A new group won’t expect you to attempt an unfamiliar repair beside moving traffic.
What happens when you arrive at the group ride?
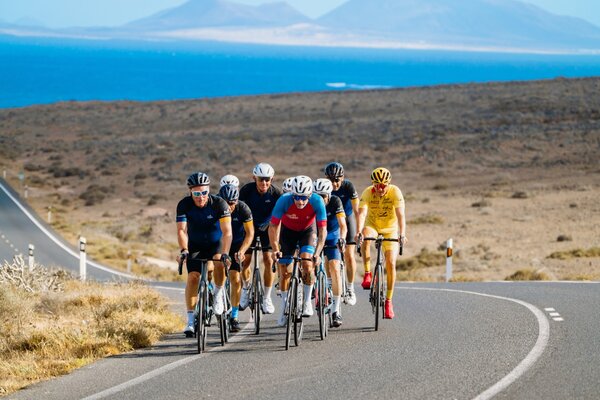
Find the ride leader and say that this is your first group ride. Some clubs open with a formal briefing. Others settle the route and expectations in quick conversations at the meeting point.
Arriving among strangers is often the hardest part, before anyone has pedaled. One rider about to attend an all-women coffee ride asked for advice because they were nervous and didn’t know anyone going.
Keep the introduction simple: “Hi, this is my first group ride. Where would you like me to start, and what signals does this group use?”
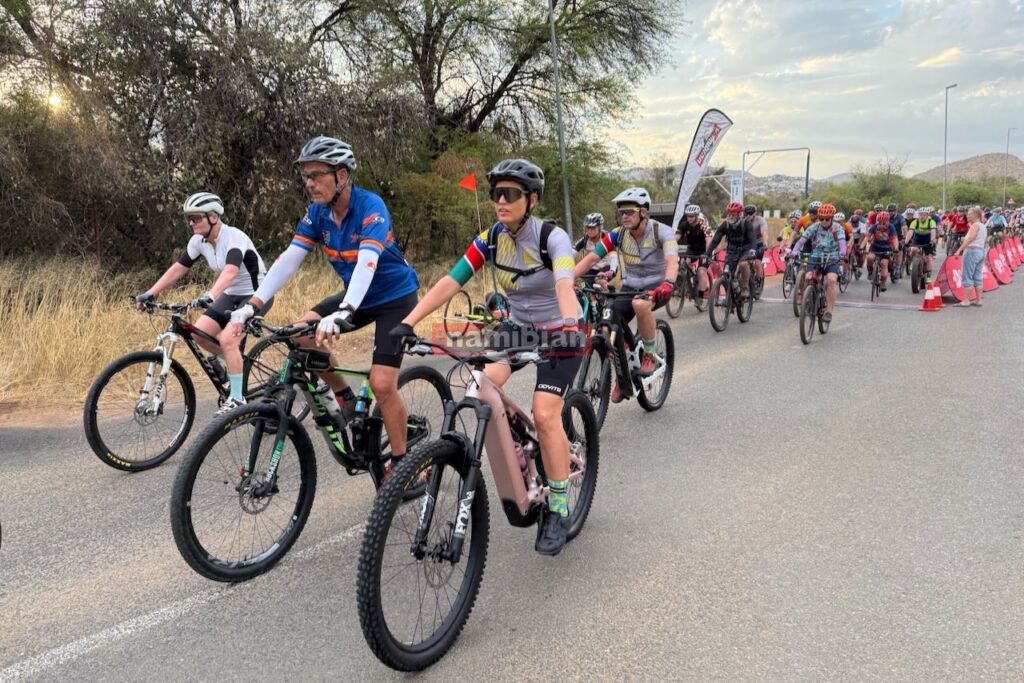
Starting near the back takes some pressure off in many groups, though the leader may place you elsewhere depending on the formation. Before you roll out, learn how this group calls out hazards, turns, pace changes and stops, since signals differ from group to group.
How do you ride safely with the group?
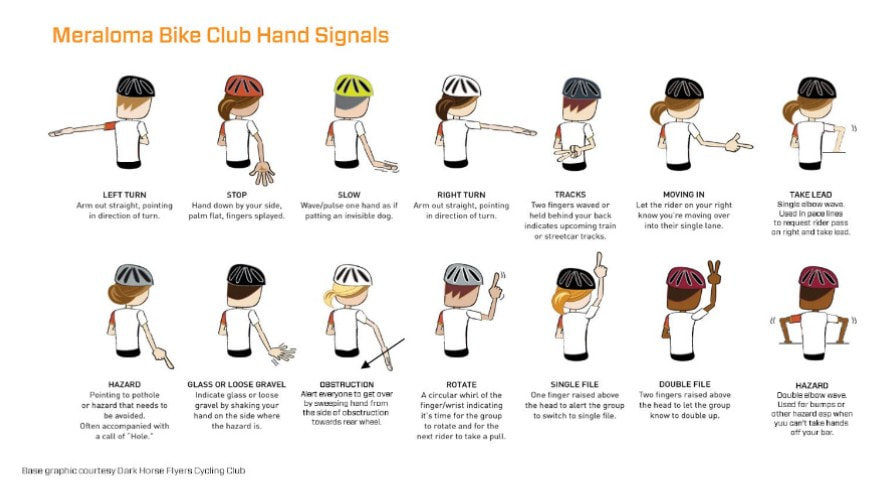
Ride predictably, leave room to control your bike and tell nearby riders about any change that affects them.
Strong solo riders can still be beginners here. One cyclist used to long rides said they know nothing when it comes to group rides.
Hold your line and leave space
Look ahead at traffic, the route and the riders in front of you. Hold a steady course, with no swerves, surges or sudden slowing. Leave room to react when someone changes speed.
Keep your front wheel clear of the rear wheel ahead. If the rider in front drifts left to miss a pothole and your wheels overlap, you have nowhere to go. Add space as speed rises, visibility drops or the riders around you get erratic.
Signal hazards without losing control
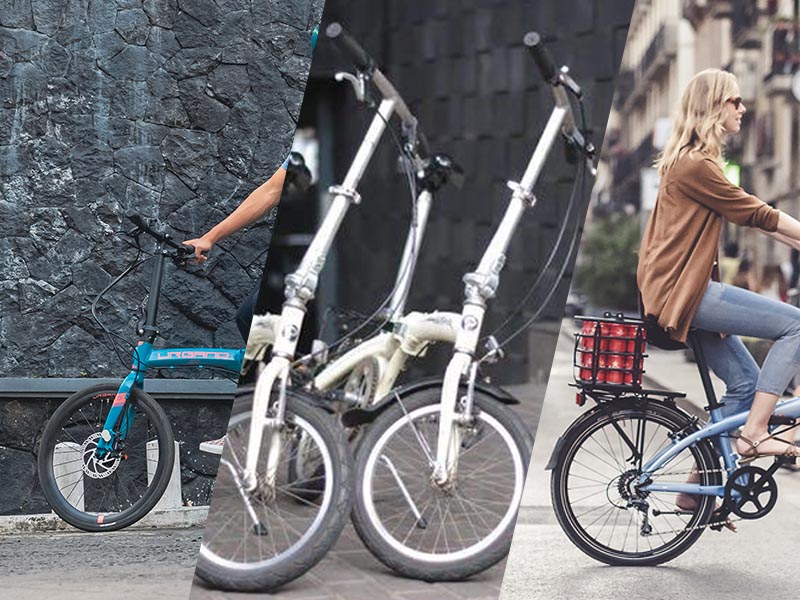
Use the group’s calls or hand signals for turns, obstacles and slowing, and keep steering control and your eyes on the road while you do.
Change speed smoothly when you can, and brake when a hazard demands it. Being predictable never means rolling into danger.
USA Cycling’s group-riding guidance, published in 2022, covers preparation, arriving on time and communication. Its separate Tips for Pacelines covers closer formations and coordinated movements between riders.
Make your own decision at intersections
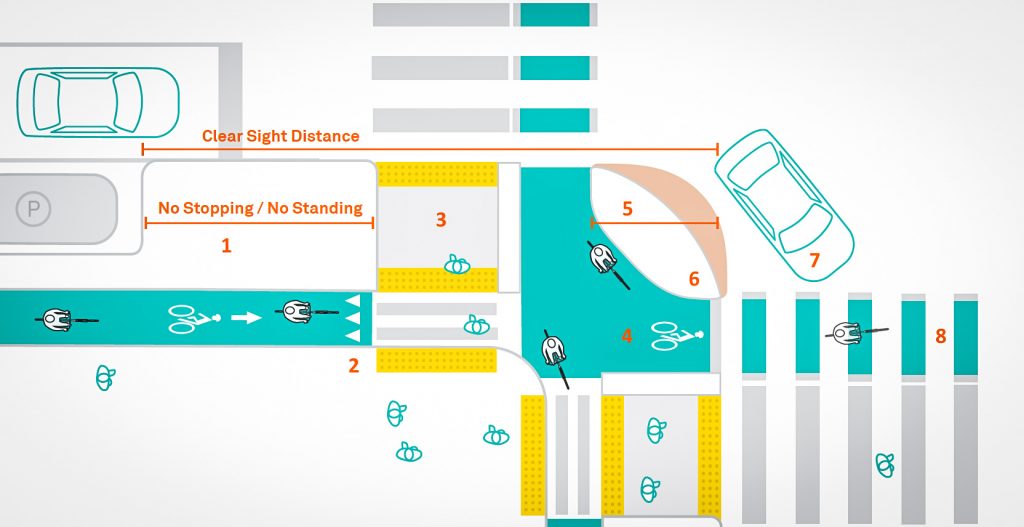
You answer to traffic signals, road conditions and the law wherever you ride. If the group clears an intersection and the signal changes before you get there, stop. Another rider going through doesn’t give you the right to run the light.
Skip unfamiliar rotations
Some groups use drafting, with one rider directly behind another, and ask people to take a pull at the front. A rotating paceline coordinates those changes of position. All of it demands tighter spacing and timing than an introductory ride needs.
If a rotation starts that is beyond your experience, tell the leader and don’t improvise. Learn paceline technique in a setting built for it.
What if you cannot keep up or get separated?
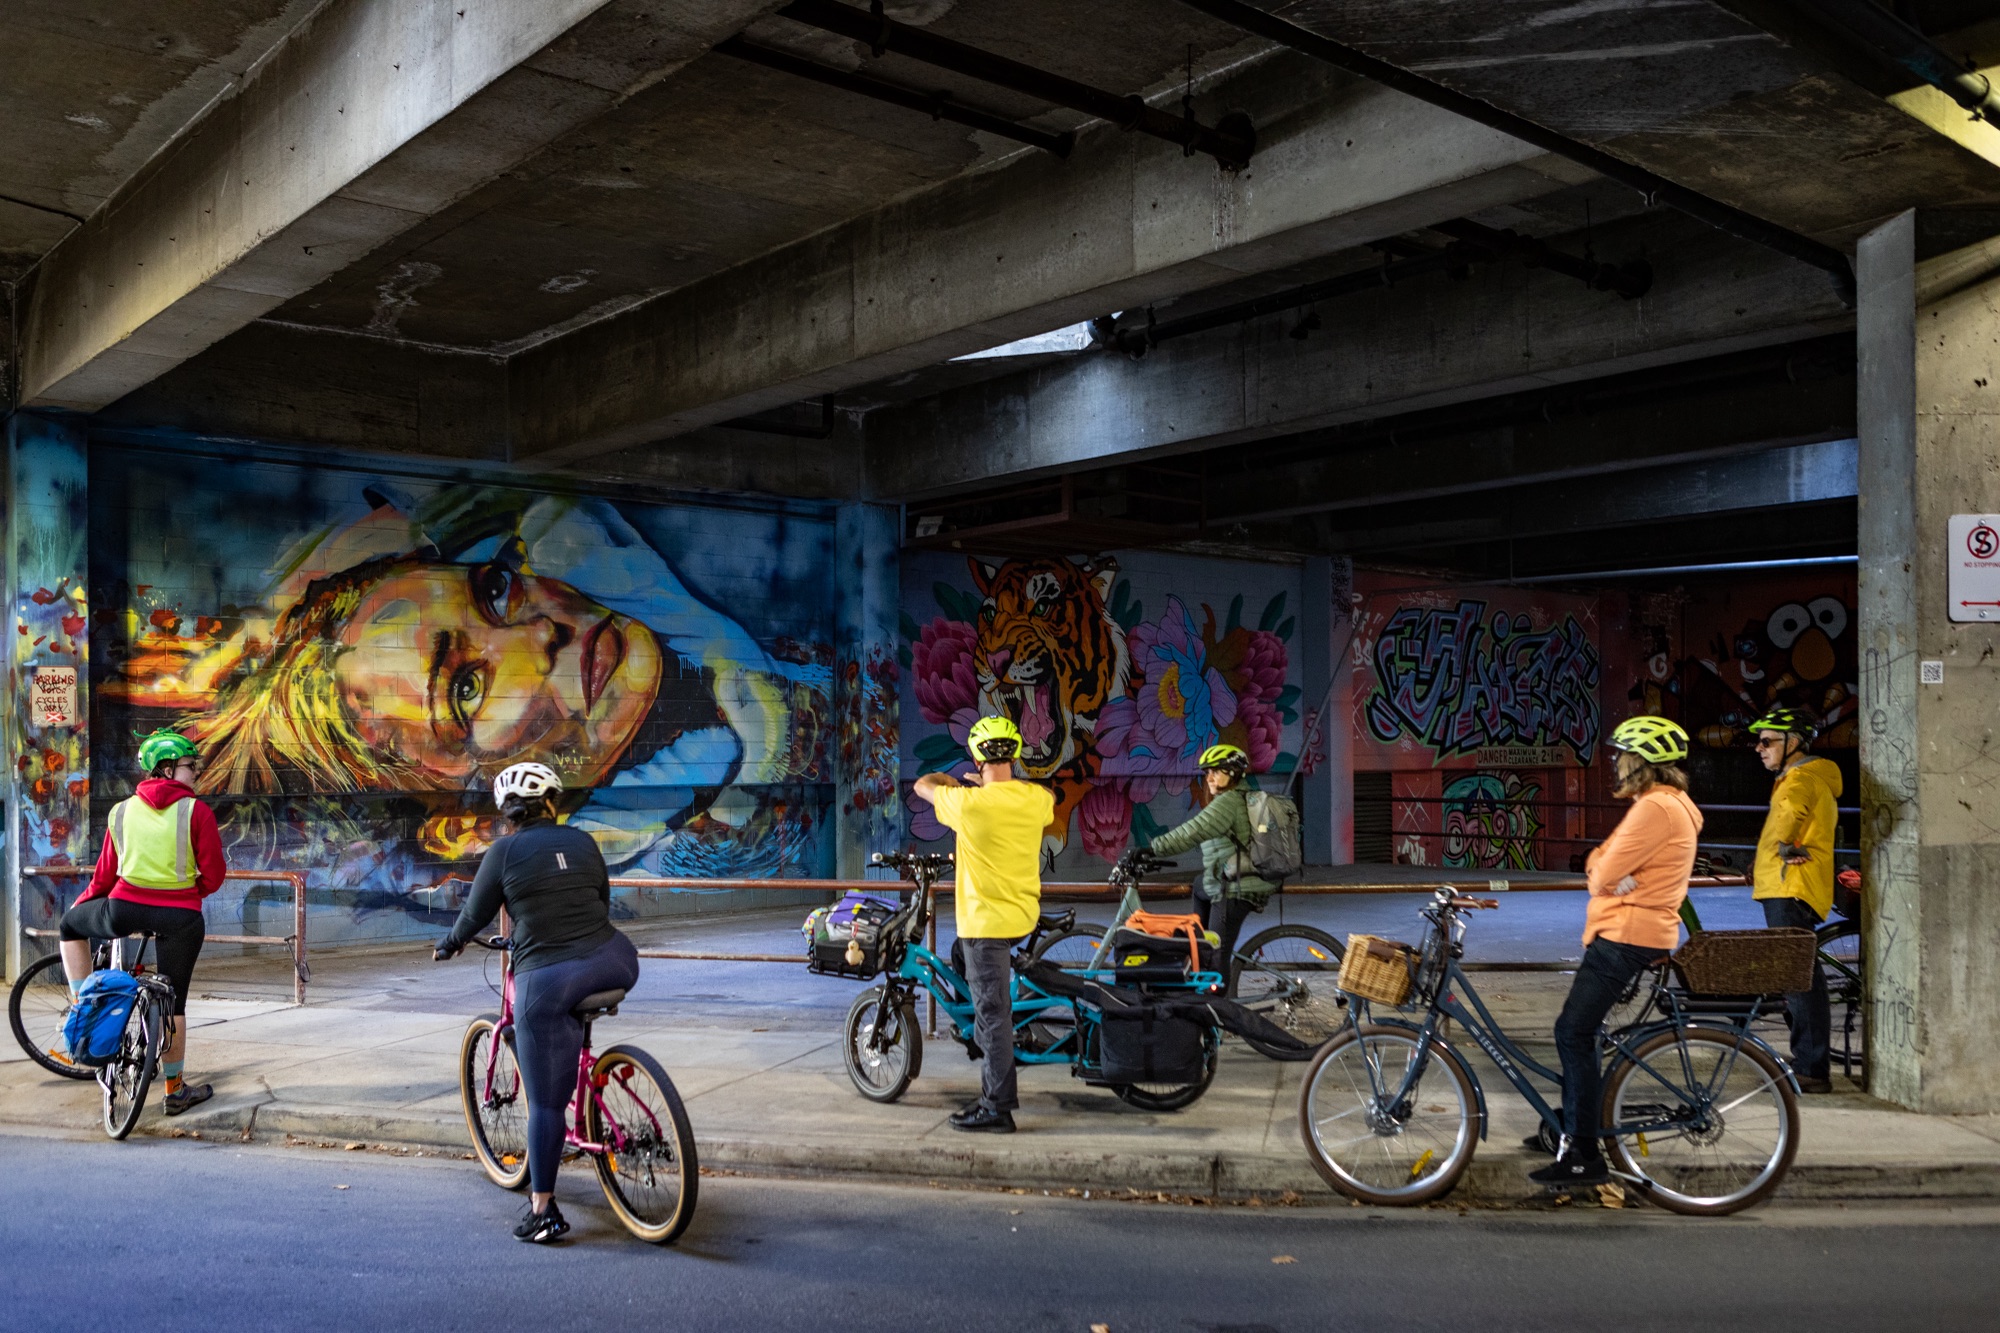
If the group pulls away, stay in control and follow your ride’s arrangements. Chasing across an intersection or descending faster than you can handle just creates a second problem.
Climbs and sudden pace changes open gaps even when the posted average looked easy. If a close formation feels uncomfortable, you can also let the pack go.
- Settle into a manageable pace. Ride under control and skip the all-out sprint to catch up.
- Use a confirmed regroup. If an agreed waiting point, such as a summit, is within safe reach, follow the route to it at your own pace.
- Stop somewhere safe if you need to reorient. Pull over clear of moving traffic before you check your route or phone.
- Contact the leader or sweep. Do it if the ride has one and you can communicate safely.
- Choose a way onward. If the group keeps going without waiting, follow your saved route to a suitable destination. Ask for help if riding on alone isn’t safe.
If your brakes stop working, pull over and arrange help. Never keep riding a bike that can’t brake.
How do you decide whether to ride with that group again?
Compare the ride you were promised with the ride you got. Repeat it if the pace and group behavior suited you. If the leader waited at the summit as promised and you finished the loop comfortable, sign up again.
Switch groups if the expectations or the treatment of slower riders did not suit you. A “no-drop” group that left you alone on the first climb is a good reason to look elsewhere.
If one specific skill made the ride hard, practice that skill first. If you handled the distance fine but felt shaky riding wheel to wheel, work on holding your line and spacing in an easy setting before the next ride.