Start with a working bike, a properly fitting bicycle helmet and whatever your next ride requires. Plan for water, visibility, communication and a way home if something breaks. Reuse the gear you already own. Buy specialty clothing or electronics only when your route or comfort gives you a specific reason.
What cycling gear do beginners need for the first ride?
You can start with a sound bike, a helmet, and clothes and shoes you can ride in comfortably and safely. Everything else depends on your route. A short daylight loop near home needs less than an unsupported ride after sunset.
Before you spend anything, sort your gear into three piles: needed for this ride, needed if conditions change, and can wait. Gear you already own counts if it does the job. Sorting matters most when an accessory looks useful but has no purpose on your next outing.
| Gear | Priority | When you need it | Starting option |
|---|---|---|---|
| Working bicycle | Every ride | Every ride | A sound bike, borrowed or owned |
| Bicycle helmet | Every ride | Every ride | A correctly fitted helmet |
| Water | Depends on the ride | Conditions, effort and duration | An ordinary bottle that stays secure |
| Sunscreen and eye protection | Depends on the ride | Strong sun or other conditions that need eye protection | Whatever you own |
| Lights and visibility items | Depends on the ride | Darkness, poor light, traffic and local rules | Working lights you own |
| Phone, ID and payment | Depends on the ride | Contact, navigation or help | What you already carry |
| Flat-repair supplies | Depends on the ride | Rides where a breakdown makes getting home hard | A kit that fits your tires, or a plan for getting help |
| Bike lock | Depends on the ride | Leaving the bike unattended | A lock you own |
| Padded cycling shorts | Try if you need it | Friction or pressure that padded shorts can reduce | Comfortable athletic clothes |
| Computer, clipless pedals, power meter | Later | A specific navigation or training need | Phone, flat pedals and ordinary riding |
On a familiar neighborhood path, the expensive extras can stay at the shop. Check that the bike works, the helmet fits and your supplies match the conditions. Whatever you buy also has to fit your bike. A spare tube of the wrong size does nothing when you get a puncture.
Match your gear to the ride you have planned
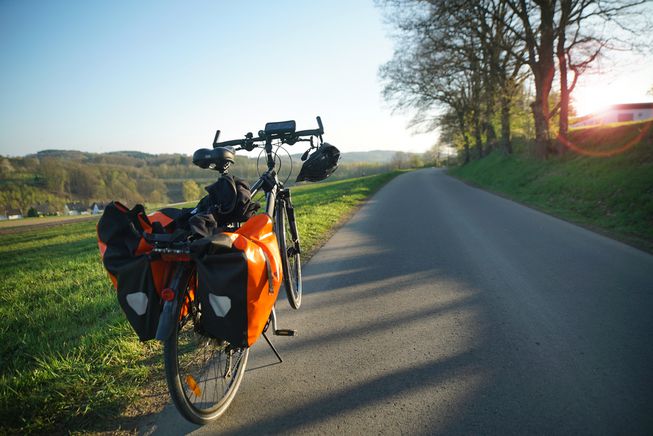
Your route decides what you pack. Think about how far you are from help, how much traffic you face, and the weather and light. A short route close to home allows a different recovery plan than a longer solo outing.
One rider on a Liv Alight covers about 15 miles of rail trail at 11 to 12 mph and wants to ride longer distances more often. The farther you ride from home, the more water, navigation and a plan for breakdowns matter.
| Next ride | What changes | Equipment to consider |
|---|---|---|
| Familiar daylight path | Short distance and an easy return. Turning around or arranging a pickup is feasible. | Water and basic personal items |
| Longer solo road or rail trail | More time away from help. A disabled bike is harder to retrieve. | Water, communication, navigation and a flat kit that fits your bike |
| Commute with parking | Traffic, possible low light and belongings to secure. Plan the return trip as well as the ride out. | Working lights, lock, a way to carry things and a weather layer |
| Introductory trail ride | Unpaved terrain, with help or pickup possibly farther away | Protection and repair supplies suited to the terrain |
A commute needs a lock because you leave the bike behind. A recreational loop that starts and ends at home may not need one. A trail ride brings hazards and equipment demands that a smooth shared path does not. More technical riding calls for protective gear specific to the discipline, beyond this beginner list.
Helmet, visibility and bicycle safety
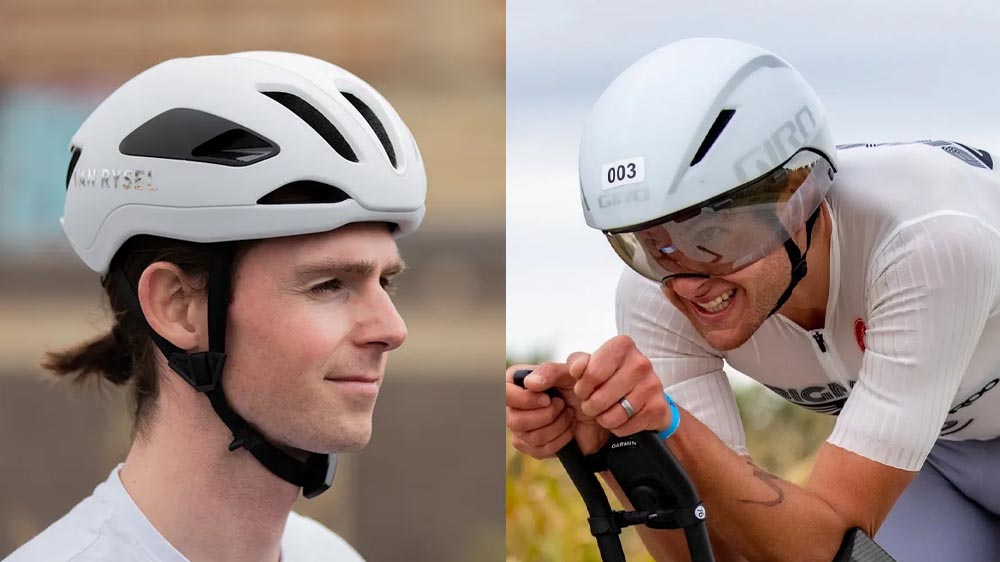
Sort out a properly fitting bicycle helmet and working bike controls before you buy any upgrades. In the US, helmets sold for bicycle use must meet the Consumer Product Safety Commission’s 16 CFR Part 1203 standard, which covers impact protection, retention and positional stability. Whether you have to wear one depends on your jurisdiction and sometimes your age.
Before your first ride, Confirm helmet fit before the first ride instead of relying on a size label alone.
The CPSC bicycle helmet guidance covers compliance labeling and fitting information. Choose a helmet made for bicycle use that sits securely and has adjustable straps. If you plan to reuse an old helmet, you need to know its impact history. An impact can damage a helmet even when nothing looks broken. The required warning tells you to return a helmet that has taken an impact to the manufacturer for inspection, or to destroy it and replace it.
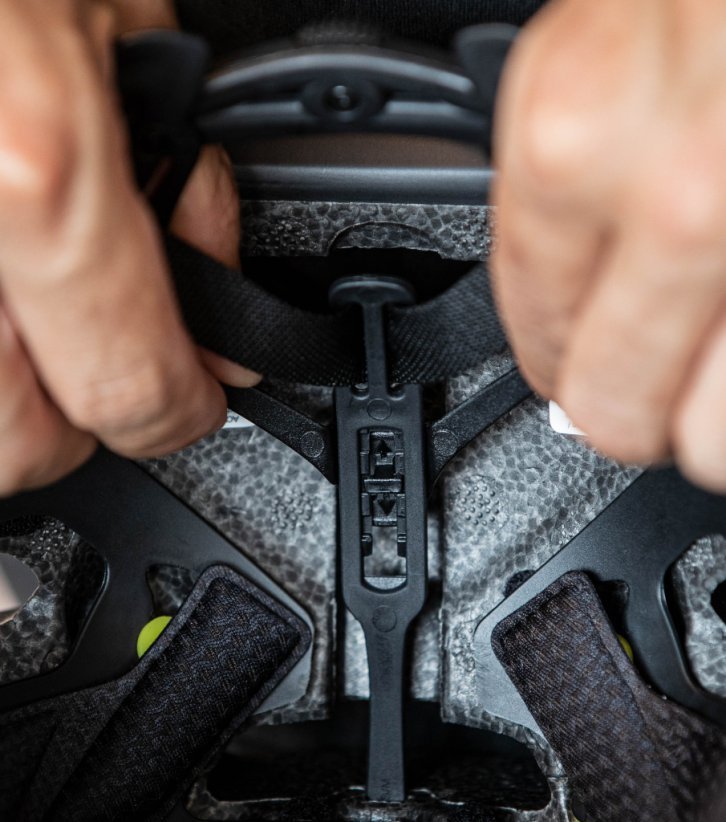
Visibility depends on the ride too. In the dark, at dusk or in poor weather, front and rear lights and other visibility gear matter. Legal requirements depend on location. Check the lighting and reflector rules for the roads you will use. A mounted, charged light does more good than one left in a drawer.
The National Highway Traffic Safety Administration also stresses predictable riding and awareness of other road users. Electronic aids give you information, but you stay responsible for watching traffic.
Water and a workable way to carry essentials
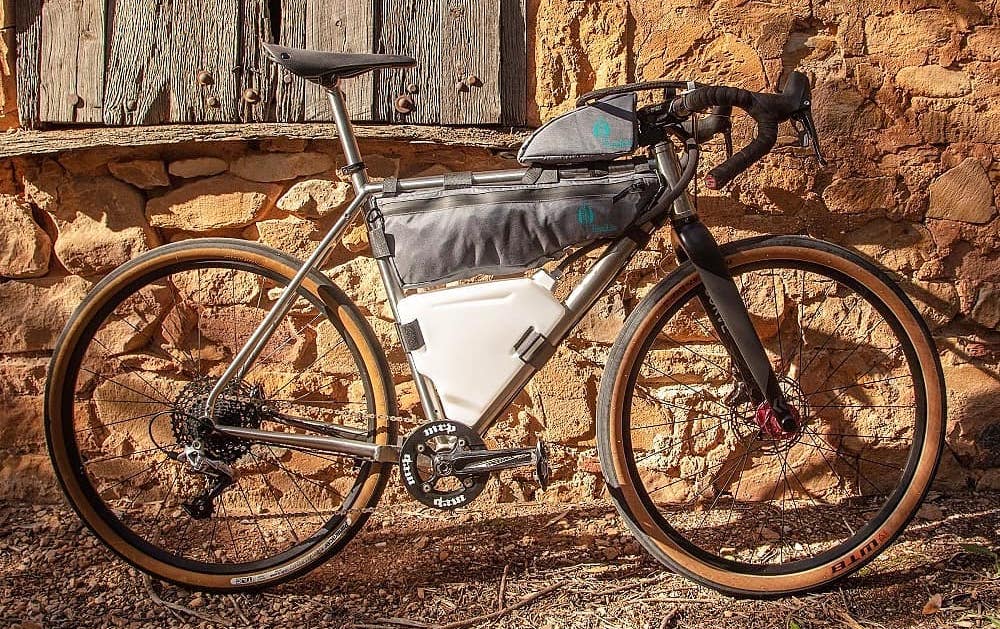
Bring enough drinking water for your route and conditions. An ordinary bottle works, as does a frame cage or a hydration pack. Heat, effort, duration and your own needs change how much you need, and a longer outing may need food too.
Carry your phone, basic route information, ID and payment as backup. Reception and battery life can limit what a phone does for you.
Pack an extra layer if the weather might turn. A saddle bag, secure pocket or small backpack holds your tools and personal items. Pick one that stays secure while you pedal, lets you reach your things and doesn’t lose them.
Match your flat kit to your tires and valves
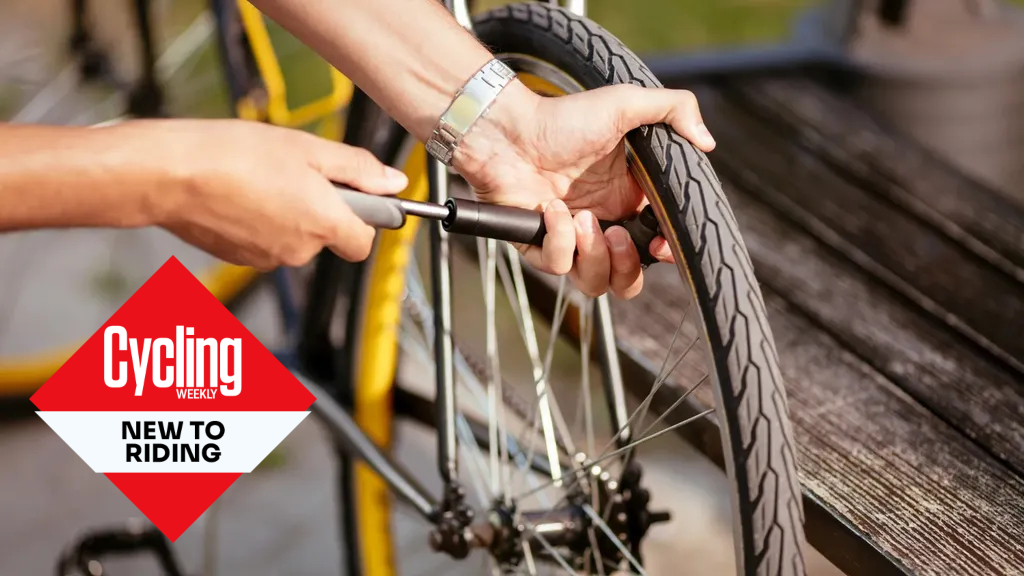
A spare tube helps only if it fits the wheel and you can install it. A pump helps only if its head connects to the valve. Check both before you ride, or your bag of tools is useless at the roadside.
First find out whether your bike uses inner tubes or a tubeless system. The repair materials differ, and the type of bike does not reliably tell you which you have. A roadside kit for a tube setup can include a correctly sized spare tube, tire levers, a compatible pump, patches and any tools needed to remove the wheel.
| Before buying | What to establish | Why it matters |
|---|---|---|
| Tire system | Tube or tubeless | Tube patches and tubeless plugs serve different repairs |
| Size markings | Actual tire, rim and spare-tube dimensions | A nominal wheel-size name can hide an incompatibility |
| Valve and inflator | Presta or Schrader, pump connection and stem where relevant | The pump must attach and deliver air |
| Wheel attachment | Quick release or other axle hardware and the tool you need | Some flat repairs require wheel removal |
Park Tool’s August 2015 tire-fit guide gives a concrete mismatch: a tire marked 26 × 1⅜ inches and a common 26 × 1.5-inch mountain-bike tire are not interchangeable. The full sizing designation matters even when the inch figures look alike.
If the markings look unfamiliar, the Park Tool tire and tube fit guide explains how tire-size systems relate to actual fit. Read the markings on your own tire and compare them with the replacement before you buy.
Repair methods differ too. Park Tool’s tube-repair instructions cover conventional patches and separate them from the plug tools used for tubeless punctures, but they do not give a complete procedure for both types. A CO₂ inflator is one alternative to a small manual pump if it works with your setup.
When padded cycling shorts are worth trying
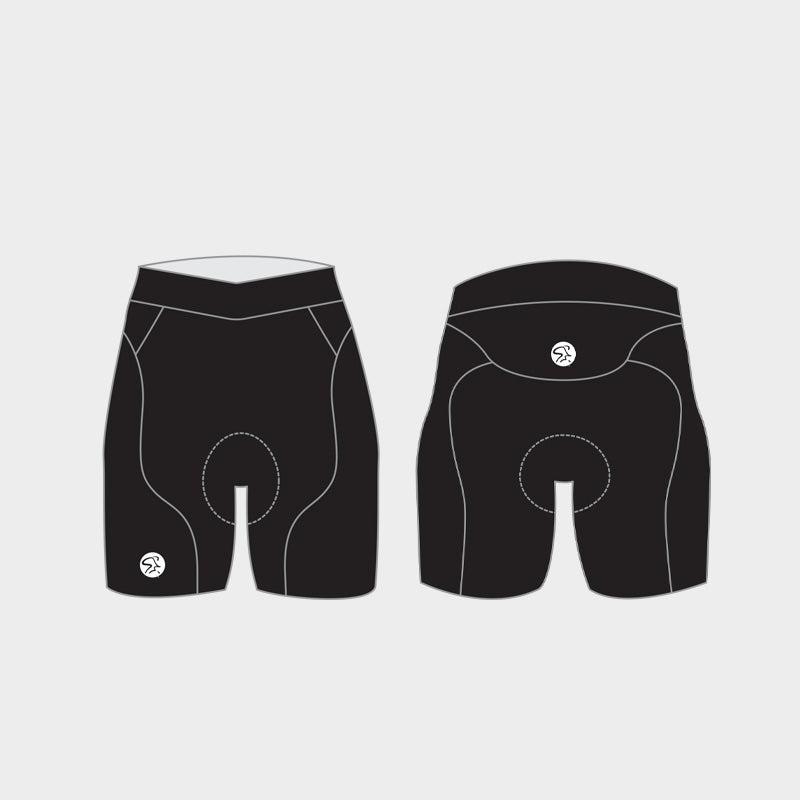
Ordinary athletic shorts work fine at the start if they are comfortable, fit well and stay clear of moving bike parts. Consider padded shorts when contact or friction begins to get in the way of the rides you want to take.
A chamois is the padded insert in cycling shorts and bib shorts. Its position and shape affect how the clothing meets the saddle, and the pad has to support the areas that touch it.
Many new riders wonder whether they need padded cycling shorts yet. If you are comfortable in sports shorts on short outings, keep wearing them. If rubbing or pressure builds on longer outings, try a padded pair.
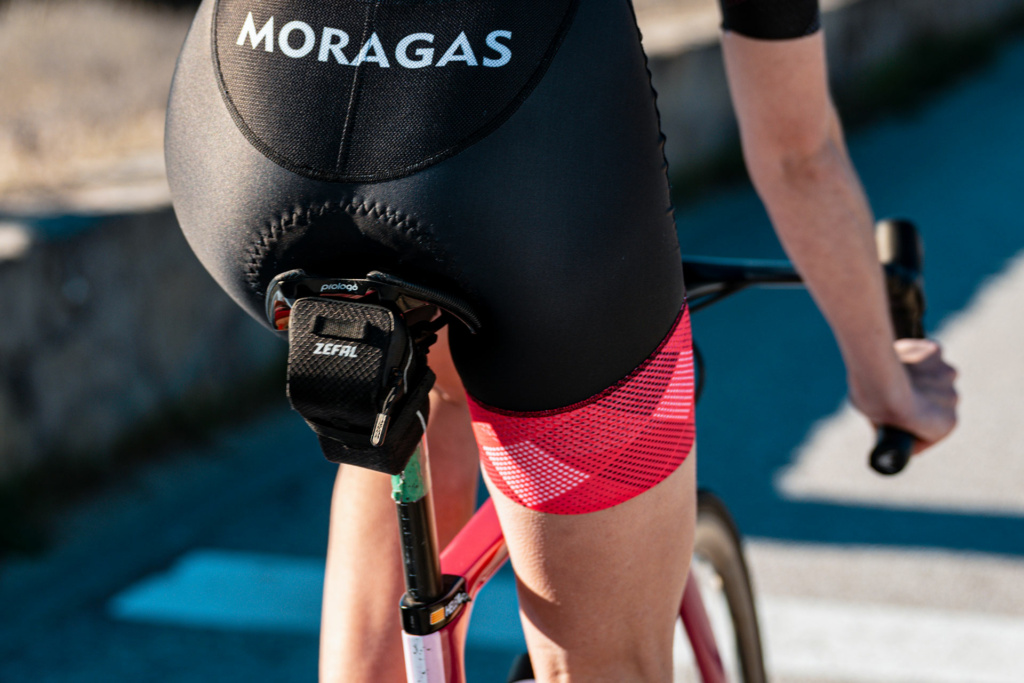
No set distance makes padding necessary. Your riding position, saddle, clothing fit and comfort all change the experience. Padding can help with some contact issues, but it may feel bulky or sit badly in the wrong size.
Notice where and when discomfort starts, then decide whether clothing is worth testing as the cause. If saddle or genital pain is persistent, severe, unusual or getting worse, get yourself and your bike fit assessed. More padding is not the answer.
Women’s cycling clothes: fit and bathroom access
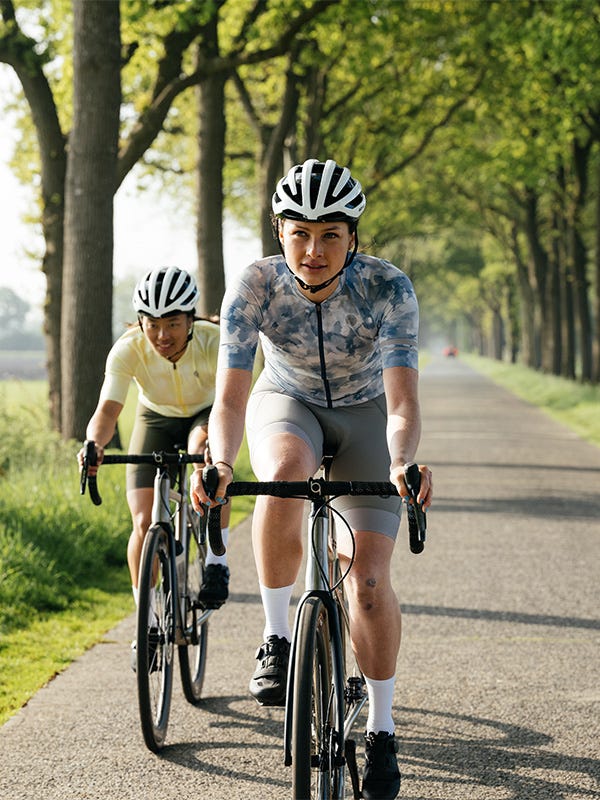
If padded shorts make sense for your riding, choose them by how they sit on your body and hold up through an ordinary ride. Judge the fit by chamois placement, gripper comfort, inseam and whether they stay put as you pedal.
Bib shorts use shoulder straps instead of a conventional waistband. Some riders like the secure feel around the middle. Others find waist shorts simpler at bathroom stops. Neither format suits every rider.
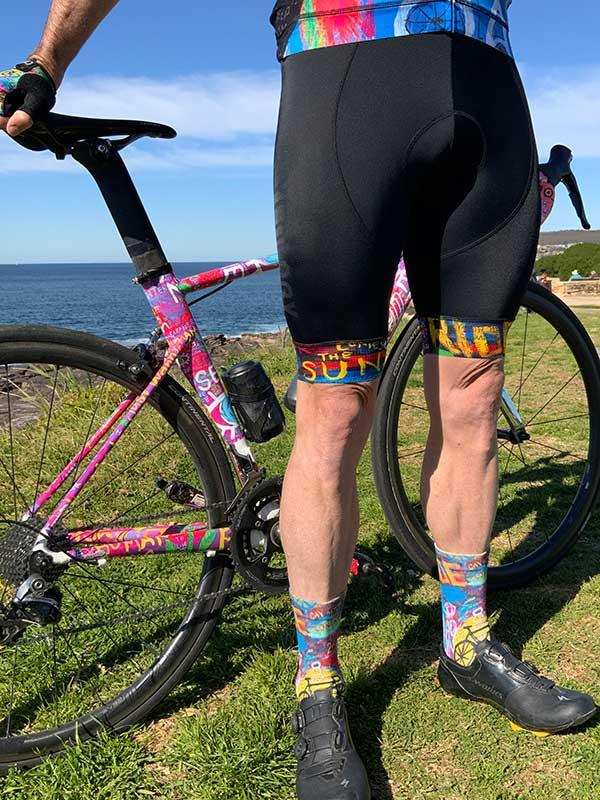
A commenter on r/ladycyclists, advising a runner moving into road cycling, had a firm view: “If you go the chamois route, don’t waste your money on bibs that don’t have some sort of pull-to-pee system.” The reason is easy to see in a rain jacket and extra layers, which make a standard bib hard to lower. A drop-tail or pull-to-pee design simplifies the stop.
Try the garment in a riding position with the layers you expect to wear. Check where the pad sits and whether the bathroom-access method works for you. A comfortable waistband may be the simpler fix.
What to buy, reuse and postpone
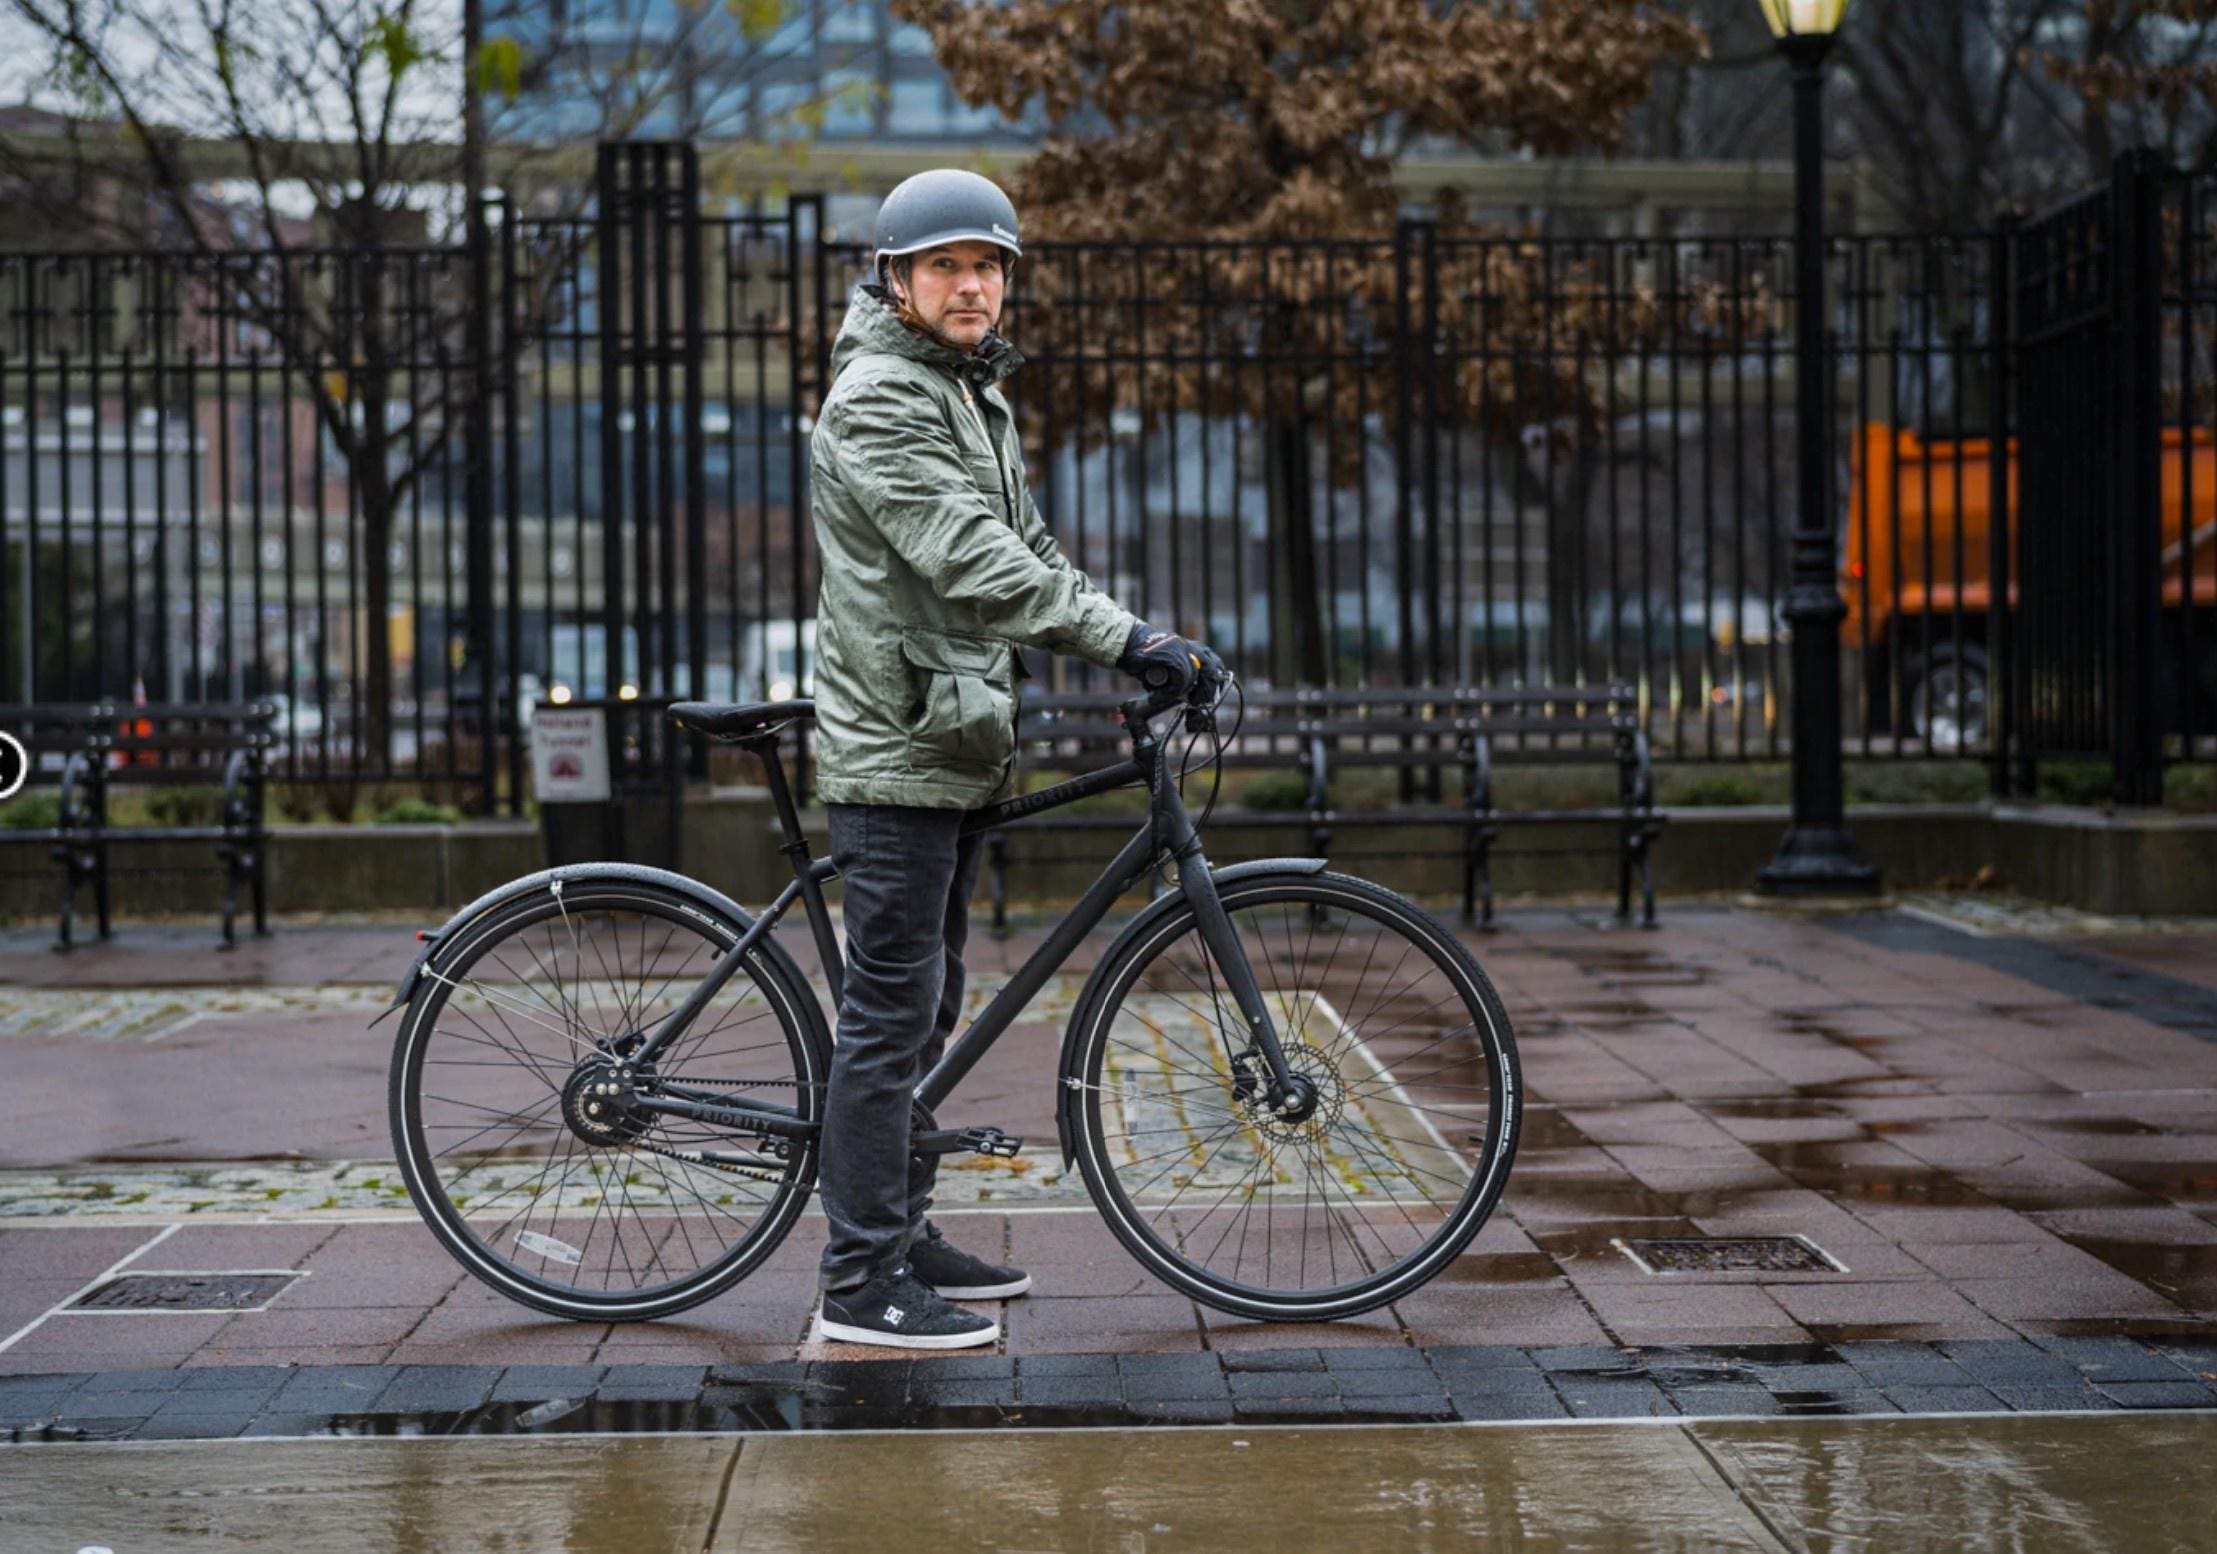
Spend money on gear that solves a problem your planned rides already have. For an ordinary beginner ride, a dependable light or a working pump may solve an immediate need. A performance computer can wait until it has a job to do.
Many beginners ask what to get first and what they can cheap out on. Price alone tells you little. The table below shows what can wait.
| Possible upgrade | Reason to consider it later | Starting alternative |
|---|---|---|
| Dedicated bike computer | Your navigation, battery or display needs exceed what your phone provides | Phone and familiar routes |
| Clipless shoes and pedals | A specific riding preference justifies learning a different pedal system | Your current shoes on flat pedals |
| Specialist cycling jersey | Your current tops or storage become uncomfortable or impractical | Comfortable athletic top and secure carrying |
| Power meter | Structured power-based training becomes useful | Ride without power data |
| Cycling radar | Extra rear-traffic information suits the route and your riding style | Staying visually aware and positioning yourself well on the road |
Clipless pedals use a cleat to connect a special shoe to the pedal. The name is historical cycling terminology and can confuse first-time buyers. If you are comfortable on flat pedals, you do not need to switch for a first recreational ride.
To rank what is left, ask:
- Problem: Which limitation on a planned ride would this item solve?
- Consequence: What happens if you ride without that function?
- Alternative: Do you already own, or can you borrow, something that fits your bike and clothing needs and that you can use?
Check that your gear is ready to use
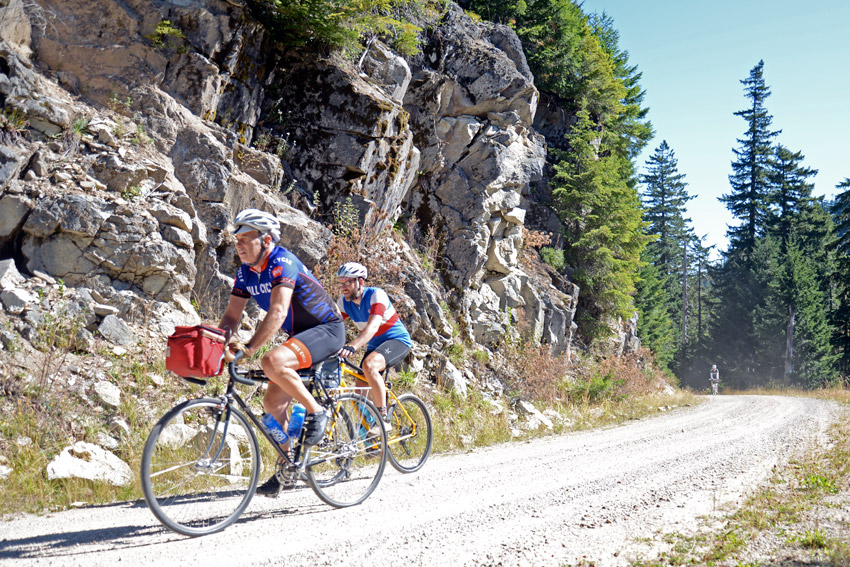
Before you set off, check the bike and the gear you plan to rely on, and fix anything loose, damaged or not working. The League of American Bicyclists’ ABC Quick Check is a compact procedure that covers air, brakes, chain and cranks, wheel attachment and a brief functional check.
- Air: Inspect the tires and inflate them correctly for your tire and bike.
- Brakes: Make sure the brakes engage and release as they should.
- Chain and cranks: Look for obvious drivetrain or pedal problems.
- Wheel attachment: Confirm the quick release or axle system holds each wheel securely.
- Short check ride: Test basic operation slowly in a safe place.
- Packed equipment and repairs: Check that the items you plan to carry are present, secure, accessible and working. If your plan depends on roadside repair, practice the procedure first with reliable instructions or help.
- Recovery: Know how you and the bike will get home if a problem goes beyond your tools or skill. A shop can assess anything outside your repair experience.