
Yes, you can start gravel now. Pick a short, permitted route on firm ground that matches the bike you have, and head home if the surface turns loose or steep.
What counts as gravel cycling?
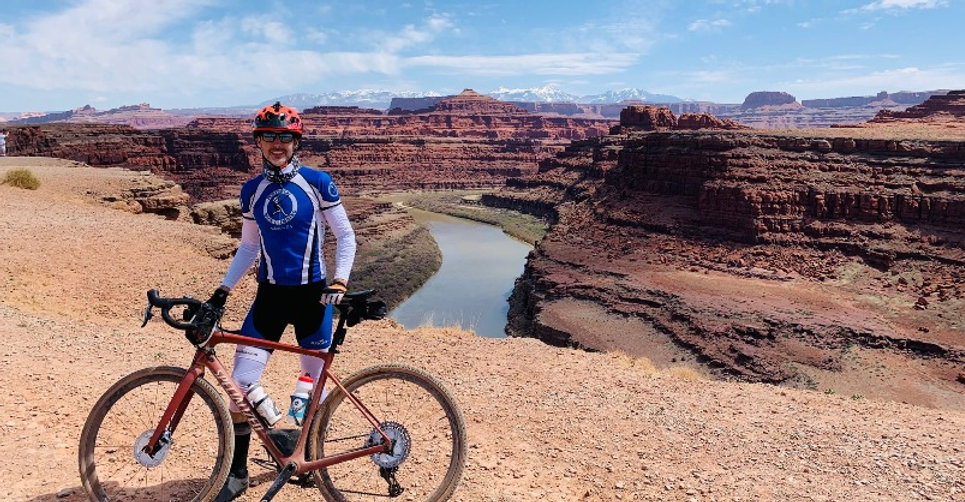
Gravel cycling covers smooth hardpacked dirt roads and crushed-stone rail trails, along with loose rock, rutted forest roads and the occasional easy singletrack, often joined by stretches of pavement. Hardpack is compacted ground. Washboard means closely spaced ridges across a road, and a rut is a worn groove. Loose stones shift under your tire, and deep sand or mud changes how the bike steers. Decide which surface you want to try before you pick a route.
Can you try gravel with the bike you already own?
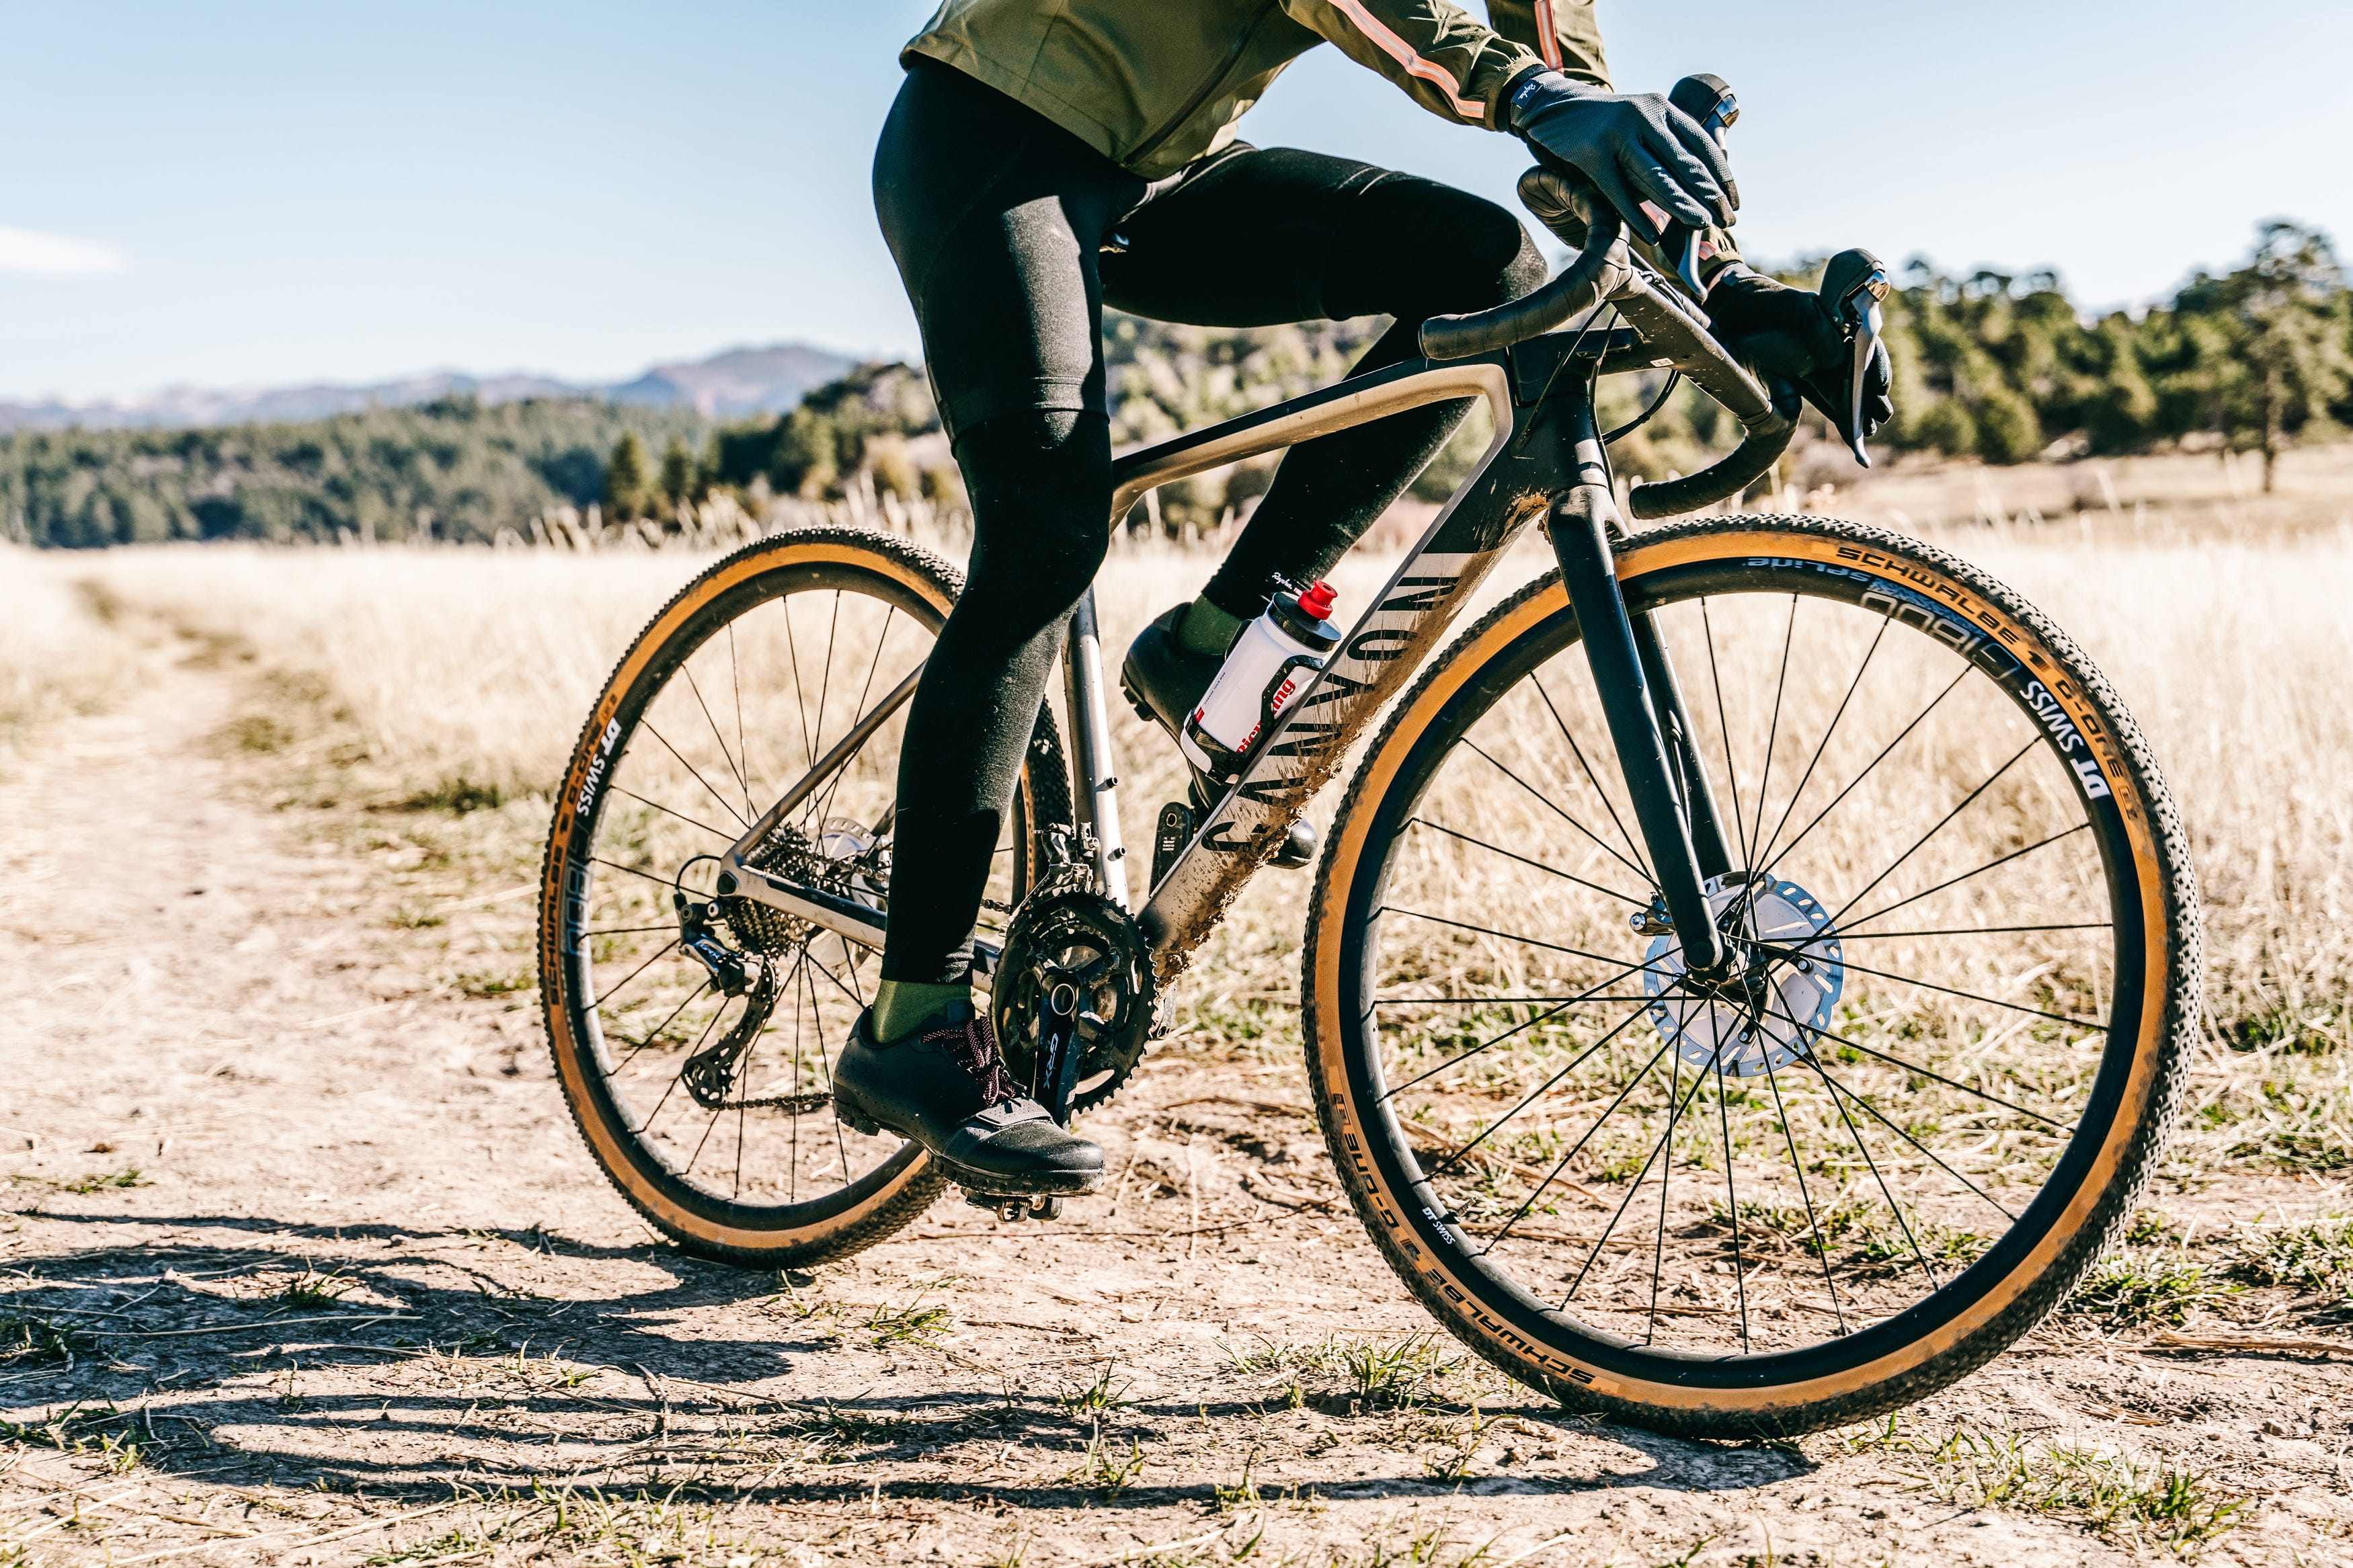
You may not need a new bike. Liv Cycling lists an existing mountain bike as one way to start, depending on the terrain. A hybrid or an endurance road bike can also handle smooth, firm paths if its tires, brakes and clearance suit the surface.
If you decide you need a dedicated gravel bike, Select a gravel bike for your route surface for the surfaces you actually ride.
Gravel bikes usually come with wider tire options, disc brakes and geometry built for mixed surfaces. Those features matter more as the terrain gets rougher.
| Bike | Good first-ride terrain | What changes the choice |
|---|---|---|
| Road or endurance bike | Very smooth, firm dirt or crushed stone, with the right tires | Not enough traction or tire clearance for rough, loose ground |
| Hybrid bike | Maintained gravel paths and hardpacked dirt | Loose stones, ruts or descents beyond its setup |
| Hardtail mountain bike | Firm dirt and some uneven paths within your skill | Long rides, or terrain beyond your handling experience |
| Gravel bike | Mixed surfaces it was built for | Deep sand, difficult descents, the wrong tires |
Check that the brakes work, the tires are in good shape with room around them, and you can reach the controls comfortably. Notice how the saddle and handlebars feel when you shift your weight over uneven ground. Not sure about compatibility? A bike mechanic can check your setup.
Comfort at the contact points is personal. Padded shorts or a different saddle help some riders, but a women-specific saddle or new clothing is no requirement for a first ride.
Choose a first route that matches your skills
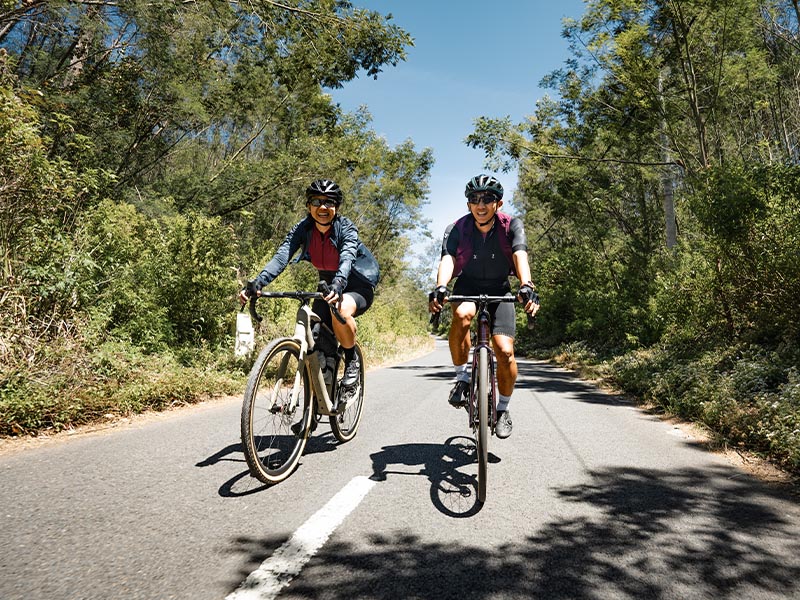
Start with a short route on firm dirt or maintained crushed stone, with an easy way to turn back early. Surface, hills, descents and traffic decide how hard a ride feels, and so does your experience. A paved distance you know well can feel very different once the wheels slide through loose material.
First gravel ride readiness matrix
| Surface or route situation | Verdict for a first ride | What decides it |
|---|---|---|
| Dry, firm crushed-stone rail trail | Good option | Right bike, easy crossings and hills, bikes allowed |
| Smooth, hardpacked dirt road | Good option after a check | Vehicle traffic, recent rain, washboard, surface changes |
| Mixed pavement with loose gravel patches | Check again | Loose sections, gradient, how confidently you control the bike |
| Deep sand, mud, or chunky loose rock | Skip for a first ride | Traction demands, whether your gear can handle them |
| Steep rutted descent or remote unknown track | Pick an easier start | Technical difficulty, few ways back |
A route is a good option only when its terrain also fits your bike, your handling skills and the expected conditions. A short or “easy” label can hide difficult gravel.
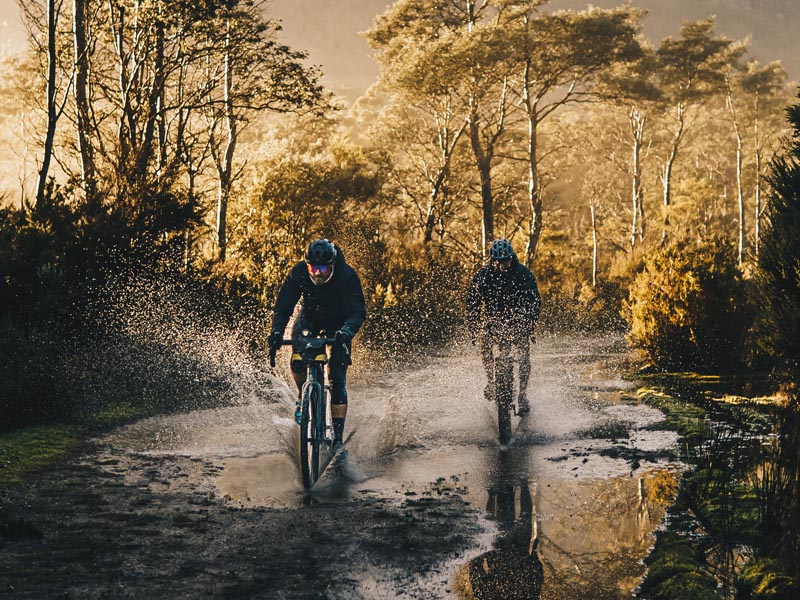
After training indoors and riding on pavement, one cyclist posted on r/ladycyclists about a first all-gravel ride: “Mistakes were definitely made, but I am overall happy with my 14.5k that was all gravel (except for a couple of wood bridges), and can’t wait to get out again!”
The U.S. Forest Service lists Vermont’s Forest Road 341 as an 18.6-mile out-and-back with approximately 1,200 feet of elevation gain and loss. Distance and climbing both count.
Verify surface, access, and conditions before leaving
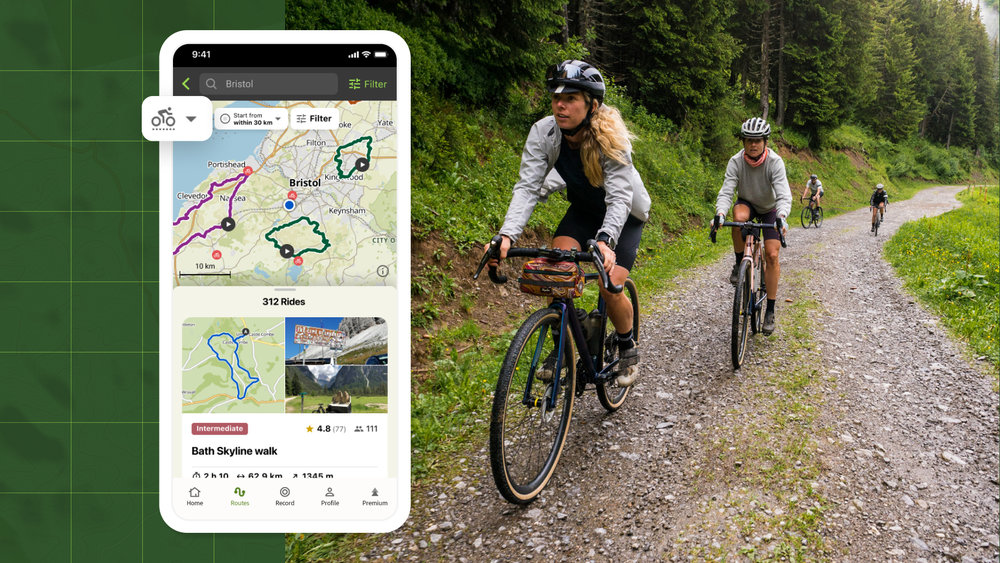
A map shows where a path is drawn. It says nothing about bike access, current closures or the surface on the ground.
Liv Cycling’s route-finding guidance, featuring gravel rider Alexa Everson, recommends combining route maps and satellite views with local knowledge and information from parks or forest managers. Each source answers a different question:
- Route map and satellite imagery: They show the likely road alignment, connections and visible terrain. Investigate any uncertain segment and its alternate connections.
- The agency that manages the land: It sets bicycle permission, posted rules, closures and seasonal limits. When sources conflict, its rules win.
- Recent local reports: They tell you about mud, washouts, construction and rough patches. Older ride logs go stale when weather, road work or a closure changes the road.
- Start, finish and navigation information: Check intersections, coverage and a possible way back. Revise any route whose return you cannot establish.
Some trails are closed to bikes. An order signed September 30, 2025, by the U.S. Forest Service sets bicycle restrictions on the southern portion of the Laurel Mill Hiking and Cross-Country Ski Trail System (south of Township Road 307), the North Country National Scenic Trail System, and the Minister Creek Trail System in Allegheny National Forest.
If you ride an e-bike, check whether the land manager has separate rules for it.
Set tire pressure for your bike and route
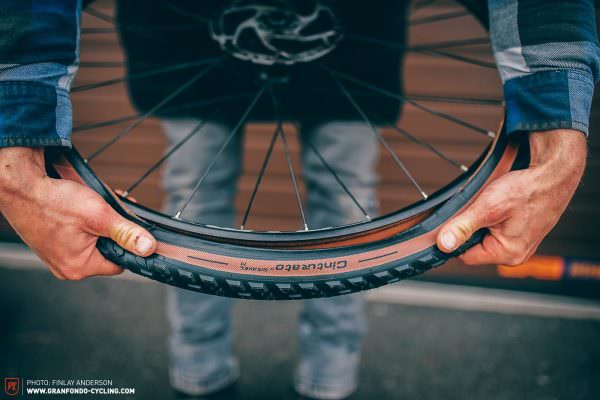
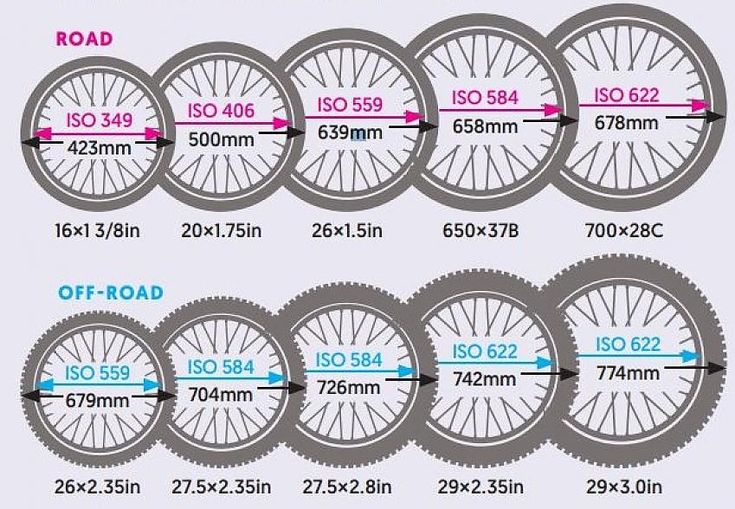
Changing surfaces changes how a tire feels. Fine, packed stone rolls smoothly, while sharp loose gravel adds vibration and demands more grip. Tread, casing, width and inflation all interact with the wheel and the ground.
One rider on a first gravel outing with a partner posted on r/gravelcycling: “Took a bit to get used to the vibrations, dropping the psi way down was the ticket.”
Find a setup-specific starting pressure
The SRAM/Zipp tire-pressure guide builds its numbers from the weight of the rider, bicycle and carried gear; labeled tire size and casing; wheel and rim dimensions; ride style; and surface conditions. It gives separate front and rear suggestions that you can refine.
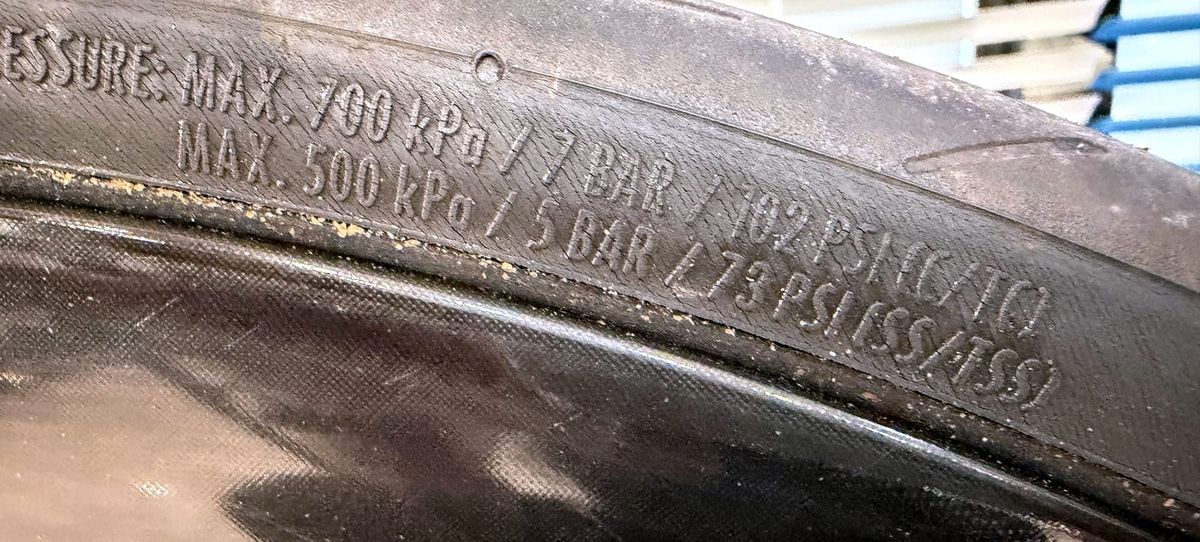
Look up the specifications for your installed tires and rims, including whether they are tubed or tubeless and what inflation limits they allow. Use a pressure method that fits those components, and enter your actual system weight and riding conditions. The result is a starting point within the equipment’s limits. Dropping too low creates tire and rim problems.
Handle loose gravel, descents, and corners
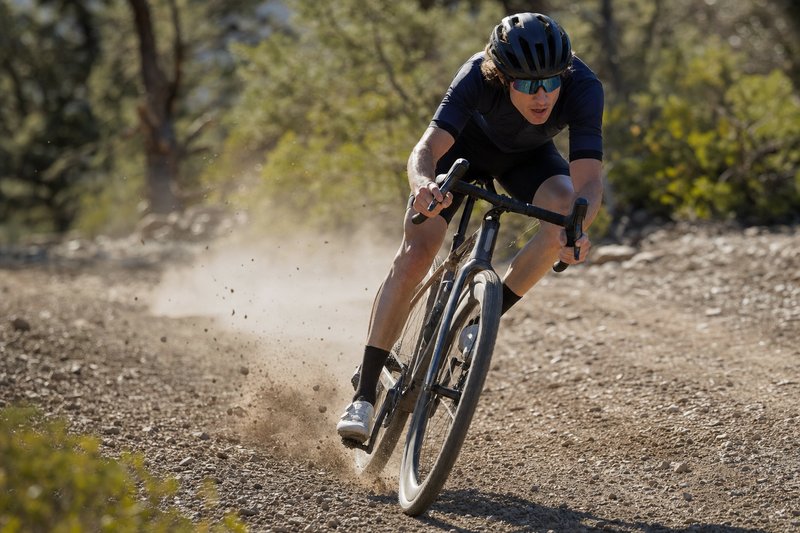
Loose stones move under your tires when you steer or brake. Braking hard in a turn on shifting gravel can exceed the grip available.
A rider in Austria fell while turning on a gravel descent: the moment they braked, the wheel slid on the gravel.
Practice where the surface is forgiving
- Brake in a straight line: On a gentle, open stretch at low speed, squeeze the brakes gradually and feel how the surface responds.
- Look through the bend: Keep your eyes on where you want to go and steer without sharp corrections.
- Corner within your grip: Slow down before the turn, then take a wide, easy bend at a speed where you can hold your line calmly.
Liv Racing riders Kaysee Armstrong, Serena Bishop Gordon and Ayesha McGowan cover this technique too. On some loose climbs, steady seated pedaling helps the rear tire keep traction.
Pack for one manageable ride
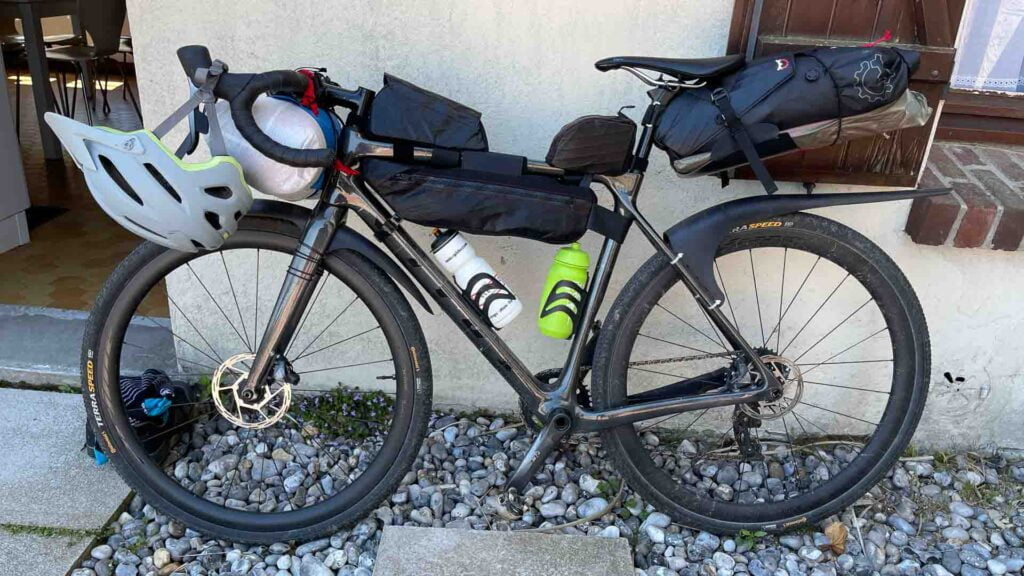
Pack for the route’s distance, weather and remoteness. A maintained local path near services needs less than a forest road where water and help are scarce.
A first-ride packing checklist
- Helmet and clothing: A well-fitted bicycle helmet, comfortable riding clothes and a layer for the weather.
- Water and food: Enough for the ride’s length and temperature, and for how far you are from facilities.
- Navigation: A charged phone or navigation unit, with an offline route where coverage is unreliable.
- Communication: A way to reach someone and a plan for getting home if you need it.
- Flat-repair kit: A spare tube where it applies, tire levers, a pump or compatible inflator, and puncture supplies that match your tire system.
- Basic tools: A compatible multitool and repair items you know how to use.
The U.S. Consumer Product Safety Commission regulates bicycle helmets under 16 CFR Part 1203, which covers impact attenuation, retention, positional stability and peripheral-vision tests. A compliant helmet is important protective equipment, though it can’t eliminate injury risk.
Start solo, with a friend, or on a group ride?
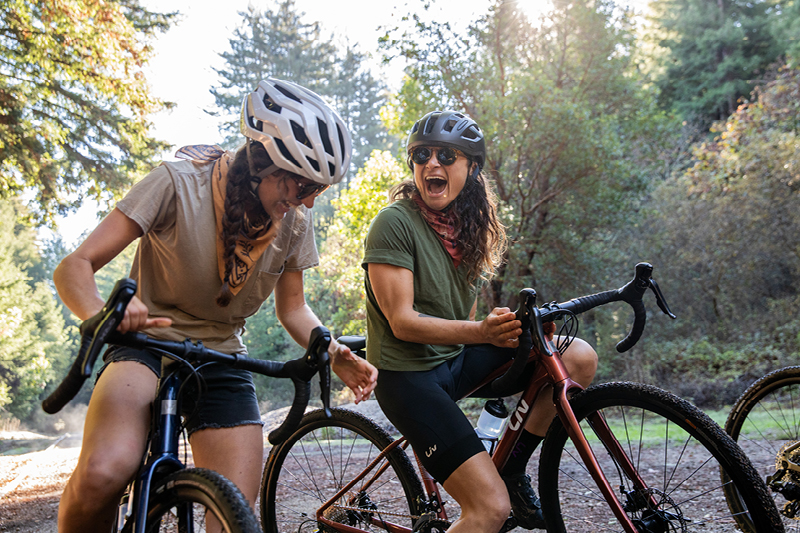
Riding alone lets you set your own pace and distance. A friend or a beginner group can share route knowledge and practical help.
Before joining an organized ride, ask about its usual pace, surfaces, climbing, skill expectations, planned stops and regrouping. A no-drop ride regroups so slower riders are not left behind. Organizers handle the details differently.
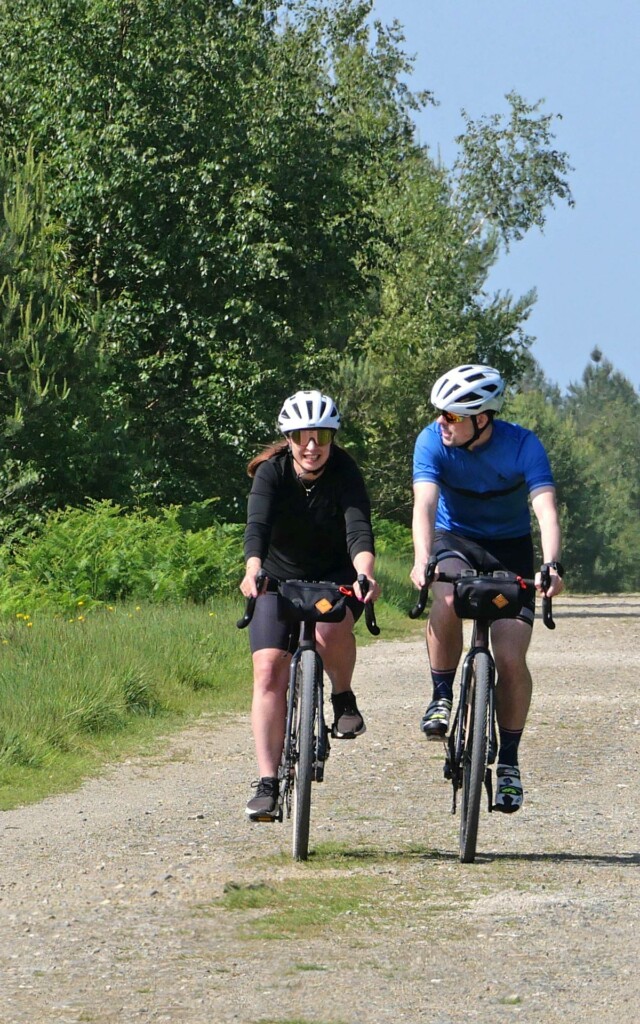
A group labeled “beginner-friendly” can still include loose descents or a hard pace. Ask the organizer what happens if you want an easier section or an early return.
Your go/no-go check and when to turn back
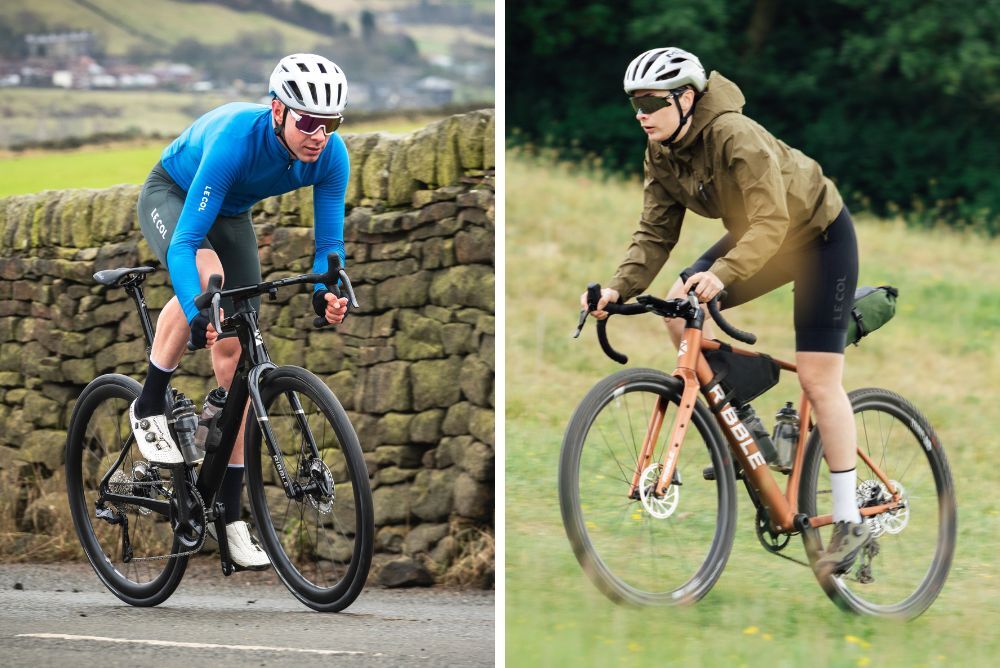
Once you’re riding, decide from what you find on the ground. A change in grip, access, navigation, weather or your bike’s condition can end a good plan.
- Pause and reassess: The road is rougher or looser than you expected. Stop somewhere safe and look at what lies ahead.
- Walk a section: A short stretch is too steep, loose or rutted to ride with control, and walking it is permitted and safe.
- Shorten or end the ride: Access is closed, you can’t control the bike safely, a problem exceeds your repair skills, or you can’t be sure of the way back. Use a permitted return option or arrange help.
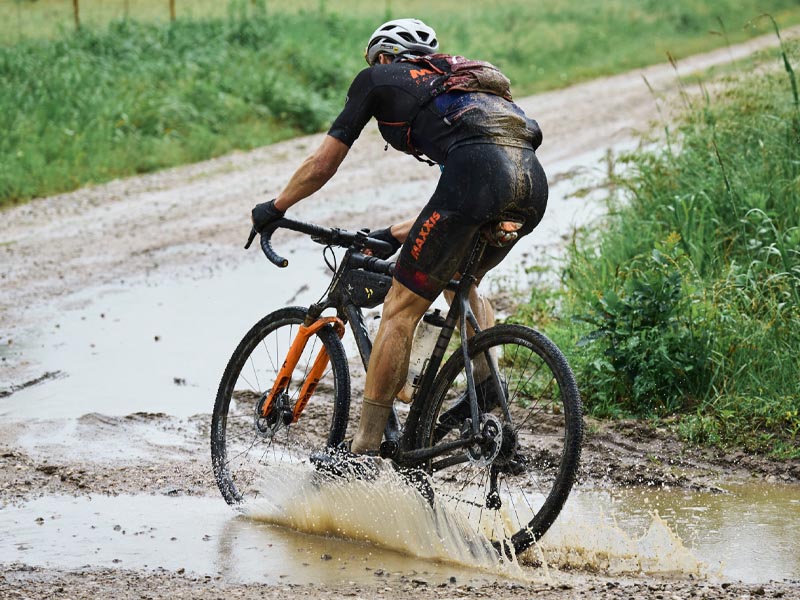
A dry dirt road can turn slippery after rain, and a descent can reveal loose rocks the map never showed.
A short ride on firm dirt with the bike you already own shows you which kind of gravel you want more of. After that, you can decide whether specialized gear is worth buying.