
Pick shoes that fit your feet, work with your pedals, and suit the riding you do. If you walk a lot, look at a different shoe type. If the length is right but the forefoot feels tight or the heel slips, look at a different shoe shape. Settle pedal compatibility and fit before you spend more on stiffness, closures, or a particular brand.
A cycling shoe can look right, carry excellent reviews, and still be wrong for your feet or your bike. A three-bolt road shoe won’t automatically work with two-bolt SPD pedals. A shoe that squeezes your forefoot stays uncomfortable even when the labeled size seems right.
Choose the shoe type for the riding and walking you do
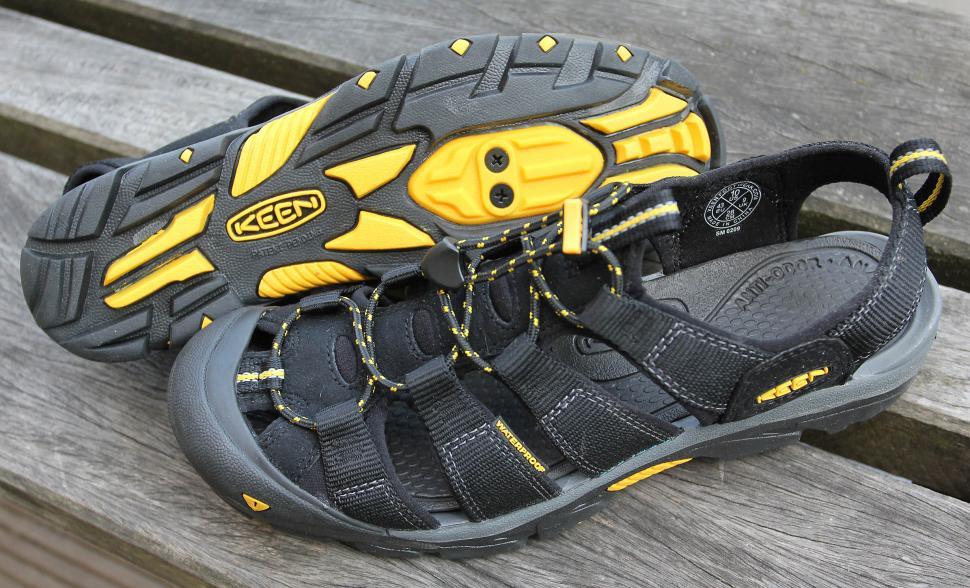
Start with where you ride and what you do when you get off the bike. Road, gravel, mountain, and commuting each ask something different of a shoe, especially if the ride includes walking.
Different riding styles place different demands on footwear. For route-specific choices, see Road Cycling for Women.
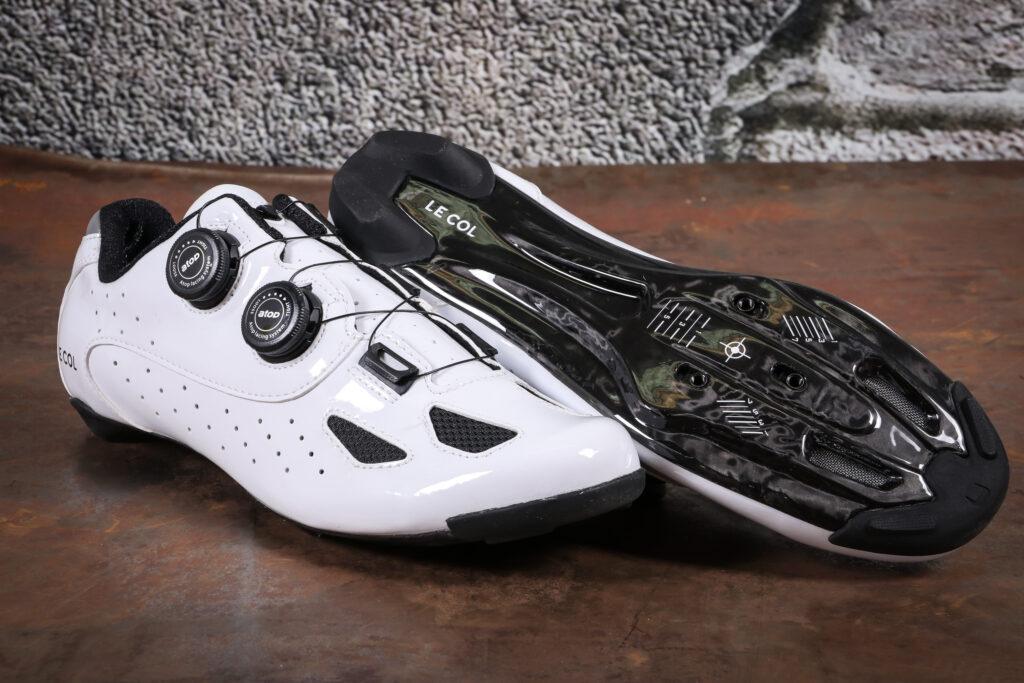
Road clipless shoes are built around an exposed road cleat and a supportive sole, which makes walking to a café or along a trail awkward. Mountain bike and gravel shoes pair treaded outsoles with recessed cleats, so walking is easier.
| Your riding | Footwear to consider | Walking and pedal considerations | Skip it if |
|---|---|---|---|
| Mostly road, limited walking | Road-style clipless shoes | Exposed road cleats | You walk a lot off the bike |
| Gravel, mountain biking, frequent stops | MTB or gravel clipless shoes | Recessed cleats and tread | The outsole doesn’t suit the terrain or the walking |
| Commuting with platform pedals | Shoes with a grippy outsole | No cleats or dedicated cleat-mounted shoe needed; grip and secure platform contact still matter | The outsole doesn’t hold the pedal securely |
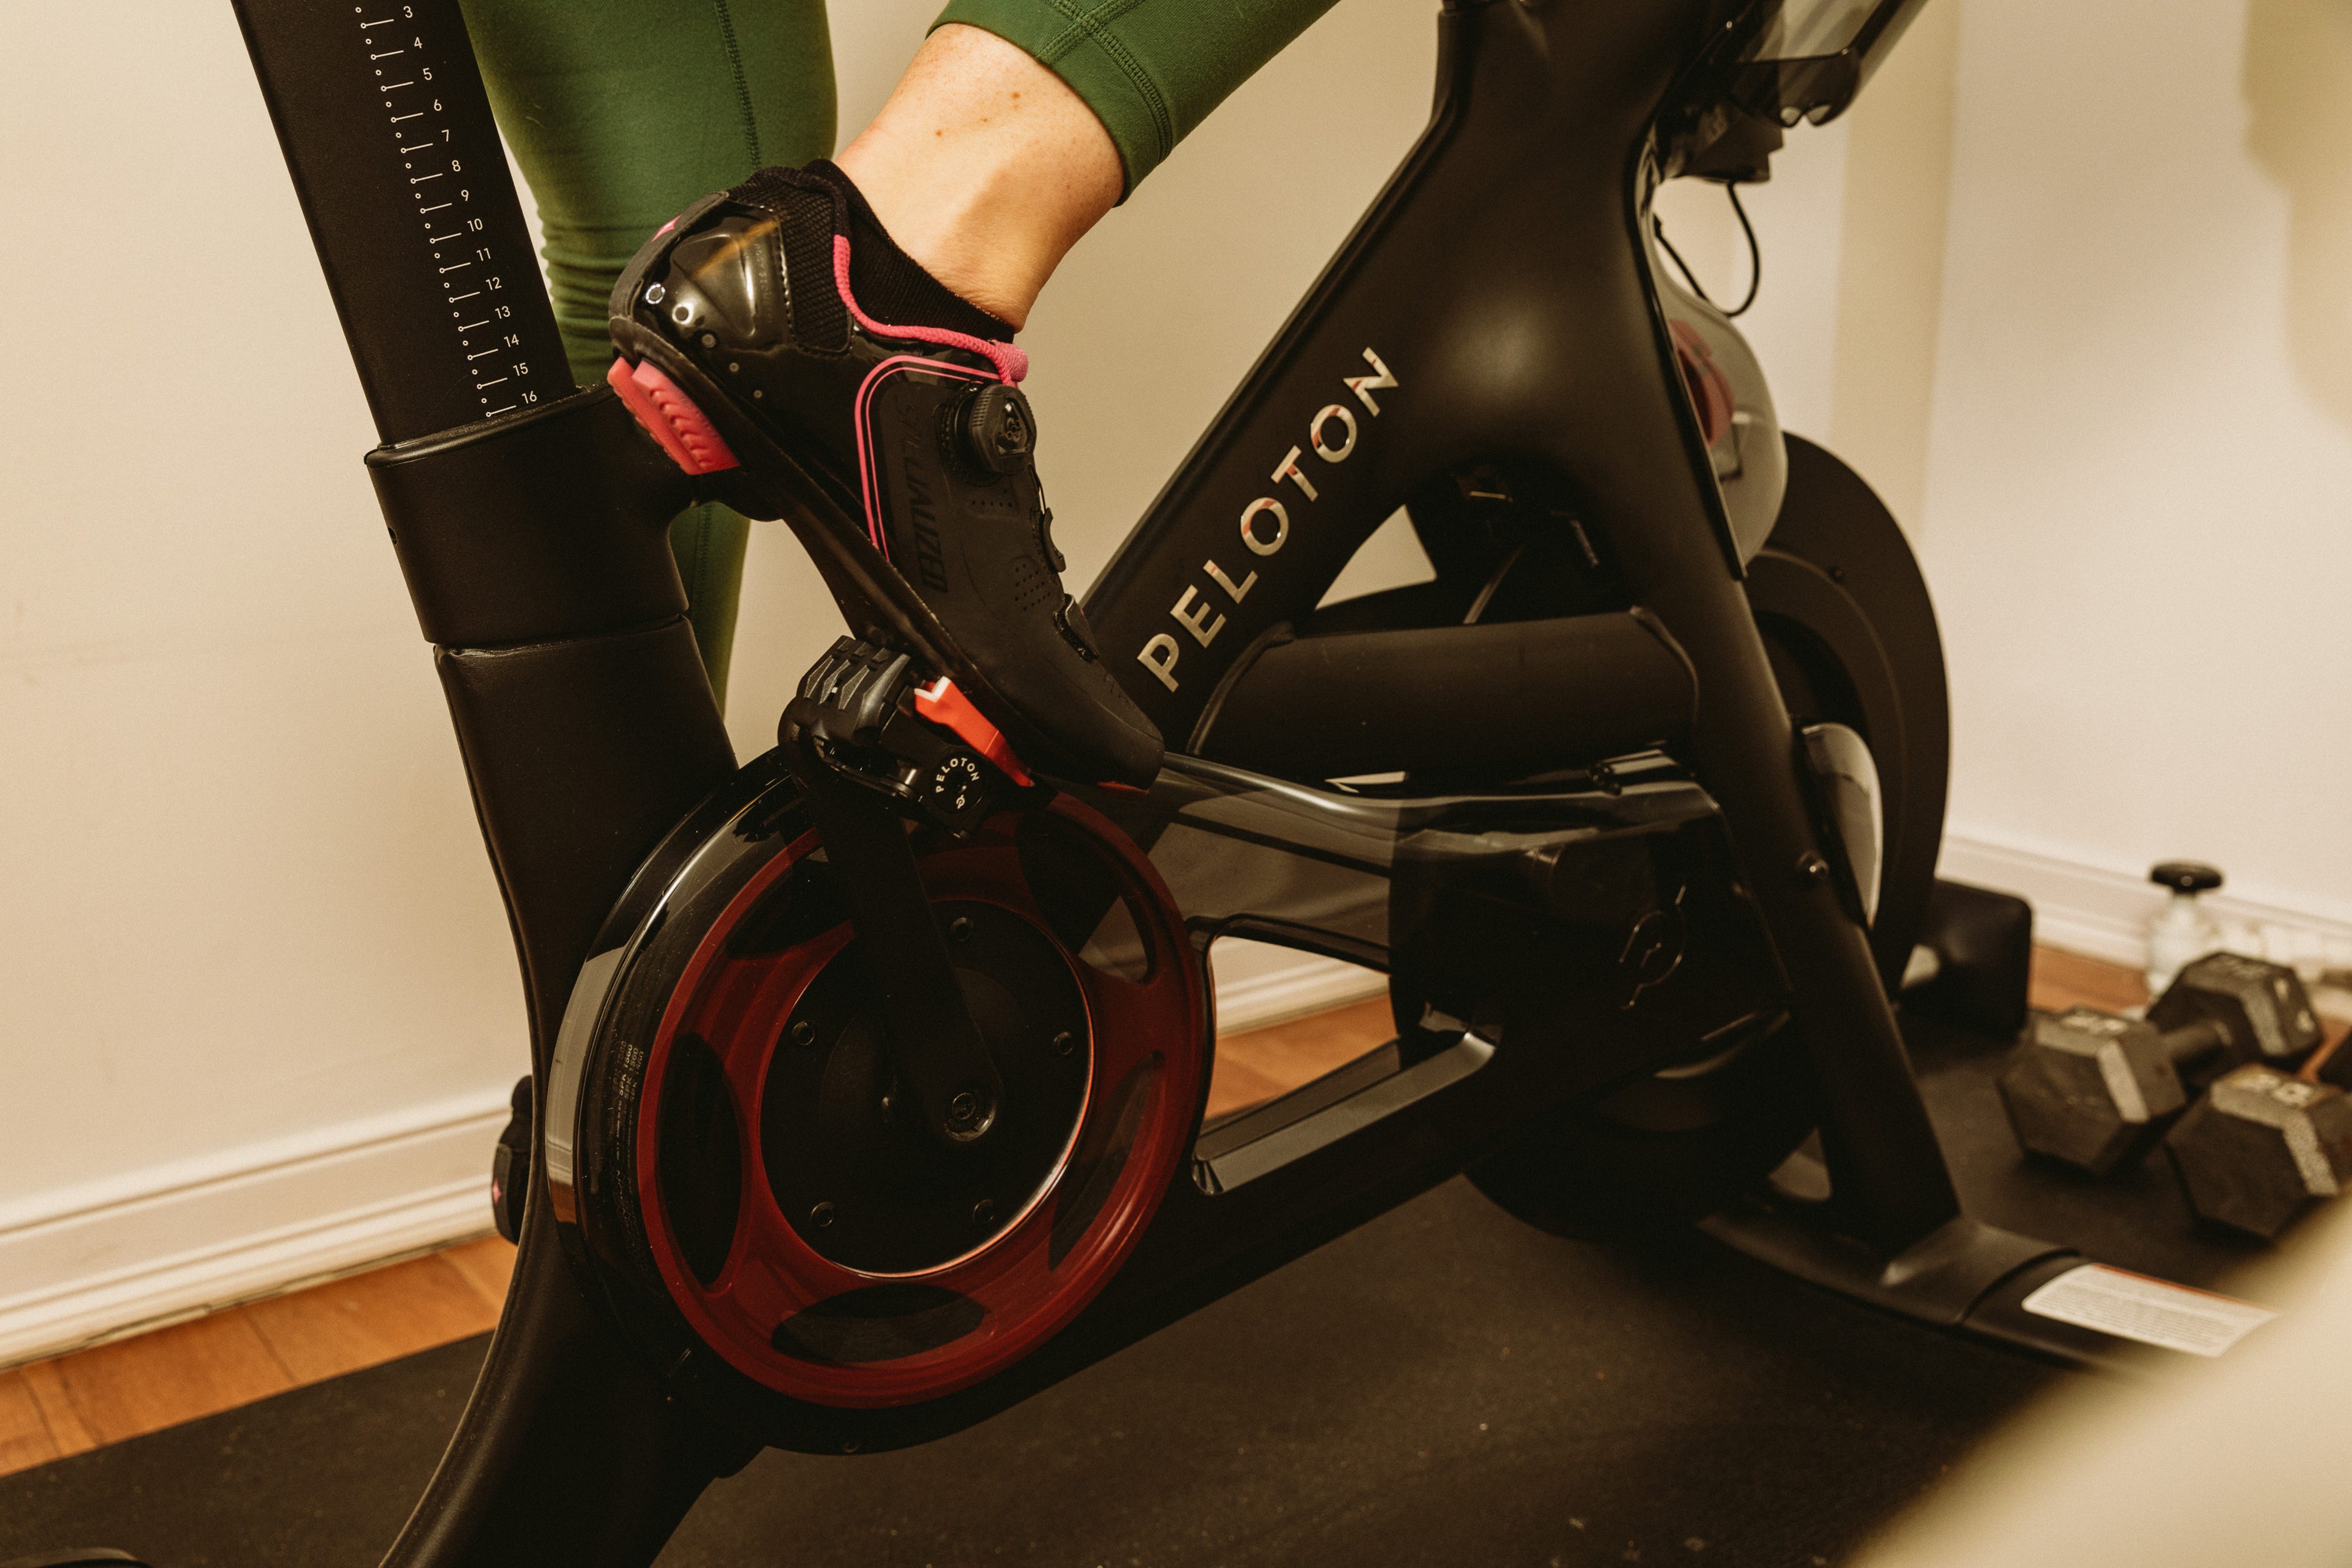
| Indoor cycling | Shoes that match the indoor bike | No universal shoe interface; the equipment on the bike sets the system | “Indoor shoe” is the only compatibility claim |
If you pedal nearly the whole ride, you won’t miss walking comfort. If you regularly push a gravel bike up a rough section, you will. That choice sets the shoe family before brand or price comes into it.
Match the shoe to your pedals before you buy
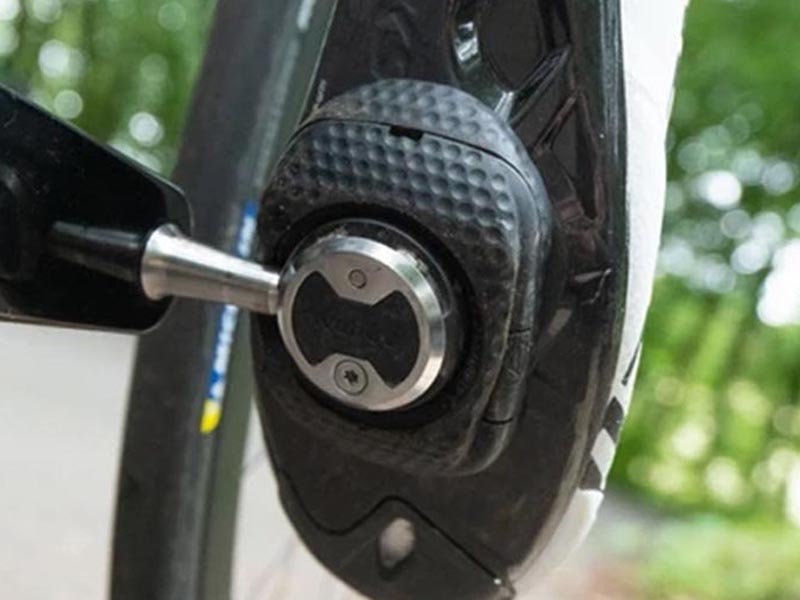
Clipless cycling has three parts: the shoe, a cleat bolted to the shoe, and the pedal that grips the cleat. The name misleads, because a clipless shoe does clip into its pedal. “Clipless” means there are no toe clips, the older setup.
Shimano SPD shoes use a two-bolt cleat mount, with the cleat recessed into the sole. Shimano SPD-SL shoes use a three-bolt road mount with an exposed cleat. The bolt pattern only tells you how the cleat attaches to the shoe. The cleat must also match the pedal’s engagement system, and other pedal families have their own specifications.
| Shoe mounting | Supported arrangement | What it means for the buyer |
|---|---|---|
| Two-bolt | SPD-style recessed cleat setup | Use the cleat the actual pedal system requires |
| Three-bolt | Common in road systems such as SPD-SL | Match the exposed road cleat to its pedal |
| Documented five-hole outsole | Some Shimano designs allow two-bolt SPD or three-bolt SPD-SL mounting; some multi-pattern designs still need an adapter for SPD cleats | Install one compatible cleat set at a time |
| Supported three-hole adapter | Shimano SM-SH41 can mount SPD cleats to certain compatible three-hole road shoes | Check the exact shoe, adapter, cleat, and pedal combination |
Shimano’s SM-SH41 adapter guidance describes using specified SPD cleats, including SM-SH51 and SM-SH56, on certain three-hole shoes. An adapted road shoe can still walk differently from a recessed-cleat MTB shoe.
If you ride SPD pedals and spot a discounted road shoe with a three-hole sole, it takes a two-bolt cleat only through a documented adapter that fits that exact shoe. The discount has no bearing on that.
Measure both feet for the exact shoe model
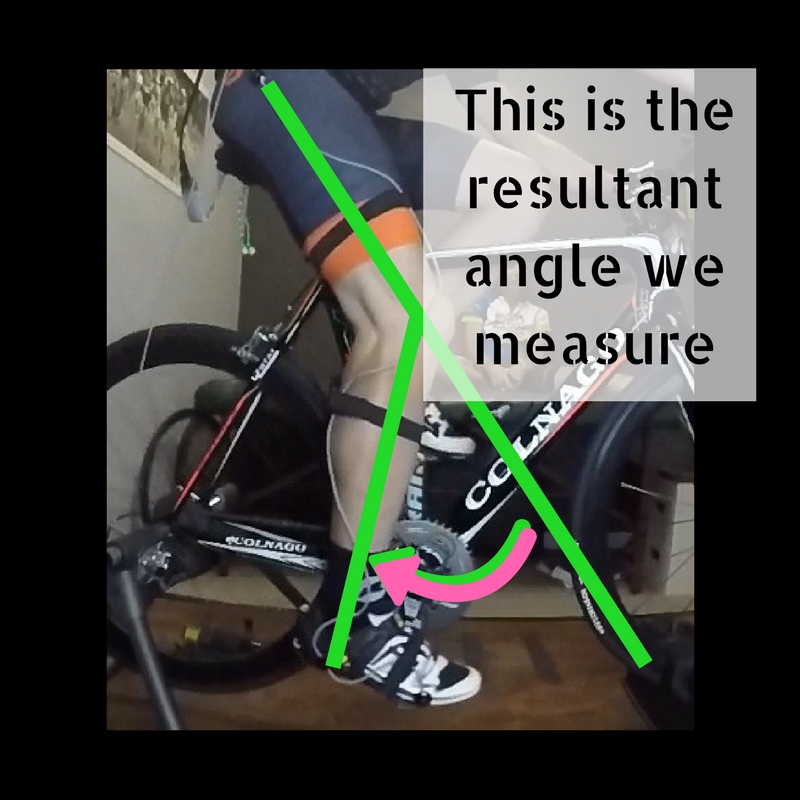
Treat cycling shoe sizes as model-specific. The EU, US, or UK size on your sneakers gives a rough starting point, but each manufacturer’s cycling last fits in its own way.
Limited local stock makes this matter more. A road and gravel rider with small feet, looking at clipless shoes, found that the bike shops near her didn’t have her size in stock.
Use the method from the Lake cycling shoe measurement guide:
- Wear your riding socks. Measure both feet.
- Stand up. Record heel-to-longest-toe length on each foot.
- Measure forefoot width. Record the widest point on each side and keep both sets of figures.
- Use the exact model’s chart. Match your numbers to that manufacturer’s chart and its width or last variants, sizing for the foot that limits the fit.
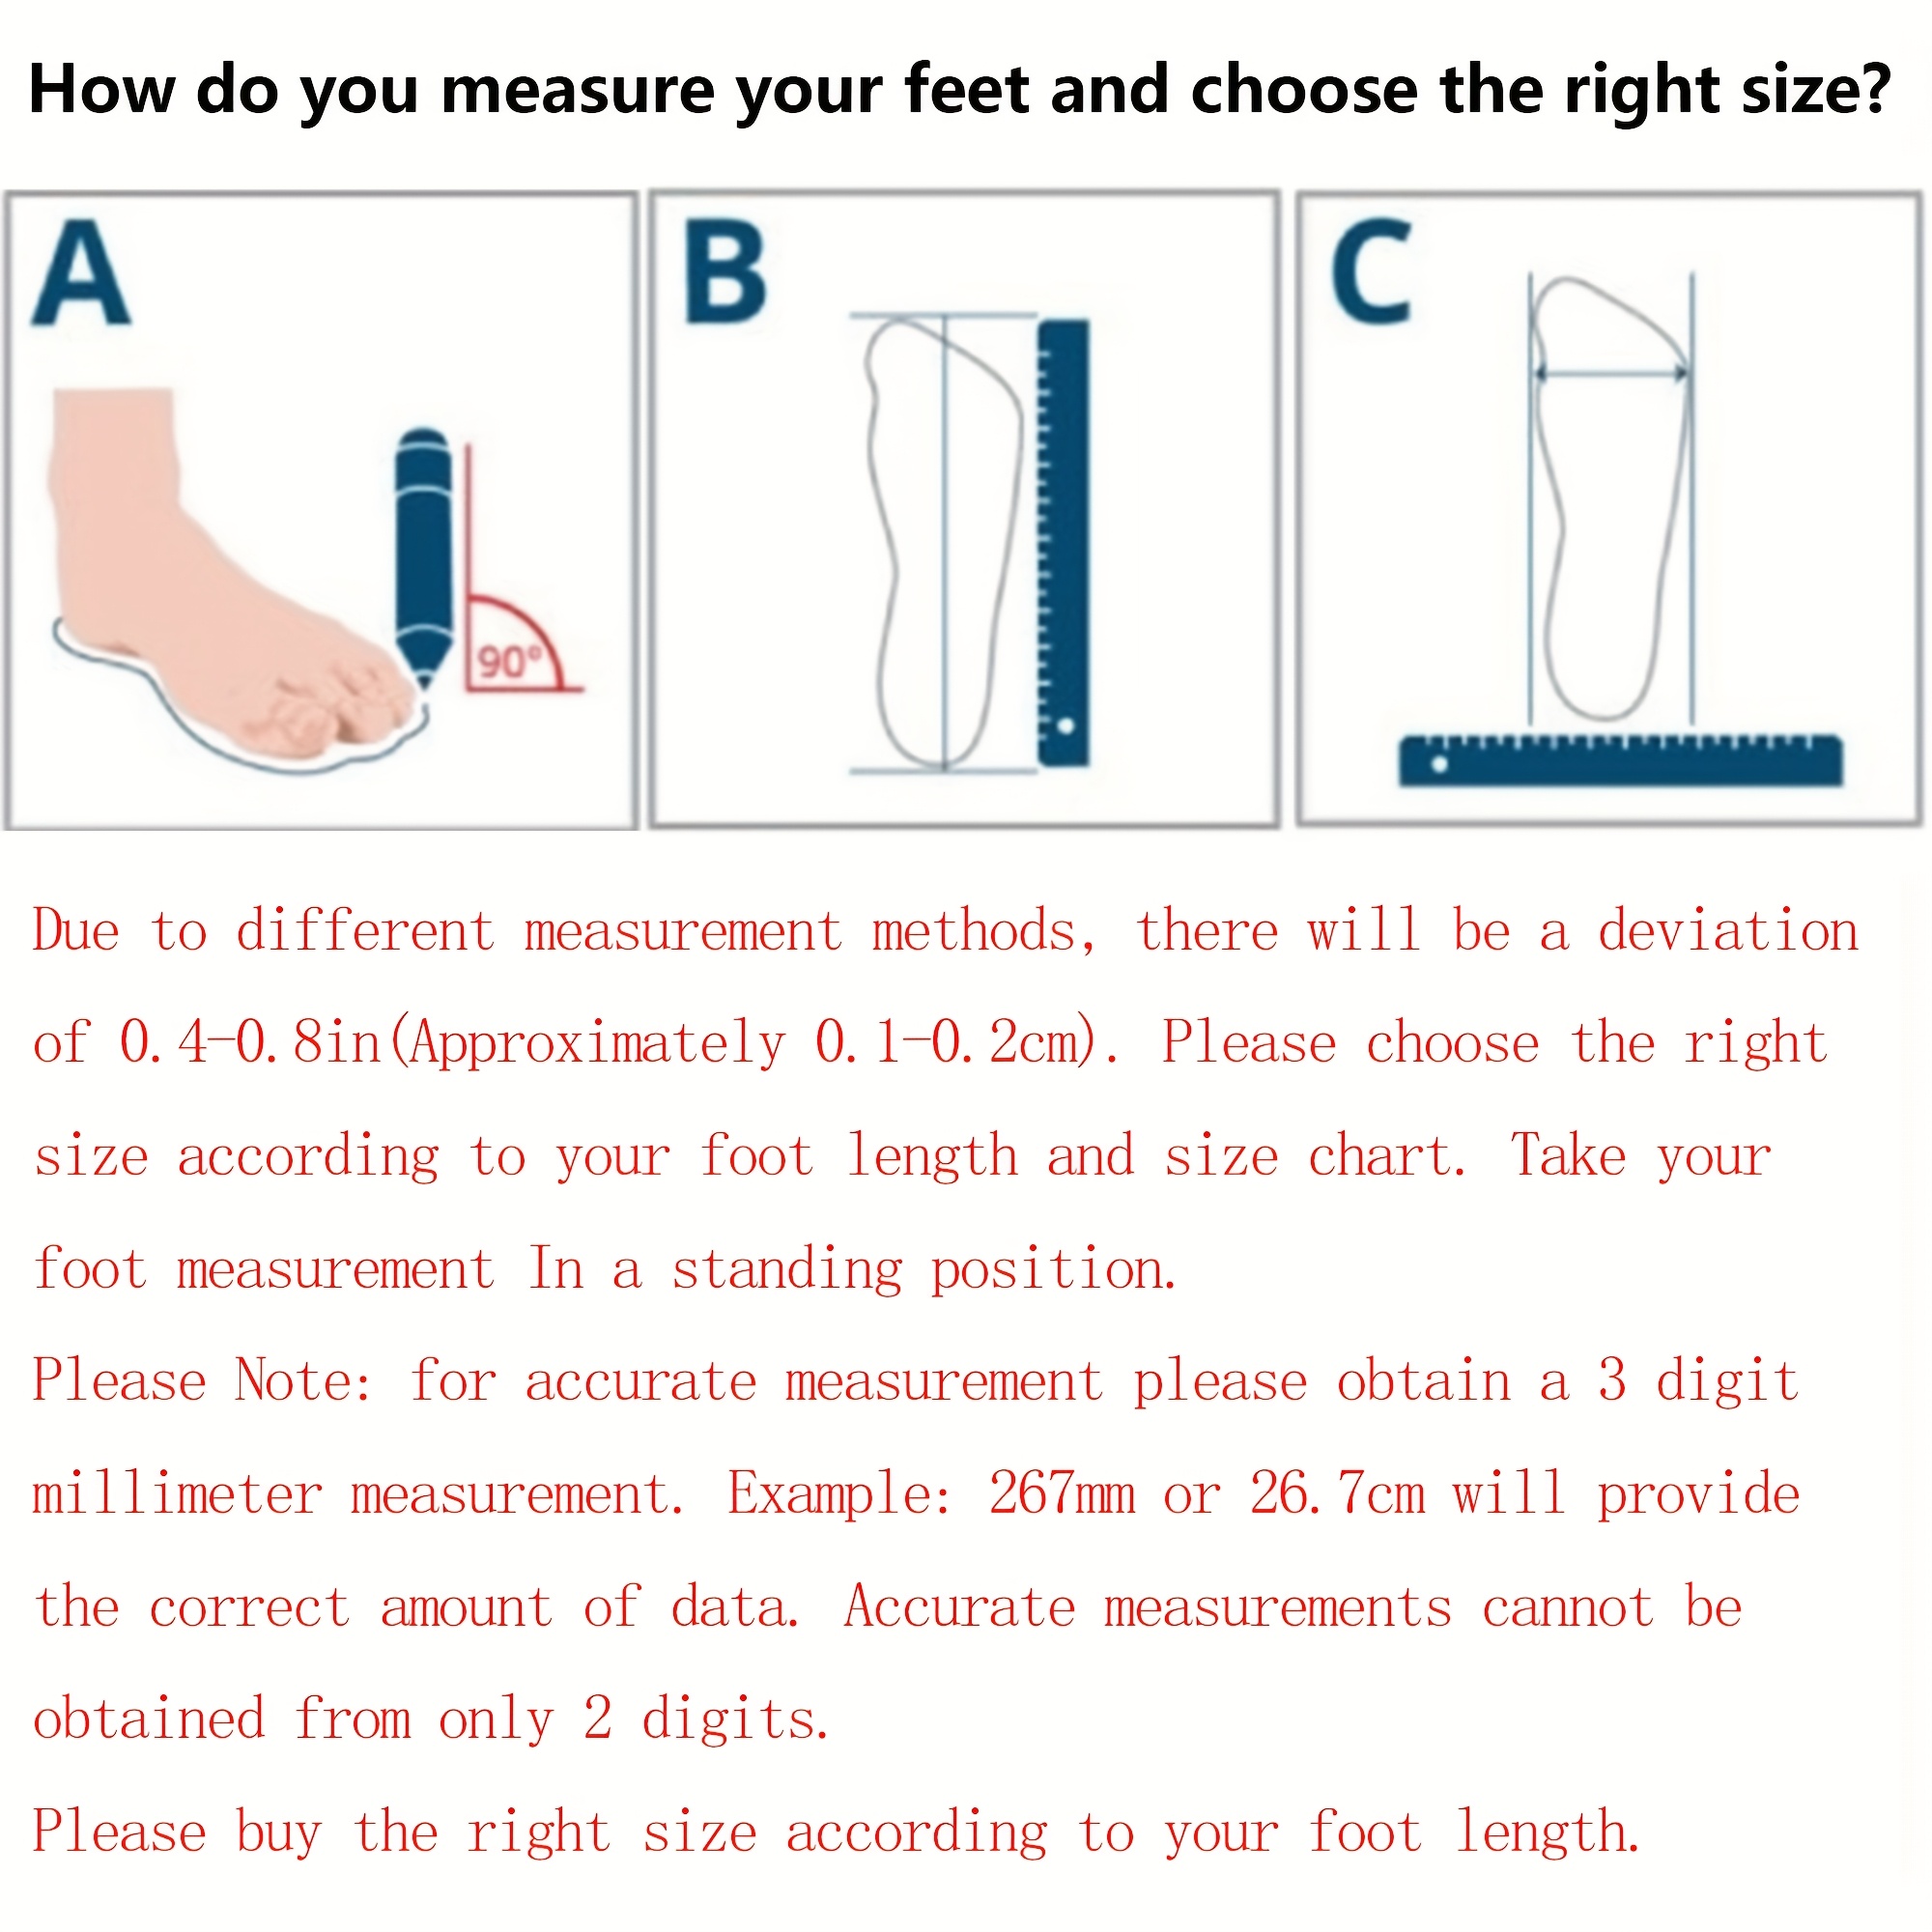
Lake’s procedure adds 5 mm to the measured foot length before you compare it with Lake’s chart. That 5 mm is specific to Lake’s method. It isn’t a universal conversion for cycling shoe sizes.
Your measurements tell you which sizes to try. They also show why size labels mislead: two shoes with the same number can have very different shapes.
Choose the last that fits your foot shape
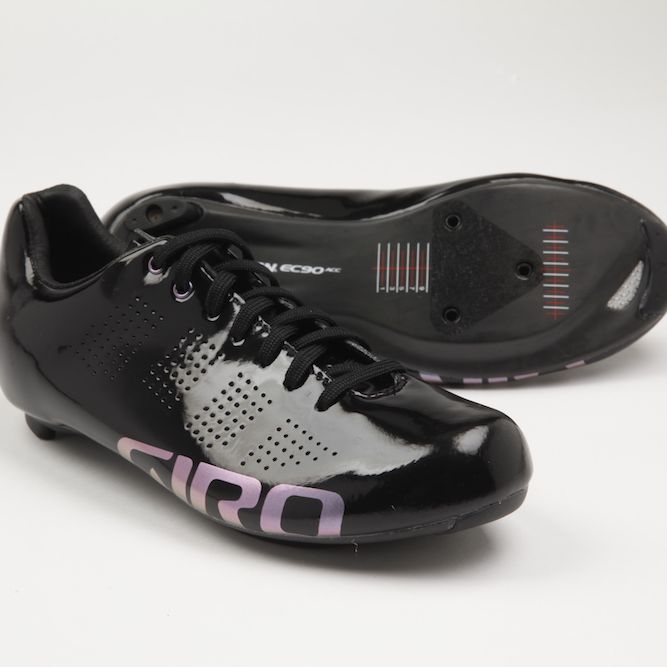
A shoe’s last is the form it’s built around. Two shoes in the same size can differ in forefoot width, heel contour, toe-box shape, and instep space.
Riders whose feet need several things at once know this well. A century-distance rider using SPD-SL put it this way on r/cycling: “I have a horrible combo for cycling shoes with wide feet, narrow heels and high arches.”
A roomy toe box relieves pressure across the front of the foot but can leave the heel loose. A shoe that holds the heel firmly can still press across a high instep. Each is a separate fit dimension.
| Fit dimension | What you notice | What to compare |
|---|---|---|
| Forefoot width | Pressure at the sides of the front foot | Width option and toe-box shape |
| Heel | Excess movement despite adequate forefoot space | Heel-cup shape and retention |
| Instep | Pressure across the top of the foot | Internal volume and upper construction |
| Length | Crowded toes or unnecessary space front to back | Model-specific length sizing |
A shoe labeled “wide” might add forefoot space, overall volume, or both. Ordering a longer size for toe-box width can add excess length and let the heel move. Look for a last with the shape you need at the right length.
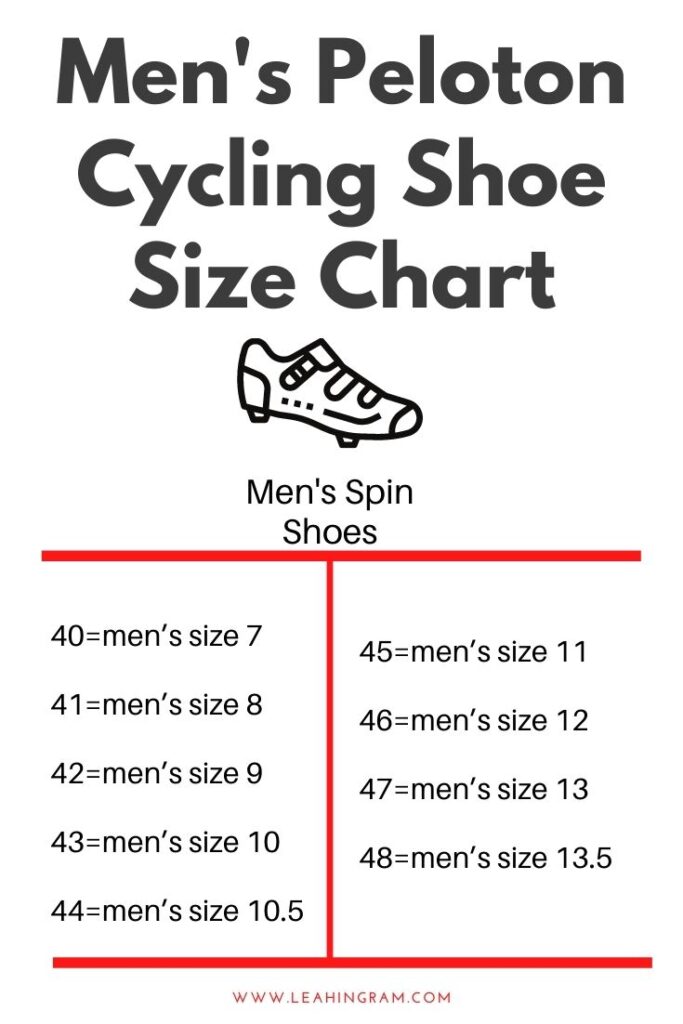
Women’s labels are product categories. They say nothing about the shape of your foot, and a unisex shoe with the right heel, instep, and forefoot proportions can fit better.
If tightening the closure holds your heel only by squeezing your instep, the last is the problem.
Try the fit: toe room, heel hold, and instep pressure
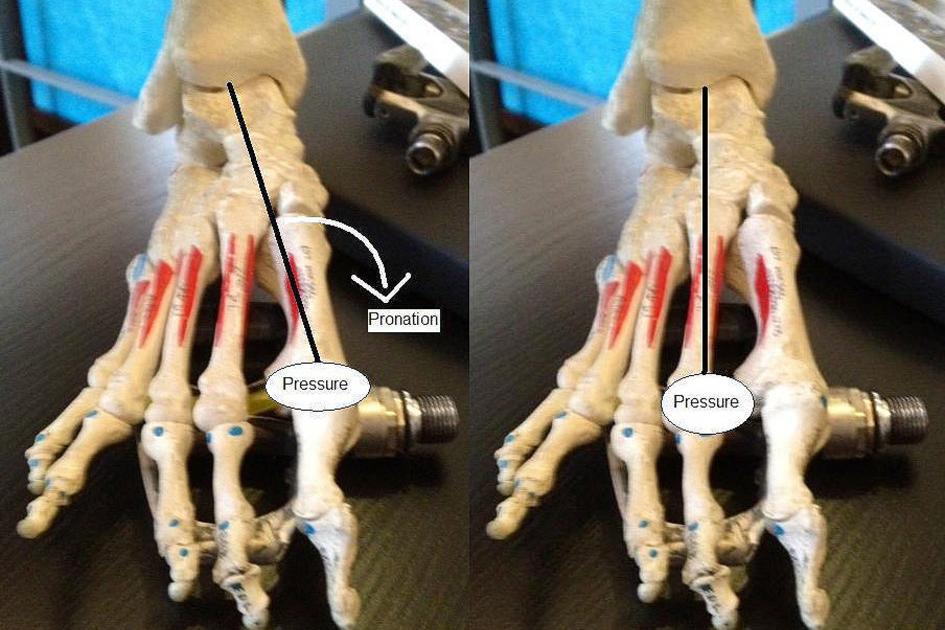
A size chart gets you to a shortlist. Only the trial tells you whether the shoe works, and it matters most when local shops stock few sizes. One rider looking for wider toe-box shoes was trying not to order a million pairs online.
If shoe pressure remains part of a wider position problem, see Bike Fit Basics for Comfort for the bike-side checks.
Wear your usual riding socks and close the shoe with comfortable tension. Check each area without over-tightening one part to cover for movement in another.
- Toes: They need clearance without crowding at the front or sides.
- Forefoot: Watch for concentrated squeezing or rubbing across the widest part.
- Heel: The foot should stay held for pedaling. Your heel may slip a little when you walk in a stiff shoe. That doesn’t mean it will slip while you pedal.
- Instep: Set the closures as intended. A concentrated painful spot means you should reassess.
If you can try the shoe safely in a riding posture, do. Strong pressure, rubbing that persists, or a lot of foot movement are reasons to reject the pair. Don’t buy a shoe that hurts and hope break-in fixes it.
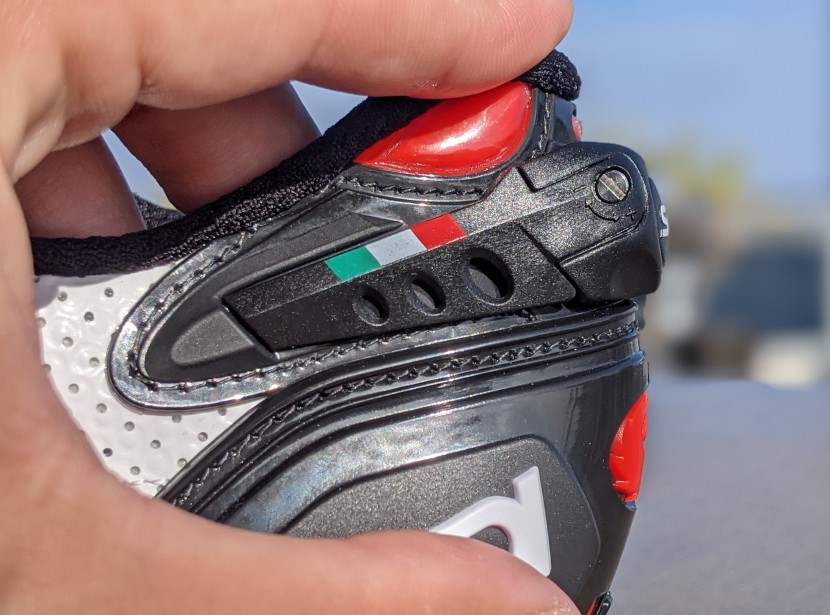
Numbness that won’t go away, or significant pain you can’t explain, needs a professional evaluation. A shoe can contribute, but the wider bike fit may be involved too.
Decide which features are worth paying for
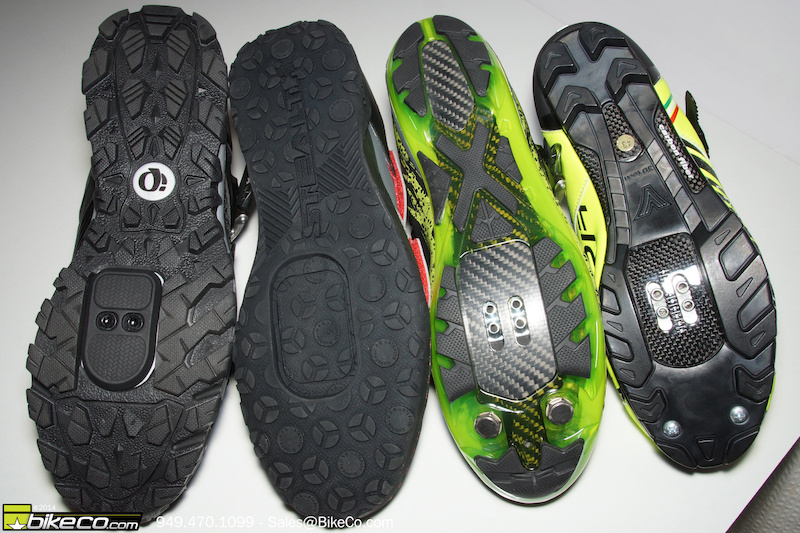
Once a shoe fits and works with your pedals, compare closures. Laces let you adjust tension along the upper. Straps fasten directly. Dials tighten through a turning mechanism. Weigh walking convenience and price too.
A 2019 randomized crossover study of eight trained male cyclists, by Fletcher and colleagues, found no statistically significant group difference in gross efficiency or measured three-dimensional knee moments across the torsional sole-stiffness conditions tested. In a separate 2003 experiment at 400 W, Jarboe and Quesada reported higher peak forefoot pressure with the stiffer carbon-composite construction they tested than with the plastic-sole comparison.
Neither study sets a universal performance or injury outcome for recreational women. Pay extra for a feature only when it serves a specific riding need.
Buy from a shortlist with a clear return plan
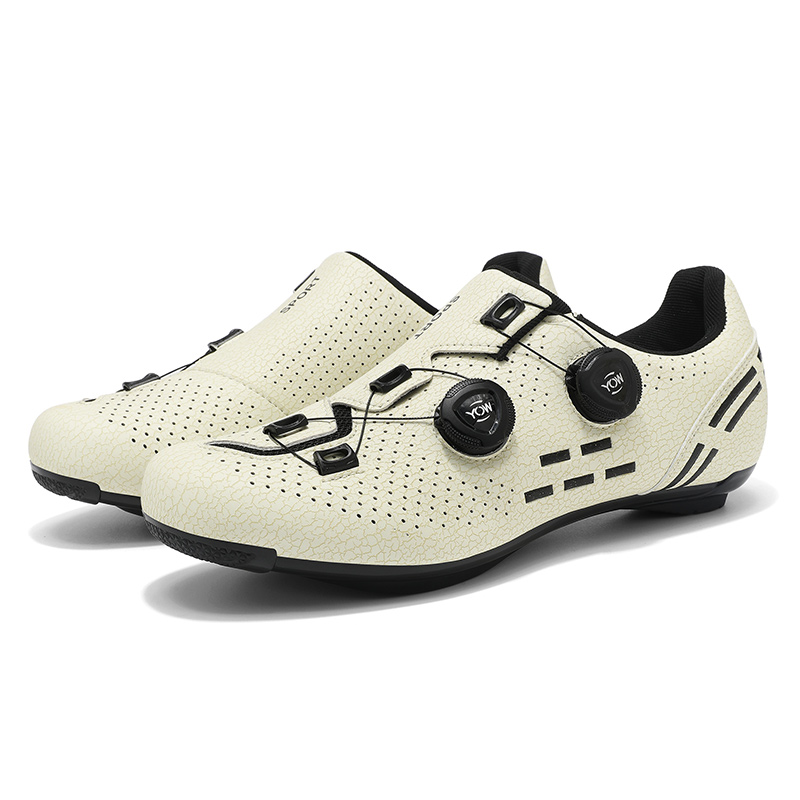
Scrolling endlessly through women’s shoe listings makes it hard to compare what matters. One road and gravel rider picking shoes to try online found that the more she shopped, the more confused she got.
Keep a short list of models that pass the riding, pedal, and fit checks. Write down each one’s exact model name, size, width or last option, and closure type, because listings that look alike can be different variants.
If one pair holds your heel better and another has the better walking outsole, and both are otherwise fine, decide which difference you need the trial to settle.
Online orders add one more thing to check: how the seller treats worn or altered shoes. Read the terms for that exact product before you attach cleats, wear the shoes at length, or mark the soles. Look for how much trying on is allowed, what counts as wear, and whether that item can be exchanged or returned.