
You’re ready for a first century when your riding history covers the distance and the course, daylight, food, and exit plan all work. To check, compare your latest comfortable long ride with the course and add up the full day, stops included.
Is a first 100-mile ride realistic for you?
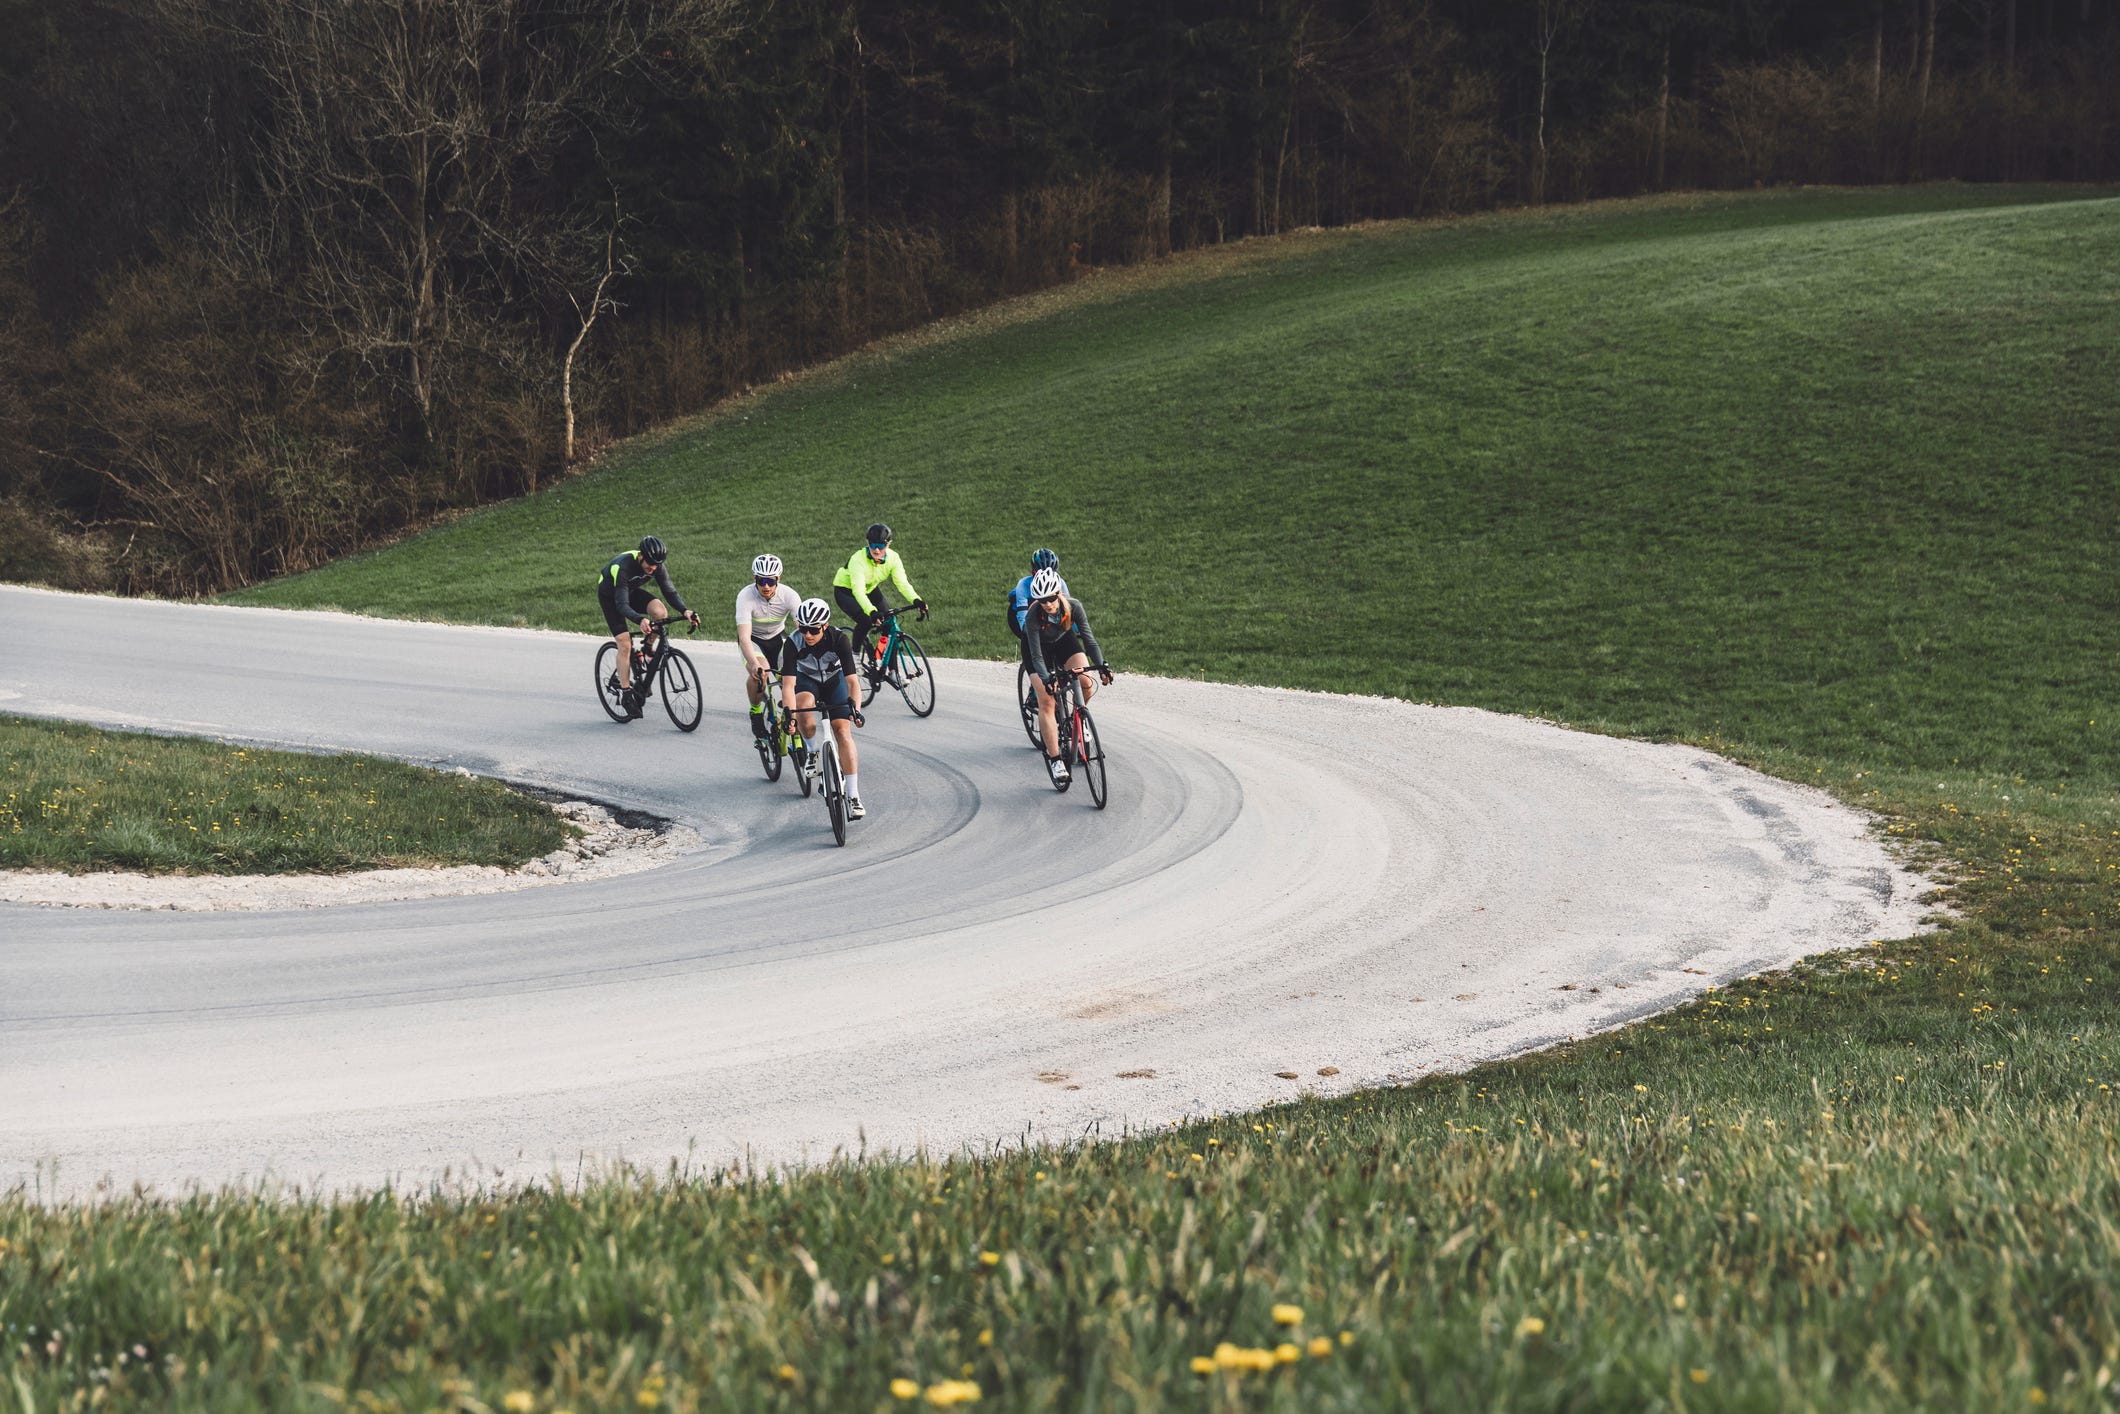
A century in the United States means 100 miles, or about 160.9 kilometers, in one outing. A metric century is 100 kilometers, about 62.1 miles. Finishing the shorter distance is a real achievement, but the imperial century adds nearly 38 miles. Those extra miles mean more hours in the saddle, more fatigue, and more food to plan.
Before you pick a date, look at the riding you’ve done, how well you recovered, and the course you want.
| Your recent riding | What it means |
|---|---|
| Occasional rides around 20 miles | The century is a big jump from your routine. Allow a longer build or pick a shorter event. |
| Consistent riding and a comfortable metric century | You have endurance experience and still need to build the extra distance. Count the weeks you have left and check how hard the course is. |
| Regular riding and comfortable outdoor outings around 65 to 70 miles | You have a stronger base for a century-specific build. Check how you recover and what the course asks of you. |
No single long ride guarantees readiness, because the course matters as much as your mileage. A supported, relatively flat route is a different day from an exposed one with several thousand feet of climbing. Weigh four things together: your longest comfortable outdoor ride, how consistently you ride, how many weeks you have left, and how hard the course is.
Build your remaining training around the base you actually have
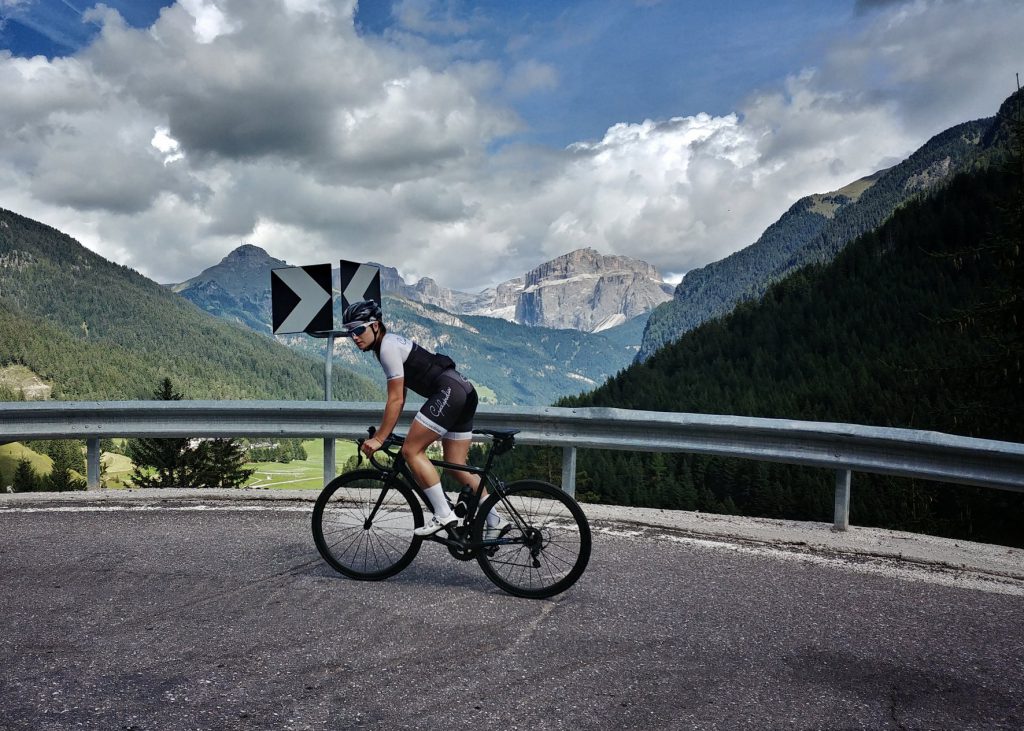
A good century plan combines regular riding, progressively longer outdoor rides, and recovery. Start from the riding you can sustain comfortably today.
Published plans differ. Cycling Weekly offers a structured 12-week plan, while Bike to the Beach discusses preparation periods of roughly 8 to 16 weeks depending on experience and fitness. The shorter schedules assume you already have a suitable base. If you start from occasional short rides, you need a slower build.
If you already ride consistently, a typical week has shorter weekday rides, one longer outdoor ride, and easy riding or rest around the hard day. Lengthen the long ride as it becomes manageable. If your current routine leaves you unusually drained, add recovery before you add distance. In the days before the event, cut your training load so you don’t arrive carrying fatigue.
Match the riding to the event. A century with sustained climbs needs practice on similar hills. A full-day ride also needs hours of experience staying comfortable on the bike.
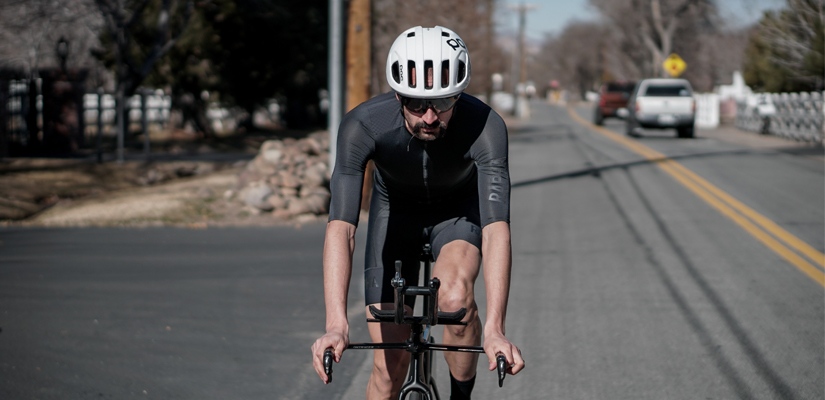
Easy endurance riding should feel conversational: you can speak in sentences without struggling for breath. Specialized coaching plans use power zones or harder intervals.
Some published schedules include training rides of about 65 to 80 miles. If you need a sudden mileage surge in the last few days to reach the start, the schedule asks too much of your current fitness.
When work or family leaves little time for long rides
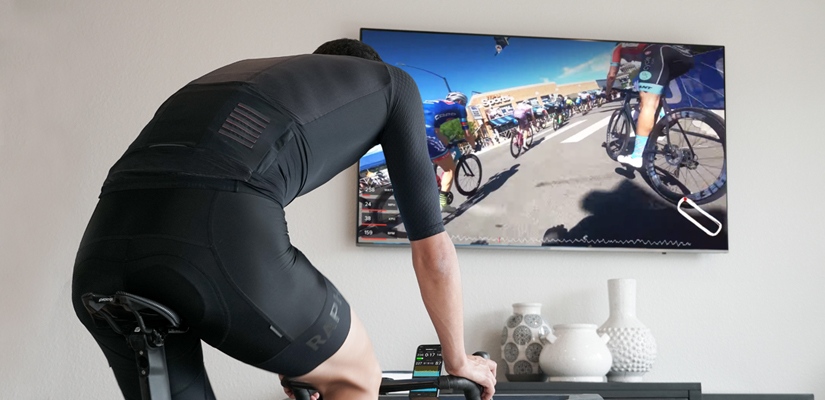
Short indoor rides keep training going when work, childcare, or weather takes over your calendar. They build fitness, but they leave crosswinds, road handling, refills, navigation, and several hours of saddle comfort untested. Look for days when you can ride outdoors on terrain like the event’s. If you can’t find any, a later event or a shorter distance suits you better.
Calculate the day: moving time, rest stops, cutoff and daylight
To estimate your finish time, work out your moving time, then add every stop. That total is your elapsed time, and elapsed time is what counts against organizer cutoffs, daylight, and support hours.
Moving hours = 100 miles ÷ estimated moving speed in mph.
Elapsed hours = moving hours + total time stopped.
For a different distance, use the actual mileage.
| Scenario | Moving speed | Moving time | Stop allowance | Elapsed time |
|---|---|---|---|---|
| Example A | 12 mph | 8 hr 20 min | 1 hr | 9 hr 20 min |
| Example B | 14 mph | About 7 hr 9 min | 1 hr | About 8 hr 9 min |
| Your century | Your estimate | Calculate | Your allowance | Calculate |
Your recent rides over similar terrain give a better speed estimate than either example. Climbing, wind, heat, and fatigue will slow you down.
Stops add up faster than most riders expect. Food stops, bathrooms, aid-station lines, and mechanical problems all eat into the hours between start and finish.
One rider describing a first century in Southern California wrote in r/ladycyclists, “It took me 11 hours total (8 hours biking, 3 hours of breaks).”
Calculate the deadline margin
Find the earliest time you need to be done. That is the organizer’s cutoff, the end of support, or the time you lose safe visibility.
Available time = earliest finish deadline minus start time.
Remaining margin = available time minus estimated elapsed time.
In Example A, you need at least 9 hr 20 min between your start and the deadline. Anything beyond that is your margin for delays.
- Course distance: _____ miles.
- Recent comparable moving speed: _____ mph.
- Expected total stops: _____ minutes.
- Planned departure: _____.
- Earliest finish deadline (cutoff, end of support, or dusk): _____.
- Estimated finish time: _____.
- Remaining margin: _____ minutes.
A negative margin means your estimate already exceeds the time you have. A small positive margin disappears after one long rest stop or a slow climb. Recalculate with less favorable assumptions before you commit to the full course.
If the day runs past your deadline, train longer, start earlier if the organizer allows it, ride a shorter course, or pick another event.
Rehearse food and fluids before you need them
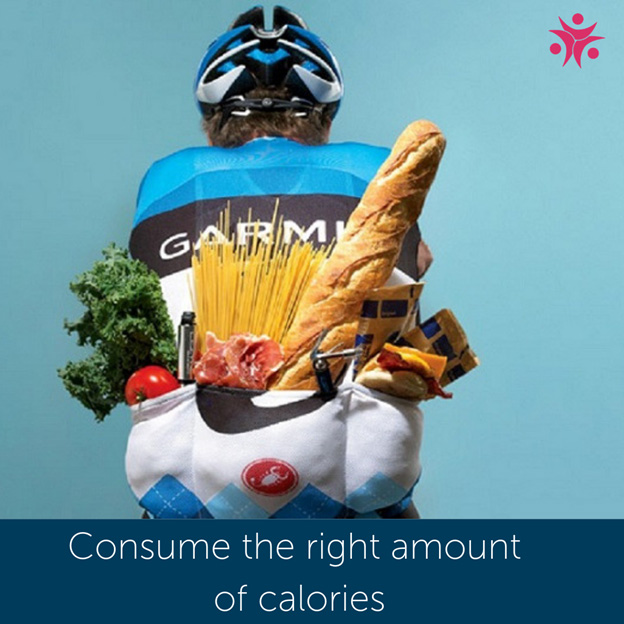
A century needs a food plan you can repeat for hours. Use long training rides to learn what you can eat, how many carbohydrates it gives you, and whether your stomach copes.
A rider preparing for a first 100-mile outing wrote in an r/cycling discussion, “My main concern is that I’ll either underdo it and bonk hard in the last 20 miles, or I’ll try to chase some high intake number and end up with stomach issues halfway through.”
In cycling, bonking means a sharp energy collapse from underfueling during sustained effort. Eating large amounts of unfamiliar food or concentrated sports nutrition brings its own problem: stomach discomfort.
What the carbohydrate numbers mean
The Australian Institute of Sport ties carbohydrate intake to exercise duration and demand. Its guidance includes 30 to 60 grams per hour for endurance activity lasting approximately 1 to 2.5 hours, and up to 90 grams per hour for longer ultra-endurance exercise.
The 90-gram figure is an upper option for prolonged efforts and is not a required target for every recreational rider. Your practiced intake and stomach tolerance set the plan.
The AIS also notes that glucose alone can hit absorption limits above roughly 60 grams per hour. Combining sources that use different intestinal transport pathways, such as glucose and fructose, can support higher intakes.
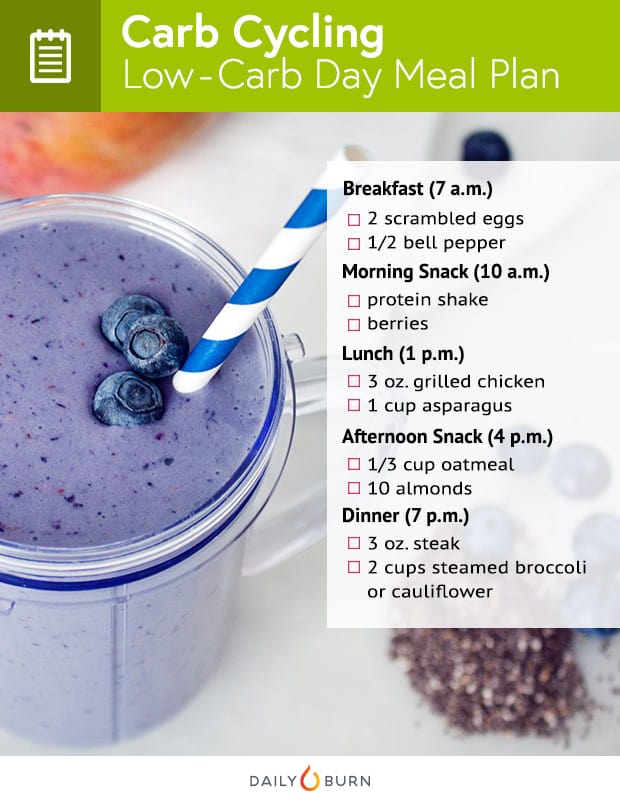
Keep a food and fluid log
On a long practice ride, write down each food or sports drink, its labeled carbohydrate content, the portion you ate, and when you ate it.
- Food or drink: Name and serving size from the package.
- Carbohydrate: Labeled grams multiplied by the portion you ate.
- Timing: When you ate or drank it.
- Tolerance: Whether you felt fine afterward.
- Supply: How many portions you can carry and where you can restock.
- Fluids: How much you carried, drank, and refilled.
Add up the carbohydrate over an hour to see the intake you actually practiced. Use that number to decide how much familiar food to carry between confirmed resupply points. The fluid column shows whether your bottle capacity and refill stops work.
Drinking in heat and over a long day
Heat raises your fluid needs and makes dehydration and heat illness more likely. Drinking far beyond what your body needs is dangerous too, because excess fluid can contribute to exercise-associated hyponatremia, a drop in blood sodium concentration.
Base your drinking on weather, effort, duration, and what you tolerated in training. No single volume per hour fits everyone.
Eat enough overall. Deliberately restricting food while your training load rises undermines recovery and health.
Map stops, supplies and a way home before the route begins
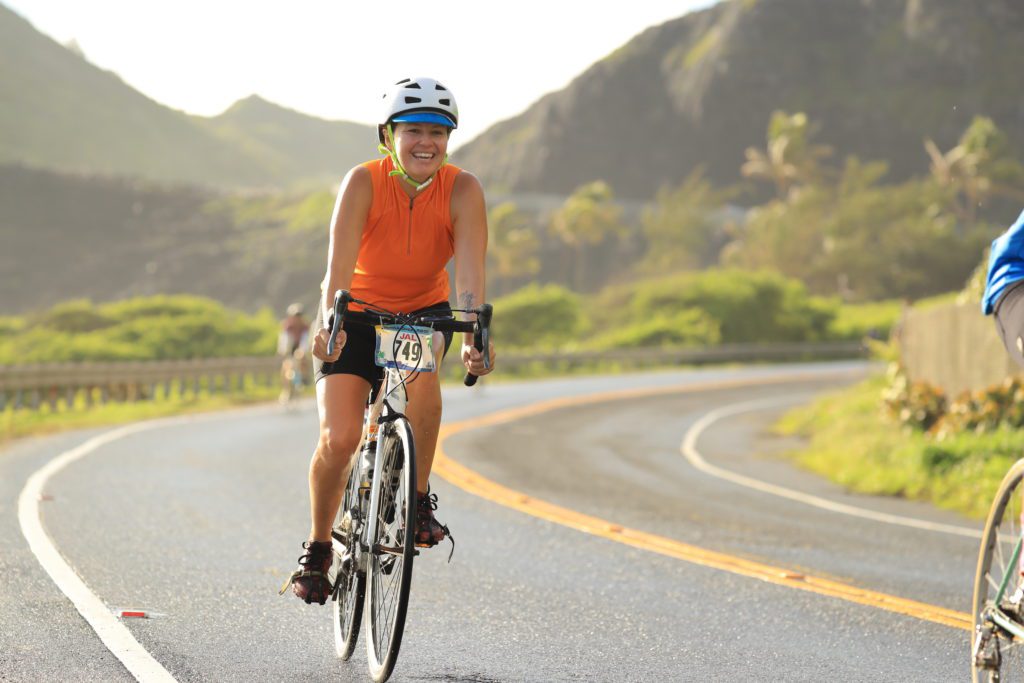
A supported century and a self-supported century put different jobs on you. Before the ride, find out which services exist on the actual course and where you can leave the route if you can’t continue.
SAG stands for support and gear. SAG vehicles are event vehicles that can assist riders on the course.
| Need | Organized supported ride | Self-supported ride |
|---|---|---|
| Navigation | Follow the confirmed course instructions and markings. | Arrange your own route and navigation. |
| Food and water | Identify the event’s actual aid stations and service hours. | Find dependable refill locations along the route. |
| Mechanical problem | Find out whether mechanical assistance is offered and how to reach it. | Carry a suitable repair setup and line up backup help. |
| Ending early | Learn the SAG procedures and any shorter-course options. | Identify a safe exit and transportation from that location. |
| Finish time | Know the organizer’s cutoff and support hours. | Plan a return within your available time and visibility. |
Event support varies. A ride advertised as supported can have set service hours, geographic limits, or different rules for riders who leave the official course.
Bike to the Beach describes rest stops approximately every 15 miles, SAG vehicles, mechanical assistance, and medical support for its organized rides. Other centuries differ.
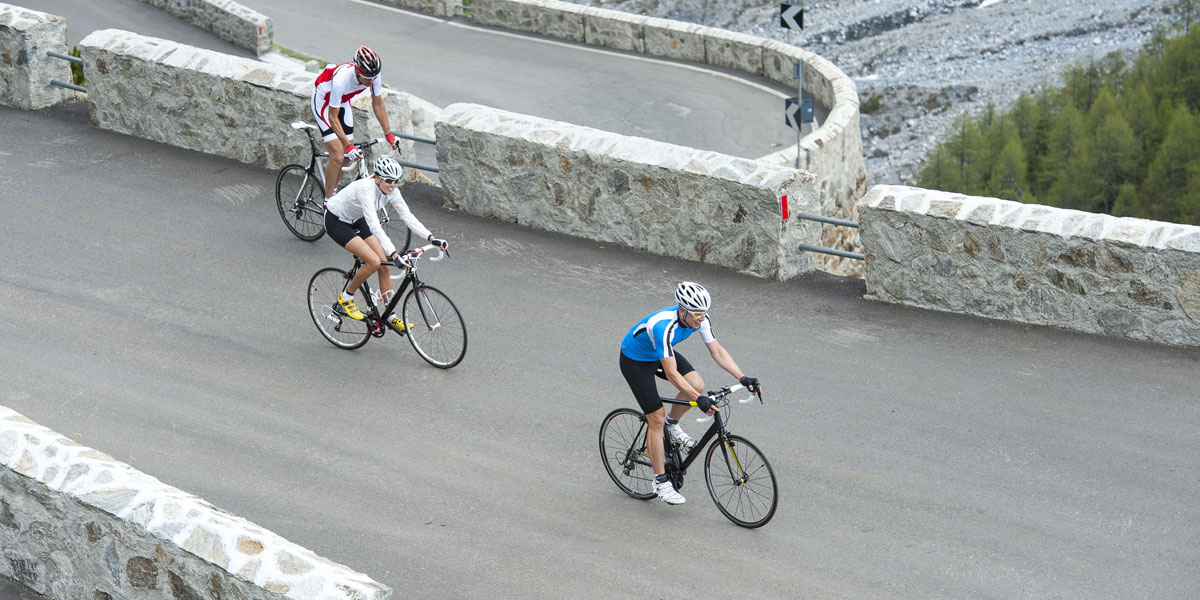
On a self-supported route, stores, road access, and cellphone coverage can be thin. A missed refill or a mechanical problem then costs more the farther you are from a safe alternative.
Identify your fallback points
- Unsupported stretches: Carry enough supplies to reach the next reliable stop.
- Backup contact: Keep the organizer’s published help number on an organized ride, or someone who can pick you up on a self-supported one.
- Shorter course: Mark the approved metric-century turnoff or another exit, if one exists.
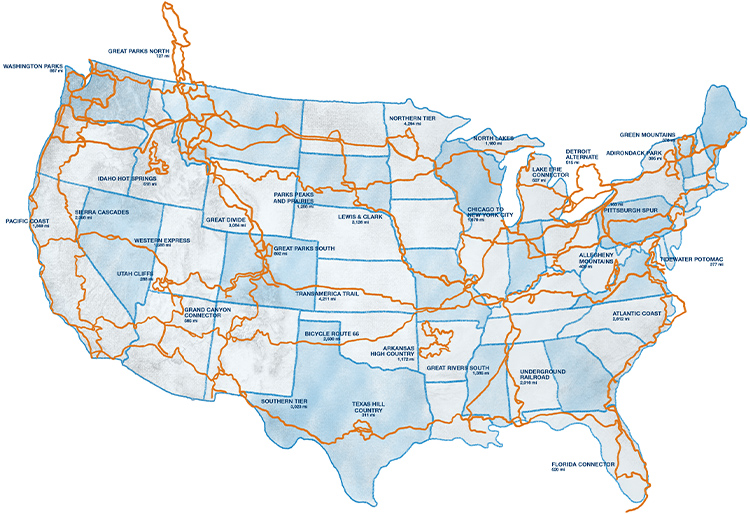
Pick exits that fit your transport and the local roads. A shorter route that ends far from your vehicle still needs a way home.
Test the bike, contact points and weather layers
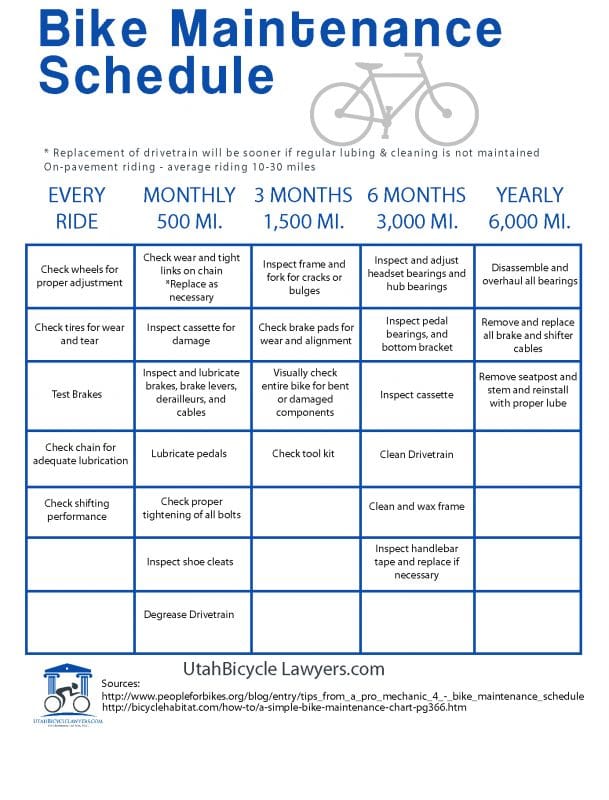
A long outdoor ride shows whether the bike works properly and whether your contact points stay comfortable after several hours. Short rides hide problems with a saddle, shoe, glove, or clothing fit that build slowly.
Test your saddle, hand position, shoes, and padded cycling shorts together. The padded insert is called a chamois, and its shape and position decide how the shorts work with the saddle and your riding position.
Use the ABC Quick Check
The League of American Bicyclists teaches the ABC Quick Check as a basic inspection before riding.
- A, Air: Check tire inflation and inspect the tires.
- B, Brakes: Confirm that the brakes operate as intended.
- C, Chain and cranks: Check the drivetrain’s condition and basic operation.
- Quick Release: Check that any quick-release levers are properly closed. For other axle systems, check securement according to the bicycle’s design.
- Check: Take a short test ride to see whether the bicycle is functioning properly.
If you find a fault you can’t diagnose or fix, take the bike to a mechanic.
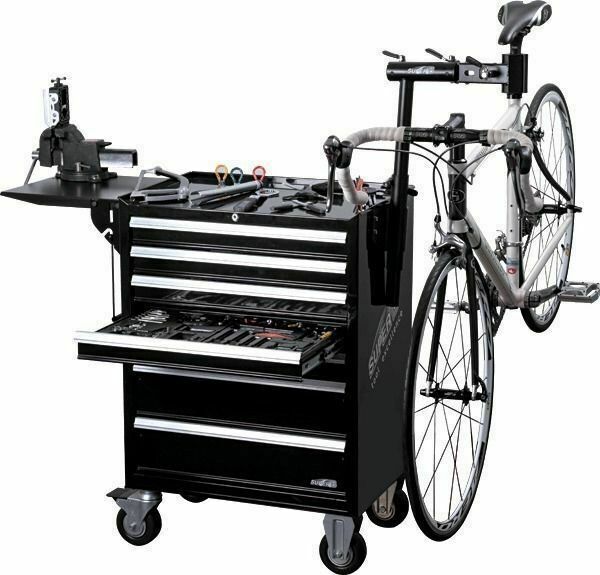
Your flat kit has to match your wheels, tires, and valves. Inner tubes and tubeless setups need different supplies. Practice with the tools you plan to carry.
Prepare for changing conditions
Weather can change a lot between the first miles and the finish. Think about exposure, temperature swings, and a layer you can take off and carry once conditions improve.
Wear your full kit together on a ride long enough to reveal pressure, rubbing, or fit problems. Fix them before the event, while you still have time.
What to do in the final week, the evening before and at the start
The last days are for finishing preparations and arriving rested. Use familiar food and clothing, and fix gaps while you can still get supplies or help.
| When | What to do |
|---|---|
| Final week | Confirm your recovery plan and fix any equipment or route problems. |
| Evening before | Lay out and pack the equipment you’ve already tested: food, bottles, clothing, repair kit, navigation, charged devices, payment, and event documents. |
| At the start | Check the organizer’s current instructions, the weather, your supplies, and your contact plan. |
Think about where each item sits. Food you can’t reach and a rain layer buried under other gear slow you down on a long day.
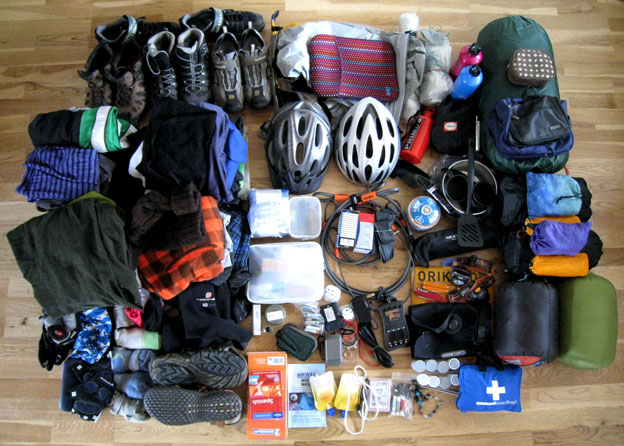
Add personal items when they apply, such as menstrual supplies, bathroom necessities, or a clothing change.
Cross off each item against your list. This catches an uncharged computer or a missing item before you leave.
Ride conservatively and know when to change or stop the plan
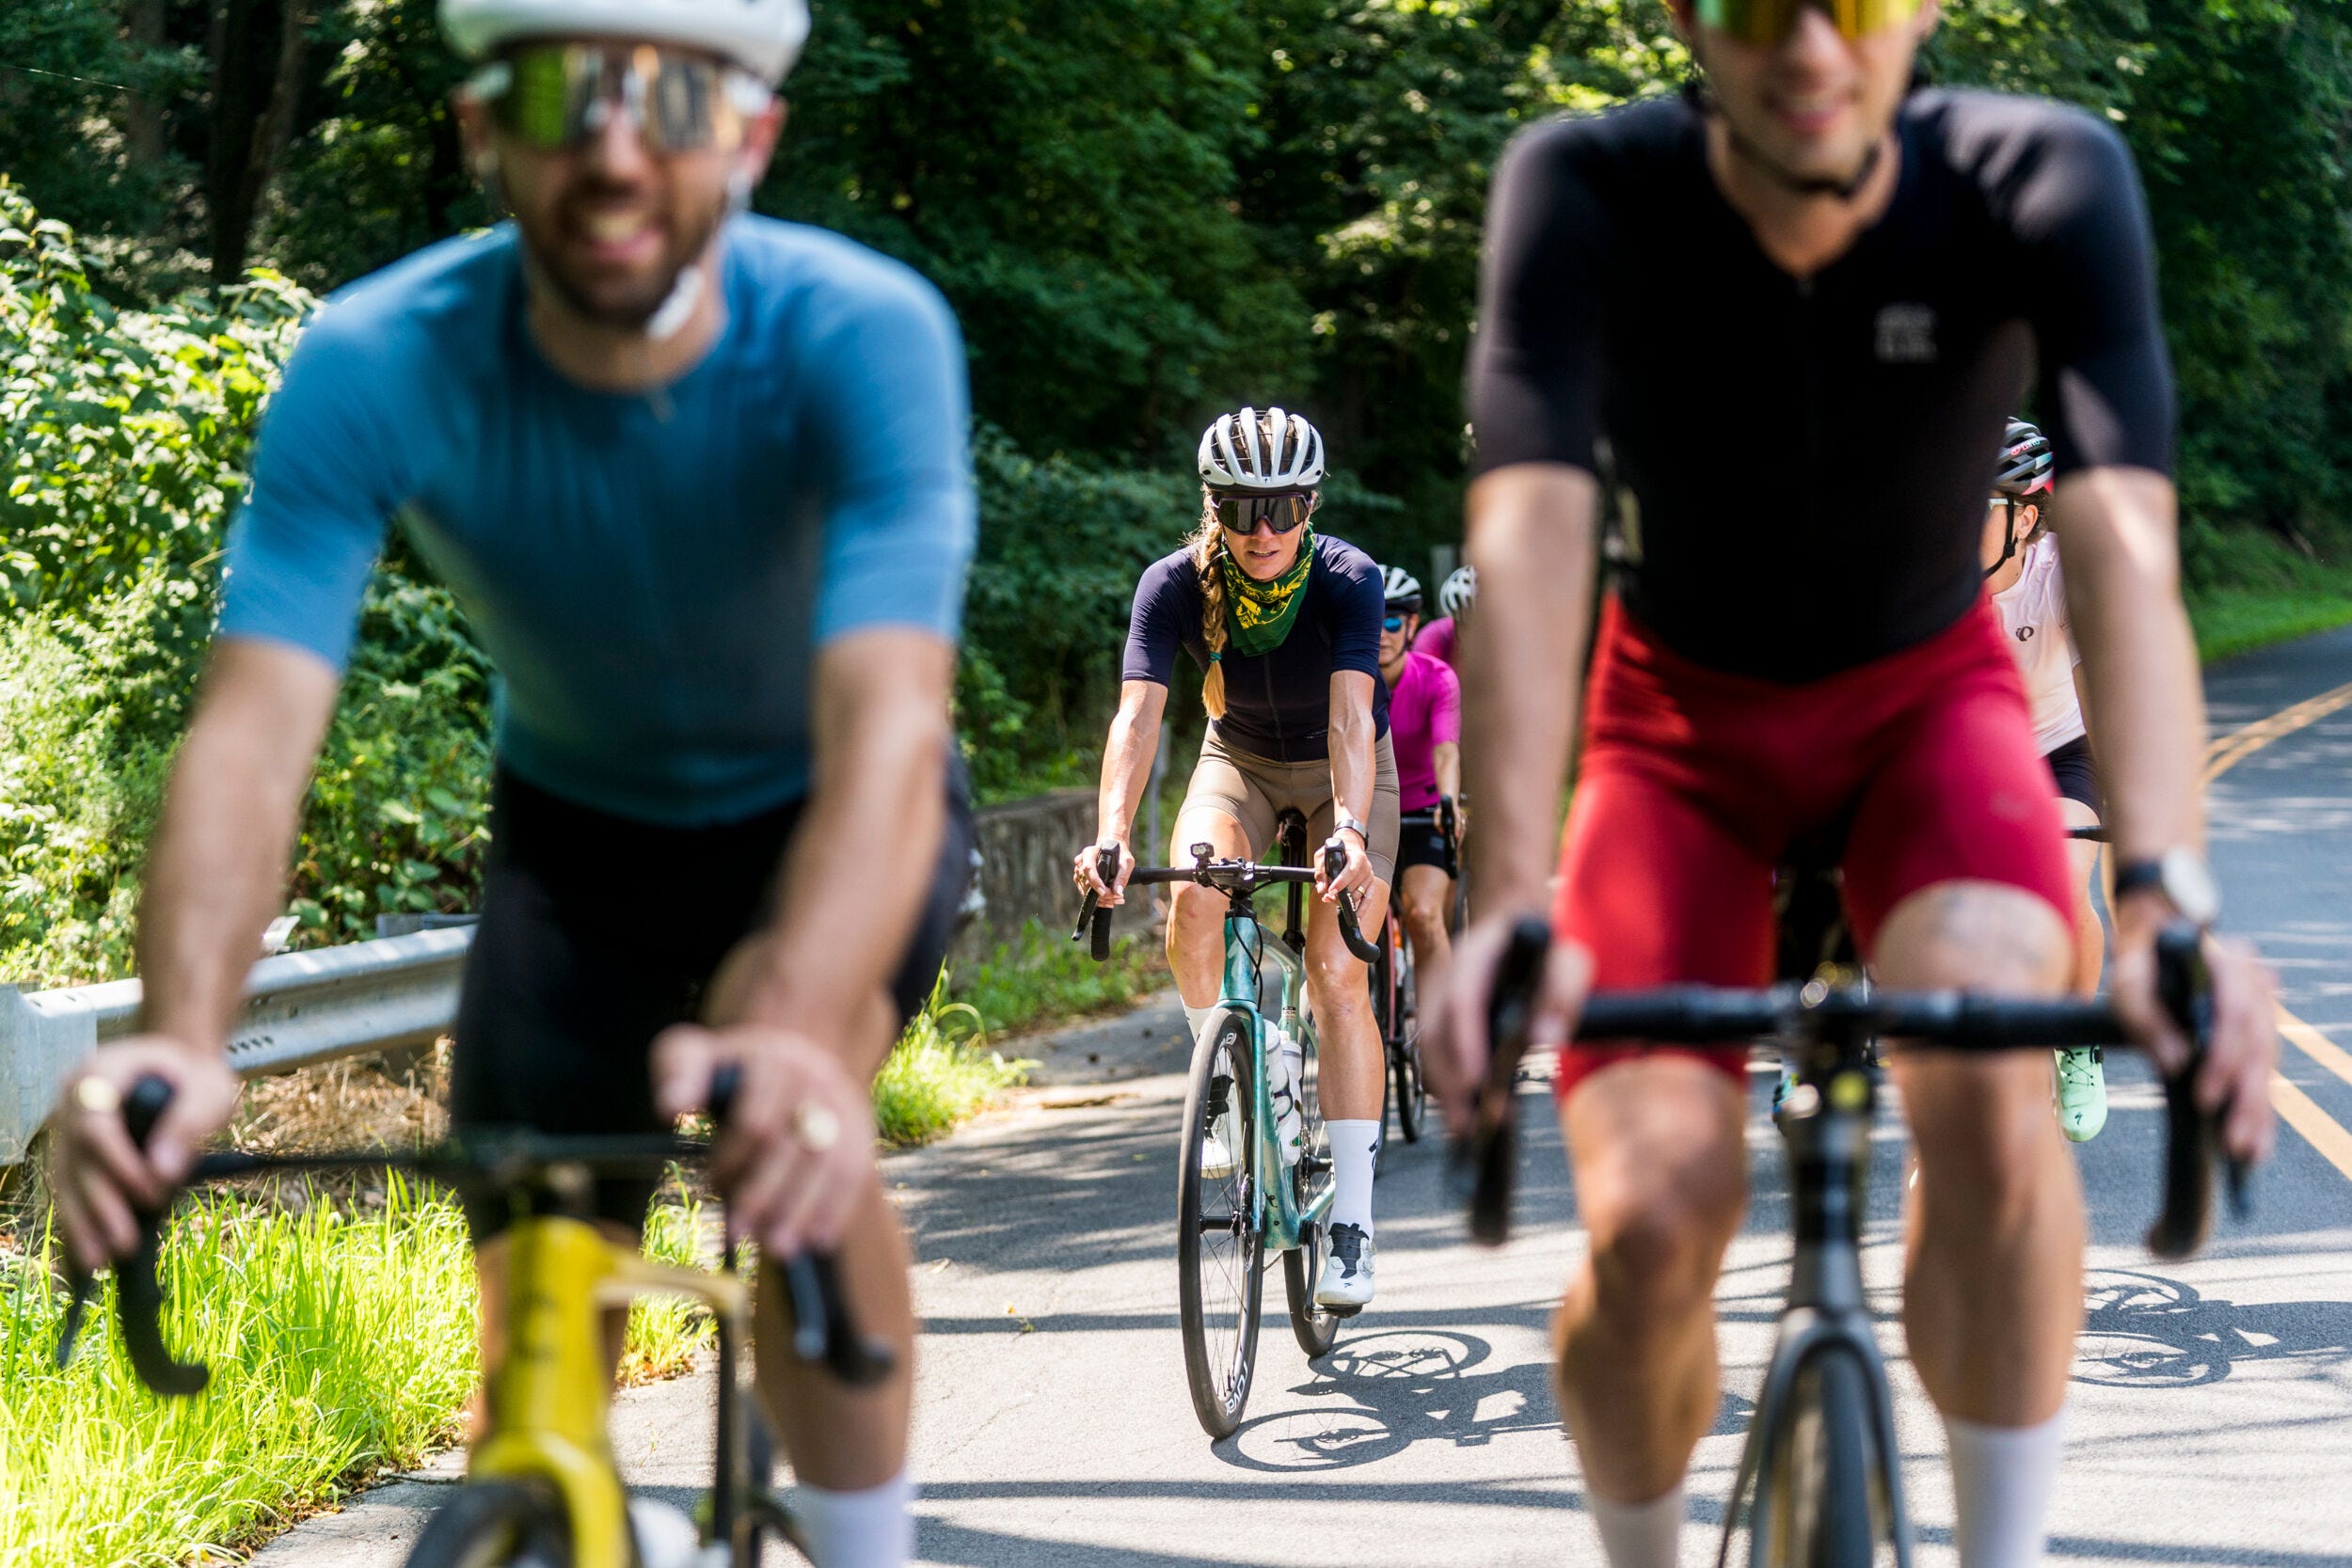
Start at an effort you can sustain comfortably. The early miles should leave you ready for the hours ahead, including climbs, later fatigue, and weather changes. Hold the conversational effort you used in training. If you’re already working hard early on, ease off and you’ll have more options later.
Conditions during the ride decide whether the original plan still makes sense.
- Running behind schedule: Compare the remaining course with the time left before a cutoff or loss of support. Take a shorter route if that’s the realistic option.
- Delayed by a mechanical problem: Reassess the course after the delay. Stop riding a bicycle with an unresolved fault that affects safe operation.
- Facing worsening weather: Weigh exposure, available clothing, visibility, and access to help before riding into harder conditions.
- Developing significant weakness or faintness in the heat: Stop exercising and get to a cool place. The CDC’s Heat and Athletes guidance supports this. If symptoms of heat-related illness occur, seek medical care immediately.
- Unable to continue safely: Use the help or transport you set up. Serious symptoms come before the planned finish.
Making the call
Do the sums once more with less favorable assumptions: a slower pace, longer stops, earlier darkness. If you still finish with a margin before the cutoff and before dark, and your food, repair kit and exit plan have been tested, go. If not, give yourself more weeks or ride a metric century this time.