
If you’re learning or relearning as an adult, start on flat, traffic-free ground with a bike you can stop and steer. Practice braking, gliding, starting and wide turns, and spend your time on the first one you can’t repeat reliably. If the bike keeps getting away from you, fix the setup or find an instructor before you move to busier places.
Start with a bike that fits and a traffic-free place
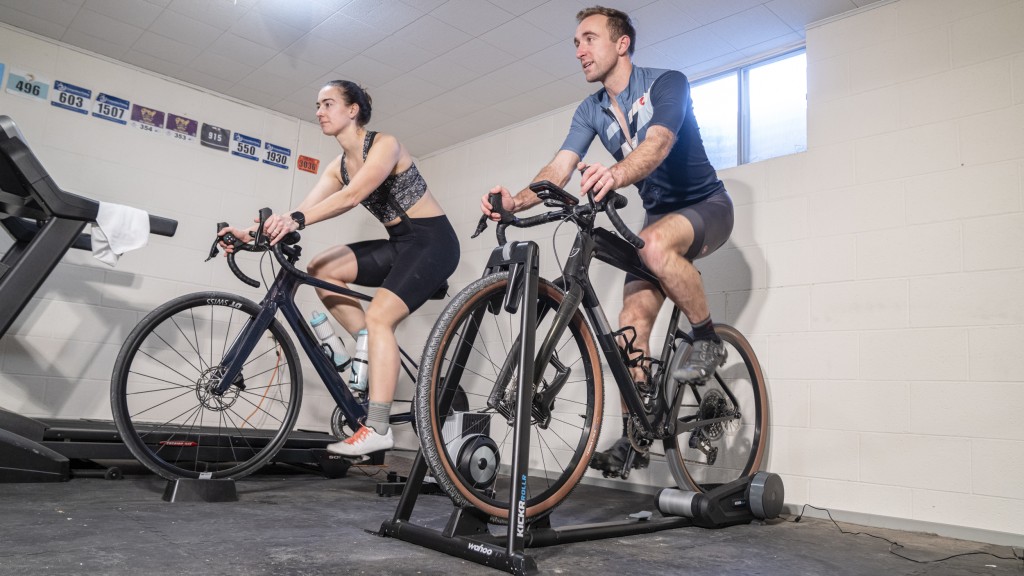
You need a bike whose brakes and handlebars you can reach, and a place where a mistake won’t put you in the path of moving traffic. Sort out equipment problems first so they don’t get mixed up with the skills you’re learning.
- Fit: On a frame with a conventional top tube, you should clear the tube when you straddle it. Step-through frames are shaped differently. For those, make sure you can handle the bike’s size, plant your feet securely, and reach the handlebars and brakes comfortably.
- Condition: Make sure the brakes work, the tires are usable and the chain is properly in place. If the brakes fail, or the bike’s size and weight are more than you can handle, don’t practice moving until you’ve fixed that.
- Practice area: Look for a broad, flat, firm paved surface with no moving vehicles and plenty of room around you. An empty court or parking lot works where riding is allowed. Steep entrances, rough pavement, crowds and thick grass make the basics harder to learn.
For early balance practice, lower the saddle until your feet sit securely on the ground. That’s a learning setup only. Once you’re pedaling consistently, reset the saddle height for everyday riding.
Wear a snug, level helmet, and keep loose clothing and shoelaces away from moving parts. In the United States, bike helmets are covered by the CPSC bicycle helmet standard, 16 CFR Part 1203.
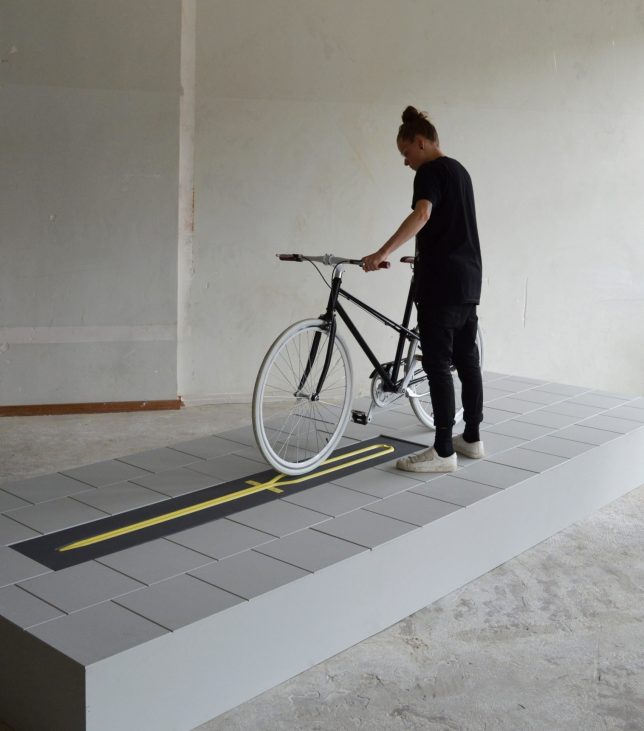
Some instructors remove the pedals so a conventional bike works as a balance bike. Others leave them on. A shop or qualified instructor can tell you whether removal suits your bike.
Get on, get off, and learn the brakes first
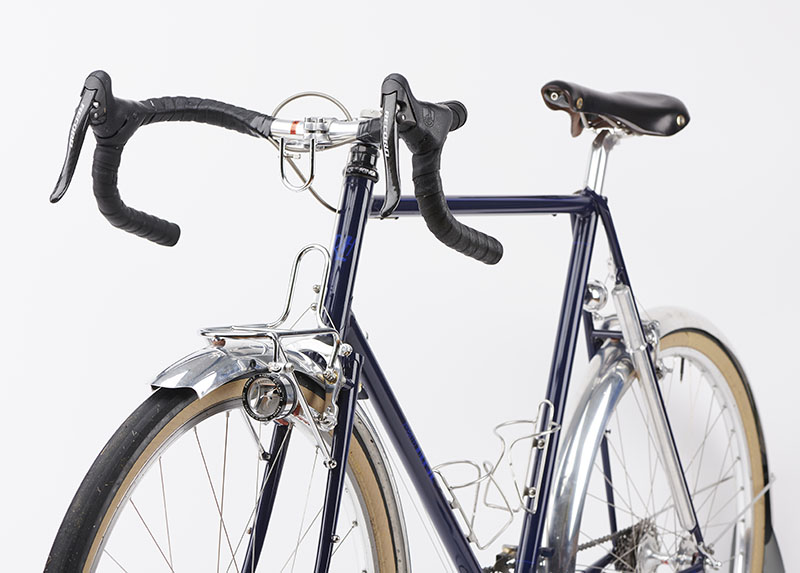
Find out which brakes your bike has before you try to pedal. With hand-brake levers, learn what each lever does, then walk beside the bike and apply them gradually to feel how it slows. A coaster brake works by backpedaling, so the walking drill doesn’t apply and the pedals have to stay on. Get instruction suited to that system before you roll. Hold the bike steady as you get on and off, and know where your supporting foot will land when you stop.
Scoot, then glide before trying to pedal
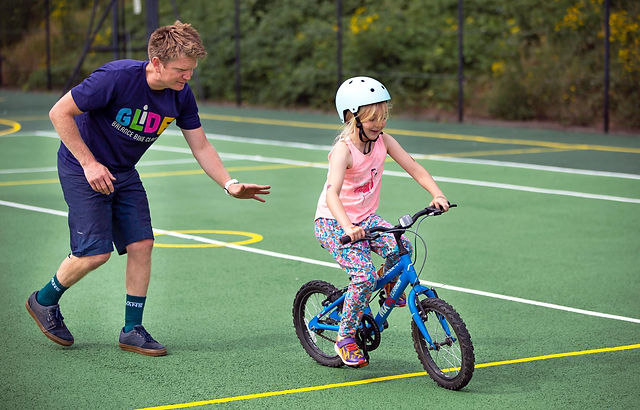
Balance is easier to practice without pedaling. Use your bike much like a balance bike: push it forward with your feet and let it coast.
Sit on the lowered saddle with both feet on the ground and take short walking steps. Once that feels steady, push longer and let the bike roll between pushes.
After a push, lift both feet off the ground for a moment, then put them down when the glide ends. Let the bike travel a little farther between pushes each time, and keep a foot ready to go down.
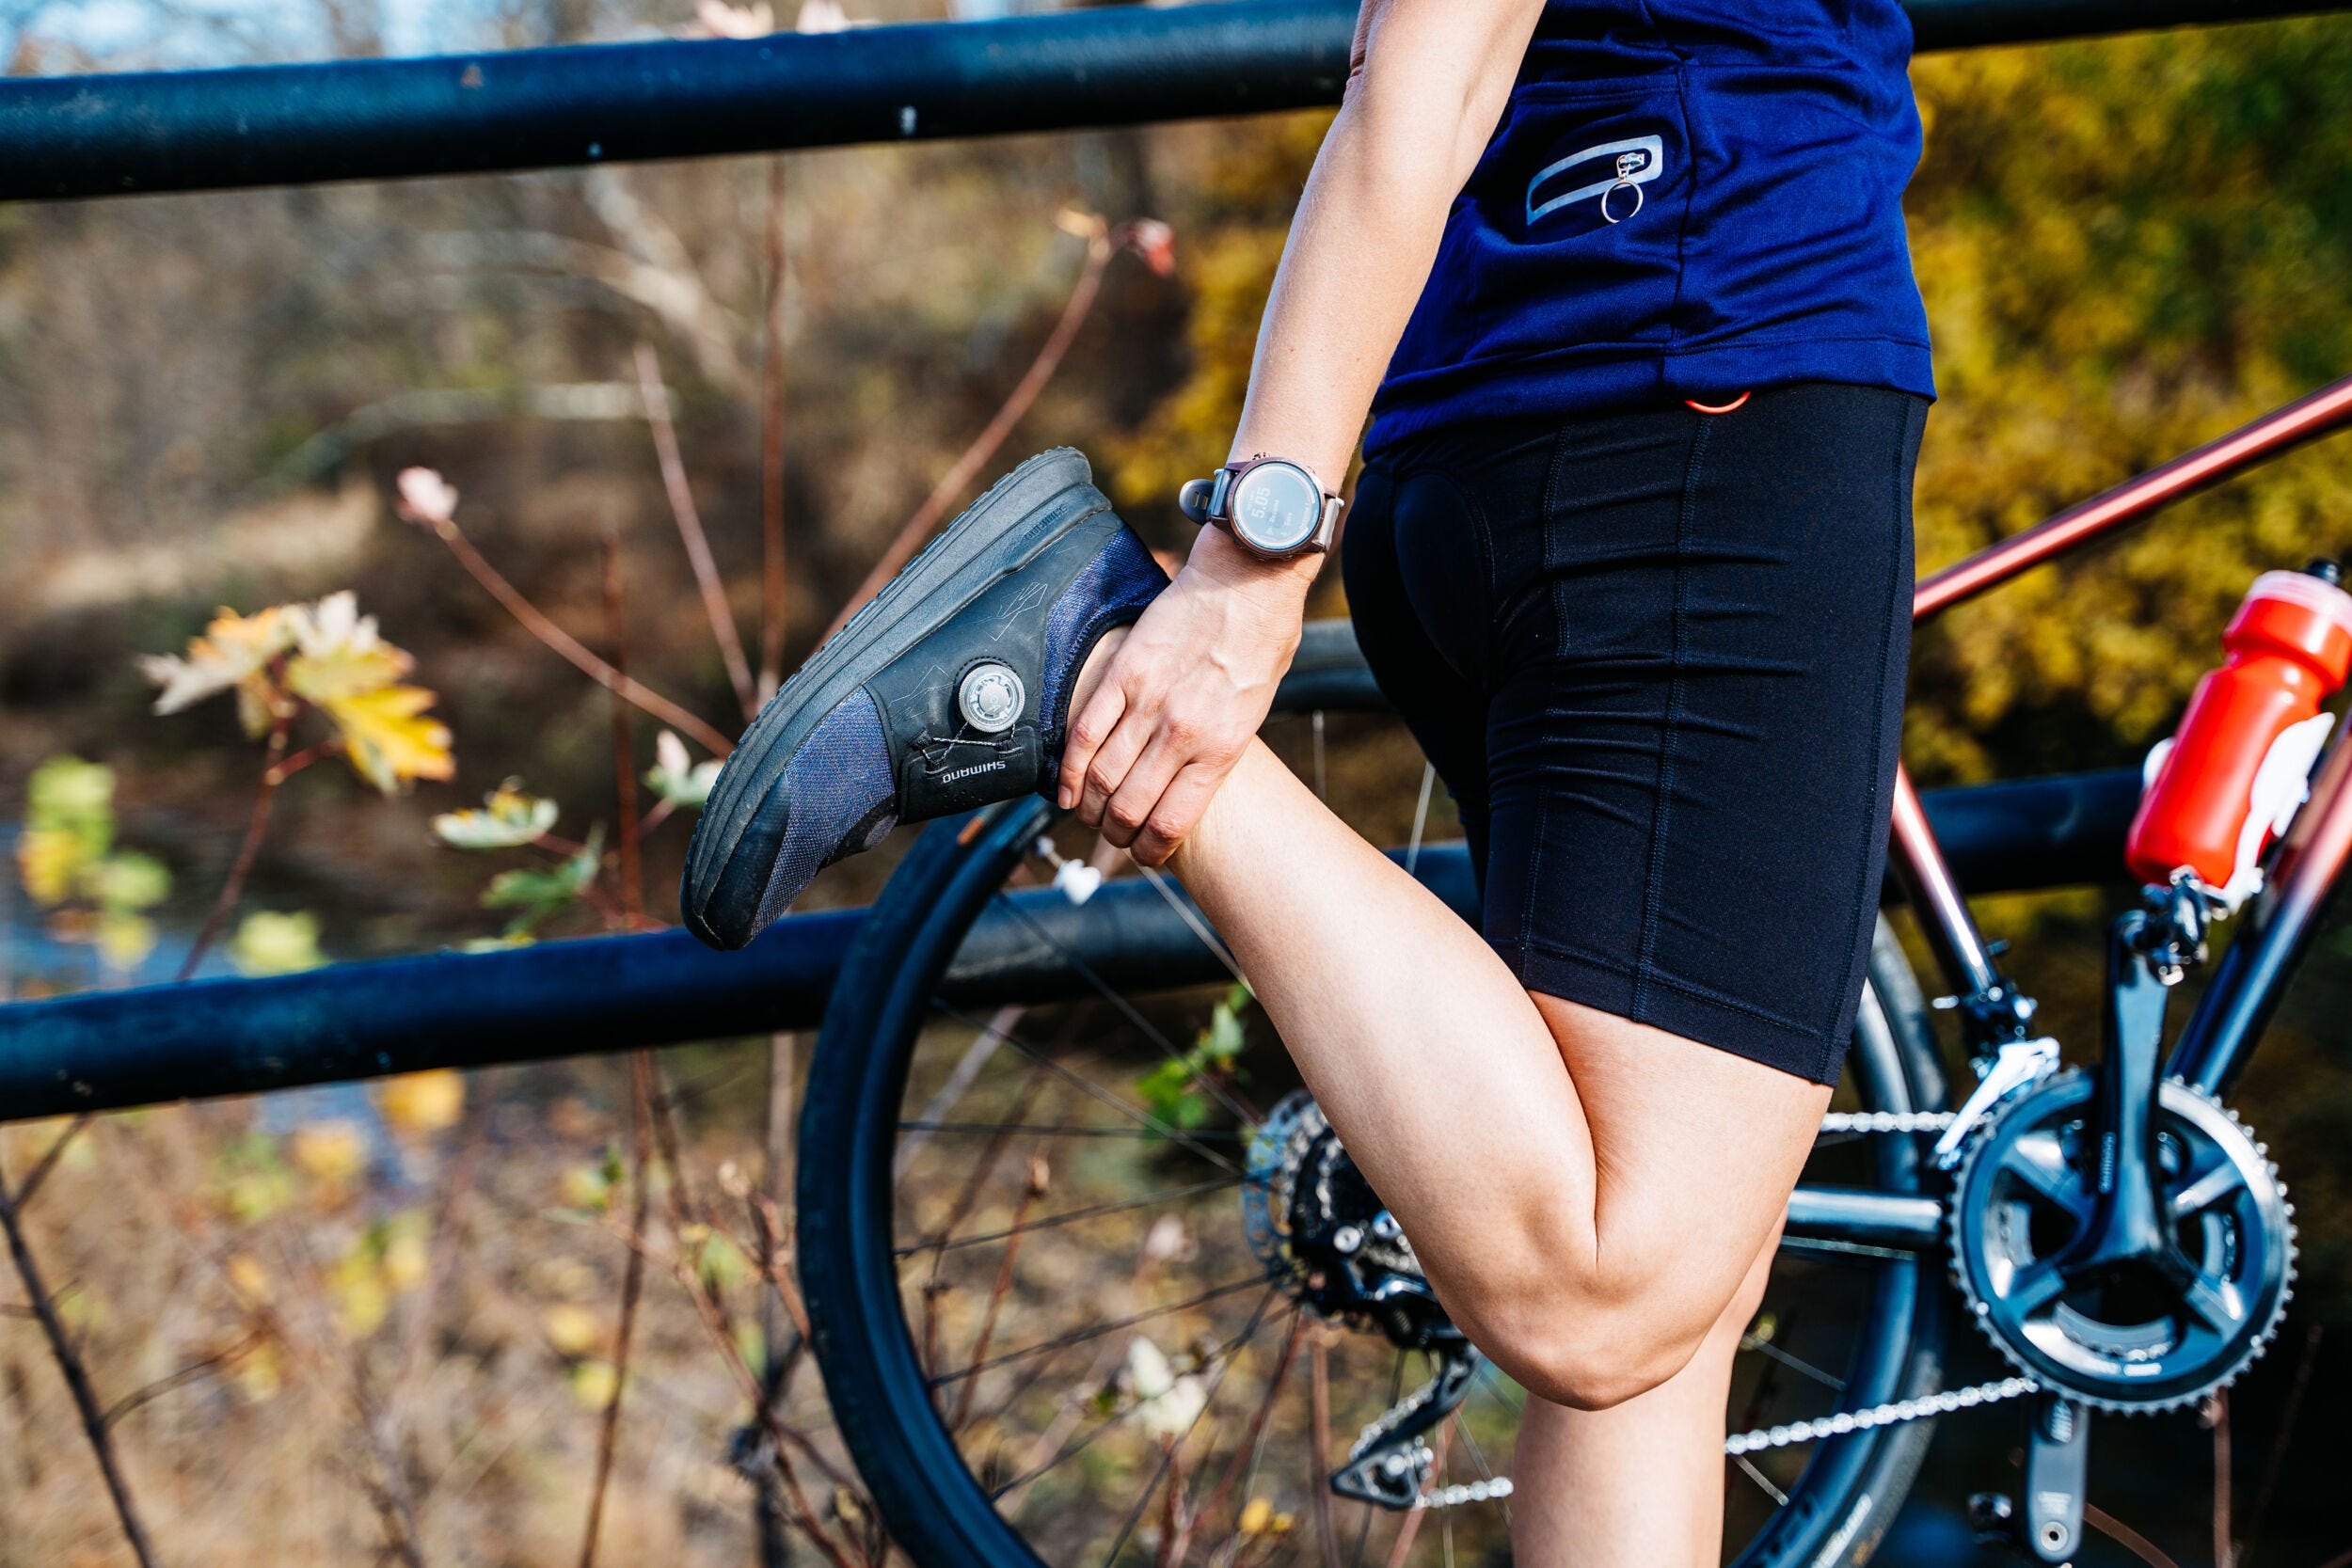
Look at the open space ahead. If you stare at the front wheel or your feet, the bike is harder to steer where you want it to go. Hold the bars firmly but not stiffly.
Researchers have tested this balance-first method on adults. In a 2024 PLOS ONE study by Chow and Ha, 11 adult non-cyclists completed eight 20-minute balance-bike sessions. All 11 then met the study’s criterion for riding a pedal bike independently. The study was small and supervised, with no randomized comparison group.
Push off and find your second pedal
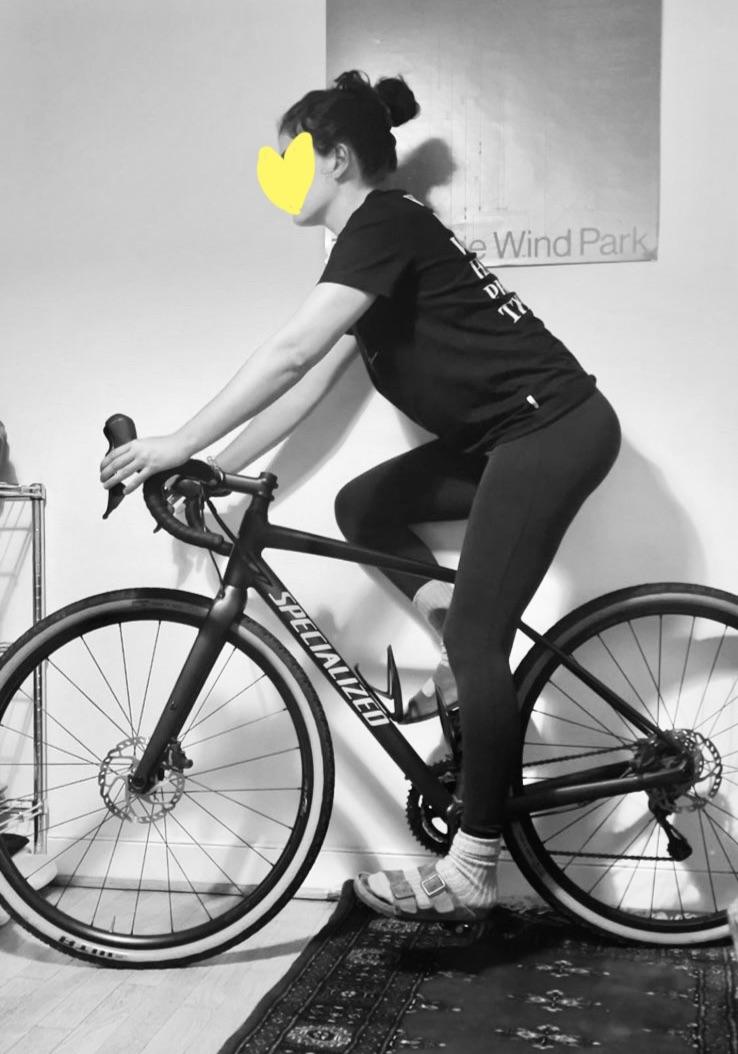
Starting is its own skill. You can glide comfortably and still tip sideways while reaching for the other pedal.
Getting the second foot onto the pedal is a common stumbling block: one 22-year-old beginner called it their main issue.
If your bike has gears, shift to an easy one. Either start below gives you a deliberate first push.
The high-pedal start
Keep one foot on the ground. Set the other pedal high and slightly forward, at about the 1 to 2 o’clock position when you view the bike from the side. Press down on that pedal to send the bike forward, then bring your grounded foot up to the second pedal.
The scooter-style start
Or leave one foot on a pedal and push off with the other, the way you’d push a scooter. Once the bike is rolling and balanced, bring the pushing foot onto its pedal.
Use whichever start you can repeat on your bike.
If you miss the second pedal or feel the bike tipping, put a foot down and reset.
Hold a line, make wide turns, and stop smoothly
Once you can pedal forward, practice steering along a line you pick. Use a clear stretch of pavement with no obstacles to dodge.
Look toward the space you want to enter and steer in a gentle line. Don’t force quick corrections.
Next, add wide turns in both directions. A broad left arc and a broad right arc teach you to change direction at a speed you can handle. One direction often feels easier at first.
If pedaling through a turn speeds you up too much, ease off and coast through it. Use all the space you have to keep the turn gradual.
End each ride on purpose. Squeeze the brakes progressively, slow down, and put a foot down when the bike stops. Aim to stop where you meant to, with the bike steady.
Wide turns on open pavement are the starting point. Narrow passages and tight maneuvers take more skill.
Still wobbling or falling? Change one thing at a time
Identify the exact move that fails. Someone who can’t glide needs a different fix from someone who glides fine but can’t find the second pedal.
Practicing in public can feel embarrassing. A first-time learner wrote on r/cycling: “Today was my first day learning how to ride, and I feel so demotivated and humiliated.”
The table below pairs common problems with what to check first.
| What keeps happening | What to check | What to try next |
|---|---|---|
| Bike rolls while you get on | Whether the brake is on and your feet reach the ground | Go back to getting on and off with the bike held still |
| Feet drop right away when you glide | The surface and the length of your pushes | Scoot with gradually longer pushes |
| You miss the second pedal | Your starting position | Switch between the high-pedal and scooter-style starts |
| The bike wanders or wobbles | Grip tension and bike fit | Pick a clear straight path and loosen a rigid grip |
| Turns get too tight or too fast | Turn width and pedal pressure | Go back to a broad arc in open space |
| You stop abruptly or tip while stopping | How hard you squeeze the brakes, and whether your foot reaches the ground | Practice slow stops again |
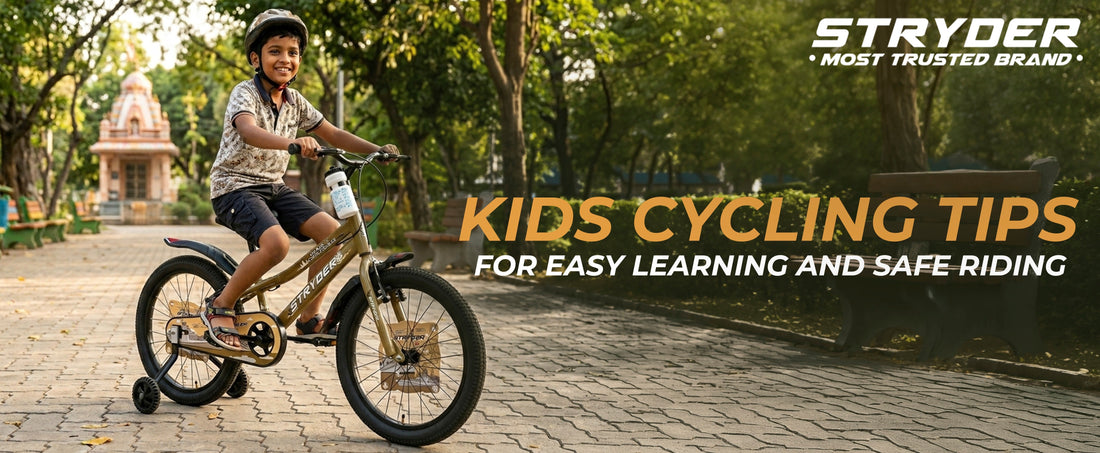
Stop and change the plan when it stops being safe. If you keep falling, get hurt, or can’t keep the bike under you, stop for the day and find someone to coach you in person. Cycling UK’s adult teaching guidance recommends ending practice before exhaustion or frustration takes over. An impatient helper or an exposed practice spot can make a session unproductive too, so change them.
What counts as being able to ride a bike?
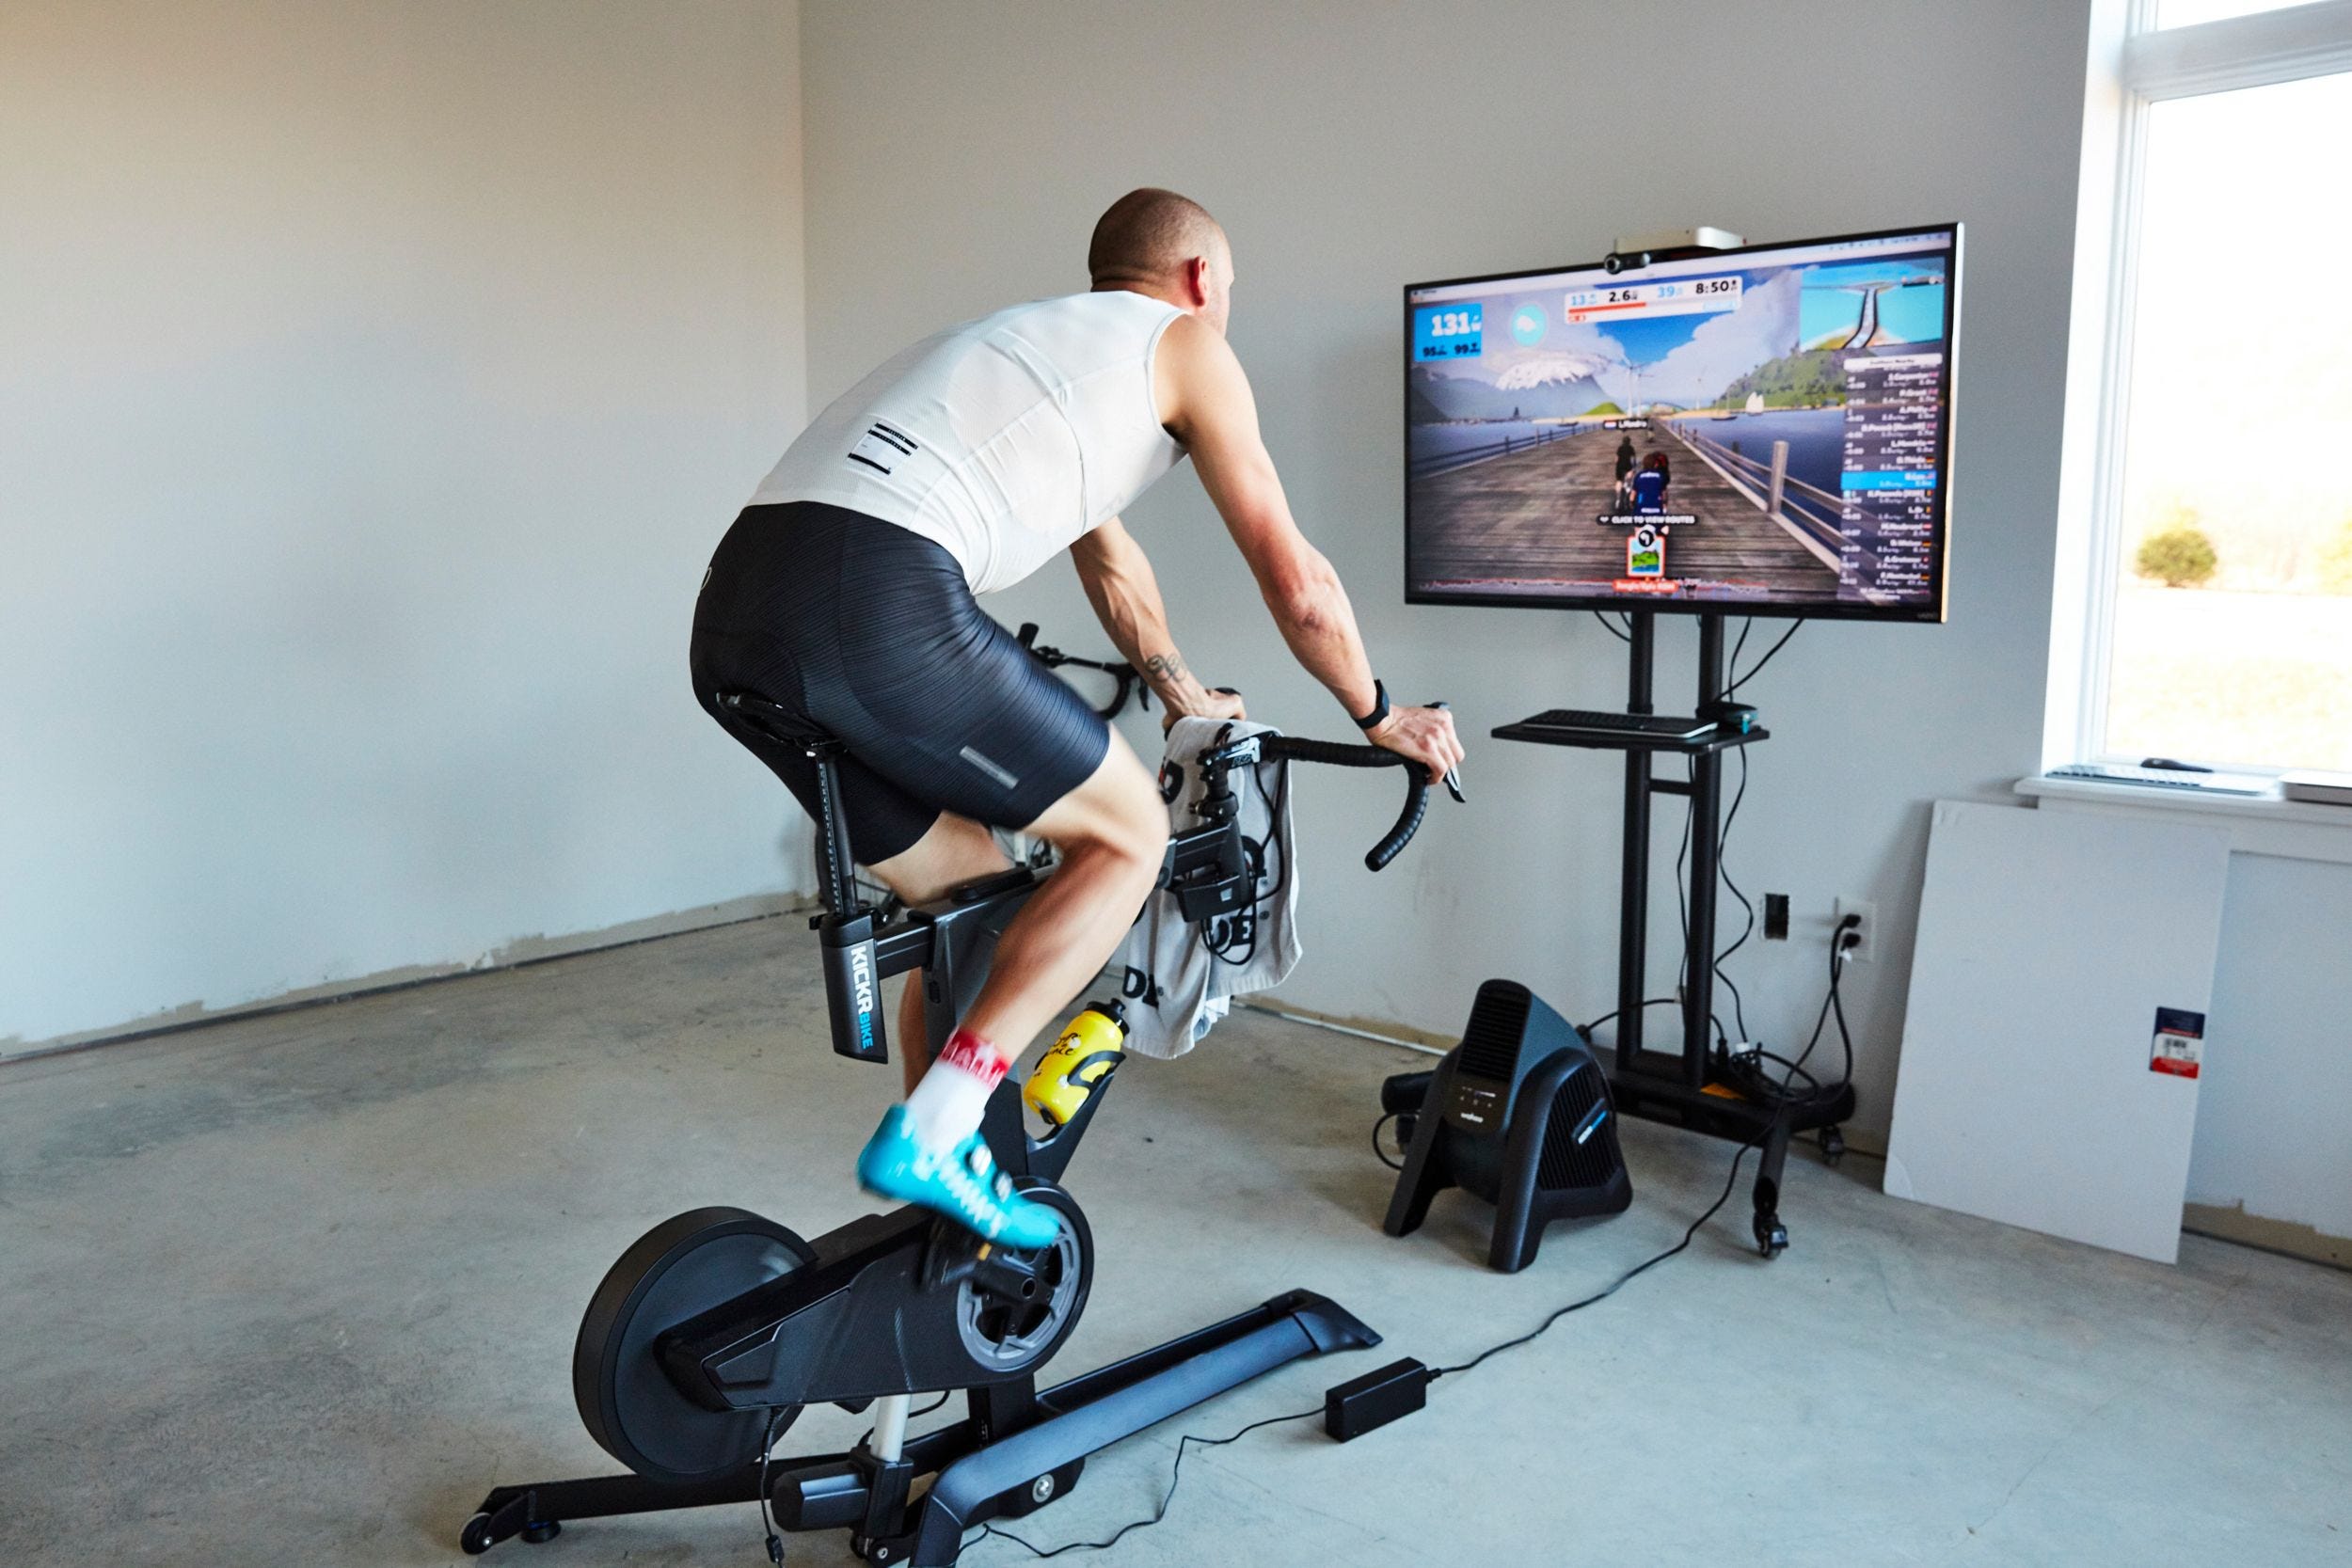
At the beginner level, being able to ride means you can repeat the basic moves on demand in an open space. Check yourself against this list once you’ve practiced each skill:
- Getting on and off: You keep the bike steady.
- Slowing down: You slow progressively with the brakes.
- Balance: You scoot and glide briefly with both feet raised.
- Starting: You push off, find the second pedal and keep moving.
- Steering: You hold a line you chose and make broad turns both ways.
- Stopping: You stop where you meant to and put a foot on the ground.
Tick off a skill when you can do it every time in the same space, going where and how fast you meant to, without flailing to recover.
When an adult lesson or a patient helper makes sense
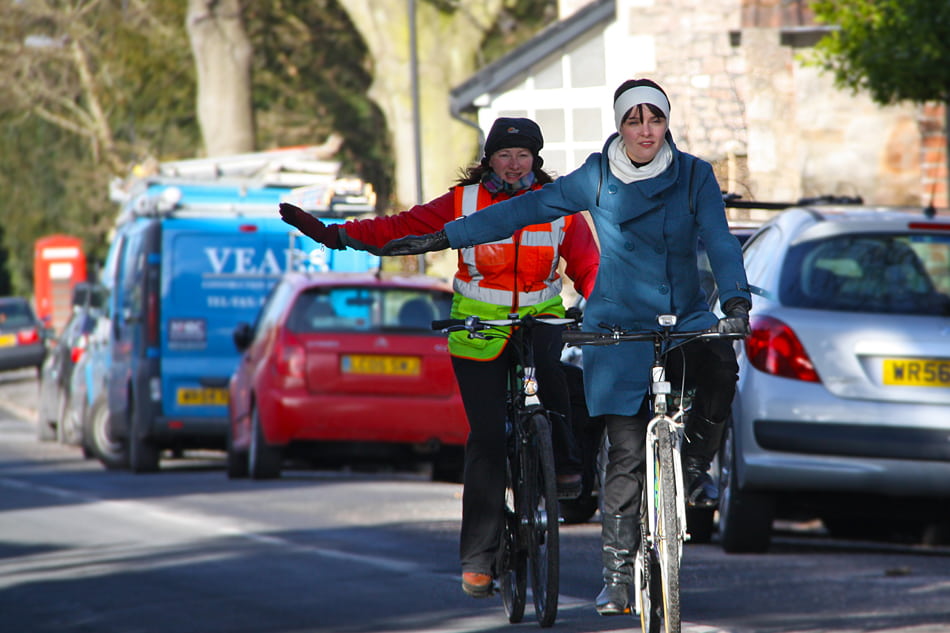
Some beginners worry they are too old to learn, but adults do learn: all 11 adult non-cyclists in the study above went on to ride a pedal bike independently. Which route fits you depends on where you can practice, who can give you feedback, and whether your progress has stalled.
- Practice alone: This works when you have a bike you can handle, a good practice area, and enough skill to work on one move at a time.
- Work with a patient helper: Good when an experienced friend can watch your attempts, explain what’s going wrong, and then step back so you do the moves yourself.
- Take a structured adult lesson: Best when you have no good place to practice, repeated attempts keep failing, or you want an instructor’s direct feedback.
Bike New York describes Bike Skills 101 as a free, two-hour adult class in a traffic-free setting. Other providers run their classes differently.
Ask local cycling organizations, community programs and bike shops about adult instruction. Before you book, check that the class is for adults at your level, what equipment they supply, and where it takes place.
Know what comes after the empty parking lot
Bike New York separates its introductory Bike Skills 101 course from Skills 102 practice and Skills 201 handling. The next stage brings demands the parking lot never tests: noticing other users approaching, holding a steady line in shared space, recognizing hazards, and knowing the rules on your route.
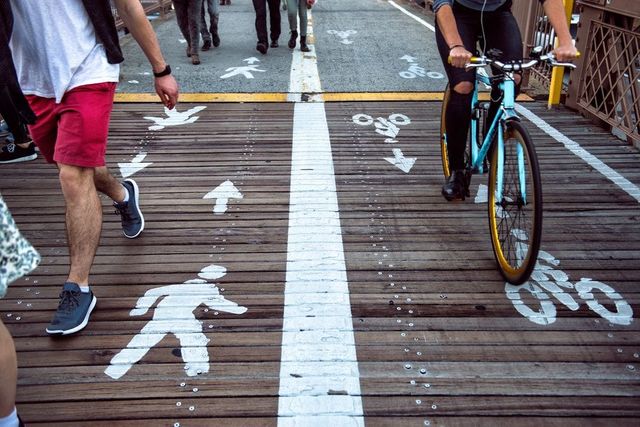
Once you stop, steer and start the same way every time, a quiet shared path can be an intermediate step. If stopping, steering or reacting around other people still feels uncertain, stay in a protected space or practice under supervision.
Parking-lot skills don’t cover mixed traffic. Road positioning and traffic judgment need their own instruction.