
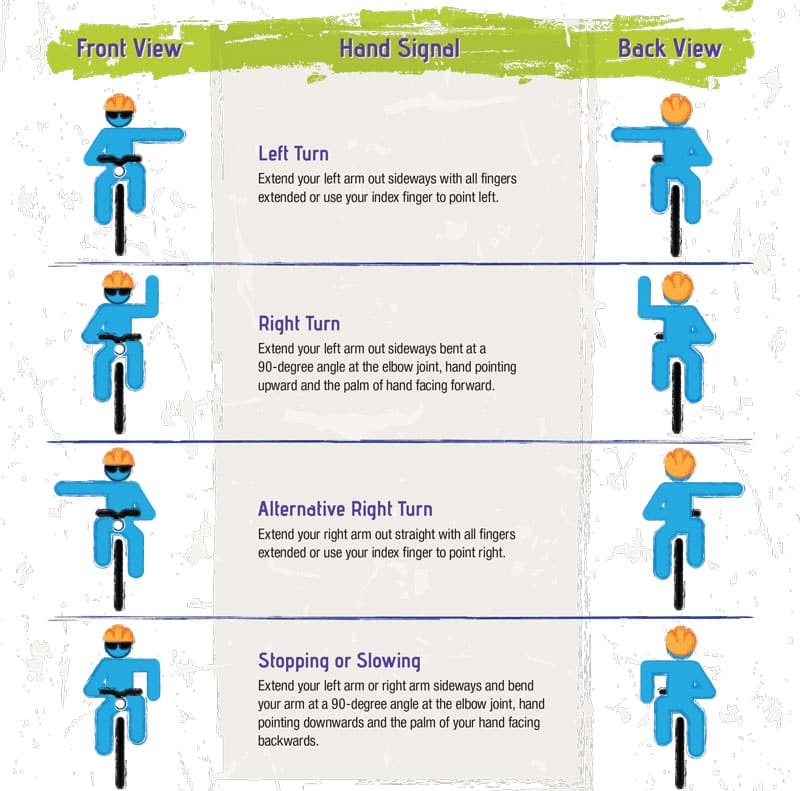
Extend your left arm straight out to turn left. For a right turn, extend your right arm straight out or bend your left forearm upward. To slow or stop, hold your left upper arm out and point the forearm down. Look behind you before you signal, and get your hand back on the bars when you need to brake or steer.
Bicycle hand signals at a glance: left, right, and stop
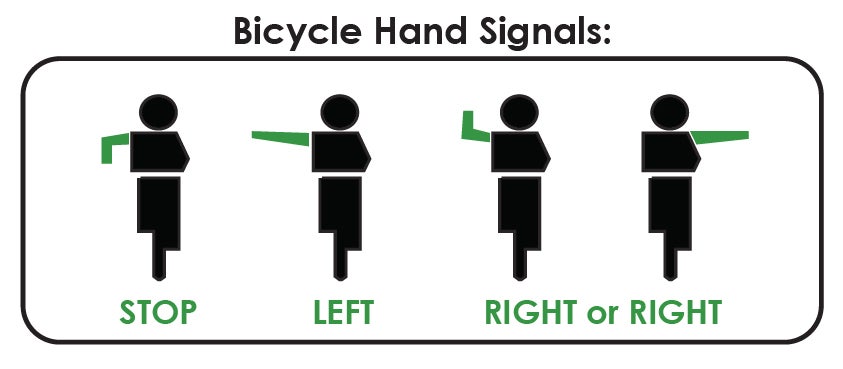
These are the basic positions taught in US cycling guidance. The two right-turn options look different but mean the same thing.
| Intended action | Arm position | Message to traffic |
|---|---|---|
| Left turn | Left arm extended horizontally to the left | I intend to turn left. |
| Right turn, direct signal | Right arm extended horizontally to the right | I intend to turn right. |
| Right turn, bent-arm signal | Left upper arm out to the side; left forearm raised upward at the elbow | I intend to turn right. |
| Slowing or stopping | Left upper arm out to the side; left forearm pointing downward at the elbow | I intend to slow or stop. |
Forearm up means a right turn. Forearm down means slow or stop. Judge each position from behind the cyclist, the way a following rider sees it.
The League of American Bicyclists teaches signaling together with looking behind you.
How to signal a turn while keeping control of your bike
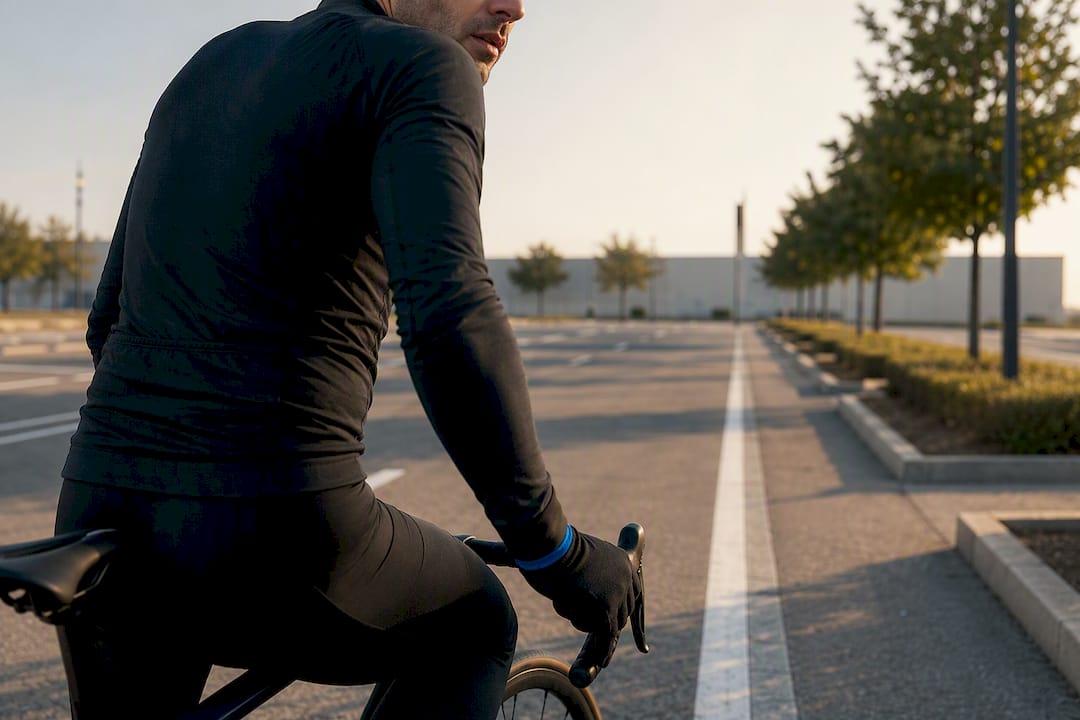
A signal is one part of a safe turn. You still check traffic before you change direction.
As you approach an intersection to turn left, you glance back, and the bike drifts toward the center of the road. Your hand signal is correct, but the move is now unpredictable.
- Pick your turn. Judge the intersection early and decide whether you need to slow down.
- Scan behind you. Look over your shoulder and hold your line.
- Signal. Extend the arm for your direction, clearly and early.
- Put your hand back on the bar. Do it for braking, steering or rough pavement.
- Check again and turn. Reassess traffic, then go when right of way allows.
A signal does not give you right of way. Drivers miss signals or read them wrong, so if the gap closes, hold a predictable line and wait for the next one. Use the full arm position for your turn, because a quick wave from the handlebar is hard to read.
What if you need both hands to brake or steer?
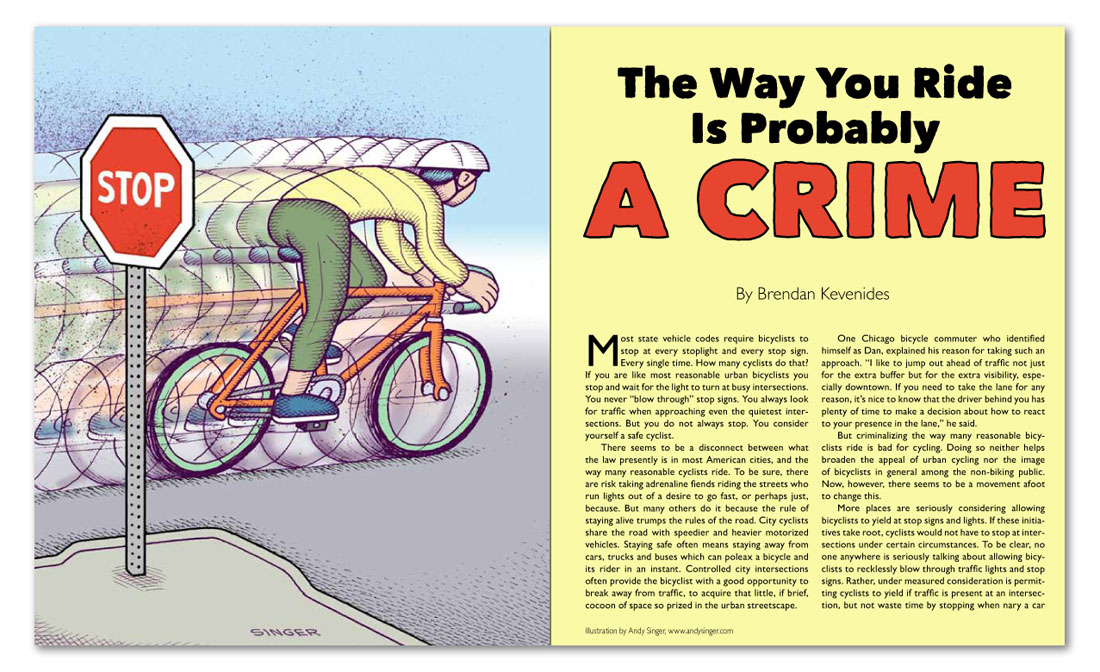
If signaling gets in the way of braking or steering, signal early and put your hand back on the controls. Holding a gesture through a rough slowdown costs you control exactly when the road demands it.
At a four-way stop, you watch traffic, decide when to stop and try to lift the right arm while the bike keeps rolling. Signal early enough that both hands are back on the brakes before the stop.
A sudden pothole or wet pavement on a descent leaves even less room to take a hand off the bars. Steer first. In a group, call the hazard out loud instead of pointing at it. When you have to brake unexpectedly, staying upright comes before any signal.
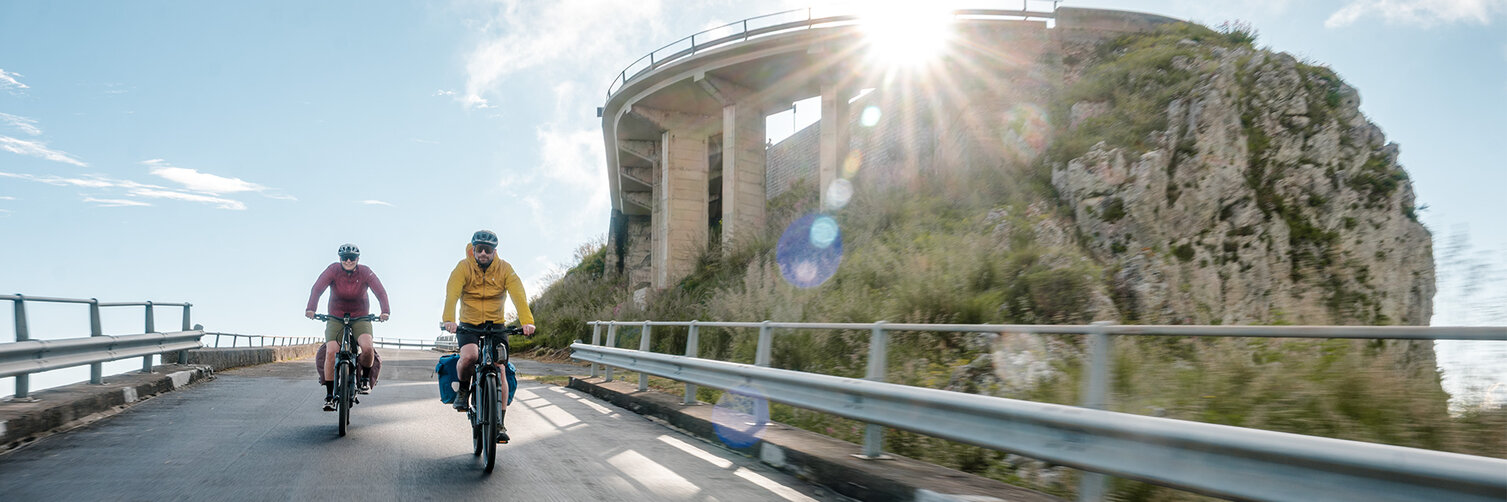
Group-ride signals and calls: slowing, stopping, and hazards
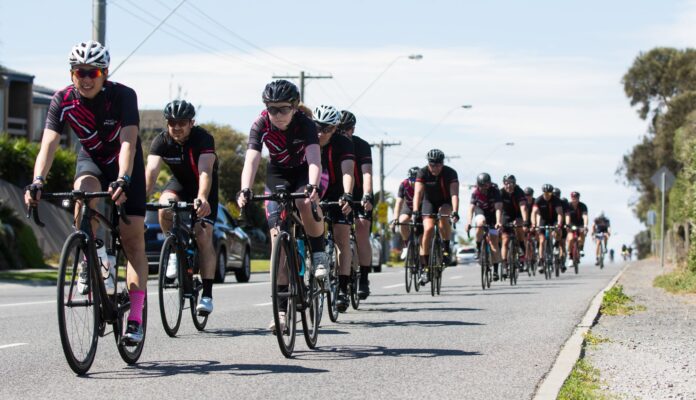
On a group ride, short calls tell the riders behind you what they can’t see. Calls usually go with hand gestures, and habits differ from club to club.
| Call | Meaning |
|---|---|
| Slowing | The group’s speed is coming down. |
| Stopping | The rider or group is preparing to stop. |
| Hole | A pothole or road-surface hazard lies ahead. |
| Car back | A vehicle is approaching from behind. |
Hearing a call does not replace looking at the road. Each rider still judges the situation and holds a predictable line without swerving or braking hard.
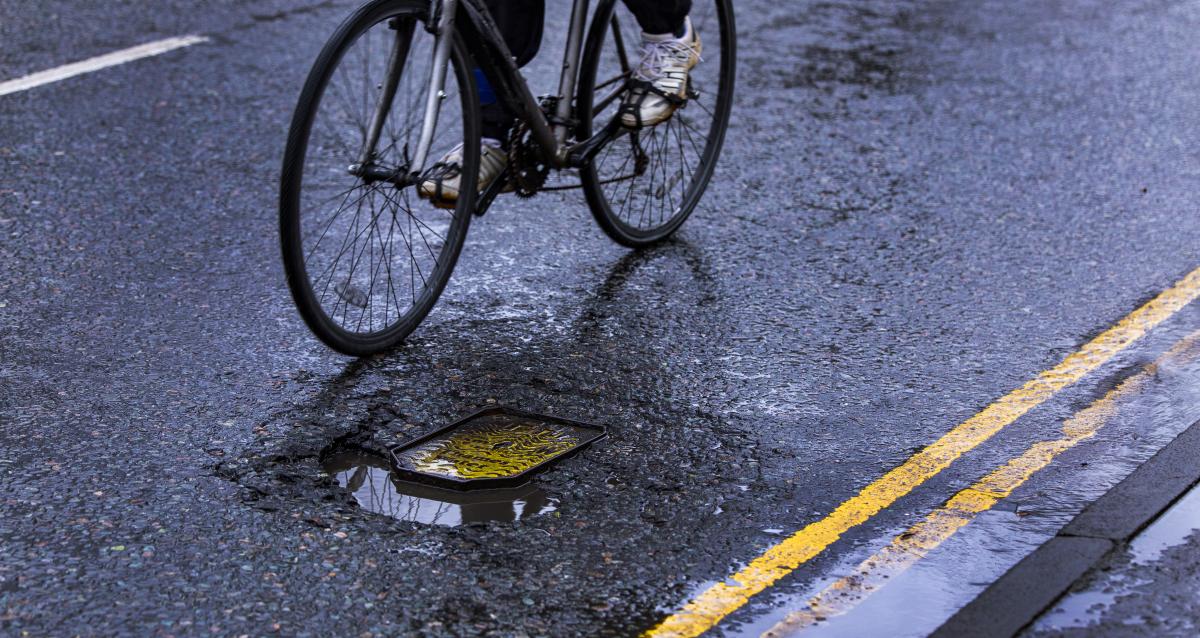
Clubs add visual signals to these calls. One group points at a pothole, another raises a hand or puts a fist behind the back for a stop. When reaching down would affect your steering, the spoken call does the job.
For traffic, the left forearm down still means slowing or stopping. A fist behind the back is an informal club gesture that works only inside the group, so drivers still need the standard signal.
Venus Bike Club describes a fist-behind-the-back stopping gesture and notes that riders farther back in a large group may have difficulty seeing it. Agree on calls the whole group understands before you roll out.
The front rider usually spots a hole or a stop first, so followers repeat the call down the line. Settle before departure which calls get repeated.
If you’re joining a group for the first time, ask the ride leader, “What do you call for slowing, stopping, holes and cars behind?” That covers the signals that matter for the ride, and you can skip memorizing racing or paceline gestures.
Do US bike hand-signal rules vary by state?
Yes. A gesture diagram is a starting point. Each state’s traffic law decides when cyclists must signal, which forms count and what exceptions apply, and a distance given in one state’s law belongs to that state.
Florida’s 2026 statute §316.155 shows how this works. For a turn the provision covers, you signal continuously during at least the last 100 feet before turning. A bicyclist does not have to continue the signal while the hand is needed to control or operate the bicycle.
The same section covers signaling before stopping or suddenly decreasing speed when you have the opportunity to signal. Keep that in mind when your hands are already busy with the brakes.
Florida statute §316.157 specifies the arm positions for left turns, right turns and stopping or decreasing speed. It also recognizes a horizontally extended right arm for a bicyclist making a right turn.
Texas Department of Transportation and New York DMV materials also describe bicycle hand signals, including the right-arm right-turn option.
To find your local rule, check your state legislature, DMV or department of transportation for the cyclist-specific provisions: the accepted right-turn gesture, the required notice and any exception for bicycle control. A general driving-handbook diagram does not cover all of that.
Practice the signals before your next road or group ride
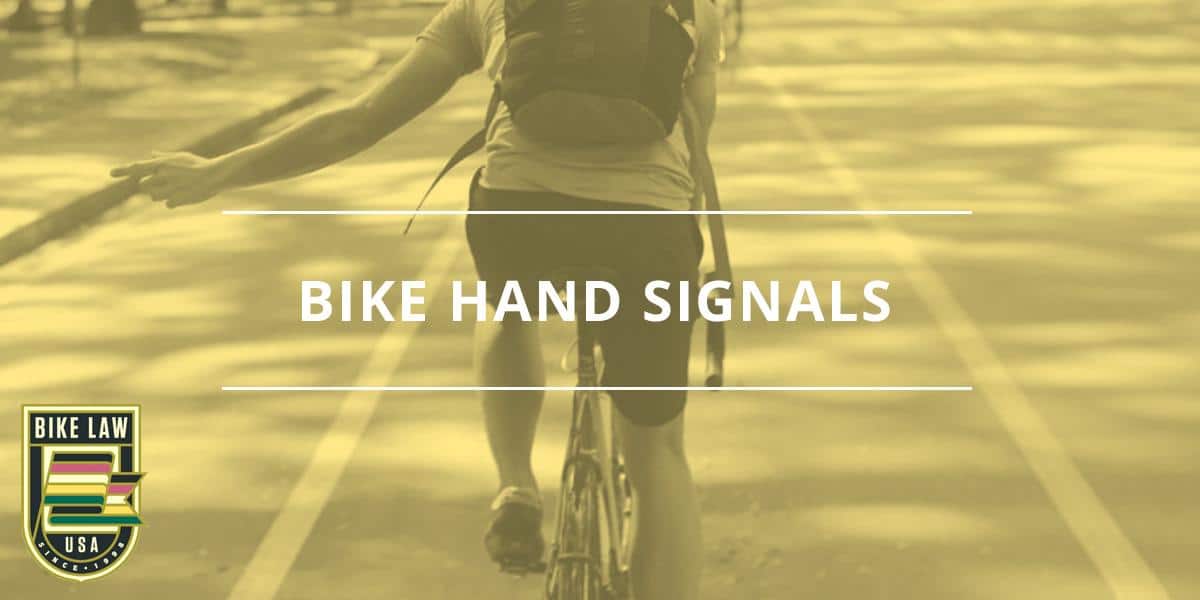
Use an empty parking lot or another traffic-free area and work on one skill at a time. The NHTSA Cycling Skills Clinic Guide teaches a progression that starts with holding a straight line, then adds looking behind and signaling with one hand. Its exercises were developed for a youth-oriented clinic, but they work as a practice sequence for an adult too.
- Look back without drifting. Ride a clear line, glance over a shoulder and see whether you wander sideways.
- Make each signal recognizable. Once you hold your line while scanning, extend an arm into the left, right or stop position, then put the hand back on the bar smoothly.
- Add a controlled slowdown. Pick a stopping point, signal early, return your hand to the bars and brake smoothly.
Practice first
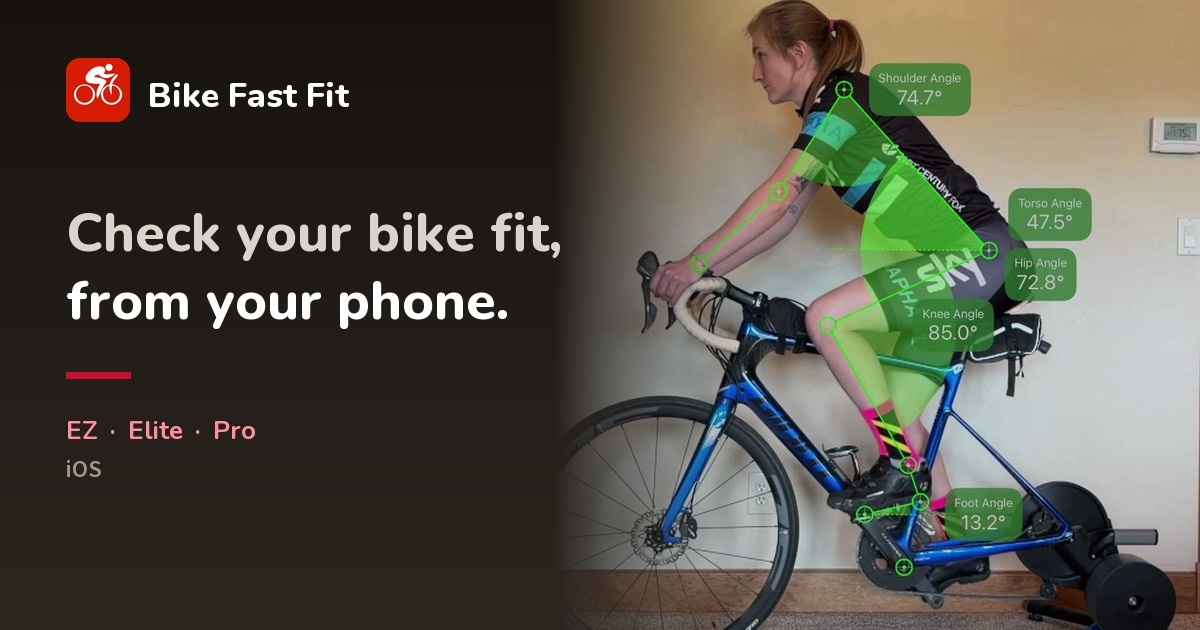
A signal only helps when the bike stays steady under it, so practice in an empty lot before you need the signals on the road: hold a straight line, look back without drifting, then signal and return your hand to the bars. For group rides, ask the leader what they call for slowing, stopping, holes and cars behind. Your state’s law covers the rest.