
Pick your lights for the darkest part of your ride: the front beam has to show the road there, the rear light has to get you noticed, and the battery has to last at the brightness you actually use. Then confirm what your state requires.
The ride home after an 11 p.m. shift shows what lights have to do. The first streets have enough lamps to show every turn. Farther out, the pavement vanishes in the gaps between streetlights. A small front blinker announces you through the town center but does little for that last stretch.
Choosing lights gets easier once you know what they must reveal. Start with your route. The lumen figure on the packaging comes later.
Choose bike lights for the darkest part of your route
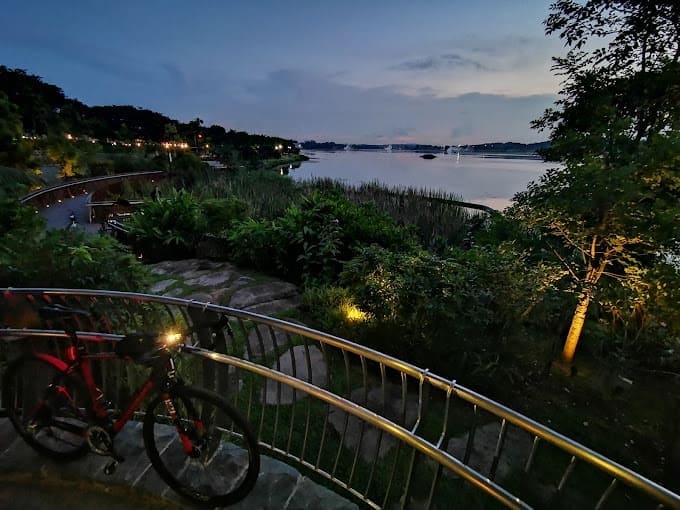
Before comparing products, look at the darkest part of your ride. A consistently lit city street needs a different front beam from a rural lane where nothing marks the road edge except your own light.
Legal lighting equipment and your ability to see hazards are separate requirements. A lamp that meets a stated visibility distance can still leave the road too dark for your speed.
| Riding situation | Main lighting job | What matters most |
|---|---|---|
| Well-lit urban streets | Stay noticeable and spot nearby hazards | Clear front and rear visibility, reliable mounts, suitable beam placement |
| Suburban roads with gaps in street lighting | Keep the road lit through the dark sections | Usable forward beam, rear visibility, sustainable output |
| Unlit rural roads | Reveal obstacles and road edges ahead | Beam reach, sideways coverage, operating time |
| Shared walking and cycling paths | Light the surface without dazzling others | Controlled beam distribution, careful aim |
| Technical off-road trails | Read uneven terrain and changes in direction | Terrain-appropriate coverage, secure mounts, possibly a second light |
Find the row that matches the hardest part of your usual ride. If your route leaves a lit neighborhood for an unlit road, the front light has to handle that road. A daytime visibility light with no useful forward beam is the wrong tool for it.
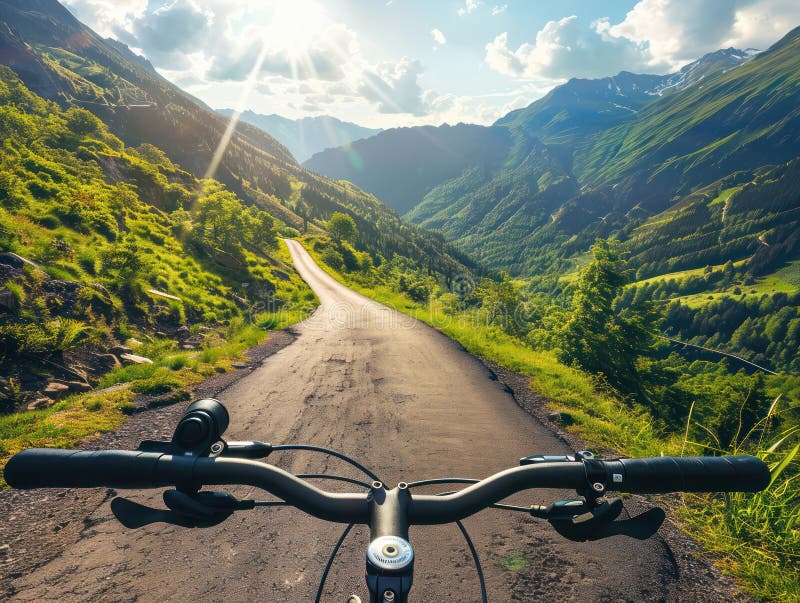
Speed changes the decision. The faster you ride, the more distance you need to recognize a pothole, fallen branch or broken surface and react to it. Corners, uneven pavement and other path users make beam spread matter too.
Before shopping, write down the darkest stretch, the surface, your pace and how long you’ll ride without street lighting.
Front and rear lights: seeing the road and being seen
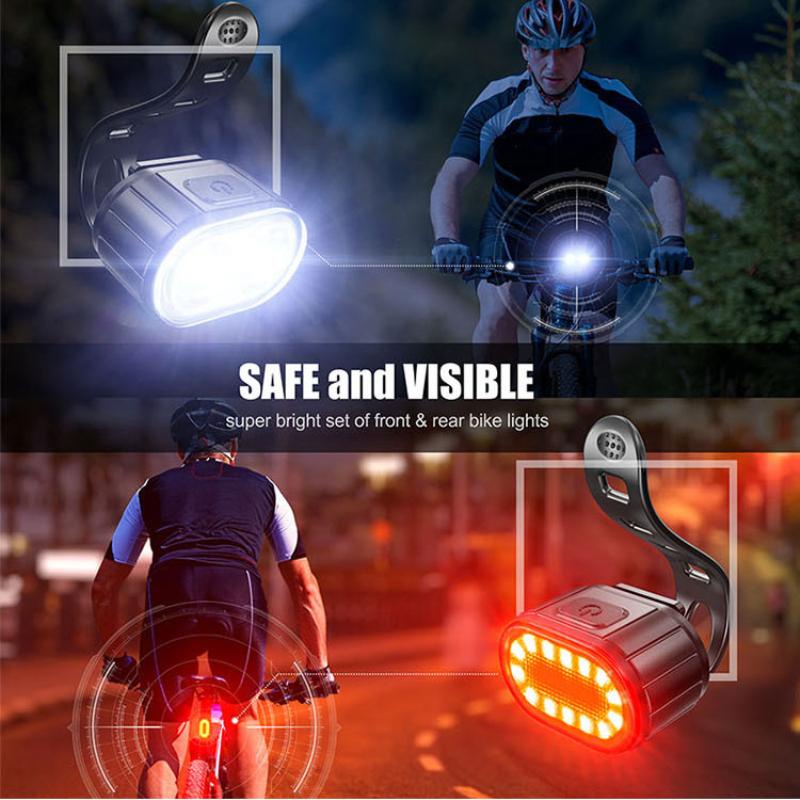
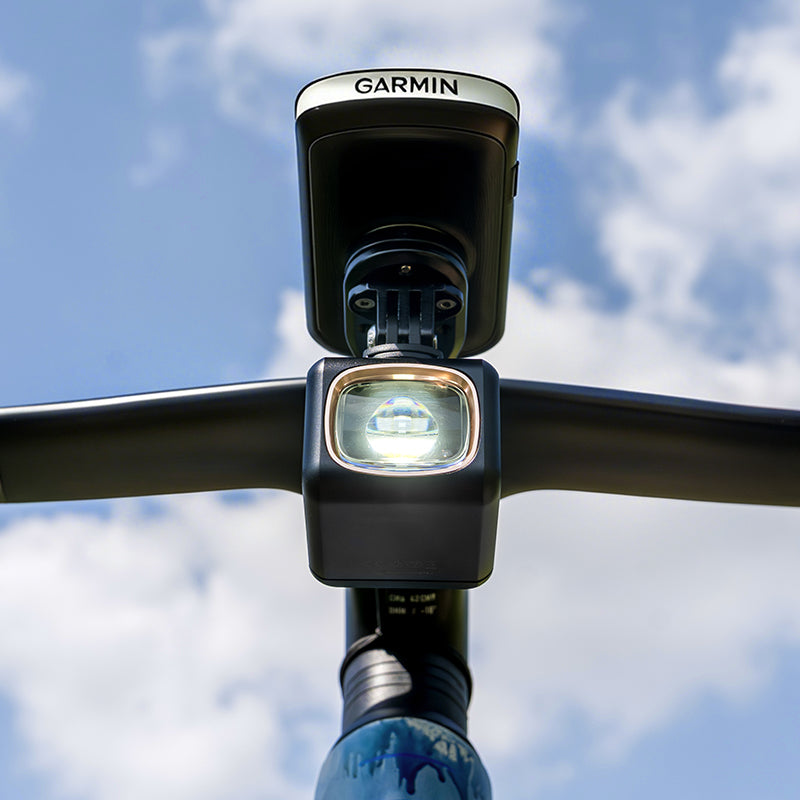
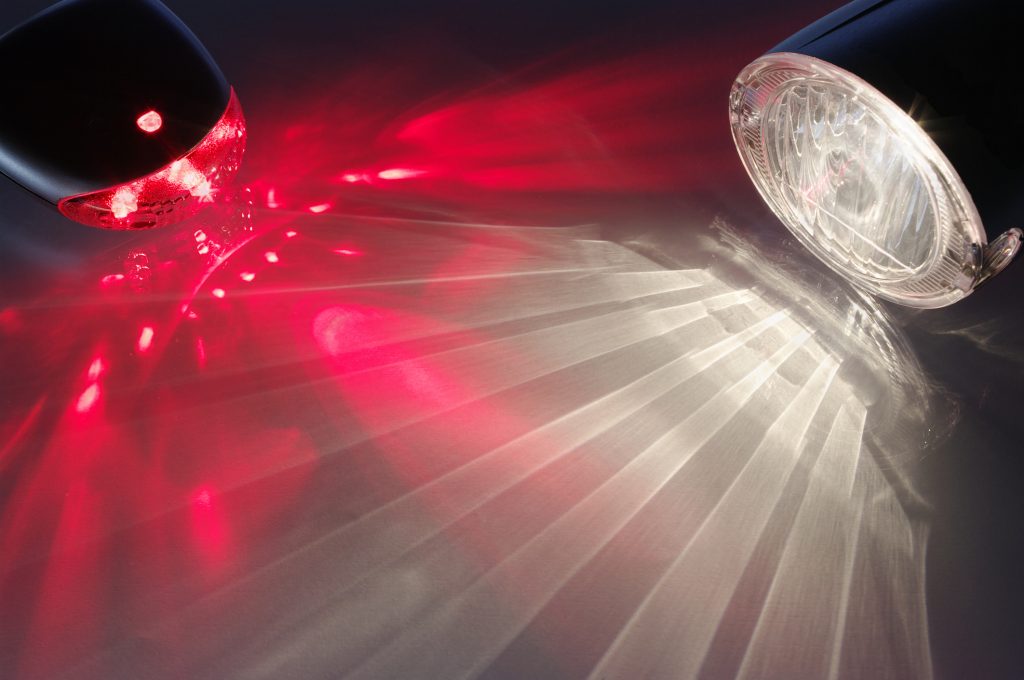
A white front light makes you visible and can light the road ahead. A red rear light helps traffic behind you notice you. Reflectors return incoming light, including vehicle headlights.
On a route with little street lighting, the front beam has to show surface hazards. The rear light matters just as much, even when the front lamp lights the road well.
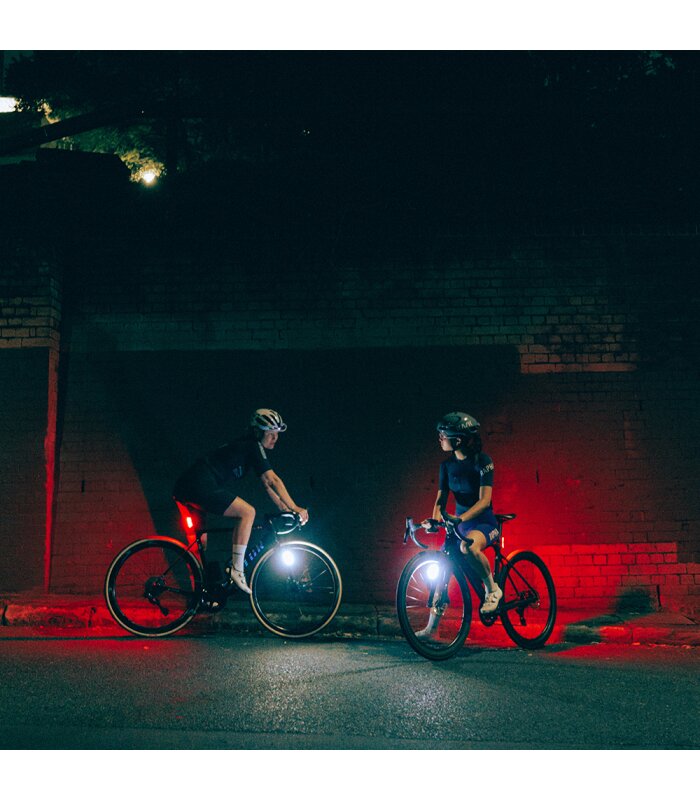
The National Highway Traffic Safety Administration recommends a white front light, a red rear light and reflectors when it is dark or visibility is poor. Each does a different job, and state rules decide which ones the law requires.
Side visibility counts too. A bright beam aimed straight ahead tells you nothing about what someone approaching at an angle can see.
Compare beam reach, spread and glare
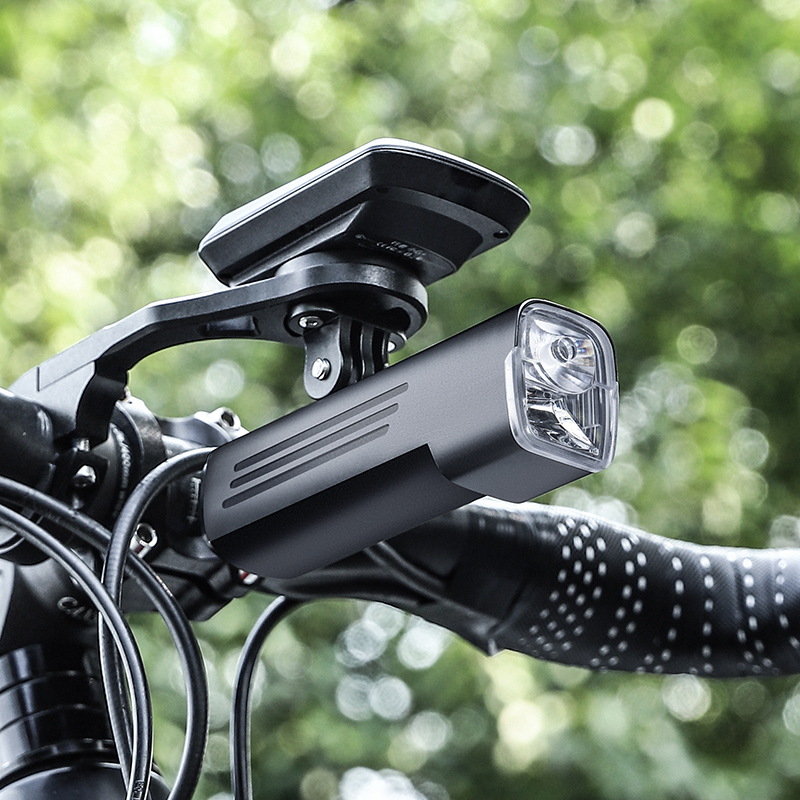
For night riding, look at where the beam lands: down the road, toward the edges of the path, and up where it could bother other people.
Brightness numbers don’t settle it. One rider bought several headlights rated at approximately 300 to 500 lumens and still couldn’t spot glass and debris far enough ahead.
Lumens, lux and candela are measurements. Beam pattern and cutoff describe where the light goes.
| Term | What it measures or describes | Check alongside it |
|---|---|---|
| Lumens (lm) | Total visible luminous flux emitted by a source | Beam distribution and sustained output |
| Lux (lx) | Illuminance reaching a surface | Measurement distance and position |
| Candela (cd) | Luminous intensity in a given direction | Beam width and peripheral coverage |
| Beam pattern | How light is distributed across the scene | Reach, spread and gaps in coverage |
| Beam cutoff | How the beam limits light in particular directions | Road illumination and glare |
Look beyond the brightest spot
A narrow hotspot lights a small area farther ahead. A broader beam shows the road edge and obstacles closer to the bike. The right balance depends on your route: how fast the ground changes and how far ahead you need to see.
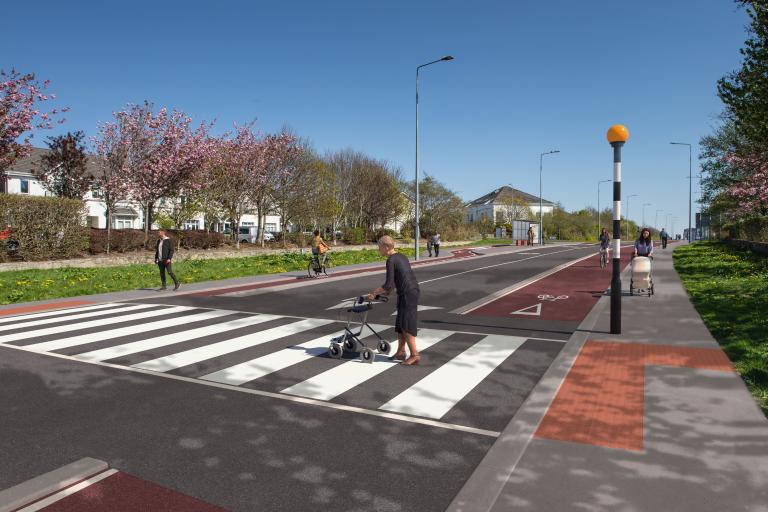
Compare beam diagrams and independent test photos when you can find them, and check that the scenes were shot under similar conditions. Different exposure settings and camera positions can make two lights look closer in performance than they are.
Watch the light reaching other people’s eyes
On shared paths, a powerful lamp pointed high can dazzle someone approaching, even while it lights the road well for you. Some headlights use a controlled cutoff, while others rely mostly on aiming. Judge the beam’s shape before you buy and its real aim once it’s mounted.
Check battery life at the brightness you’ll use
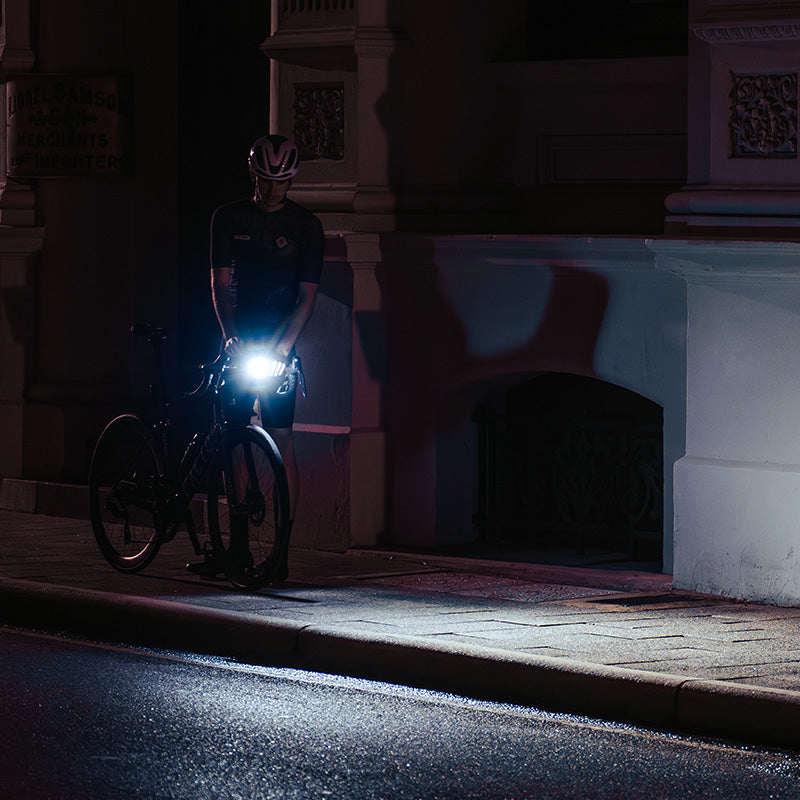
Battery life counts at the setting that lights your route. A headline runtime often refers to a low-output or flashing mode, while you need steady forward light for several dark hours.
Read the full mode chart. Find the steady setting whose beam suits your route and check its runtime. A short high-output boost and a battery-saving flash tell you nothing about that setting.
What standardized runtime figures mean
ANSI/PLATO FL 1-2025 sets testing methods for portable lights, covering output, beam distance, peak intensity, runtime and resistance-related characteristics.
According to the PLATO explanation of FL 1-2025 testing, ordinary-mode runtime is measured against the output at 30 seconds and ends when output falls to 10% of that reference. A reported runtime can therefore include time too dim to ride by. Only lights whose documentation names this method follow it.
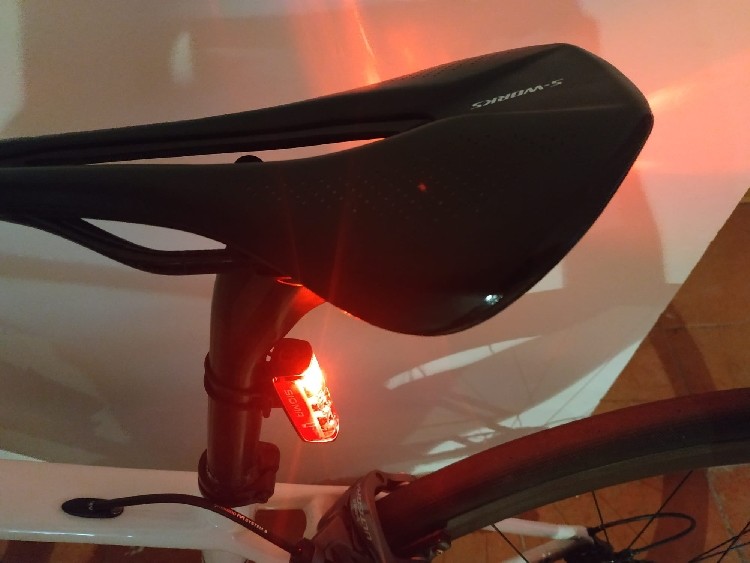
The standard measures short-duration boost output separately. Its window runs from 1 to 10 seconds, and its endpoint is 90% of the maximum output measured in that window. A boost figure says nothing about a long ride.
Compare the published numbers
Take the manufacturer’s stated runtime for the steady mode you need and set it against the time you’ll spend in darkness. Reject any light whose chart documents only a flash or a brief boost at the output you need, or whose runtime at that mode falls short of your ride. Don’t estimate a runtime from a different mode. If the headline maximum hides a much weaker sustained output, that light is the wrong one.
A short commute and a 200-km night ride pose different battery problems. One cyclist preparing for the 200-km ride had about 8.5 hours until sunrise, much of it on unlit country roads.
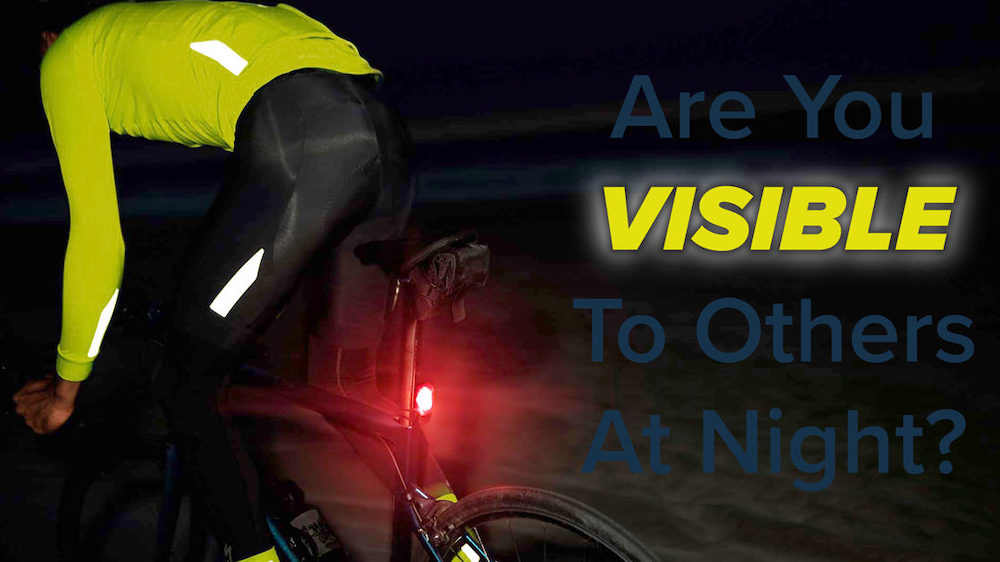
Battery age, temperature, charging history and output changes all affect the numbers. If you dim the light to save power on the ride home from that 11 p.m. shift, the economical setting can leave the darkest stretch too dim. With an aging battery, or a chart that leaves real gaps, plan a recharge stop or carry a backup.
Choose steady, flashing and boost modes for the conditions
Use steady front light whenever you need to see the road surface. A flashing front mode interrupts your view of the pavement and suits unfamiliar, uneven surfaces poorly.
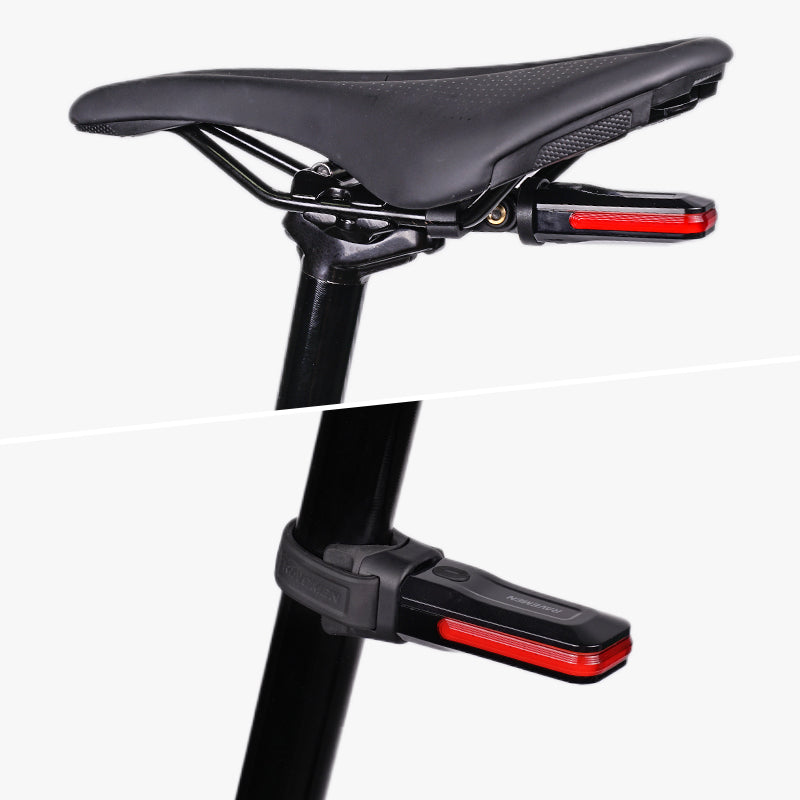
At the rear, steady, flashing and reactive lights change how others notice a bike and judge its distance. What works best depends on the surroundings, the brightness, other path users and local rules.
What rear-light research shows
A 2024 study by Bishop and colleagues in Accident Analysis & Prevention ran two controlled experiments with 32 drivers watching life-size filmed road scenes in daytime and dusk conditions.
Drivers detected cyclists faster with a rear light than without one. Detection speed and accuracy didn’t differ significantly among the lit setups. For judging distance, steady-flashing and reactive-flashing lights gave better accuracy than static lighting or no light.
The Bishop and colleagues study separates noticing a cyclist from judging how far away one is. The researchers reported industry collaboration with See.Sense. Filmed-scene experiments measure perception, not real-world collision reduction.
Edewaard and colleagues reported daytime results in 2020, including effects of lighting placement and leg visibility.
Choose a front setting that lets you read the pavement continuously, then judge the rear mode in the setting where you’ll use it. If a flash distracts or dazzles other people, lower the intensity, change the mode or re-aim the light where your equipment allows.
Mount and aim your lights for real conditions
Poor installation can waste a good purchase. A light that shines freely on an unloaded bike can end up partly hidden behind a handlebar bag, basket or packed rear rack.
Bicycle tourists in one discussion described exactly this: a front bag blocking the headlight, and gear on a loaded rack hiding a seatpost-mounted taillight. Both lamps stayed switched on while their sightlines were compromised.
Inspect the bicycle as you’ll ride it
Fit the bags and accessories you normally carry. Stand in front of the bike and check that the front lamp clears cables, luggage and fittings. If a bag blocks the beam, try another compatible mounting position or bracket.
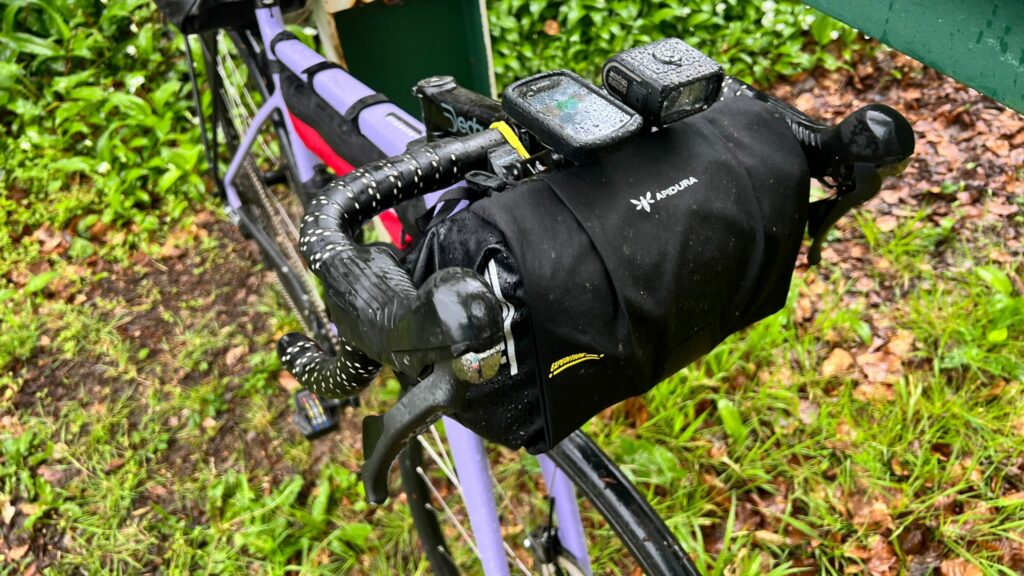
Then walk behind the loaded bike and look at the red rear light from directly behind and from side angles. A rear rack, pannier, saddlebag or loose clothing shouldn’t obstruct the required visibility. Where the seatpost position fails, a rack mount may solve it.
Make the beam stable and useful
Secure the bracket and make sure the lamp stays where you pointed it. A mount that rotates on rough pavement sends the brightest part of the beam off the road or into someone’s eyes.
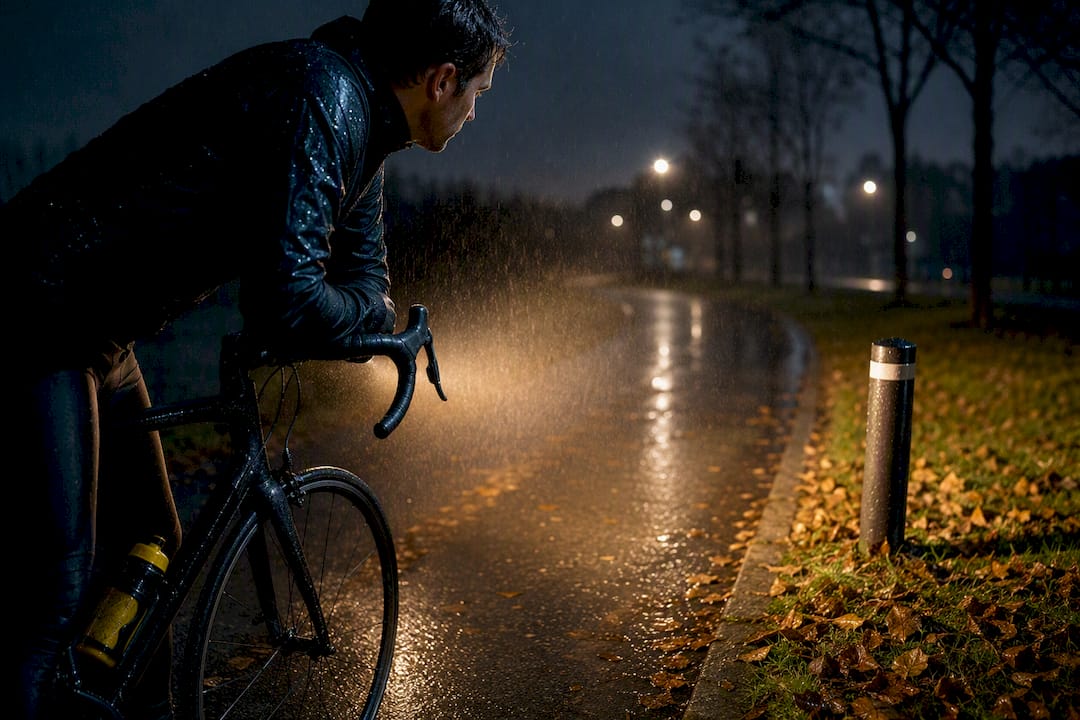
Aim the front lamp at the surface ahead, then check it from an approaching rider’s position without staring into the light. This matters most on shared paths, where pedestrians and cyclists approach at close range.
Check the release mechanism, the mount’s grip and the clearance. Recheck the installation whenever you change bags, rack equipment or the light’s position.
Check weather protection and everyday usability
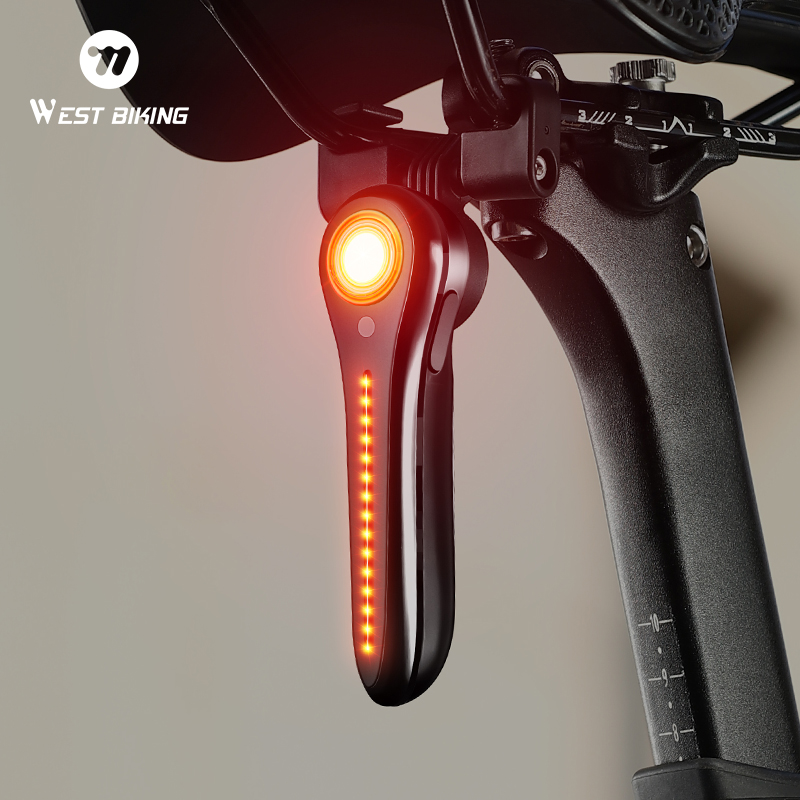
Once beam and runtime meet your needs, use these points to narrow the list:
- Mount fit. Rule out lights whose mounts conflict with your bags, rack or frame geometry.
- Weather rating. For wet or dusty rides, read the manufacturer’s IP rating and what its test covers. An ingress rating has specific limits.
- Daily handling. Look at the charging connection, battery indicator, glove-friendly controls, secure removal and replacement bracket availability.
- Commuter extras. Check current warranty and return terms, charging convenience and evidence of dependable ownership before you pay for extra features.
US bike-light laws: check your state’s requirements
Nighttime bicycle-light rules differ among US states, so each jurisdiction’s operating requirements need their own check.
The Consumer Product Safety Commission’s 16 CFR Part 1512 regulates bicycle products and includes reflector requirements in §1512.16. State operating laws decide which lights and other equipment a cyclist must use in defined circumstances.
Two official examples: California and Florida
| Authority | Front lighting | Rear equipment | Other relevant conditions |
|---|---|---|---|
| NHTSA, national safety guidance | Recommends a white front light | Recommends a red rear light and reflectors | Guidance for darkness or poor visibility; detailed legal duties depend on jurisdiction |
| California DMV and CVC §21201 | White lamp illuminating the surface ahead and visible from 300 feet in front and from the sides | Red reflector or qualifying solid/flashing red lamp with a built-in reflector, visible at 500 feet under the statutory headlamp-illumination condition | Pedal, shoe or ankle reflector visibility at 200 feet; specified wheel-side reflector or reflectorized-tire provisions |
| Florida Statutes §316.2065(7), 2026 | White lamp visible at least 500 feet ahead | Both a red rear lamp and a red rear reflector, each visible from 600 feet | Applies between sunset and sunrise |
The California DMV bicycle guidance summarizes the California requirements. The detailed language of CVC §21201 sets conditions for front and side visibility and for the qualified rear-light alternative.
California also permits a qualifying white front lamp attached to the rider in place of the bicycle-mounted lamp, provided it is visible from 300 feet in front and from the sides. Under CVC §21201(f), an electric bicycle must meet the rear-equipment requirements of §21201(d)(2) during all hours, including daylight.
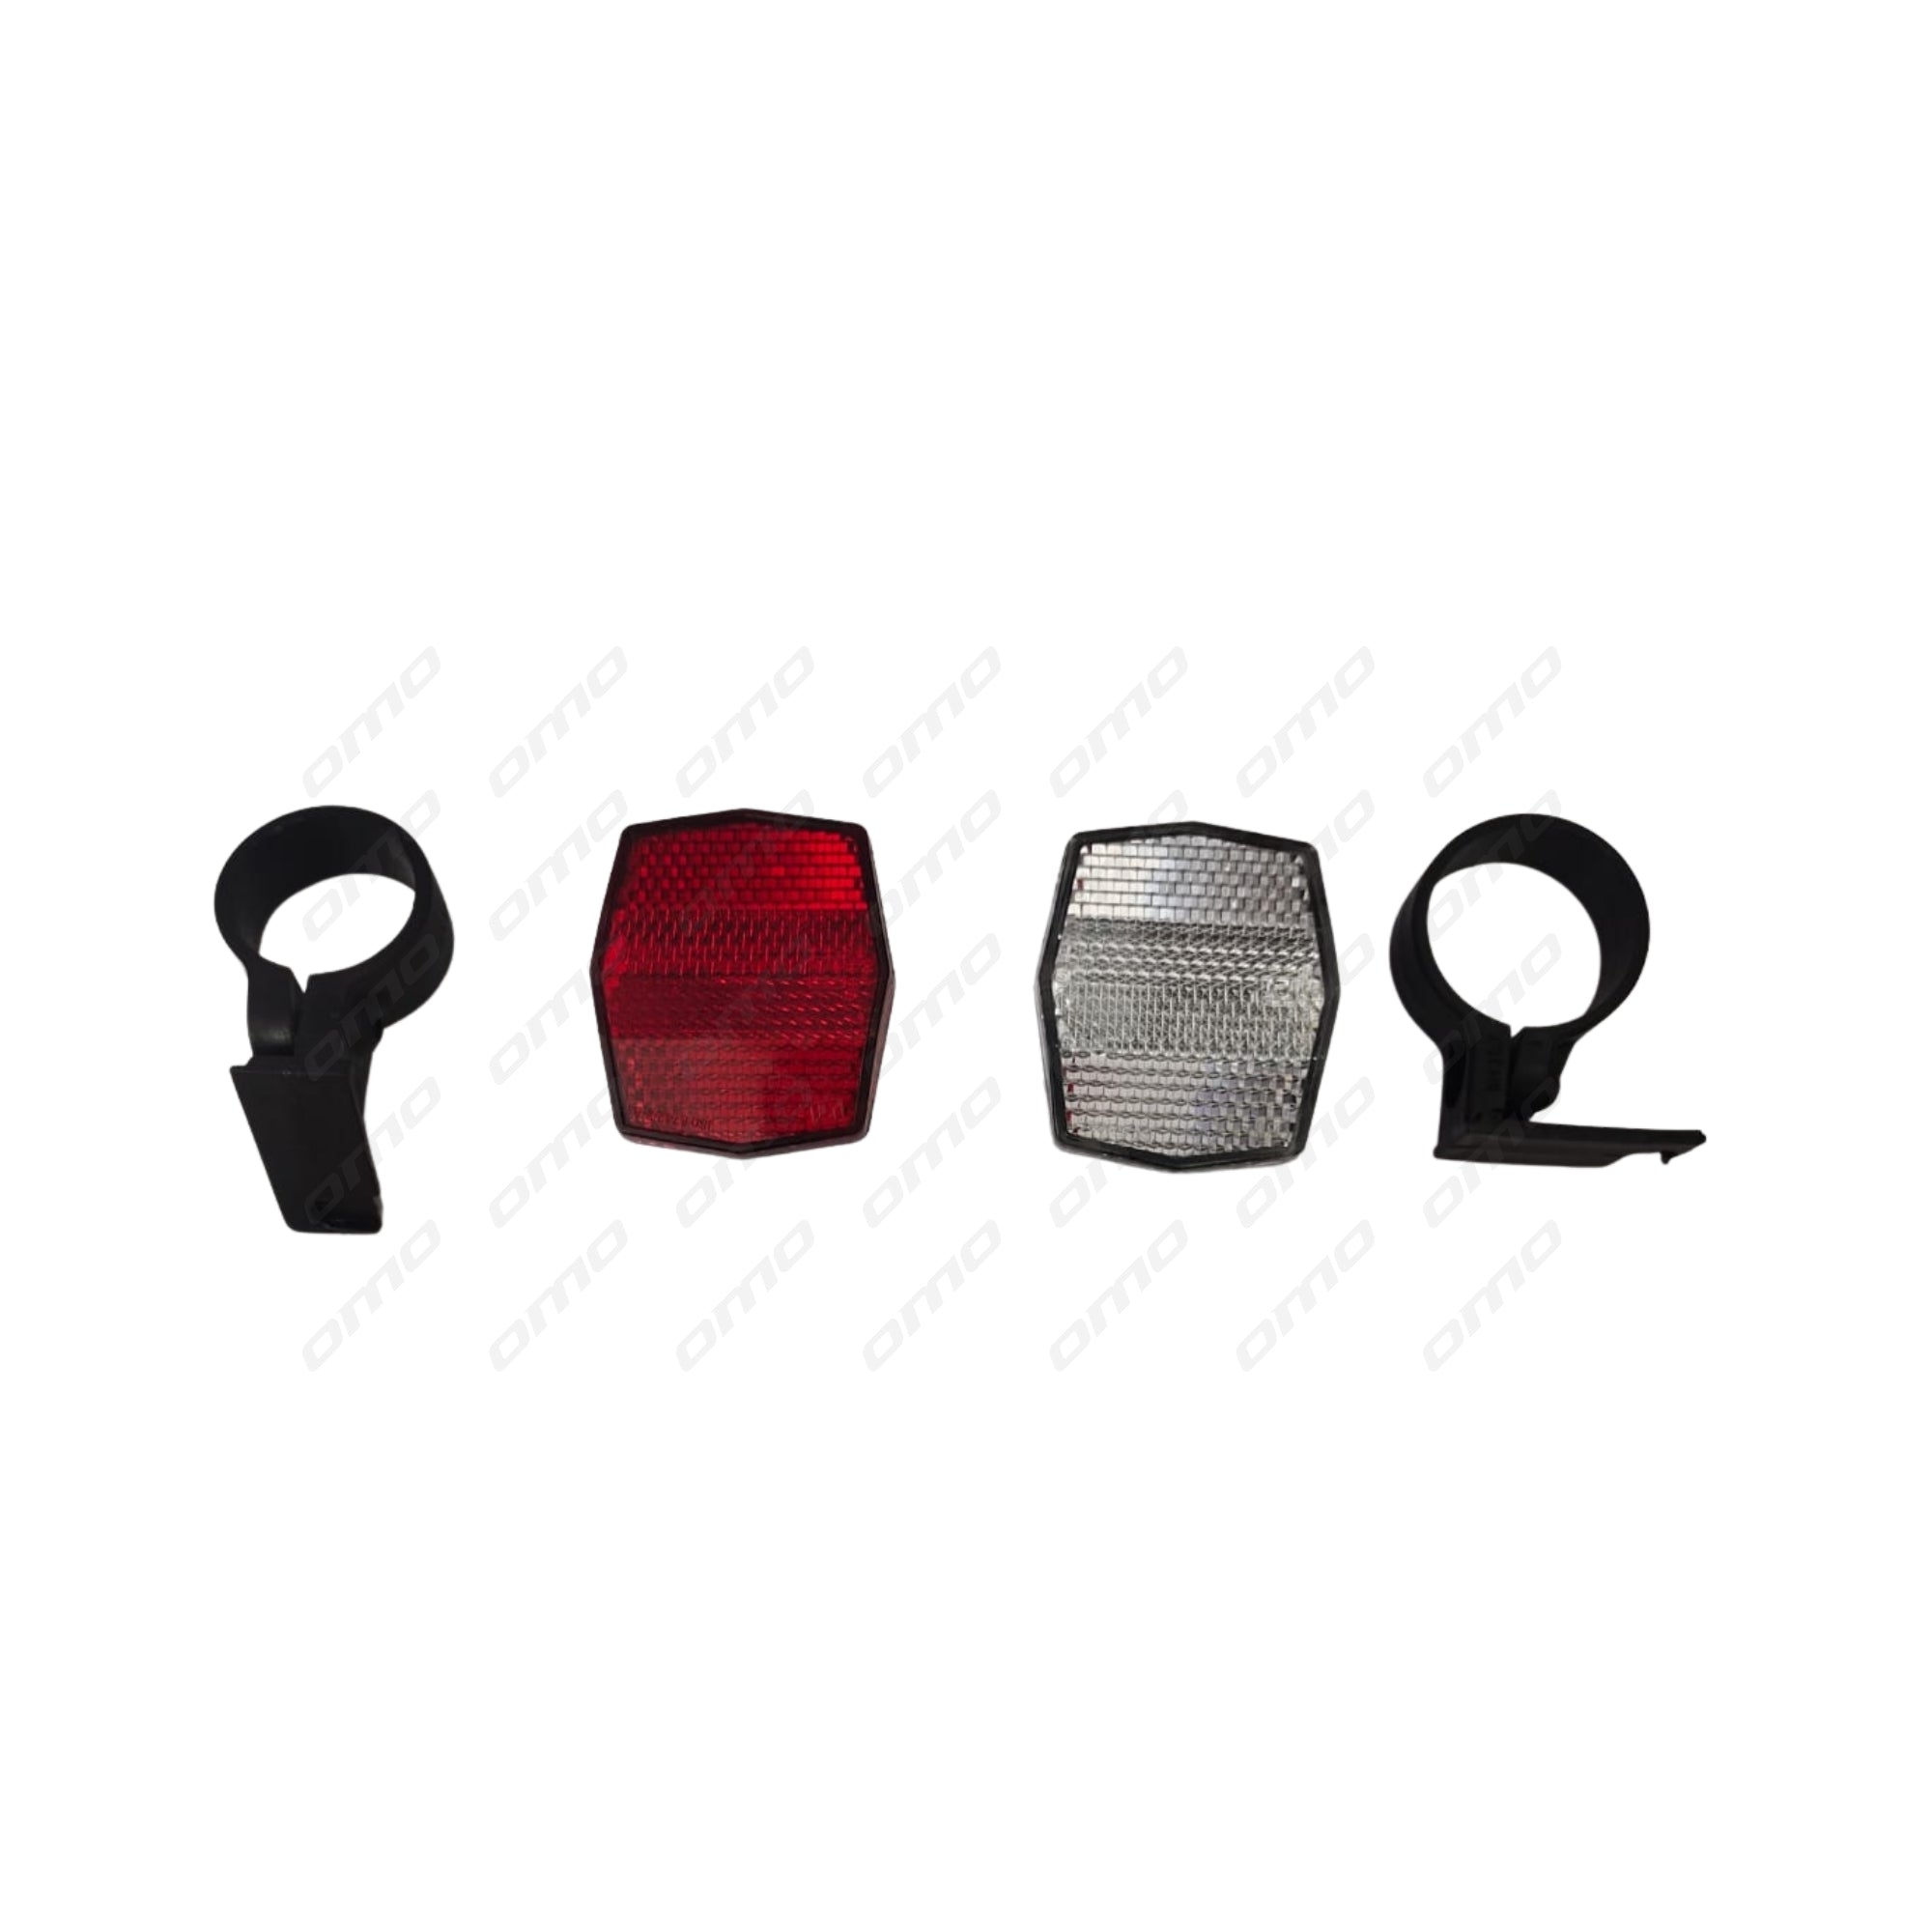
Florida’s 2026 bicycle statute specifies the rear lamp and reflector together, each visible from 600 feet, during the stated sunset-to-sunrise period.
Before buying or riding, use the official rules for the state and locality where you’ll ride. Check the time or visibility conditions, required colors, lamp and reflector arrangement, and any equipment-specific exceptions. If your trip crosses a state line, look up the destination’s rules too.
Test your setup before riding in darkness
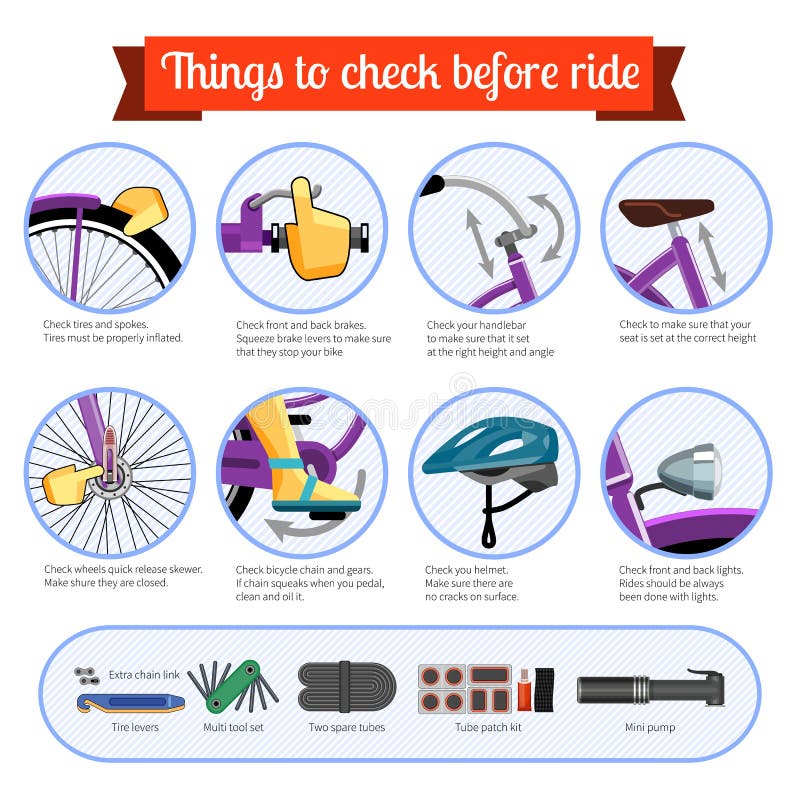
A short check on your actual bike reveals problems a product listing can’t: a blocked taillight, a rotating mount, a weak battery, or a beam that ends before the hazards you need to see.
Do the first trial on a familiar, low-risk route. Start slowly and watch what the light reveals at the setting you plan to use.
Pre-ride lighting checklist
- Check the local rule. Confirm the required lamp colors, reflectors and operating conditions for your location.
- Switch on both lamps. Verify that front and rear work and that the required reflectors are fitted.
- Use the intended mode. Select the steady front setting you’ll rely on in the darkest stretch.
- Review battery capacity. Compare the charge and the mode-specific runtime with your planned dark time and your backup.
- Load the bike normally. Fit your usual bags, baskets and rack equipment first.
- Inspect the mounts. Confirm clear front and rear visibility, suitable side angles and brackets that hold their position.
- Check beam aim and glare. Look for useful pavement coverage and no excess upward light from an approaching rider’s viewpoint.
- Ride at a cautious pace. Watch for road edges, cracks and obstacles, and adjust the setup or your plan if they stay hard to see.
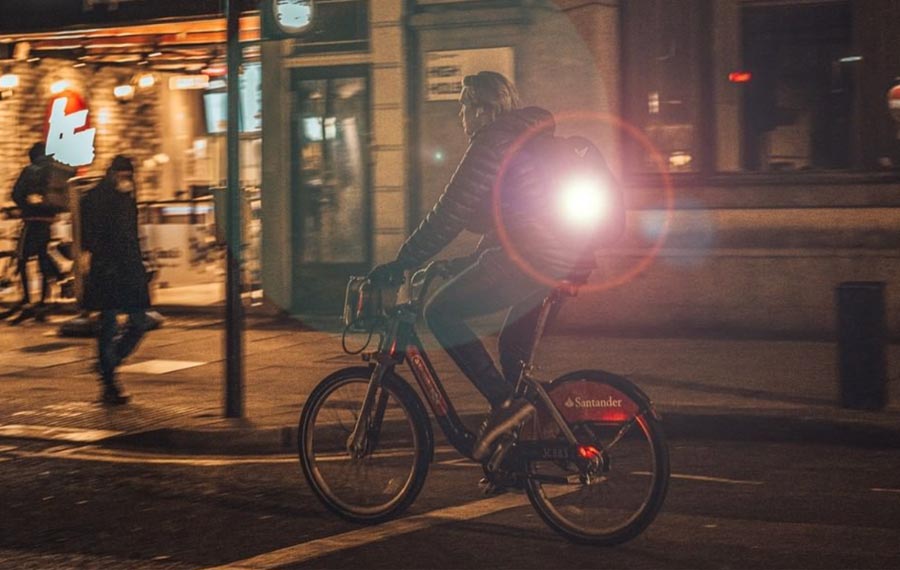
During the ride, notice how soon you can spot a hazard and respond. That distance shifts with pavement condition, corners, beam distribution and speed. If you can’t see far enough ahead to respond, slow down, improve the lighting or pick another route.
Decide whether you need additional lights
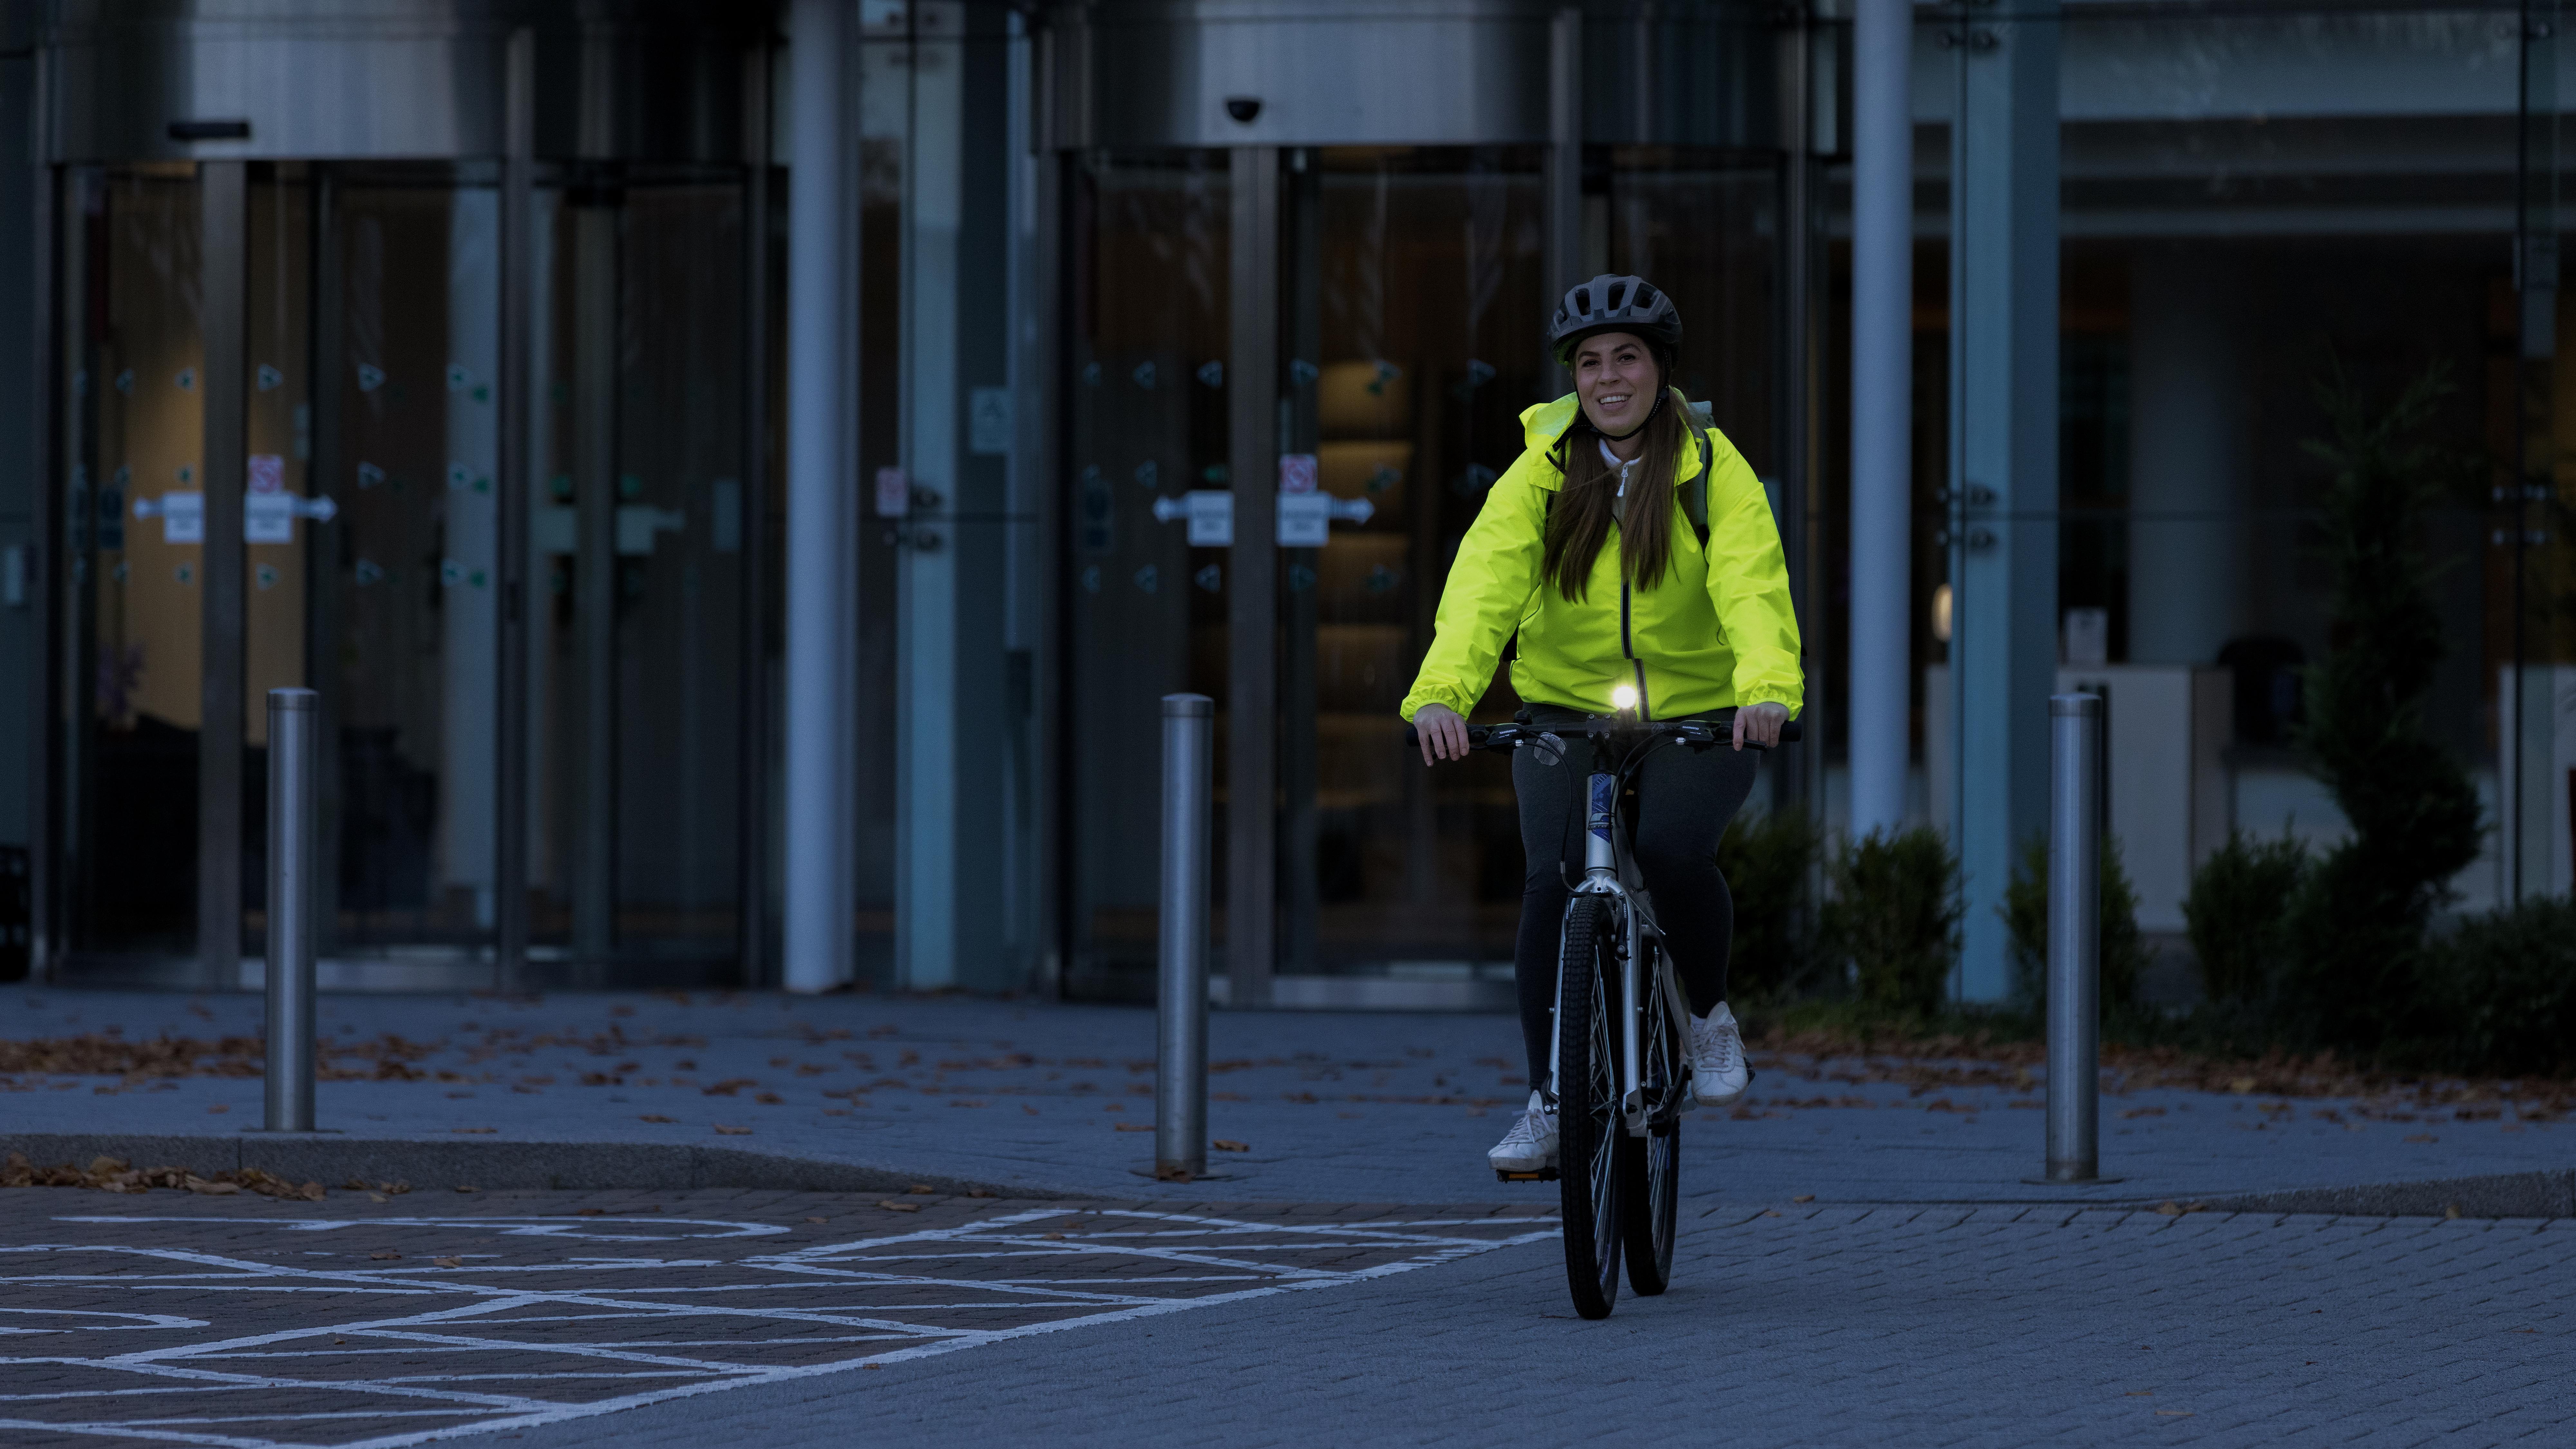
A dynamo system suits a rider who spends long hours in darkness and wants to stop depending on recharging removable lamps. Check its installation and compatibility requirements before you buy.
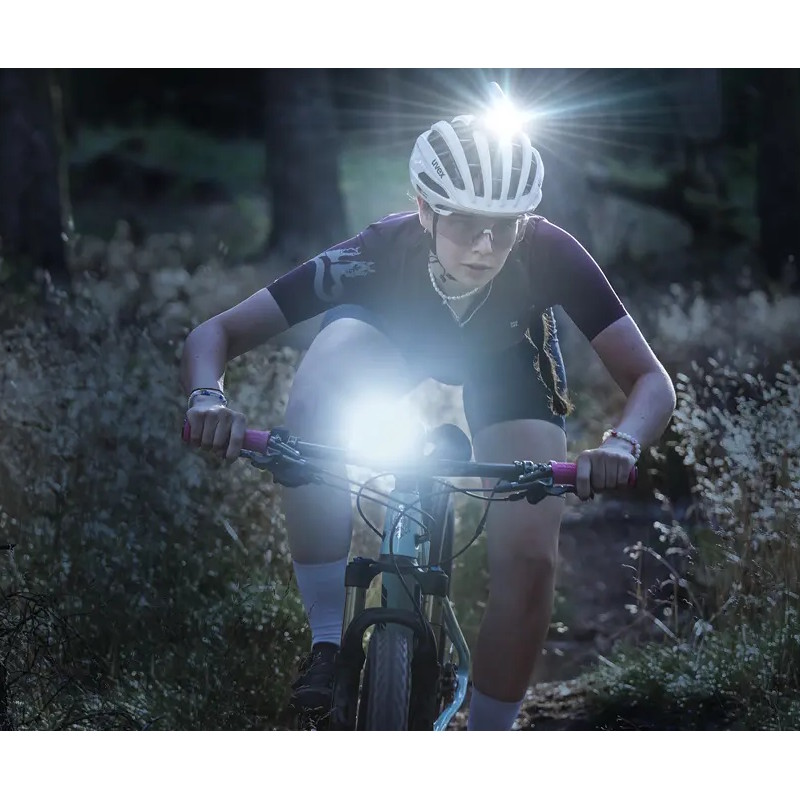
A helmet-mounted secondary light points where you look, which helps in complex terrain. It also dazzles whenever you look at another person, and you shouldn’t count on it to satisfy laws that specify bicycle-mounted equipment.
A radar taillight adds information about approaching traffic when used with compatible equipment. It doesn’t replace your own traffic awareness or detect every vehicle.
An e-bike with integrated lighting needs a compatibility check against the manufacturer’s power-system and replacement-equipment guidance.
The test every setup has to pass
Judge every light on the darkest stretch you ride, at the mode you’ll really use and with your usual bags on the bike. A lit town center asks little of a light, while the unlit road at the end of the 11 p.m. ride home asks a lot. If you can’t see far enough ahead to respond, slow down, improve the lighting or pick another route.