
For your first bikepacking overnight, choose a short, familiar route to a confirmed place to sleep, pack for the actual conditions, and test the fully loaded bike.
Your everyday bike can handle an overnight trip. The hard part is everything around it: a place you are allowed to sleep, a ride you can finish, food and water you can count on, and bags that stay clear of the wheels.
A first overnighter works best as a modest plan you can test. What you pack follows from where you sleep and how you get there.
Choose a manageable route and a confirmed place to sleep
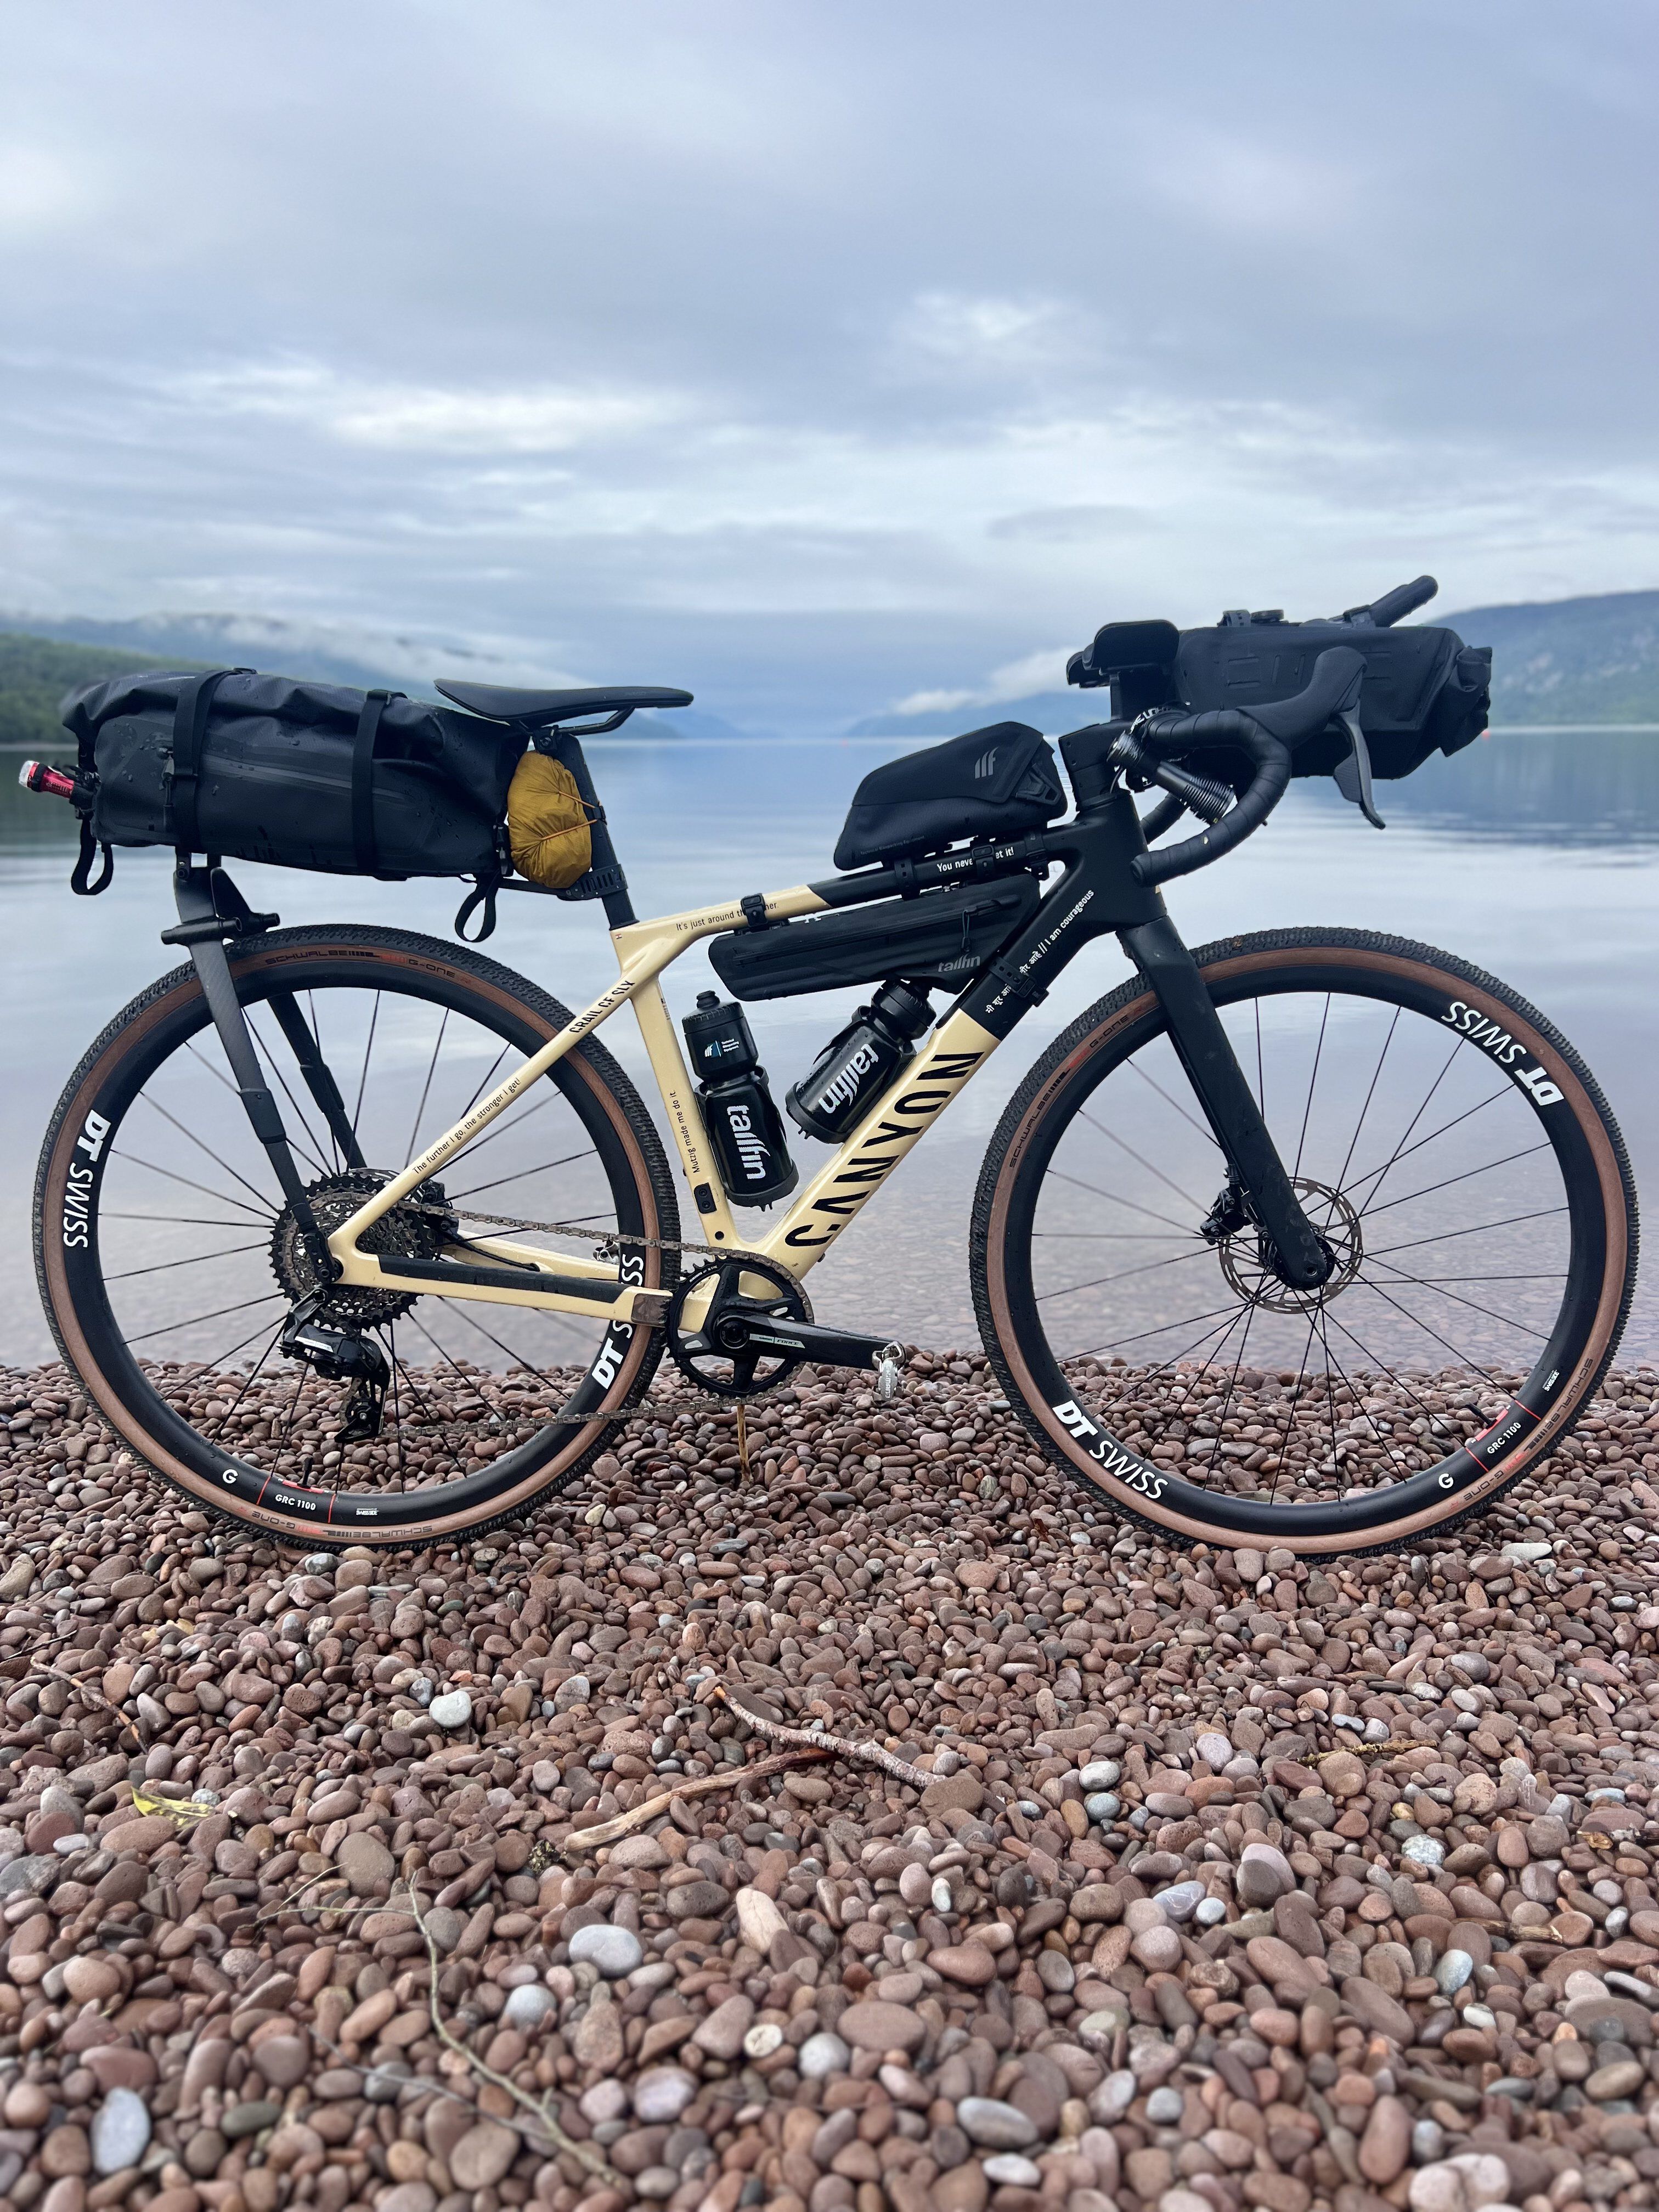
Pick your place to sleep first. A confirmed campground or indoor bed fixes the destination, and the distance follows from it.
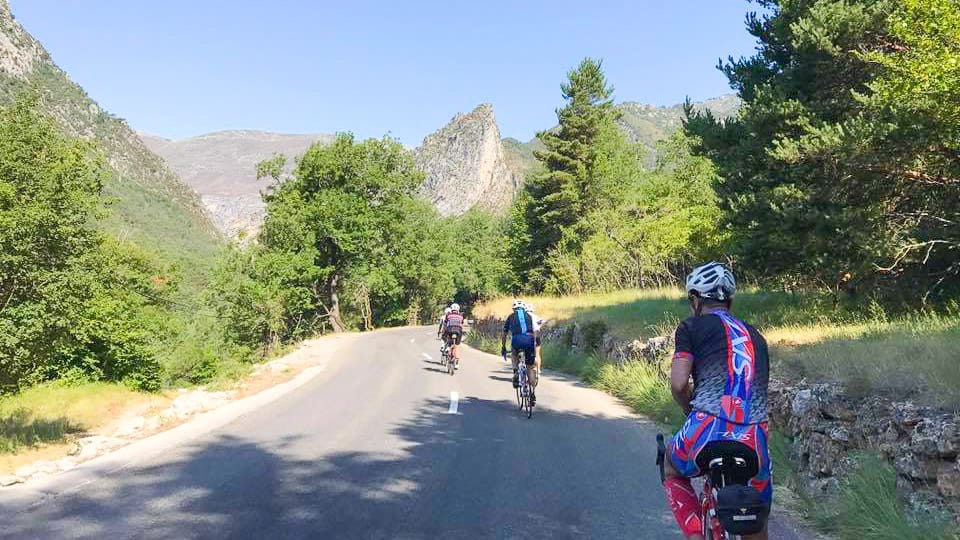
Stick to terrain you know. Check the surface: pavement, gravel or singletrack. Count the climbing and the daylight you have. Then picture all of it with a loaded bike. A distance that feels easy on a day ride takes longer with camping gear.
BIKEPACKING.com’s route-planning guide gives a familiar loop of roughly 10 to 20 miles as one example for a first overnighter. Rough ground, climbing and your own experience will move that number up or down.
Check the site and the route together
| Trip question | Where to check | If unresolved |
|---|---|---|
| Is the overnight site available and permitted? | Campground operator, reservation details or land manager | Choose another site or date |
| Can bicycles use the planned route? | Road or trail authority | Pick another route |
| Are the surface and climbing suitable? | Route details and your own rides on similar terrain | Shorten or simplify the ride |
| Is there enough daylight? | Your riding time and the daylight hours | Change the start time or the route |
| Can you return early? | Road connections and transport options | Choose a route you can leave early |
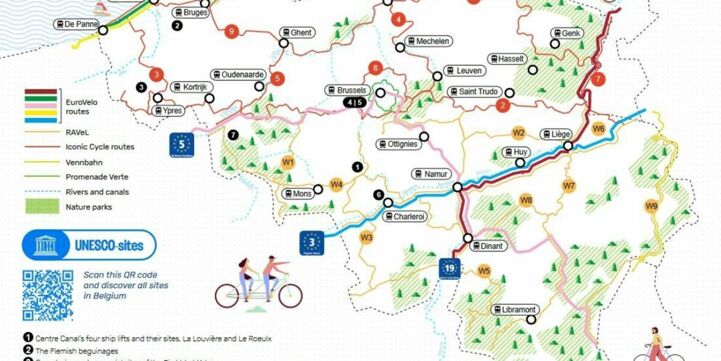
A route file or GPX track shows you the path. The land manager decides whether you can ride it and sleep there. At Mount Rainier National Park, bicycles are allowed on roads but not hiking trails. At Haleakalā National Park, overnight backcountry camping requires a permit.
What to pack for your overnight
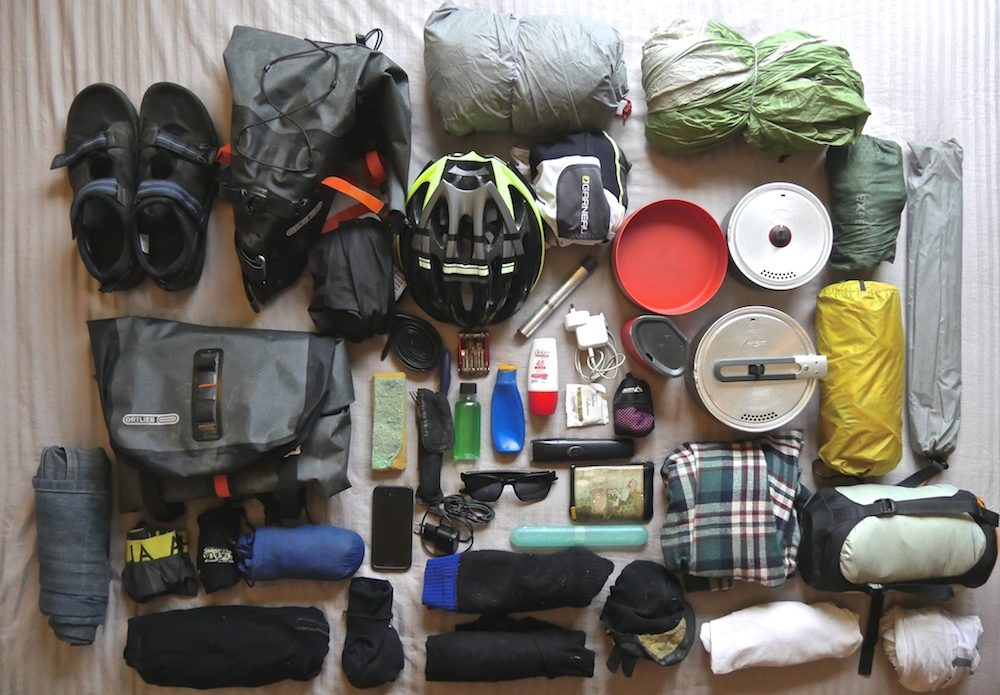
One-night bikepacking packing checklist
| Category | What to bring and when |
|---|---|
| Bike and riding | A bike that suits the route and is in working order, a helmet and a securely mounted carrying setup. Add lights and visibility gear for the conditions. |
| Sleeping | Camping: a tent or bivy, sleeping insulation and a pad. Staying in a confirmed room: you can skip the tent, pad and sleeping insulation. |
| Clothing | Ride clothing and weather protection. Add warmer camp layers, rain gear or a change of clothes as the conditions call for. |
| Food | Ride and overnight meals, or a confirmed food arrangement. Add a stove, fuel, pot and utensils if you cook. |
| Water | Containers and a plan for where you will refill. Add water treatment if you rely on a natural source. |
| Navigation | A route you can follow. Add offline maps, GPS and charging gear to suit the route. |
| Repairs | Tire inflation and repair: tube or tubeless supplies, tire levers, patches, a pump and a multi-tool. |
| Personal care | First aid and hygiene supplies. Add bathroom, changing and familiar menstrual supplies if you need them. |
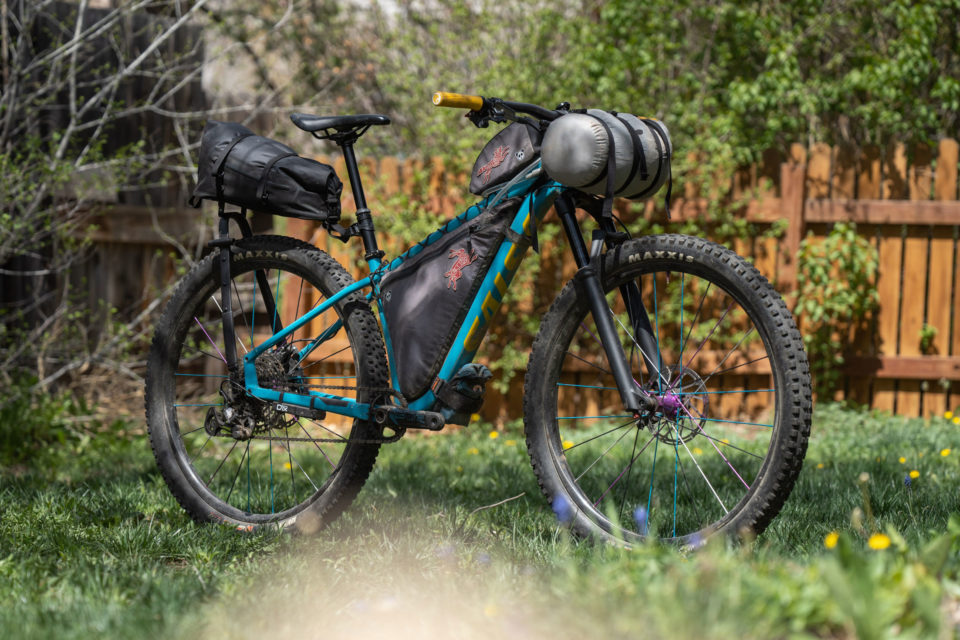
Adventure Cycling’s overnight gear checklist encourages beginners to use or borrow suitable equipment before buying an elaborate setup. A road, hybrid, gravel or mountain bike can work if it fits the chosen terrain and can carry the load securely.
Sort your list into gear you have, gear you lack and gear you can skip. Camp pillows, chairs and a matching bag set go in the last group.
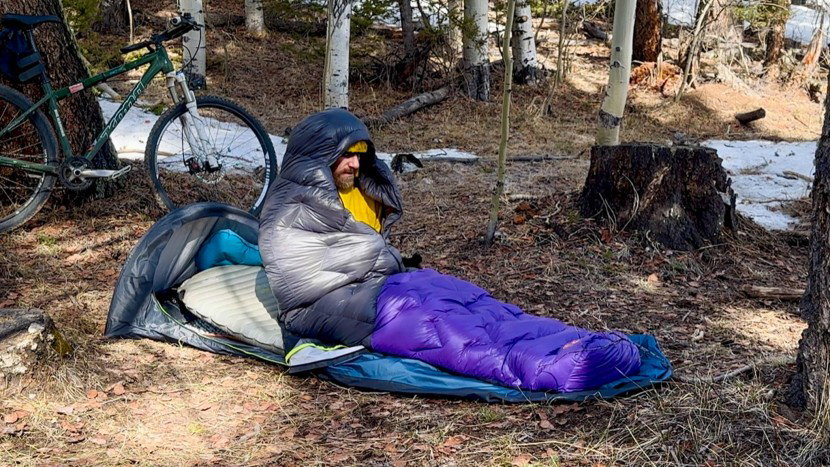
Load the bike and check that every bag stays clear
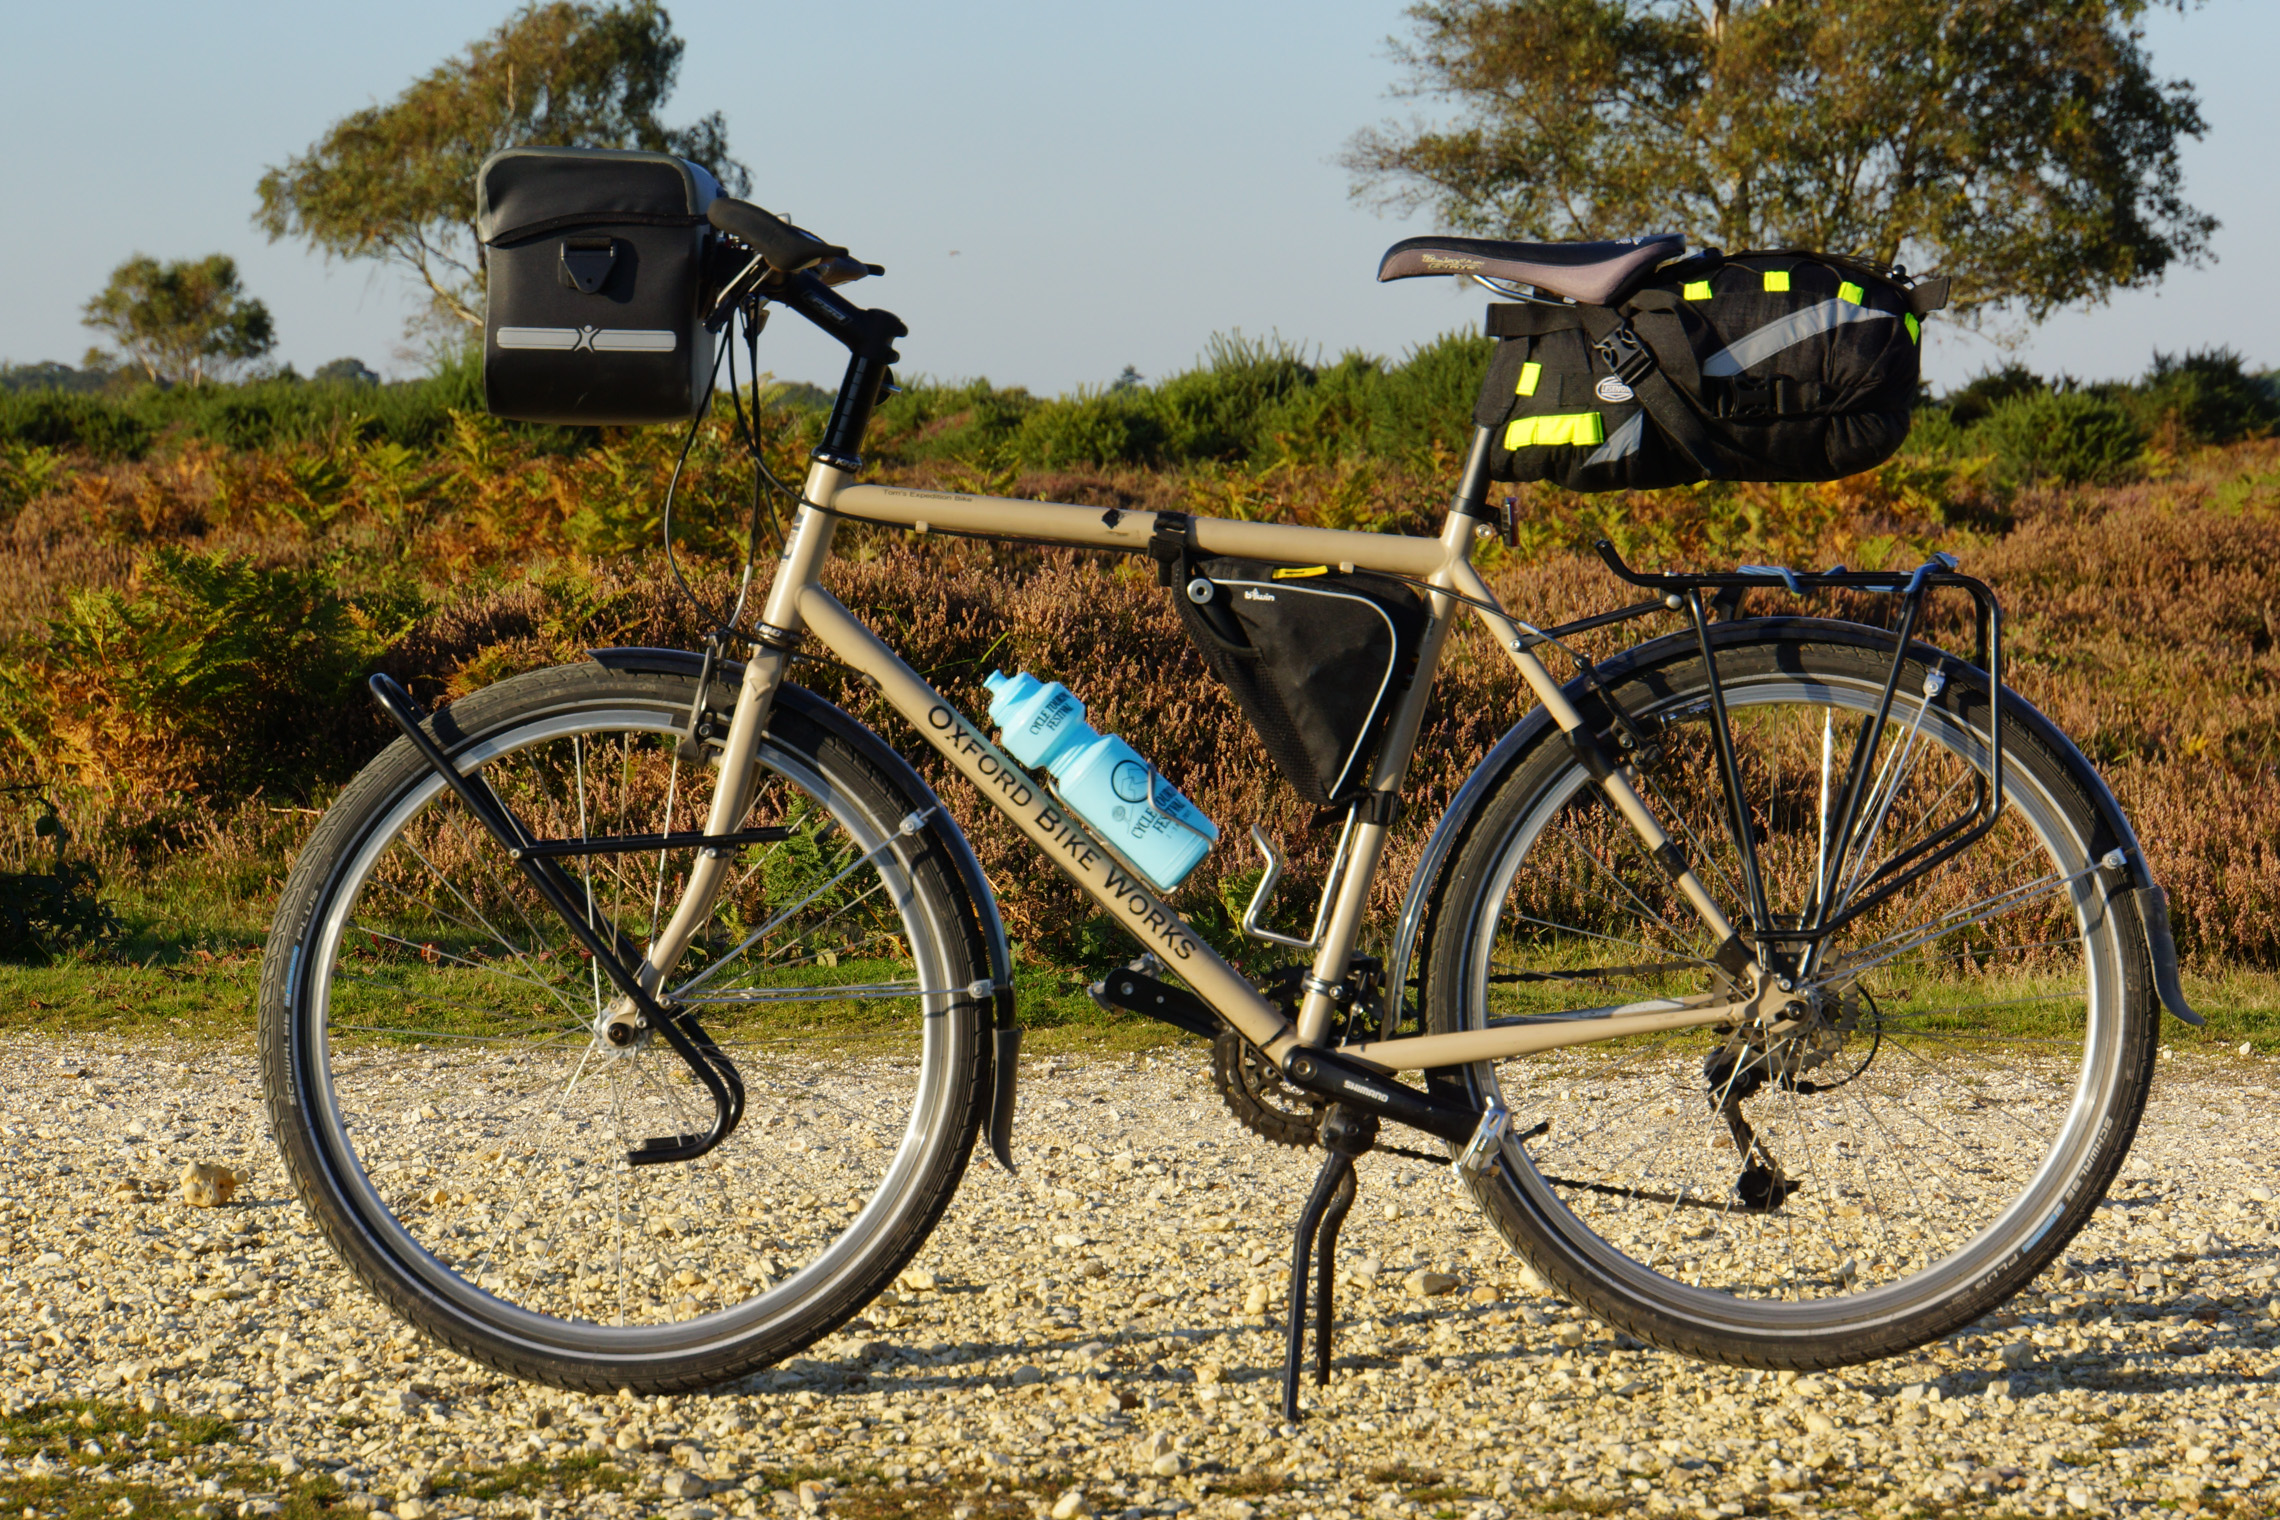
A bag can hold everything and still be unusable on the bicycle. Where it sits changes your steering, your reach to the controls and the clearance around moving parts.
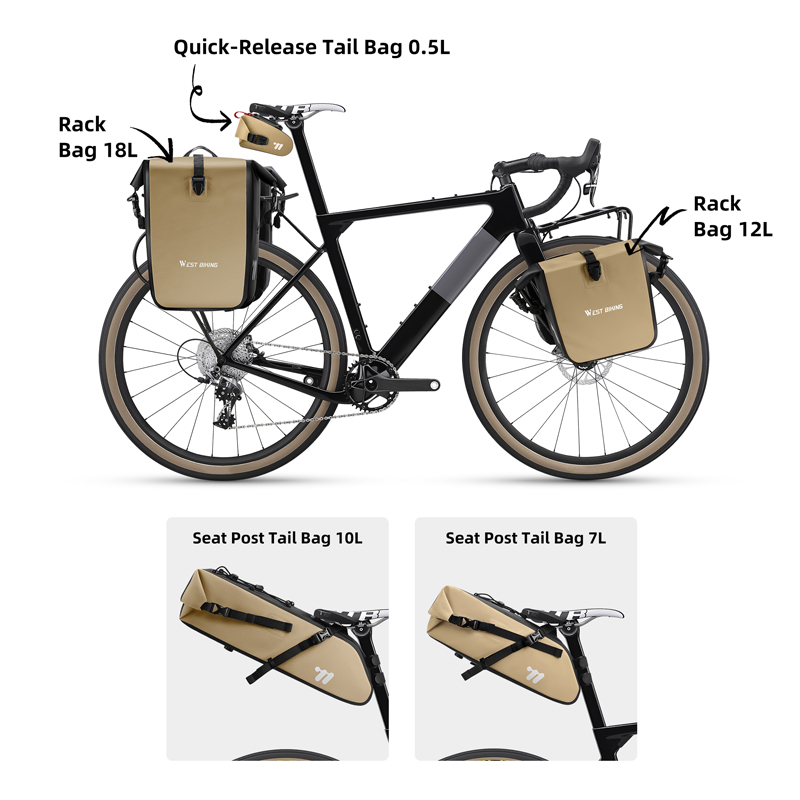
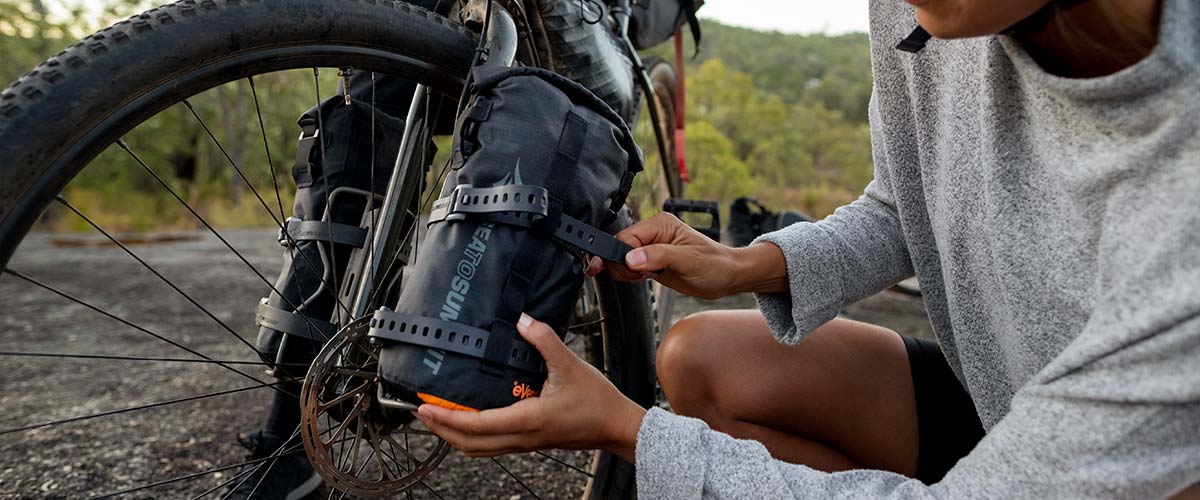
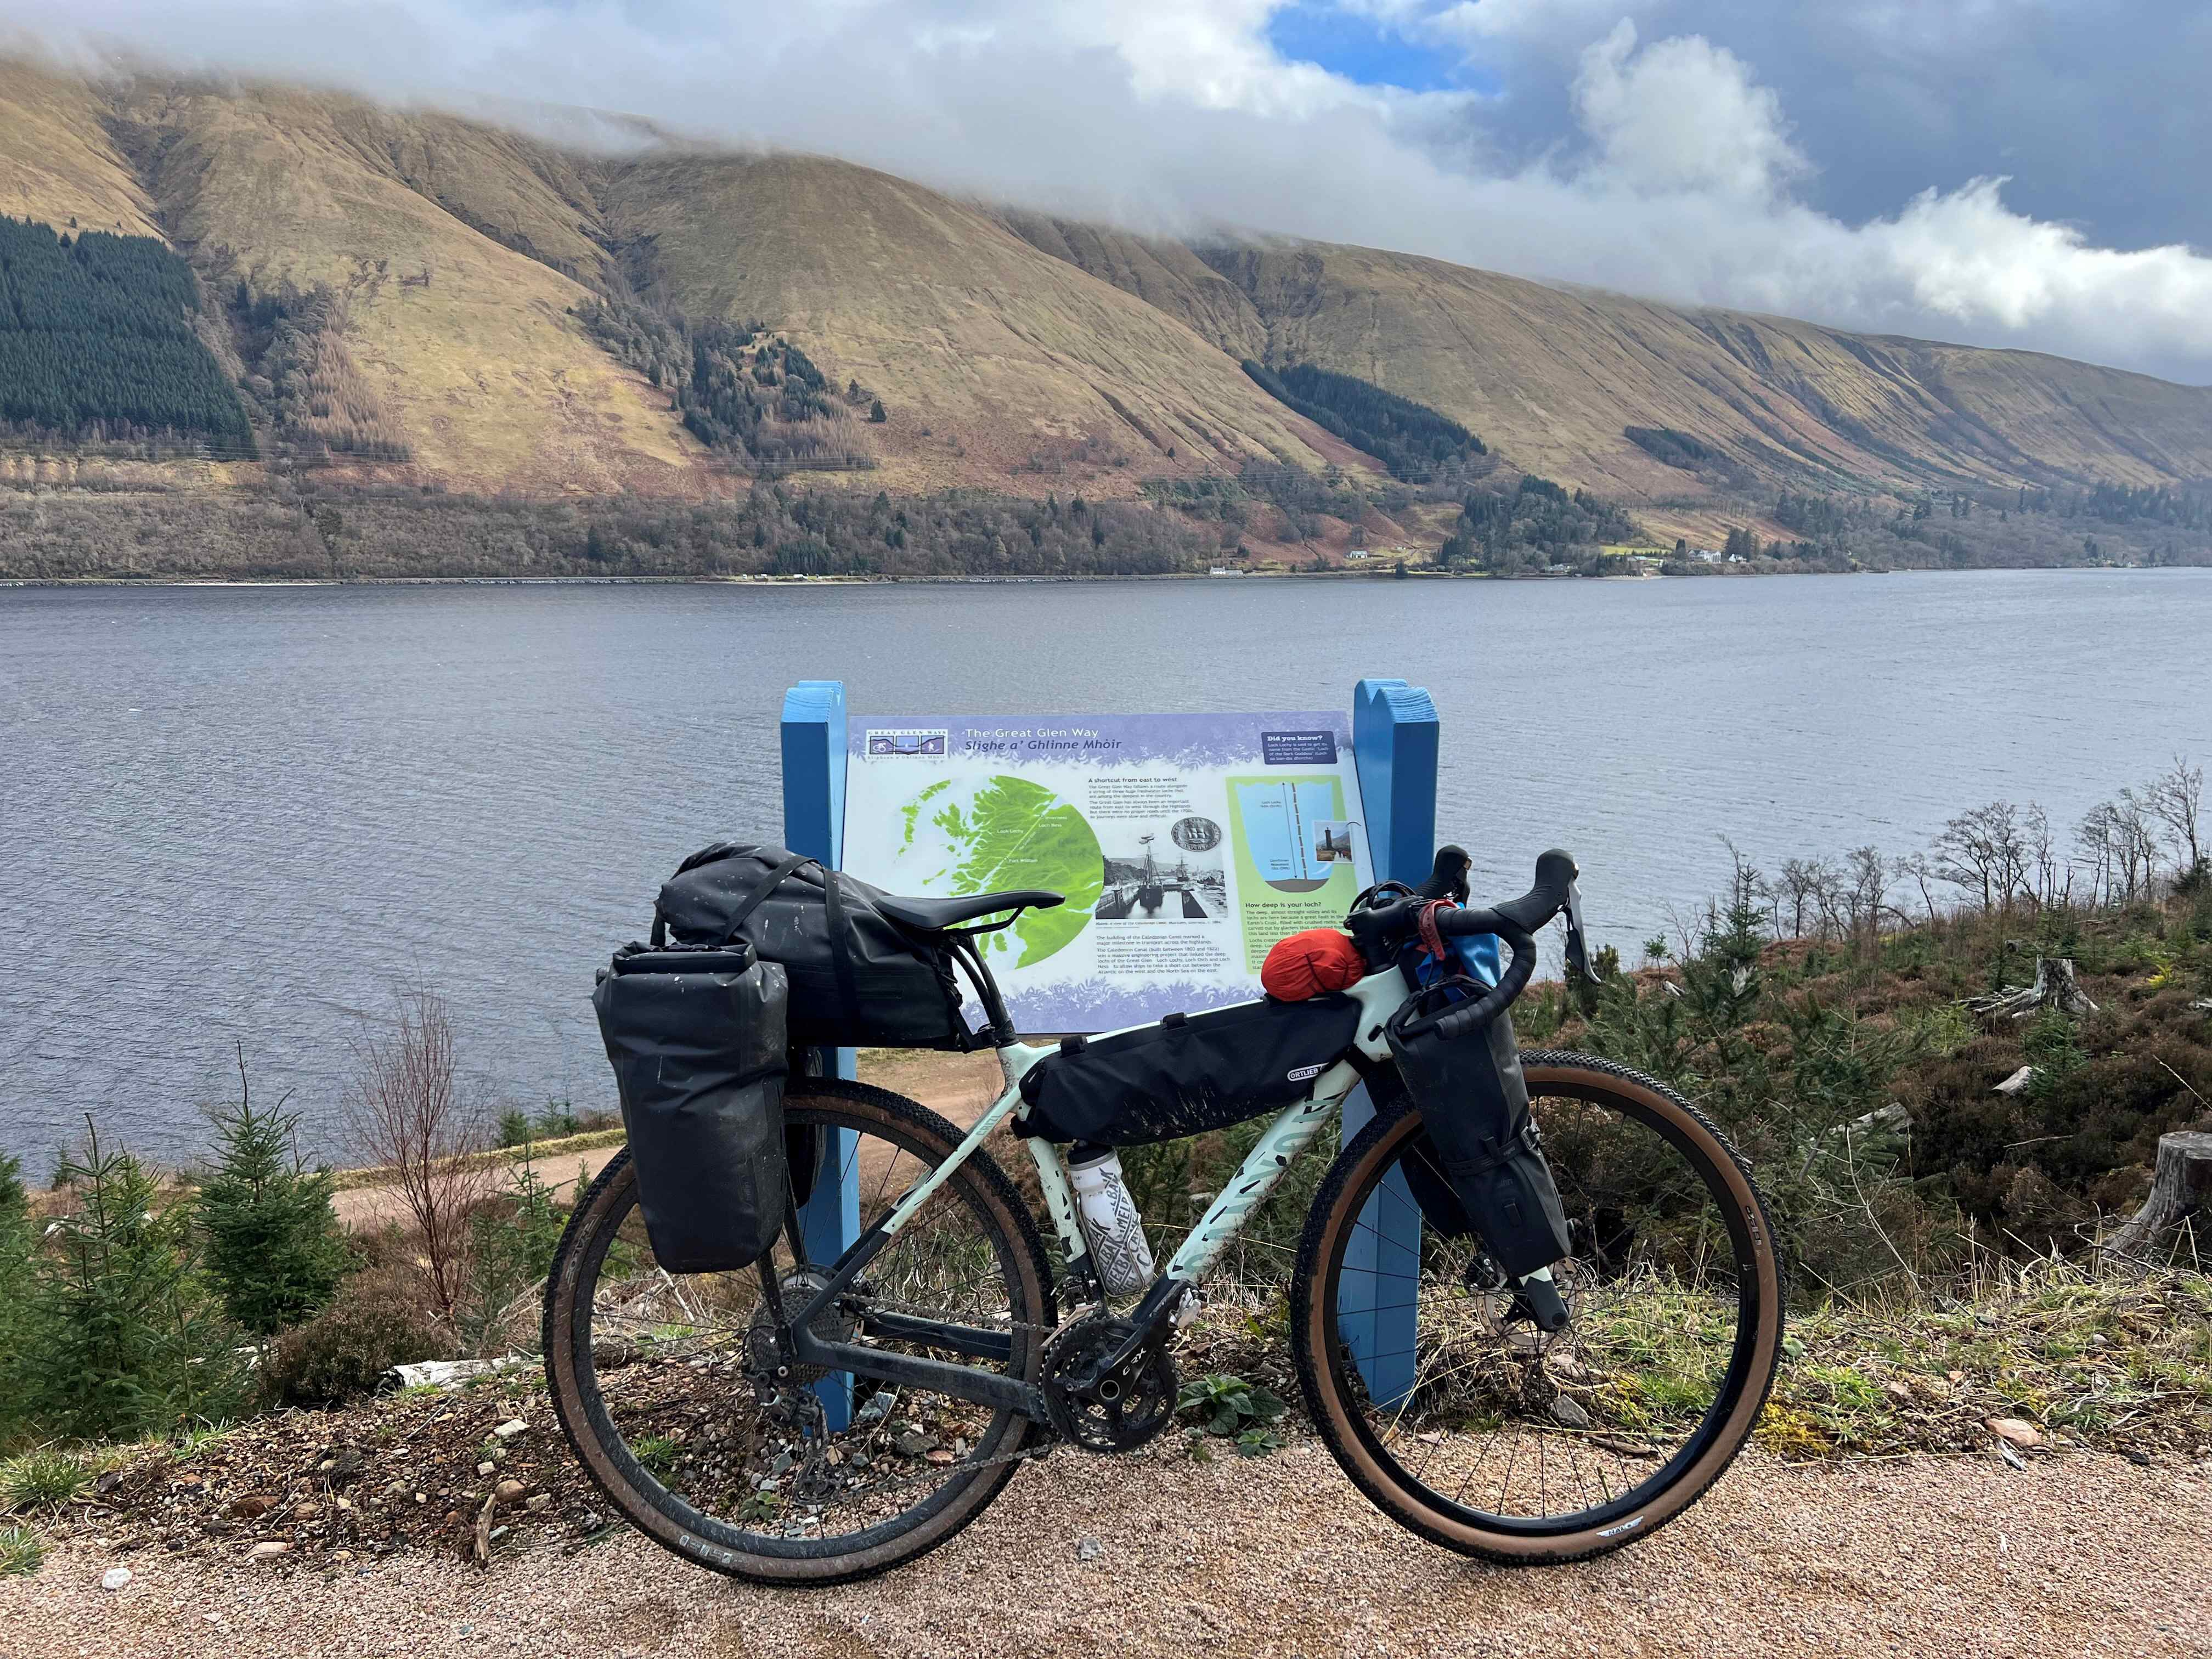
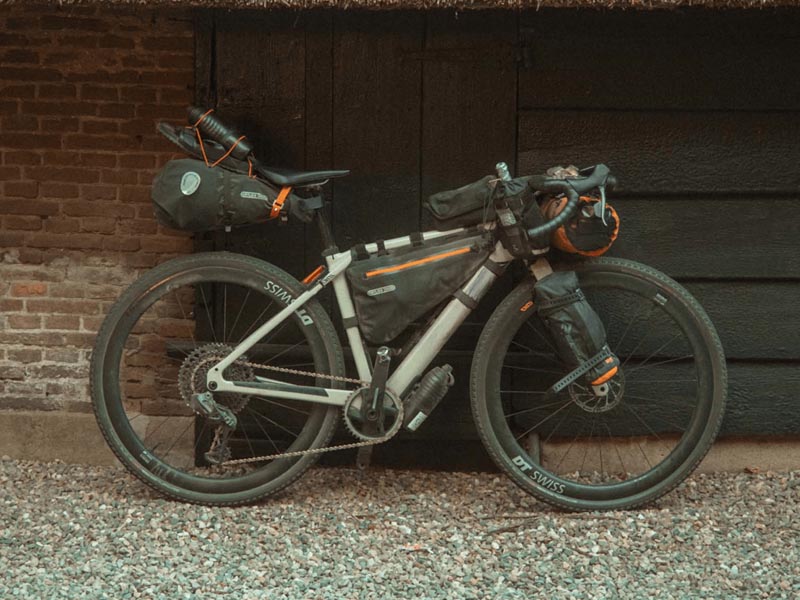
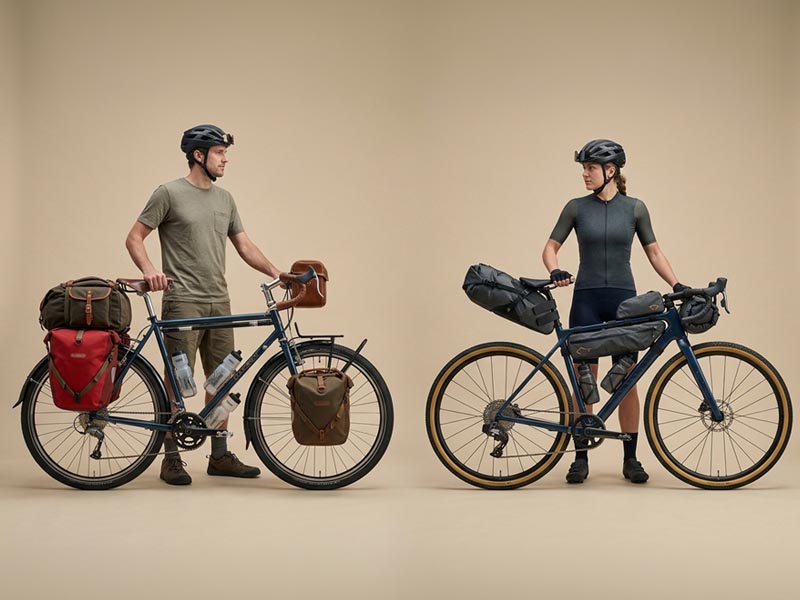
Frame bags, handlebar rolls, seat packs, racks and panniers all carry a first-night load. Which one suits you depends on the frame and its mounting points first. The shape of your gear and the terrain come next.
| Carrying system | Useful for | Fit and clearance checks | Trade-off |
|---|---|---|---|
| Frame bag | Smaller, denser items near the bicycle’s center | Frame space, cables, bottle access | Limited by frame size |
| Handlebar roll | Bulky, relatively light equipment | Steering sweep, brakes, cables, front tire | Less cockpit space; changed handling |
| Seat pack | Rear storage without a rack | Tire clearance, sag, sway, seatpost compatibility | Load can move when riding |
| Rack with dry bag or panniers | Equipment on compatible rack hardware | Mounting points, rack rating, heel and wheel clearance | Extra hardware and bulk |
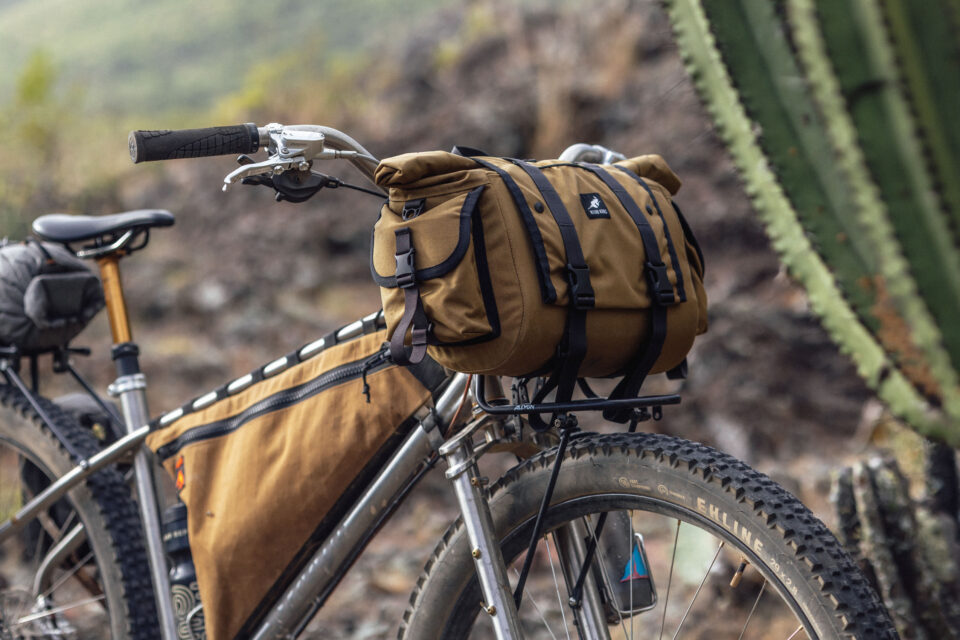
Where your mounting system allows, put dense items low and close to the center of the bike. Lighter, bulky gear fits better in the front or rear bags.
One student testing equipment for a first two-day trip found their sleeping bag too big and bulky for the seatpack. Check the packed bag’s shape and clearance before you trust its advertised capacity.
Check the loaded bike before you ride
Mount the full load, then go over every attachment and moving part with the bike standing still.
- Handlebars: Turn them through their full range and watch the brake levers, cables and the space above the front wheel.
- Rear bag: Check the gap to the rear tire once the load compresses, and allow for suspension travel if your bike has it.
- Fasteners: Secure straps and buckles so loose ends cannot reach the wheels, brakes or drivetrain. If a bag or strap touches a tire, wheel, drivetrain, brake or other moving part, fix the attachment before you ride.
- Controls: Make sure you can reach the brakes and shifters and that no bag gets in the way.
- Load limits: Compare the setup with the manufacturer’s specifications for the bike, rack and bag.
Plan meals and water around real resupply
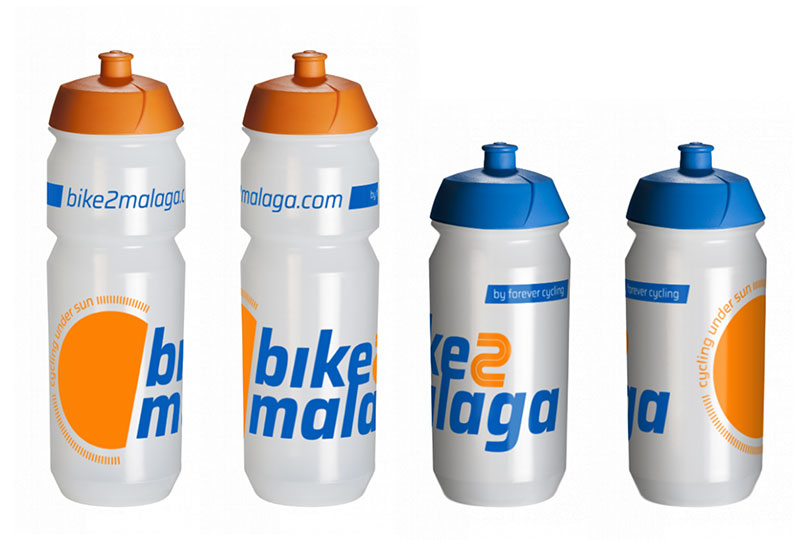
Water planning has three parts: how much you can carry, where more will be available and whether that water is safe to drink.
A rider describing a first solo overnighter on r/bikepacking wrote, “Water is still shut off for the winter on this route so I only had what I brought (I brought 3.25 liters).” Confirm the tap is on before you count on it.
Water and food
- Drinking supply: List the confirmed refill points and the distance between them. Weather and that distance set how much you carry.
- Camp use: Count drinking water for the overnight stop and the next morning, plus whatever you need to prepare meals.
- Meals: Match the food to your equipment and the services you will have. Cooking needs a pot, stove and fuel; ready-to-eat food skips them.
- Closed refill: If a source is closed, choose a route or a carrying plan that works without it.

A tap symbol, store or stream on a map does not establish operating hours or safe water. For natural sources, how you treat the water matters.
The CDC’s guidance on treating drinking water outdoors recommends boiling to kill germs. It describes filtration followed by disinfection as another approach. Portable filters differ in the germs they remove. If you suspect harmful chemical contamination, use a different source, because boiling or disinfection will not make that water safe.
Prepare navigation, repairs, weather, and a way out
Even a short overnight needs a route you can follow, a fix for basic mechanical trouble and a realistic way to leave early.
Keep your route available without signal
Store your navigation offline wherever cell reception is unreliable. Your phone or GPS device needs enough battery for the whole ride. A second route record or a usable map makes a good backup.
Know what your repair kit can handle
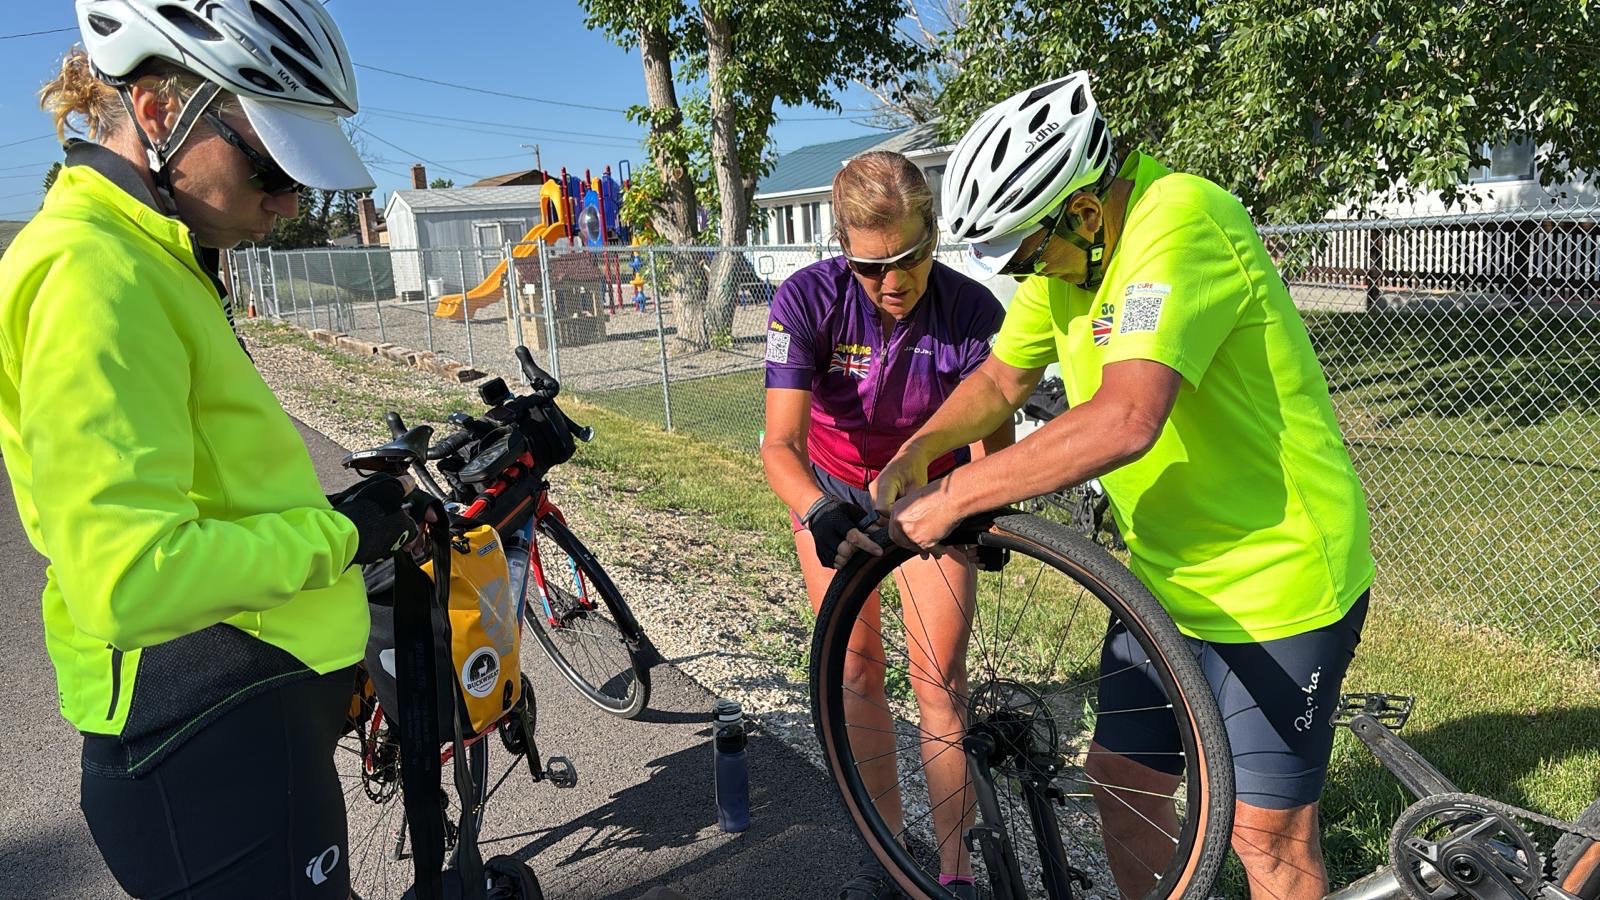
Your repair kit has to match your bike. The pump must connect to your valve. Tire supplies must suit your wheel and tire system, and the multi-tool has to fit the fasteners you might need to adjust.
Learn basic puncture repair before the trip.
Check the forecast before you go
Check the forecast along the route and at your campsite or room as close to departure as you can. Rain changes what you wear and how you shelter. Nearby thunderstorms can make the whole outing unsafe.
The National Weather Service’s lightning-safety guidance advises postponing outdoor activity when thunderstorms threaten. A tent, a tree or an open picnic shelter is not safe lightning protection. Seek a substantial building or an enclosed hard-topped vehicle.
Plan your way out
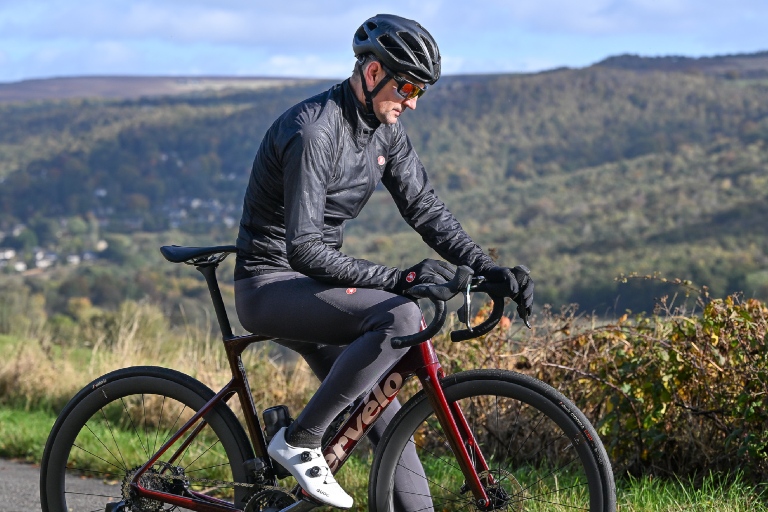
Tell someone you trust your route, where you will sleep and when you expect to be back. If you ride solo, agree in advance how you will report a change of plans, since cell service can be unreliable.
Work out how you would get home after a mechanical problem your tools or skills cannot fix, or after an early decision to leave: a road you can reach, available transport or a pickup you arranged in advance. If your exit depends on an uncertain connection, add a more reliable alternative.
Sort out clothing, toilets, and personal care
Check what toilets, changing facilities and waste disposal the overnight site provides. Bring familiar toiletries, sunscreen, comfortable clothing and a way to pack out waste where required.
A first-time rider whose period started just before an overnight wondered whether to switch to shorts instead of bibs to make changing easier. Ease of changing should shape what you wear, especially when campsite facilities are basic.
Seek medical advice for persistent skin or genital symptoms.
Take a shakedown ride before you go
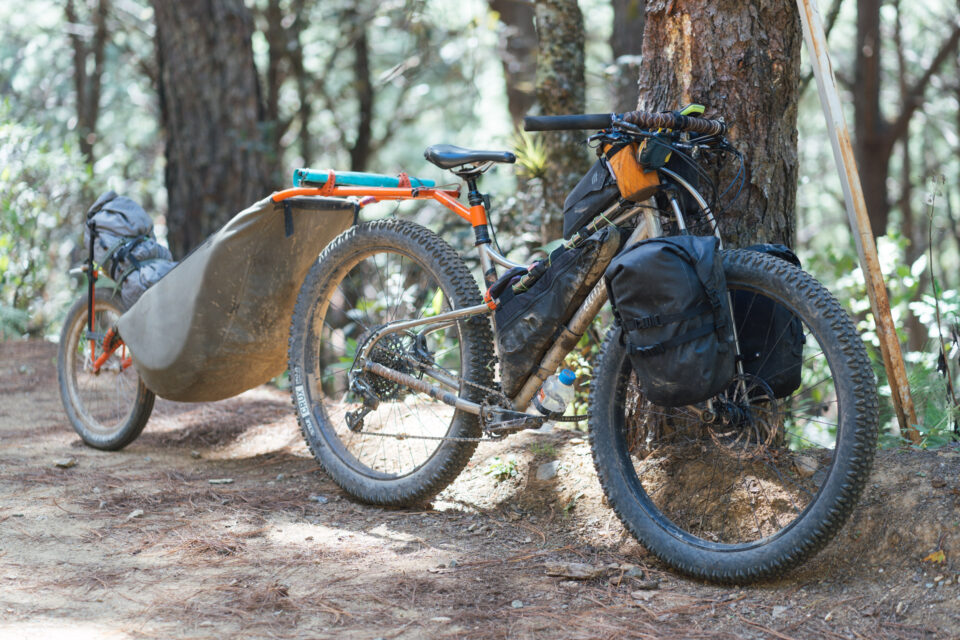
A shakedown ride is a short test with the same bags and gear you plan to carry overnight. It shows how the setup handles when you pedal, turn and brake, which the stationary check cannot.
Ride familiar nearby roads or paths where getting home is easy. Load everything and notice how the bike steers and brakes, whether the bags sway or sag and whether you can reach the items you need.
If luggage shifts or rubs, adjust the mounts and ride again. If you are an experienced cyclist but new to camping, set up your shelter and sleeping gear at home. The ride cannot test that part.
Decide whether you go
You are ready to leave when all seven of these are true:
- Your campsite or room is confirmed, and the route to it is open to bikes.
- Your sleeping setup matches where you will spend the night.
- The loaded bike steers and brakes with nothing rubbing, swaying or sagging.
- You know where your drinking water and meals will come from.
- Your route works offline, your repair kit fits your bike and you have a way home.
- The forecast suits both the ride and where you will sleep.
- You have sorted clothing, toilets and personal supplies.
If a strap rubs or a bag sways, adjust it and test again. If you can’t fix the problem, such as having no confirmed campsite, change the route or the date.
After the trip, write down what you never used and what was awkward to pack or reach. Use that list to adjust your next setup.