
Sit upright on corrugated cardboard laid on a hard, flat seat until two dents form, mark the center of each and measure between the marks in millimeters. Repeat on fresh cardboard. If both readings match, take the number to the saddle’s size chart and ride that saddle before you buy if the shop offers a trial. If the dents won’t show or the readings disagree, get measured at a bike shop.
What you’re measuring
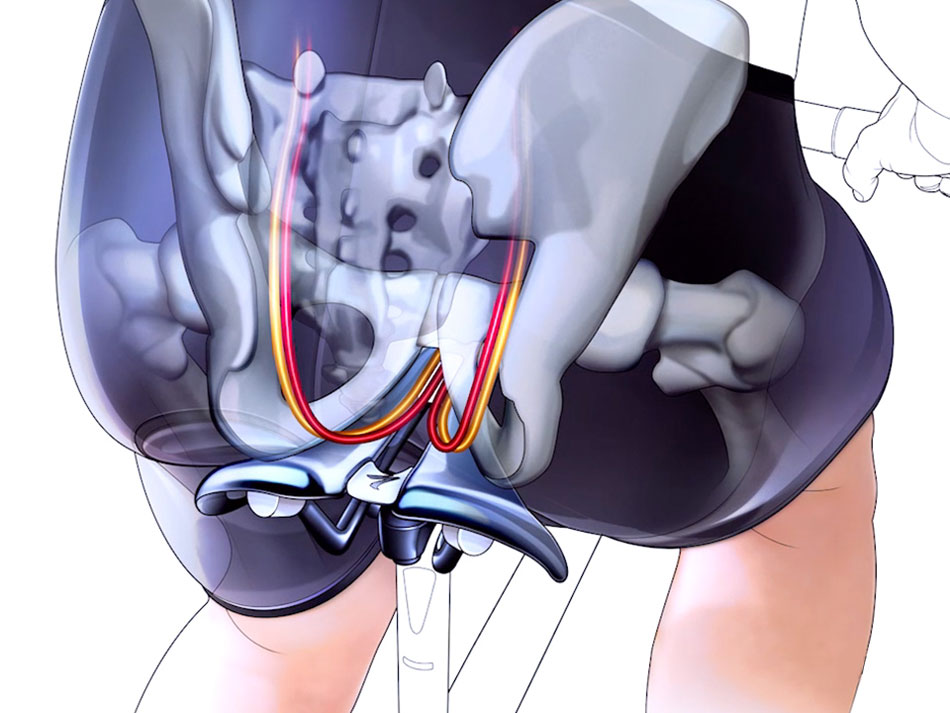
Your sit bones are the two bony points at the bottom of your pelvis, anatomically called the ischial tuberosities. They support your weight when you sit. The cardboard test estimates the distance between them from the dents they leave on a firm surface. Your hip measurement and pants size won’t predict this number.
How to measure your sit bones at home with cardboard
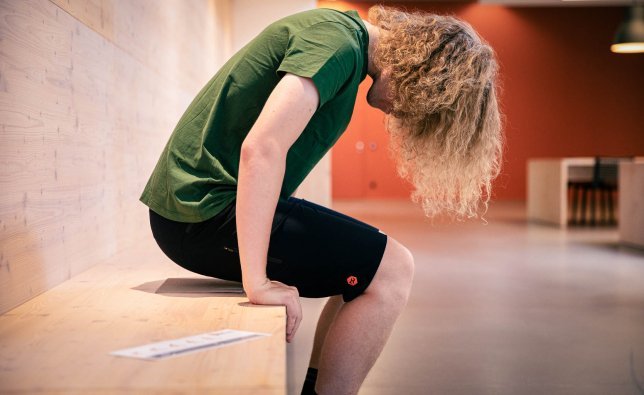
You need fresh corrugated cardboard, a chair or stool with a hard, level seat, a pen or pencil, and a ruler marked in millimeters. Packaging cardboard works if it’s flat and big enough for two clean dents. Skip anything cushioned. Deep cushions absorb pressure and make the marks hard to find.
The five-step method
- Prepare the cardboard. Lay it flat on the seat, with no folds, seams or old dents where you’ll sit.
- Sit with steady pressure. Center yourself on the cardboard, keep your feet supported, and sit upright and comfortable with your weight even. Don’t rock or shift while the dents form.
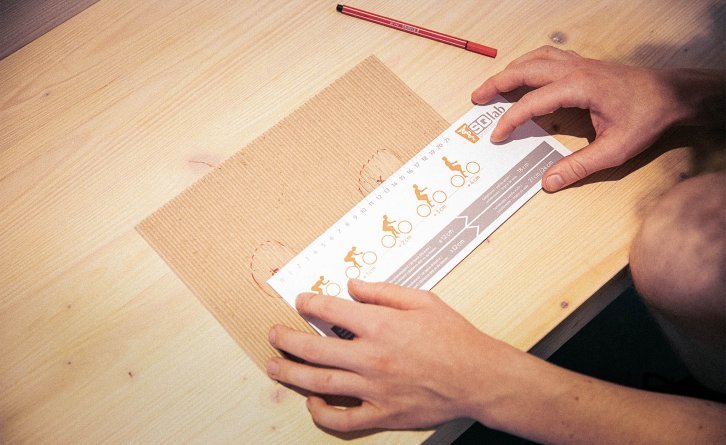
- Find the marks. Stand up carefully and find the two main dents. Mark the center of each, and check that rivets on your clothing or other hard objects didn’t leave extra marks.
- Measure center to center. Lay the ruler across the two marks and write down the distance in millimeters. Ignore how big the dents are.
- Repeat the test. Use fresh cardboard, the same seat and the same posture, and check that you find the same two points again.
If your ruler is in centimeters, convert before you use a size chart: 12 cm = 120 mm.
Ergon’s sit-bone guide uses the same cardboard method and shows how to find the marks and measure between their centers.
What if the marks are faint or your measurements disagree?

Faint marks come from the cardboard, the seat under it or the way you sat, so fix those before you trust any number.
| What happened | What to check | Next step |
|---|---|---|
| No visible dents | How fresh and thick the cardboard is, how firm the seat is, your clothing, and whether you sat still | Try fresh cardboard on a firmer seat |
| Too many marks | Jeans rivets, bulky seams, old folds, or moving around | Remove the cause and sit again |
| Overlapping or unclear centers | How clear the dents are and whether your weight stayed still | Sit again in the same posture |
| Different results each time | Seat, cardboard, posture, and how you marked the centers | Keep all four the same and measure again |
| Two shops give different numbers | Whether each number is your sit-bone width or a recommended saddle width, plus the position and equipment used | Ask each shop what its number means and get remeasured with the same setup |
One cyclist trying to replace an uncomfortable indoor-bike saddle got no readable marks from cardboard or from damp paper. Another rider got shop measurements of 143 mm and 165 mm. At least one of those numbers is not the rider’s sit-bone width.
If a second careful try still leaves unclear marks, have a bike shop measure you.
Turning your number into a saddle width
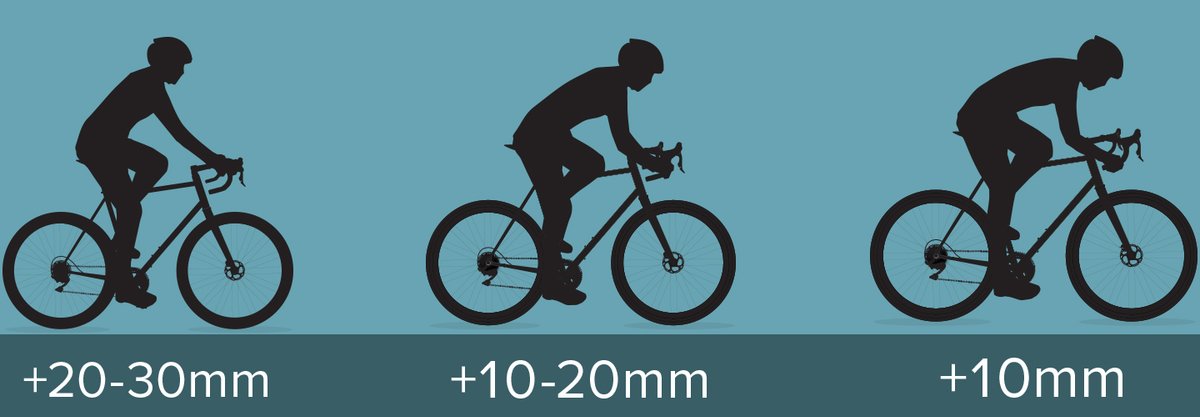
Imagine your cardboard test measures 120 mm. Published guides turn that number into different saddle widths.
Why published sizing allowances differ
| Source | Approach | Published measurement guidance | For a 120 mm reading |
|---|---|---|---|
| Cyclingnews | Cardboard test, then a width allowance | Add about 15 to 20 mm | 135 to 140 mm saddle |
| BikeRadar | Dent test inside a broader saddle-buying guide | Add about 25 to 30 mm | 145 to 150 mm saddle |
| SQlab | Sit-bone width, posture, and the saddle’s usable support area | Uses usable saddle width | Use SQlab’s chart for the model you want |
| WTB Fit Right | Width plus riding and rider inputs | Accepts entries from 80 to 170 mm (the tool’s input range) | Enter your number along with your other details |
| Ergon | Home, dealer, or estimate-based measurement, then product sizing | Its own size range for each model | Check the fit range of the Ergon model you want |
If you measure close to 12 cm (120 mm), take extra care with Ergon sizing: that’s where its S/M and M/L sizes meet.
SQlab sizes by the part of the saddle that supports you, which isn’t always its widest point. WTB’s Fit Right selector also asks about bike type, riding habits, flexibility and more.
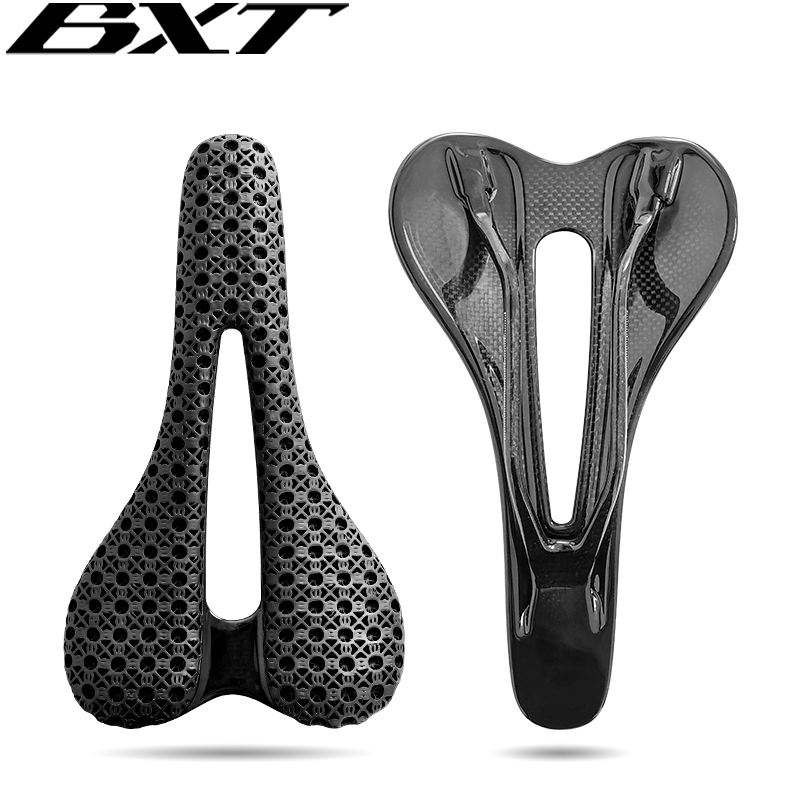
Use your number to narrow the choice in this order:
- Record your sit-bone width. Keep it in millimeters and note how you measured it.
- Note your riding position. An upright recreational posture and a low road position load the saddle differently.
- Open the size chart for the saddle you want. Look for its recommended sit-bone range and any other fit criteria.
- Check the shape. Look at the usable rear area as well as the listed width.
- Try it on the bike. If you’re near the line between two sizes and the shop offers test saddles, ride both.
Why riding position and saddle shape change the fit
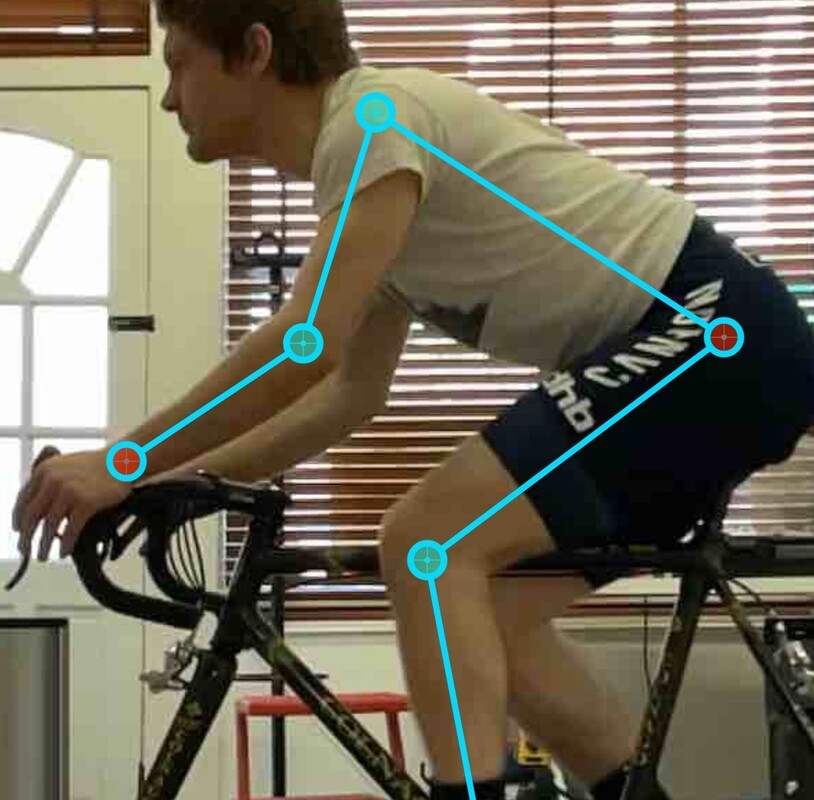
Lean forward and your pelvis meets the saddle at a different angle. Pressure moves toward the front, onto different parts of the saddle. Cardboard records how you sit on a chair, upright and still. Once you start pedaling, the contact pattern changes.
The Potter et al. (2008) saddle-pressure study tested 22 experienced cyclists, 11 of them women. Moving from the handlebar tops to the drops shifted load forward, and front loading increased in the women tested.
Saddle width changes pressure too. In 2023, Lin, Wang and Chen tested 10 healthy women on four saddle widths. A saddle 1 cm wider than the measured sit-bone width came out best on certain pressure measures.
Shape matters as well. In a 2018 experiment with 19 women, Larsen and colleagues compared three saddle designs in 20-minute riding trials. The wider design raised pressure at the front and lowered it at the back.
Riders reported more sit-bone discomfort on both experimental designs than on the standard saddle. Crotch discomfort showed no significant difference.
Home measurement or a bike shop? When to use each

Cardboard is enough when you get two clear dents and the same number twice.
| Method | What you get | When to use it |
|---|---|---|
| Home cardboard | A quick estimate from cardboard and a ruler | Your first measurement or a repeat check at home |
| Foil or other impression material | Another way to record the marks you leave when you sit | When its instructions and materials fit your setup |
| Shop impression pad or fitting equipment | A reading taken with the shop’s own tools and method | Unclear marks, conflicting readings, or a wider fit question |
When you book, ask whether the shop gives you the distance between your sit bones or a recommended saddle size, and whether you can try saddles before you buy.
Testing the saddle on the bike
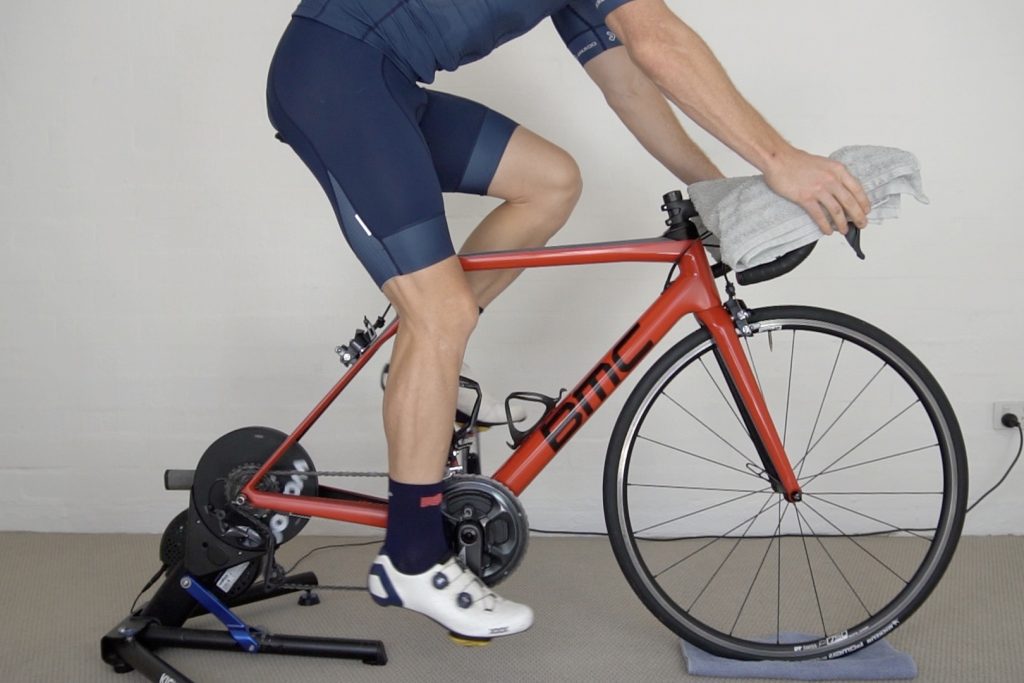
Ride it in your usual position and check five things:
- Support: Do your sit bones rest on the wide back part, or hang off the edges?
- Thigh clearance: Does the saddle rub your legs through the pedal stroke?
- Front contact: Does the nose or cutout press where it hurts?
- Riding position: Can you stay settled, or do you keep sliding forward or back?
- Setup: Could tilt, fore-aft position or reach be moving you onto a different part of the saddle?
If reach or posture is the bigger problem, have a fitter look at your whole position.
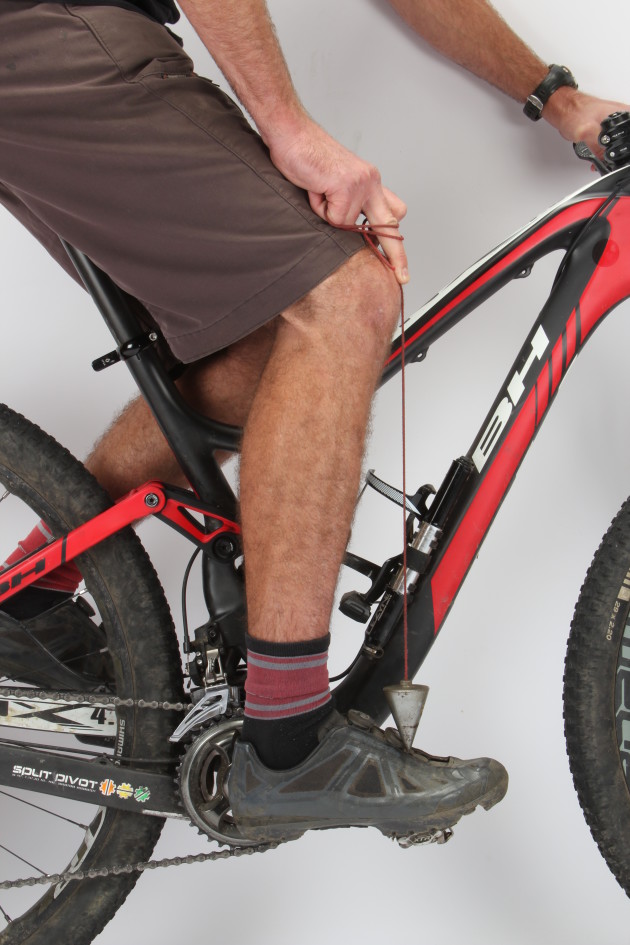
If you get genital numbness that keeps coming back, pain that won’t go away, or skin injuries, see a doctor.
Treat the cardboard number as a starting point rather than a verdict. It narrows the choice to a size range, and the ride tells you the rest. If you sit between two sizes and the shop lets you try both, ride both in your usual position, and if the right size still feels wrong, look at the saddle’s shape and how you sit on the bike before you change sizes.