
Sit on a supported bike in your usual riding shoes, put your heel on the pedal at its lowest point and raise or lower the saddle until your leg is almost straight with level hips. Then pedal normally: if you reach for the pedal or your hips rock, the saddle is too high, and if your knee stays bent and the stroke feels cramped, it is too low.
How high should your bike saddle be?
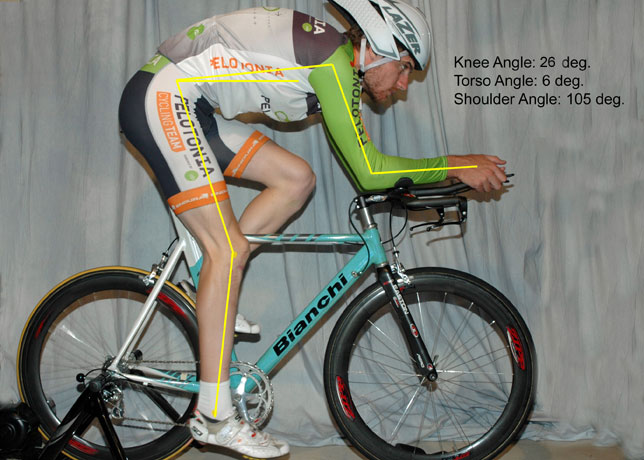
The right height gives you a smooth pedal stroke with some bend left in your knee at the bottom. You shouldn’t have to stretch your leg down or rock your hips to pedal.
No single saddle height in inches works for everyone, since two riders of the same height can have different leg proportions.
The heel method gives you a quick starting height: heel on the lowest pedal, leg close to straight. Move your foot back to its normal spot and your knee bends a little more.
Mark your current height before you adjust
Before you loosen anything, make sure you can get back to where you started, because even a bad position is a useful reference when you compare changes.
Stand the bike on flat ground. Put it on a trainer, prop it against something solid, or get a friend to hold it. Wear the shoes you normally ride in, and keep a tape measure, a strip of removable tape and the right tool for your seatpost clamp within reach.
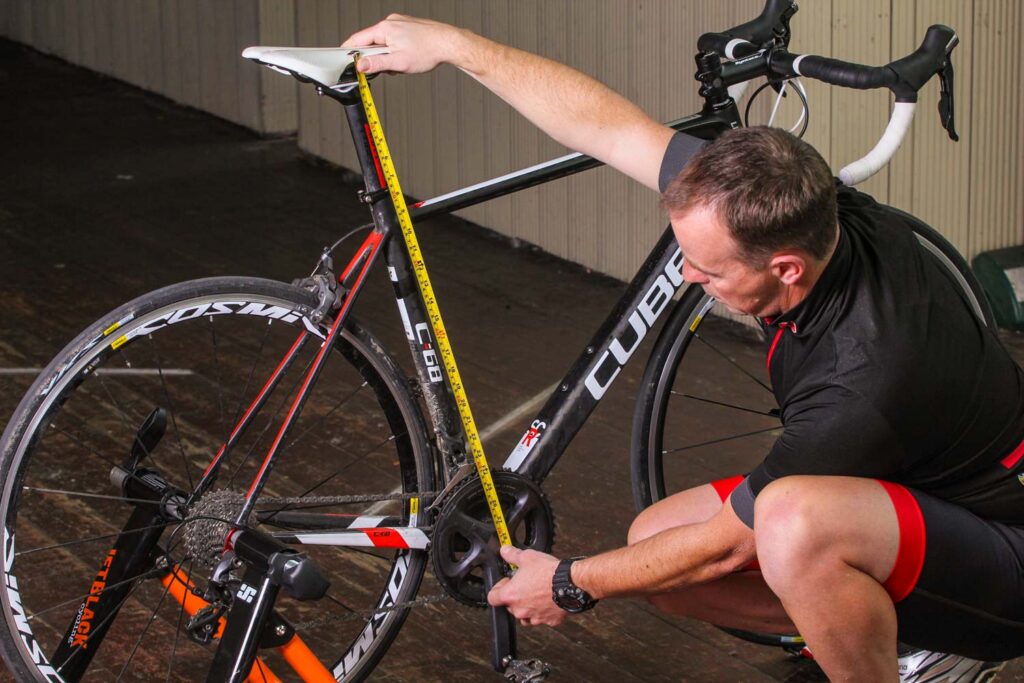
Mark the point where the seatpost enters the frame and take a photo. For a number you can come back to, find the bottom bracket, the center the cranks turn around. Pick a spot near the middle of the saddle top that you can find again. Measure in a straight line from the bottom-bracket center to that spot.
Use the same two points every time. Without fixed endpoints, the number won’t match next time.
| What to record | Starting setting |
|---|---|
| Bike and saddle | __________ |
| Saddle-top reference point | __________ |
| Bottom bracket to saddle top | __________ in / cm |
| Riding shoes and pedals | __________ |
| Seatpost mark or photograph | __________ |
| Adjustment and riding result | __________ |
Got a dropper post? Note its normal extended position for seated pedaling.
The heel-on-pedal method for a starting height
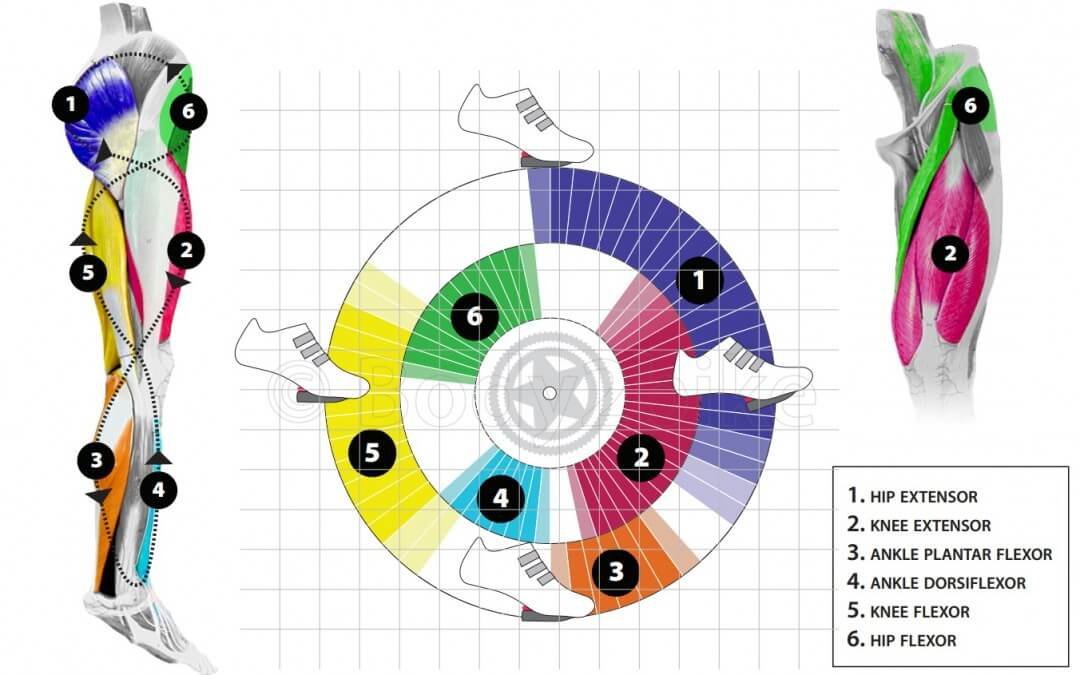
Sit normally on the supported bike so you can watch your leg without wobbling.
- Bring one pedal to its lowest position. The crank will point roughly toward 6 o’clock.
- Place your heel on the pedal. Let your foot rest naturally. Your leg should look nearly straight, with a slight, relaxed bend. Don’t lock the knee.
- Keep your pelvis level. If you have to drop a hip, point your toe awkwardly or lift your heel to reach the pedal, the saddle is too high.
- Look for too much knee bend. Knee still bent with your heel down? Try the saddle a little higher.
- Rotate and check both legs. Turn the cranks slowly, keeping your heel on the pedal where you can, and watch whether your hips shift as each leg reaches the bottom.
Once the heel check looks right, put your feet where they normally sit: your usual spot on flat pedals, your cleats on clipless. Your knee bends more at the bottom of the stroke now.
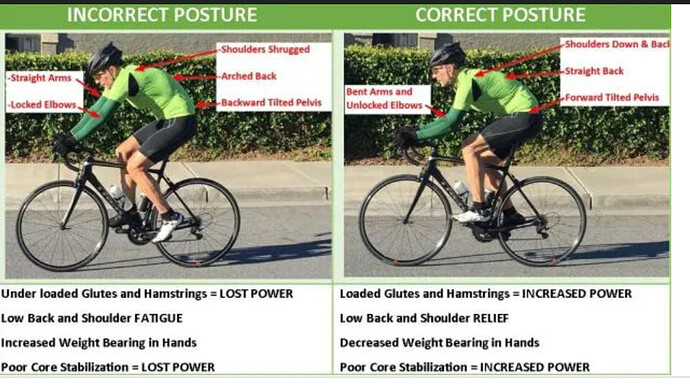
The heel check gets you close. A short ride decides if the height stays.
Raise or lower the seatpost safely
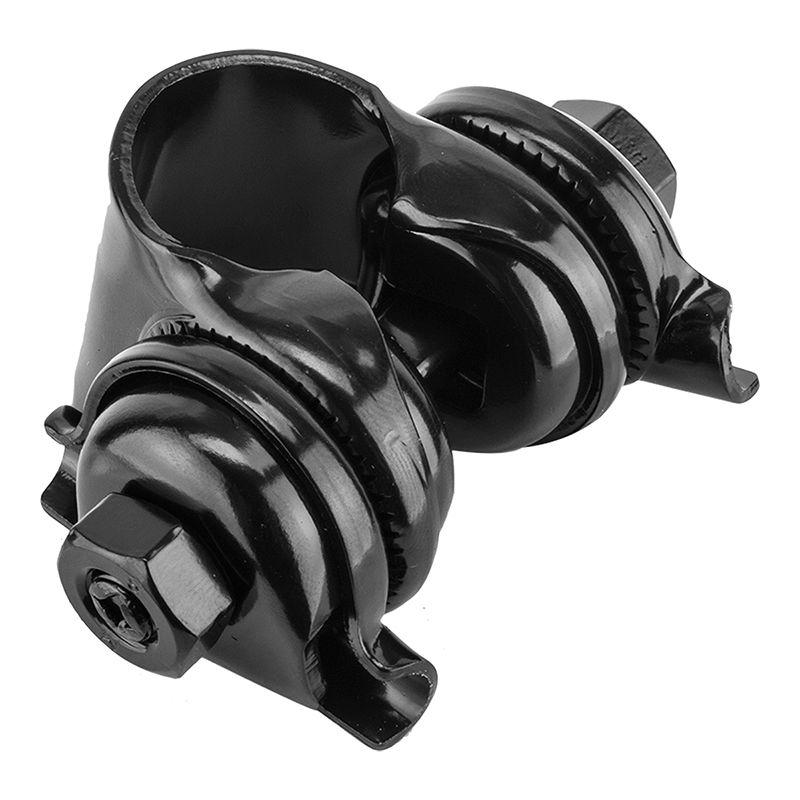
Change the height in one small step at a time.
- Release the correct clamp. Open the quick-release lever or loosen the clamp bolt the way the manufacturer specifies.
- Move the post. Raise or lower it just enough to test what the heel check showed.
- Align the saddle. Point it straight ahead. Keep its tilt and rail position as they were. Make sure the post hasn’t twisted.
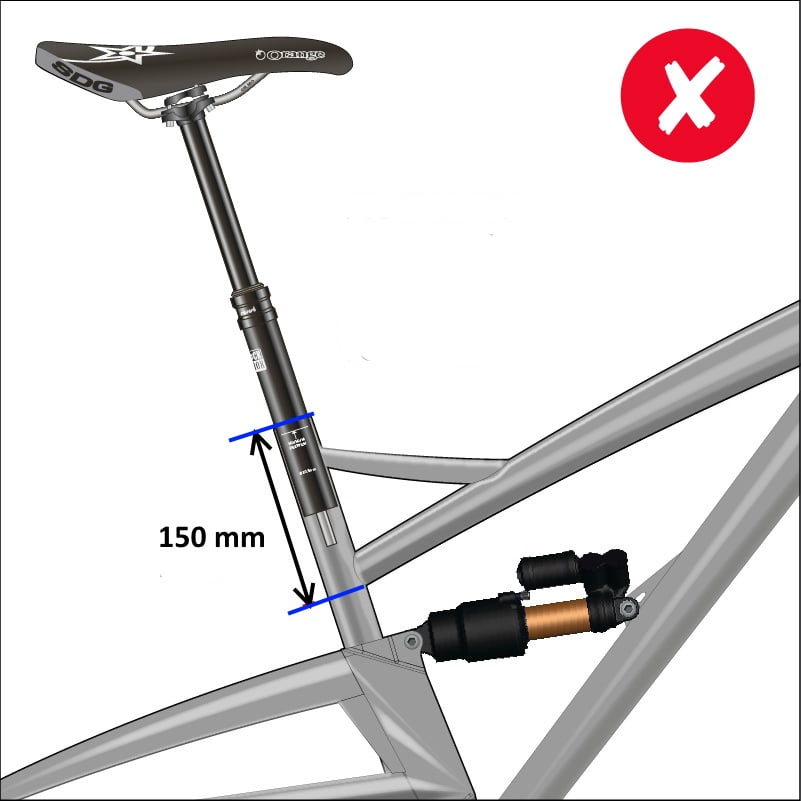
- Keep the insertion mark hidden. The post’s minimum-insertion line must stay below the top of the frame, inside the seat tube. If your new height would show it, stop.
- Tighten it the right way. If the clamp lists a torque, use a torque wrench set to the manufacturer’s figure. Close a quick release by its own instructions. No proper tool or instructions? A bike shop can tighten it for you.
- Test for slipping before you ride. With the bike standing still, lean your weight on the saddle. It shouldn’t twist or sink.
Seatpost safety: The Trek Bicycle Owner’s Manual requires enough seatpost insertion and correctly tightened components. Don’t ride with a damaged clamp, a visible insertion mark or a post that slips. Carbon, suspension, dropper and proprietary posts come with their own instructions, so follow those too.
Test the height while you pedal
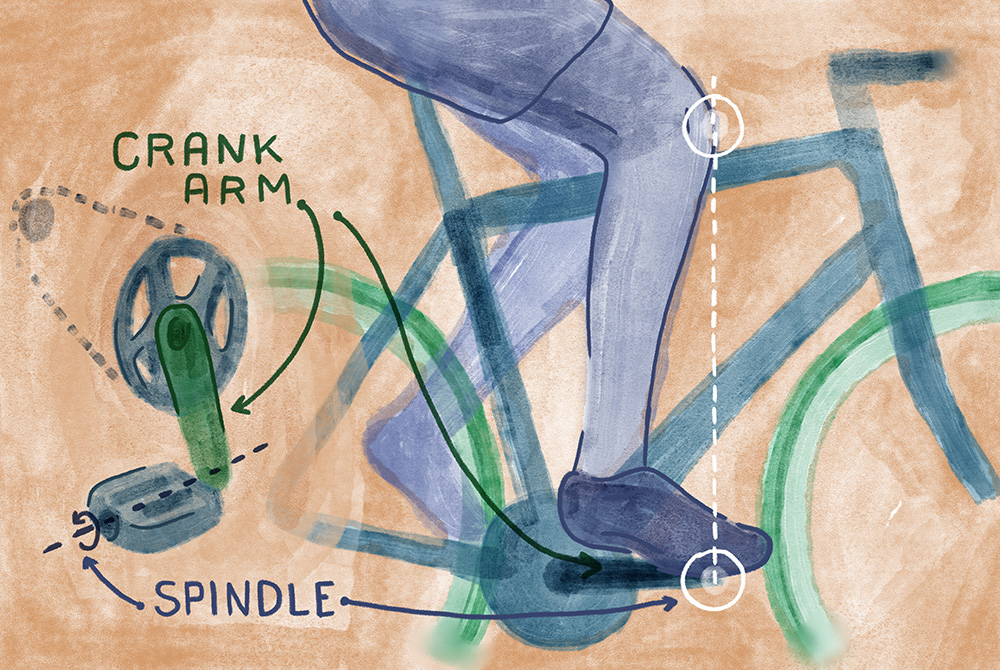
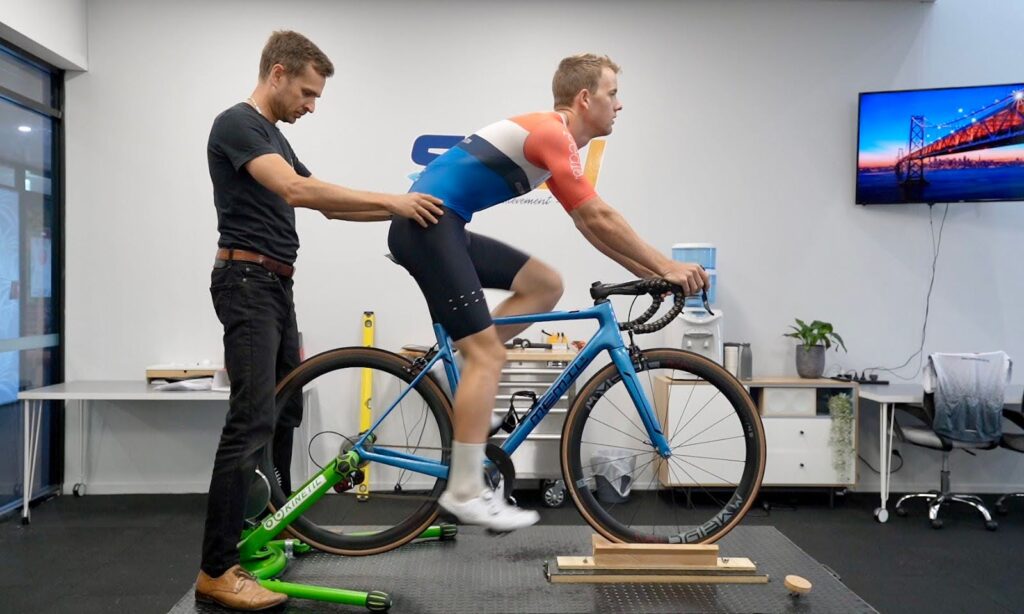
Put your feet back where they usually sit and pedal at an easy pace in a light gear, watching what happens at the bottom of each stroke. Your leg should pass through it smoothly, without reaching or pointing your toes hard down.
A side view shows reaching or a cramped knee, and a view from behind shows whether your hips rock. Ask a friend to watch, or film a short clip on your phone.
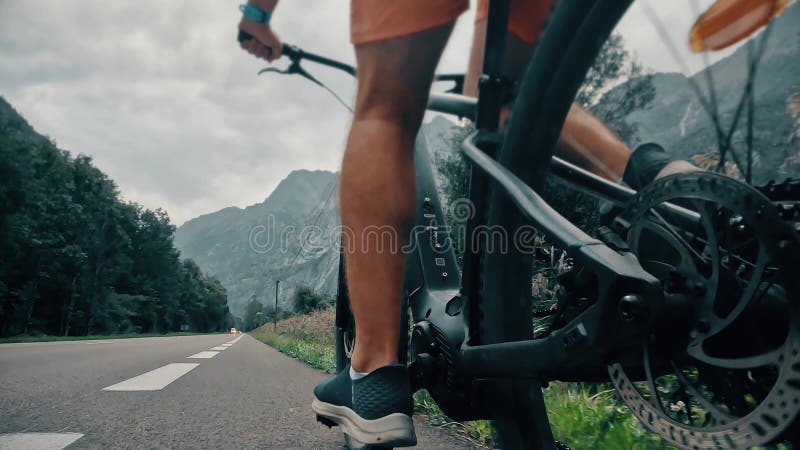
A systematic review of 41 studies found stronger support for setting saddle height with dynamic knee-angle methods than with body measurements alone.
Once the post is tight and the bike handles safely, take a short ride somewhere familiar with little traffic, and test any second height in the same shoes at the same effort.
- Keep the change if pedaling is smoother, your hips stay steady and nothing new hurts.
- Undo or shrink the change if reaching, rocking or awkward pedaling gets worse. Use your post mark to go back.
- Stop experimenting if handling feels unsafe or the signs don’t point to height.
Is your saddle too high or too low?
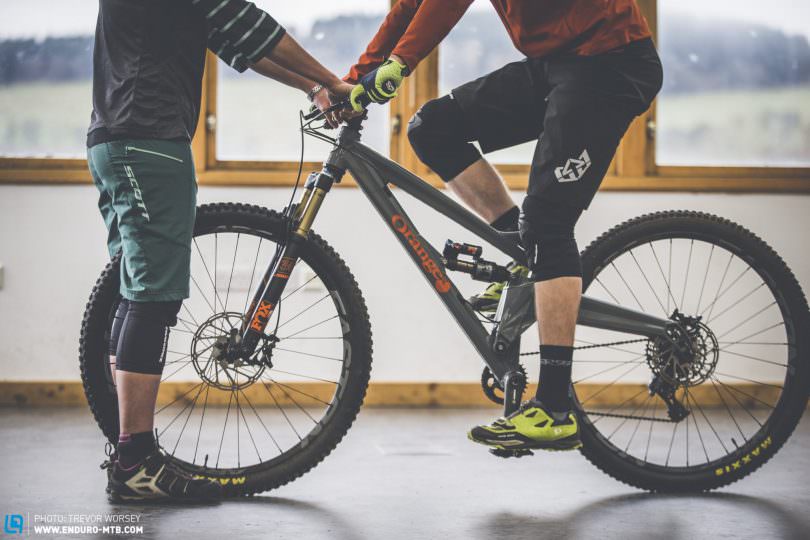
Match what you notice to what it means.
| What you notice | What it means | What to do next |
|---|---|---|
| Heel can’t reach the low pedal with your hips level | Too high | Redo the heel check on a supported bike |
| Pelvis rocks from side to side as you pedal | Too high | Film from behind. Check the rest of the fit too |
| Foot points sharply down to keep contact | Too high | Watch your normal foot position for a few strokes |
| Knee stays clearly bent in the heel check | Too low | Repeat the heel check, then test a small rise |
| Leg feels cramped during normal pedaling | Too low | Compare the stroke with your old height |
| Knee discomfort, hand numbness or saddle pressure | Not just height | Check the whole fit. See a doctor if it lasts |
Moving the post also shifts the saddle slightly forward or back because the seat tube is angled, so note any change in reach or weight balance before you touch anything else.
A rider discussing an Orbea Onna 20 listed several fit doubts, along with discomfort and numb fingers. Height alone won’t explain that mix. If pain, pressure or numbness keeps coming back, stop moving the post and get the whole fit checked.
Should your feet touch the ground on the saddle?
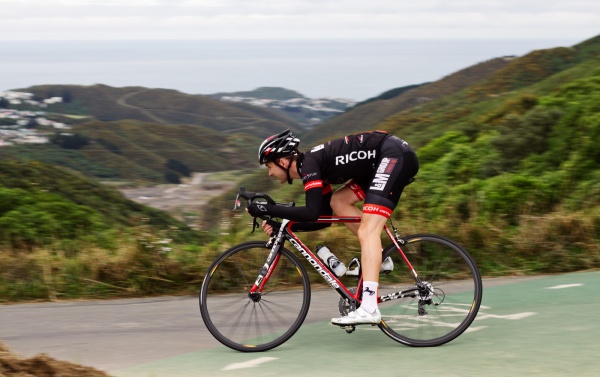
On many bikes, no. At a good pedaling height you will have trouble getting both feet flat on the ground while seated, because pedaling and stopping need different positions.
When you stop, slide forward off the saddle and over the frame so you can plant a foot. Practice it on flat ground away from traffic, slowing down, stepping off and holding the bike up before you start again. Sit back down once you’re rolling under control.
A rider who is 5 feet 4 inches tall felt uneasy about the shop-set height of her Liv Alight Disc 2 because she struggled to reach the ground. This is a common worry for new riders.
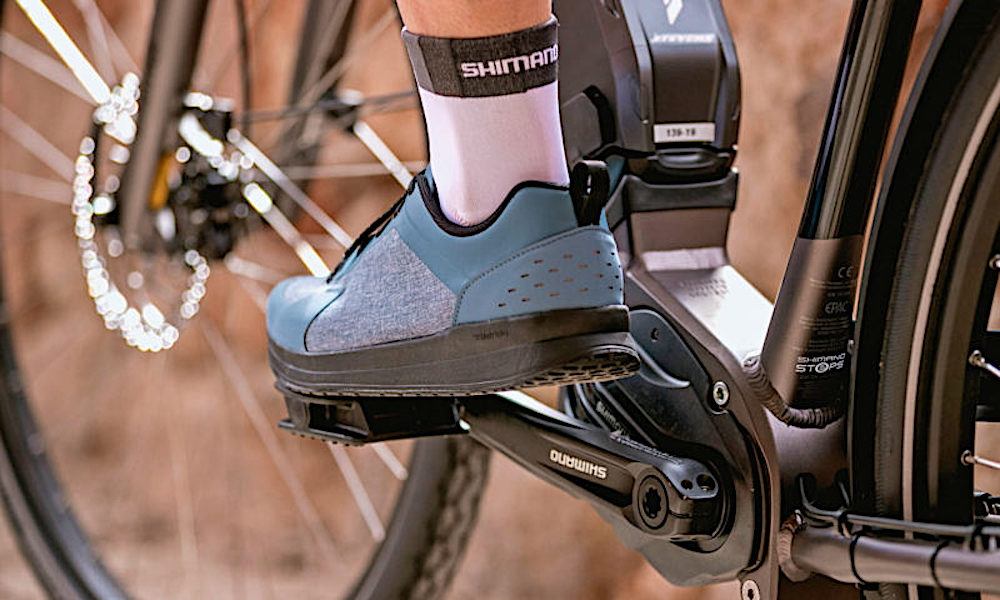
Two exceptions. If you are an adult still learning to balance, drop the saddle for now so both feet reach the ground. Raise it again once starting and stopping feel solid.
Some bikes are built differently. The Electra Owner’s Manual describes Flat Foot Technology, whose geometry lets you touch the ground while seated and still extend your leg enough to pedal.
Can’t get on or stop safely? Hold off on raising the seat. Work on your handling first, with hands-on instruction if you can get it.
LeMond vs. Hamley saddle-height formulas
Inseam formulas give you a number to start from, but check where each one measures from, because LeMond and Hamley don’t measure the same distance.
Stand barefoot on a level floor beside a wall. Hold a firm book between your legs where the saddle would sit, then measure straight up from the floor to the book’s top edge. Measure again the same way before you use a formula.
| Method | Starting estimate | Reference and role |
|---|---|---|
| Heel-on-pedal | Nearly straight, relaxed heel-leg position | On-bike starting check, then verify while pedaling |
| LeMond | Inseam × 0.883 | Bottom-bracket center to a consistent saddle-top point |
| Hamley | Inseam × 1.09 | Lowest pedal surface to saddle top in the Cycling Weekly description |
| Dynamic riding observation | Pelvic stability, knee motion and unforced reach | Shows how the starting height works with your feet in their normal spot |
The LeMond result starts at the bottom-bracket center. The Hamley distance used by Cycling Weekly starts at the surface of the pedal at the bottom of the stroke. Some sources measure Hamley to the pedal axle instead, which gives a different reference point. Write down which point you used.
Why knee-angle numbers differ
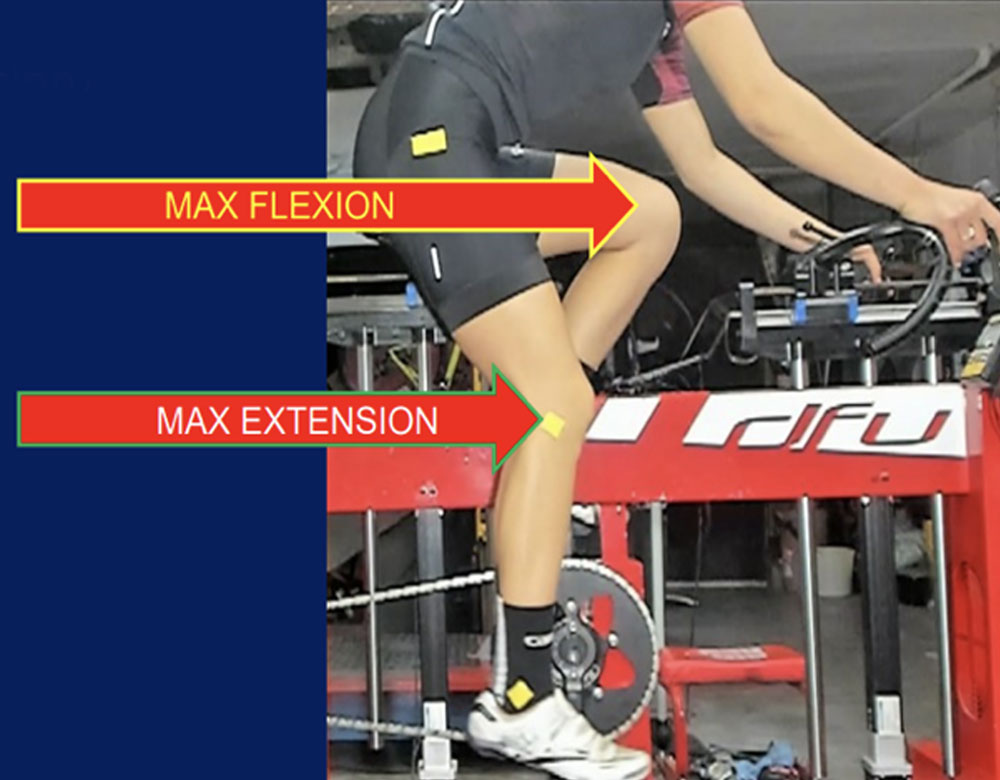
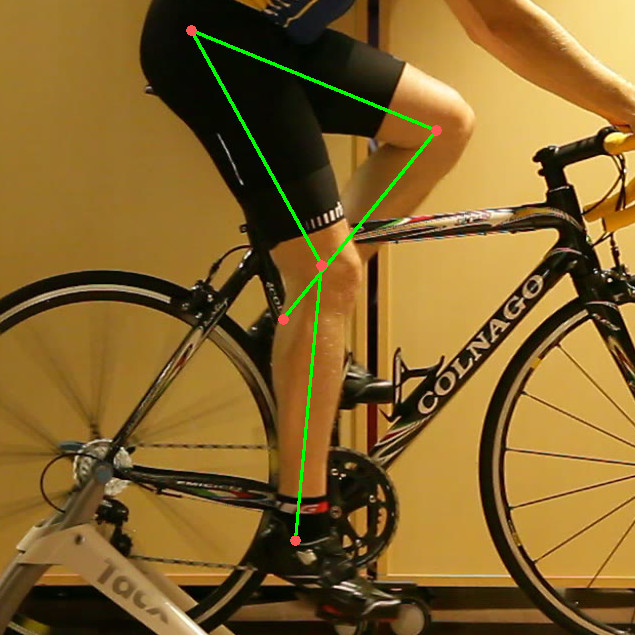
A knee angle means little until you know how it was measured. A static reading, a pedaling reading at bottom dead center and a reading at maximum knee extension measure three different things.
Knee flexion is the amount of bend at the knee. A straight leg approaches 0°. Some illustrations use the included angle between the thigh and lower leg instead, which approaches 180° when the leg is straight. You can’t swap those two conventions without converting.
| Approach | Knee flexion | Measurement condition |
|---|---|---|
| Static Holmes method | 25° to 35° | Static position at bottom dead center (BDC) |
| Dynamic maximum-extension approach | 30° to 40° | Greatest knee extension during pedaling |
| Millour et al. proposed range | 33° to 43° | Dynamic measurement at BDC |
BDC is the crank’s lowest point. The knee may reach its greatest extension somewhere else in the stroke, so a video frame at BDC captures a different moment from maximum extension.
In a study of 26 cyclists, Millour and colleagues found about 8° more knee flexion at dynamic BDC than at static BDC. Flexion at dynamic BDC was also about 3° greater than at dynamic maximum extension. Their proposed range of 33° to 43° is for dynamic BDC only, as set out in the Millour study record.
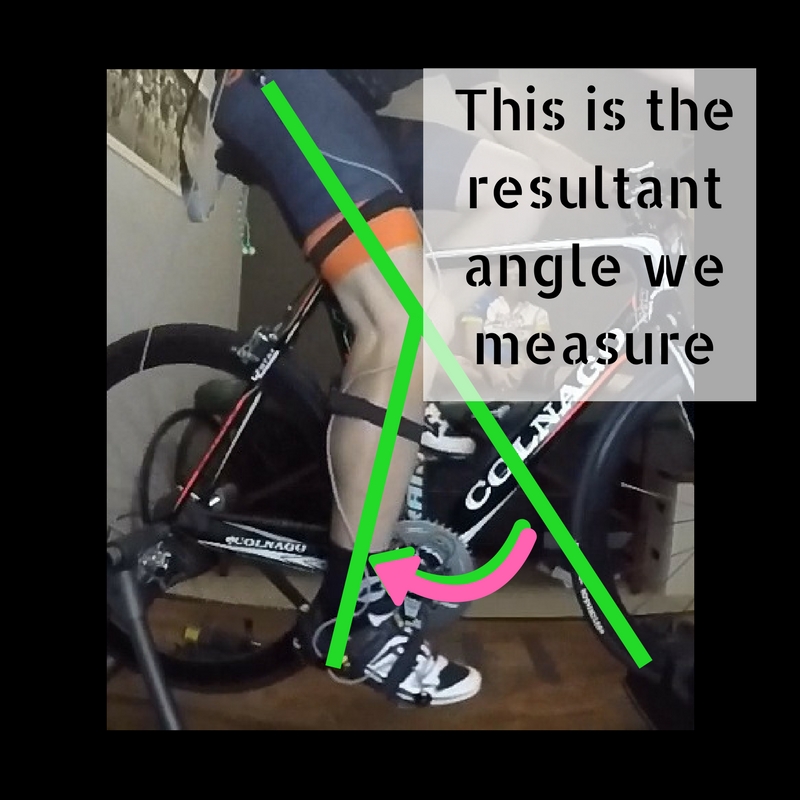
That is why two careful measurements can give you different numbers. A phone clip is fine for watching how you move. It won’t give you an accurate knee angle.
The research behind a women-specific formula is thin. A 2024 position review included 47 studies and 724 participants: 90 women, 454 men and 180 whose sex was unspecified.
Recheck after new shoes, pedals or cranks
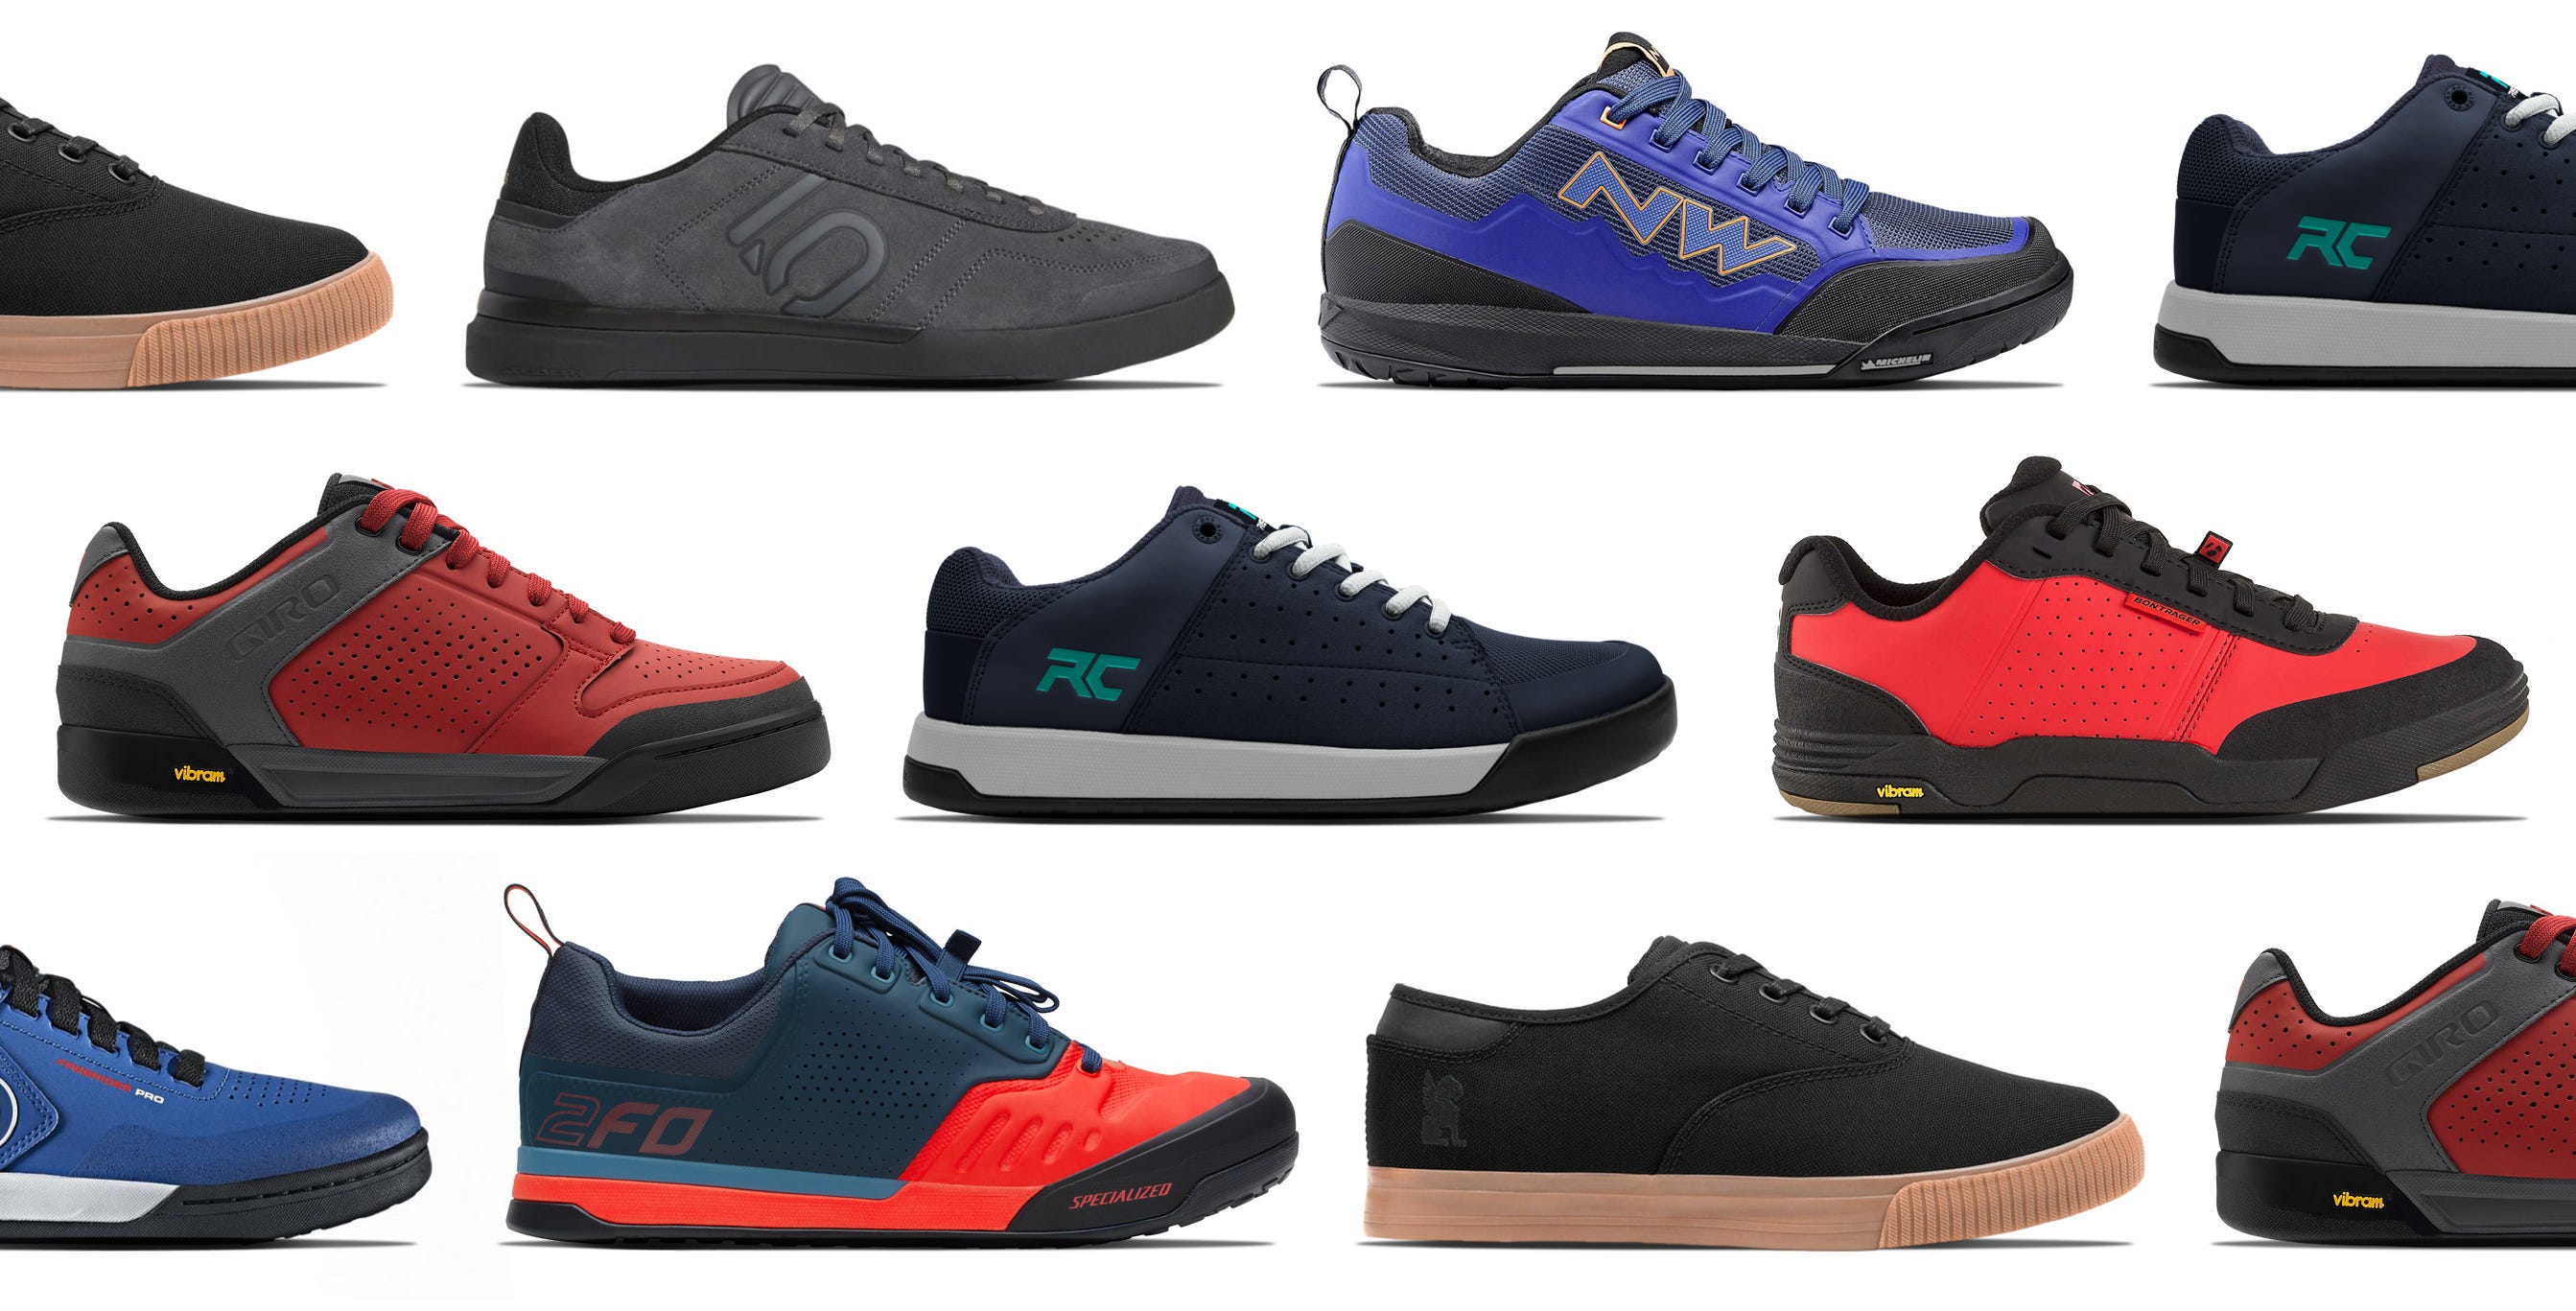
New shoes, pedals, cleats, a different crank length or a new saddle can change how your feet or pelvis meet the bike. Start from your recorded height and redo the pedaling test before you move the post. Don’t shift it a set amount up or down just because the gear changed.
When saddle height isn’t the only problem
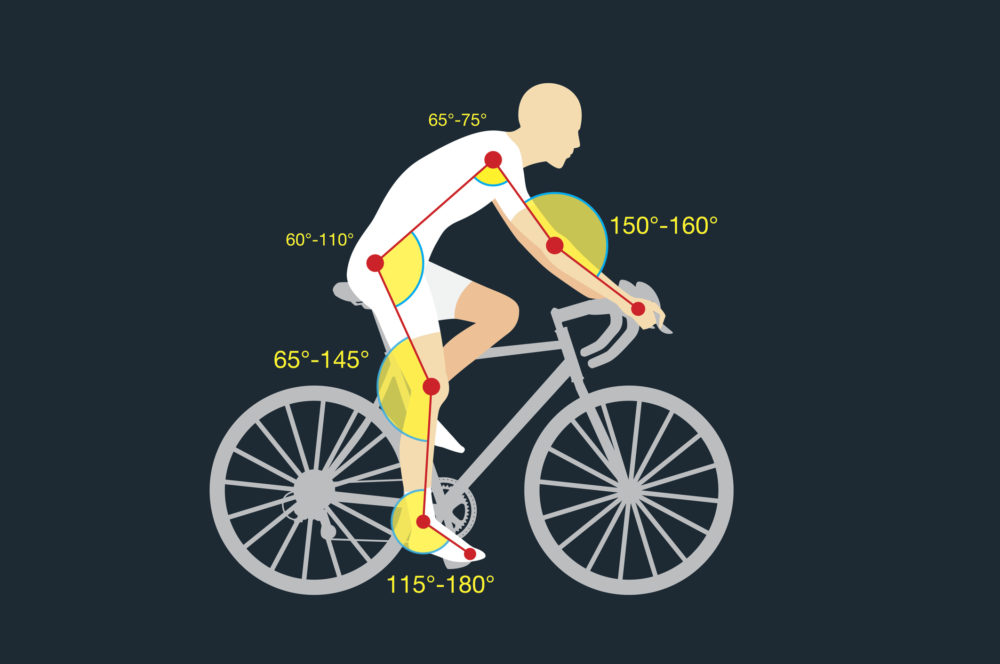
A good saddle height won’t fix a saddle that’s the wrong shape, bars that sit too far away, or a frame that makes stopping hard. Pin down the other problem first.
- Saddle pressure: Look at saddle support, tilt, riding position and clothing. Get specialist help if you need it.
- Uncomfortable reach: Look at how far the saddle sits from the bars.
- Unsafe mounting or stopping: Get the frame size checked.
- Pain or numbness that lasts: Stop treating seat height as the cause and see a doctor.
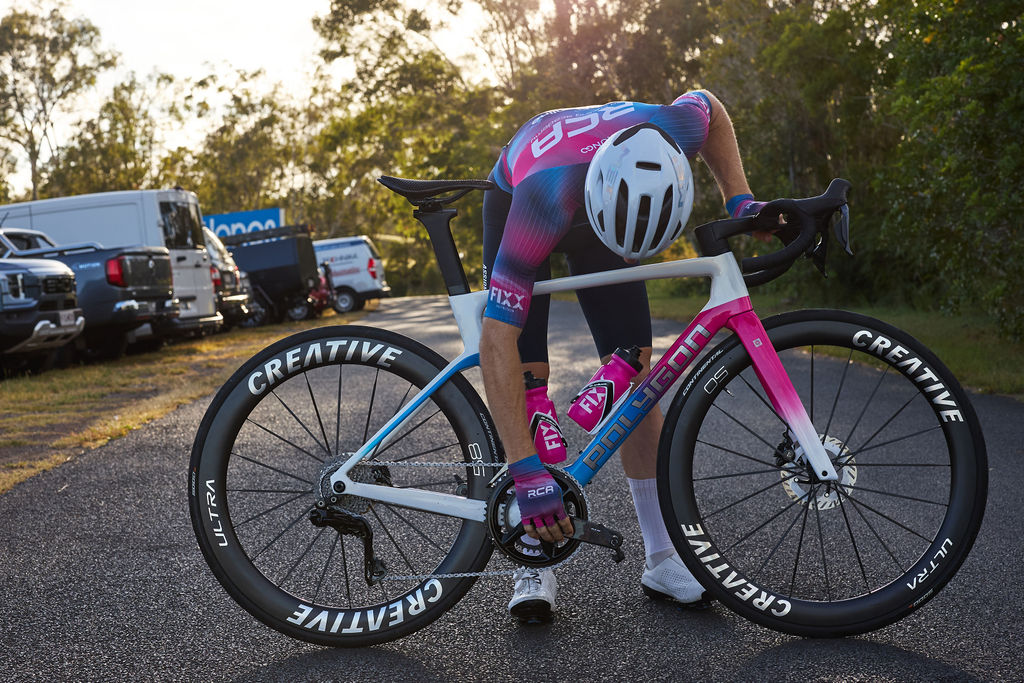
A qualified bike fitter looks at how your pedaling, contact points and frame geometry work together.
Mark where the post sat before every change and move it a little at a time. Not touching the ground while seated is normal on many bikes. Once pain or numbness keeps coming back, or the post won’t hold, the job belongs to a fitter, a mechanic or a doctor.